Celebrating the Rose with Fun Techniques

Hello Stampin’ Friends ~

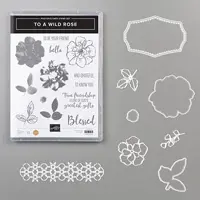
Well … we made it half way through the week and we are quickly heading into the weekend! I love Thursdays 🙂  The “technique” card I was going to show you today will be showcased tomorrow, so today I have 3 beautiful cards created with the Wild Rose stamp set ….

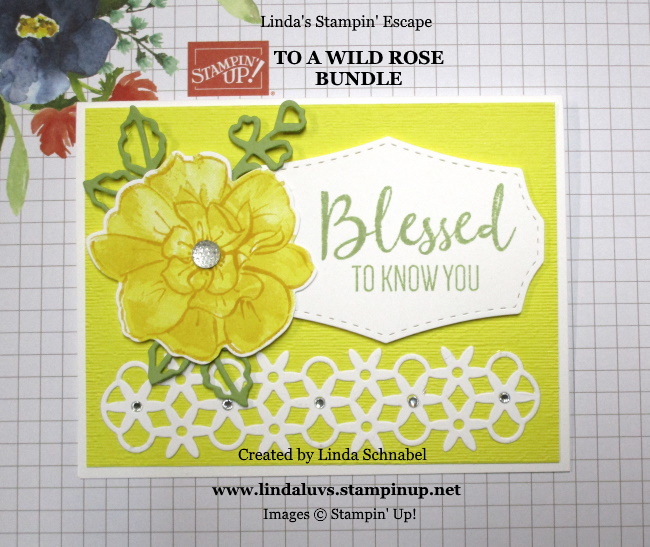
The first card…  “Blessed to Know You” card demonstrates the Three-step Stamping technique. I always begin with my “Line Image”, it helps me align the next two stamps.

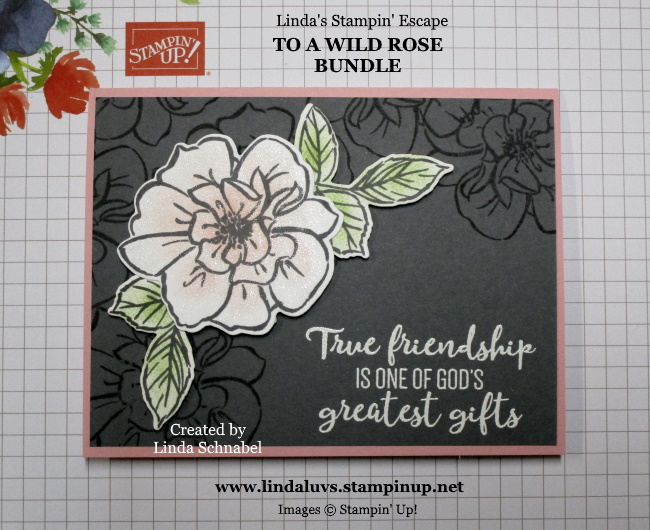
My “True Friendship” card is simple yet shows two techniques on this card.  The first is creating your background which gives you nice depth … this is color on color (Basic Gray Cardstock with Basic Gray ink). Then second technique is sponging … With a sponge dauber I added color onto the image, then a touch of my Wink of Stella!

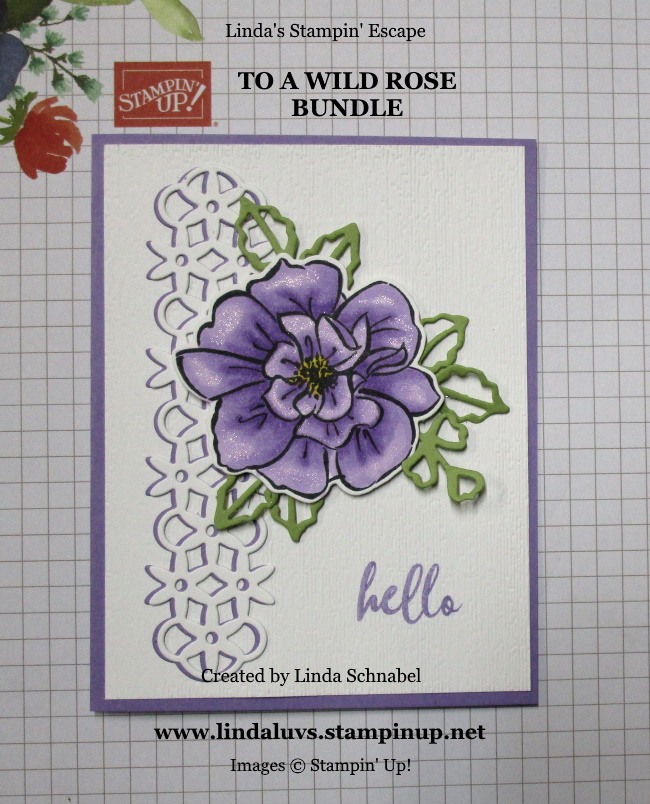
The third card, my “Hello” card features the “Coloring with Stampin’ Blends” technique … I find this technique so relaxing. Remember coloring as a child, yes, that feeling!

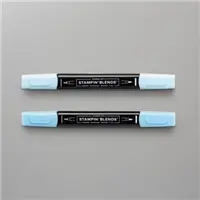
First, I chose my color pallet; Whisper White and Highland Heather. I stamped the rose image with the Momento ink and began to color it with the Highland Heather Stampin’ Blends Duo. I begin by coloring a petal with the light marker, then add the dark marker at the part of the petal that is closest to the center and over the lines in the rose. Then I go back over the dark with the lighter marker to blend the colors … you can always add a little more dark again. I leave the edges of the petals as light as I can.

The center is colored with the Daffodil Delight Dark Stampin’ Marker and then the rose is die cut.  The leaves cut from Pear Pizzazz cardstock.  The lattice piece was cut in Whisper White and Highland Heather and then layered to create an added dimension to the card.  The white base was stamped with the “Hello” from the stamp set and then the entire piece was embossed using the “Subtle” Folder.

Have you fallen in love with this amazing bundle yet?  I find it so versatile and easy to use. How would you like these cards?

Thank you for joining me today and checking out my To A Wild Rose Cards and the Fun Techniques used to create them. Let me know if you have any questions on the cards shared today.

Hope your day is filled with beauty … pass it on.

TODAY’S STAMPIN’ SUPPLY LIST … Click on any image for details about the product or to begin your shopping experience. Clicking on it directs you to my website.  Thank you!!

Sending Sunshine

Hello Stampin’ Friends ~

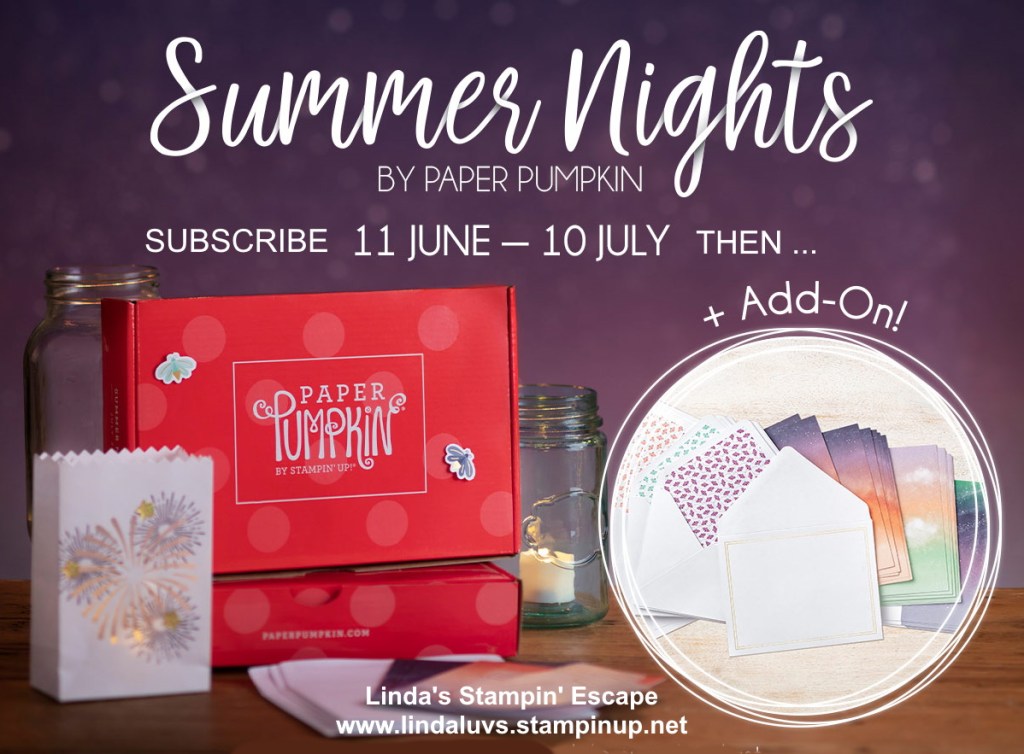
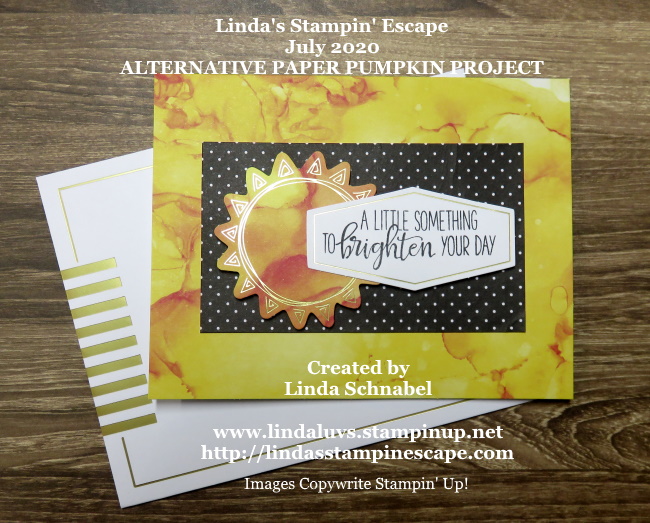
I’m excited to share today’s card with you. It is my alternative to this months; June 2020 Paper Pumpkin… too cute! Nothing like getting home from a “frazzling” day at work to see a box of fun in your mailbox! And so bright and sunny ….

I made this little cutie for a friend to let them know I’m thinking about them. The base is pre-printed for you in a swirl of sunshine colors and coordinates with the sun … although the sun has a gold emboss as well.

My black & white background is actually a self-adhesive die cut rectangle I just stuck to my base. The sun was added on top with dimensionals included in my kit to brighten my friends day.

The greeting comes from the stamp set that is included in the Paper Pumpkin kit and is full of uplifting words. The gold edged banner is also included (well to be honest …. everything is included!) and was stamped with the Basic Black ink spot. Gold embossed envelopes … you guessed it … included 🙂

Not much else to say about creating this card, it was so easy to assemble. The kit does come with instructions but this card popped into my head the moment I opened my kit.

I thank you for stopping by today, and I invite you back tomorrow as I will show you how to recreate this card if you don’t have this months Paper Pumpkin kit. I have links below to subscribe for future kits.

Have a bright and sunny day ~

Here are some Paper Pumpkin subscription options ….

Technique Tuesday: Reverse Masking with a Twist!

Hello Stampin’ Friends ~

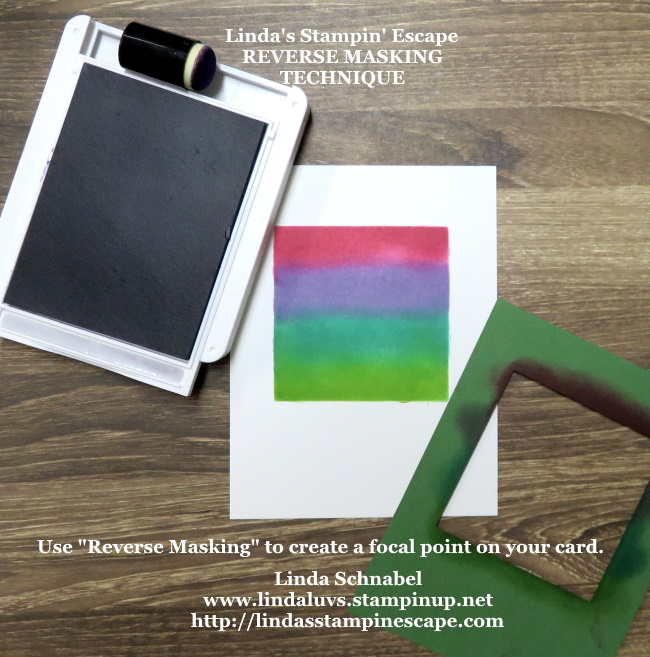
Today I have a cute card that highlights the Reverse Masking technique. Usually we use masking to cover an image so we can stamp over it to create depth on our cards … today, we will use “reverse masking” to create a focal point on our card.

I used the Layered Square dies to cut out a “mask” to begin my card. The mask is secured onto my card front and prepared to sponge color in the “space” ….

Once the mask is removed, you have a colorful focal point on your card front. You can do many things at this point and I’ll be showing some of those yet this week, but today ….

Our twist is to run it through your embossing machine. I used the Hammered Metal 3-D embossing folder … love the texture it adds to this card!

Now … with the crack of a handle we’re going to run the Well Written dies through the die cut machine to create our “friend” greeting and our hearts! Simple … Sweet … mount, Complete!

So with a simple reverse image, a little embossing and a die cut greeting, we have a cute card that was easy to make but will produce a big impact!

Thanks for hanging out with me today, stop back tomorrow and I’ll share another way you can decorate a this simple reverse image technique.

Have a great day ~

Here is a list of the ingredients used for today’s card … Click on any item for more information or to begin shopping. Thank you!

Simply Sunday: A Seaside View

Hello Stampin’ Friends,

It’s been a crazy weekend so far, not sure what happened to my post yesterday but it never “posted” … so today, I’ll share both cards with you. Yesterday I was going to share my version of a fun “summer night” … but I’m going to start out with my Simply Sunday card share.

Today’s card is not only simple to create but brings you back to simpler times on a warm sunny day …

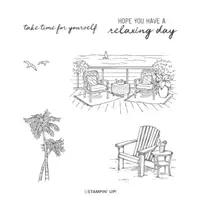
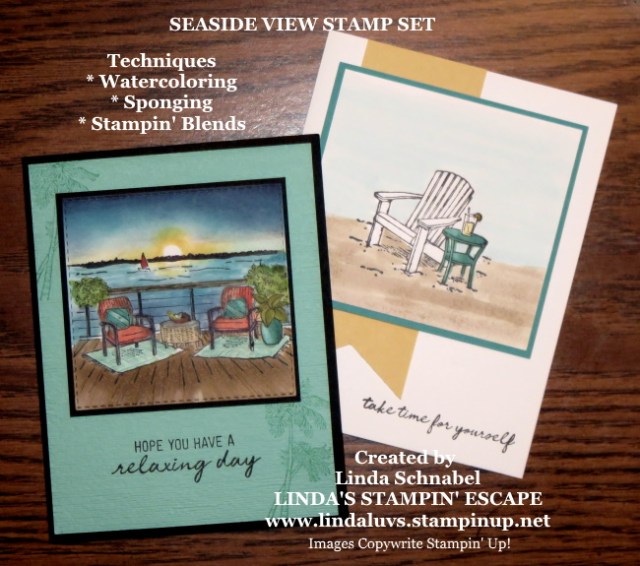
I used the Seaside view stamp set for both my cards today. I used the “watercoloring” technique for my card … it’s quick and easy and the sublte color is perfect for this card. Can’t you image yourself relaxing in the chair with a cool lemonade?

My grandma and grandpa had white adirondack chairs, so mine had to be white … memories! So I got my pop of colors come from the Bermuda Bay table and the lemonade … thus the So Saffron banner!

Yesterday’s card is a bit more detailed!! I applied the sponging technique along with the Stampin’ Blends Alcohol markers. It’s my vision of the perfect summer night …

I stamped my image with the Black Momento ink and then added the black horizon line. Then I used a Rhinestone for my sun … and sponged Daffodil Delight around it (then pulled it back off) I also used Calypso Coral, Bermuda Bay and Night of Navy for my sky and water. I then highlighted the water with the Markers.

The plants, chairs and deck were all done with the Stampin’ Blends markers. Oh yes, and a touch of Real Red for the sail on the boat!

I hope you enjoyed today’s cards and this delightful stamp set. With a few fun techniques you can take this set from simple to spectacular … and everything in between.

Thank you for stopping back again today. I’d love to hear your thoughts on today’s cards.

Happy Sunday!

Here are the items I used to create today’s cards … Click on any image for more information on the product or to begin shopping from my online store.

2020-22 In Color Samples

Hello Stampin’ Friends ~

Can’t believe it’s Wednesday already!! A couple weeks ago I shared some samples using the 2020-22 In Colors: Bumblebee, Cinnamon Cider, Just Jade and Misty Moonlight, and Magenta Madness.

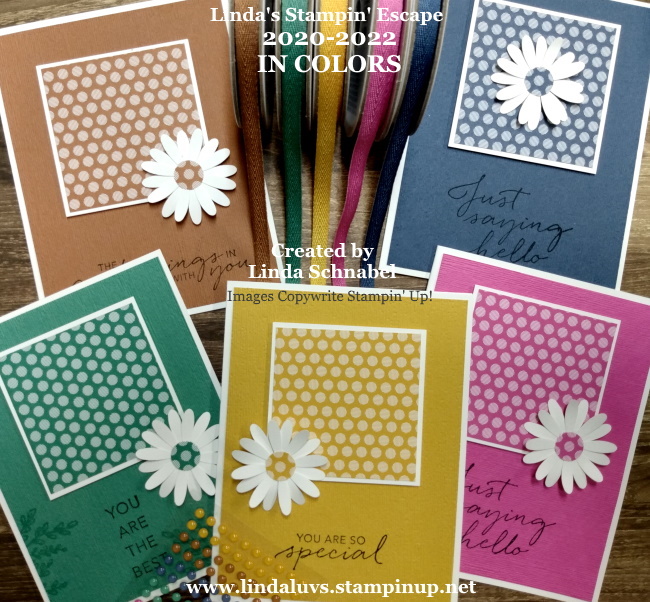
Today I have more cute In Color card samples with a closer look at how the designer paper looks on the cards.  First, here are my cards …

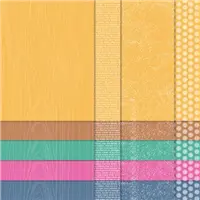
The cards feature one 2-1/2″ x 2-1/2″ piece of pattern paper from the 2020-22 In Colors Designer Series paper. I made all of the samples using the Designer paper with the “dots” and teamed it with different sentiments from the New “Tasteful Touches” stamp set. View that blog post here

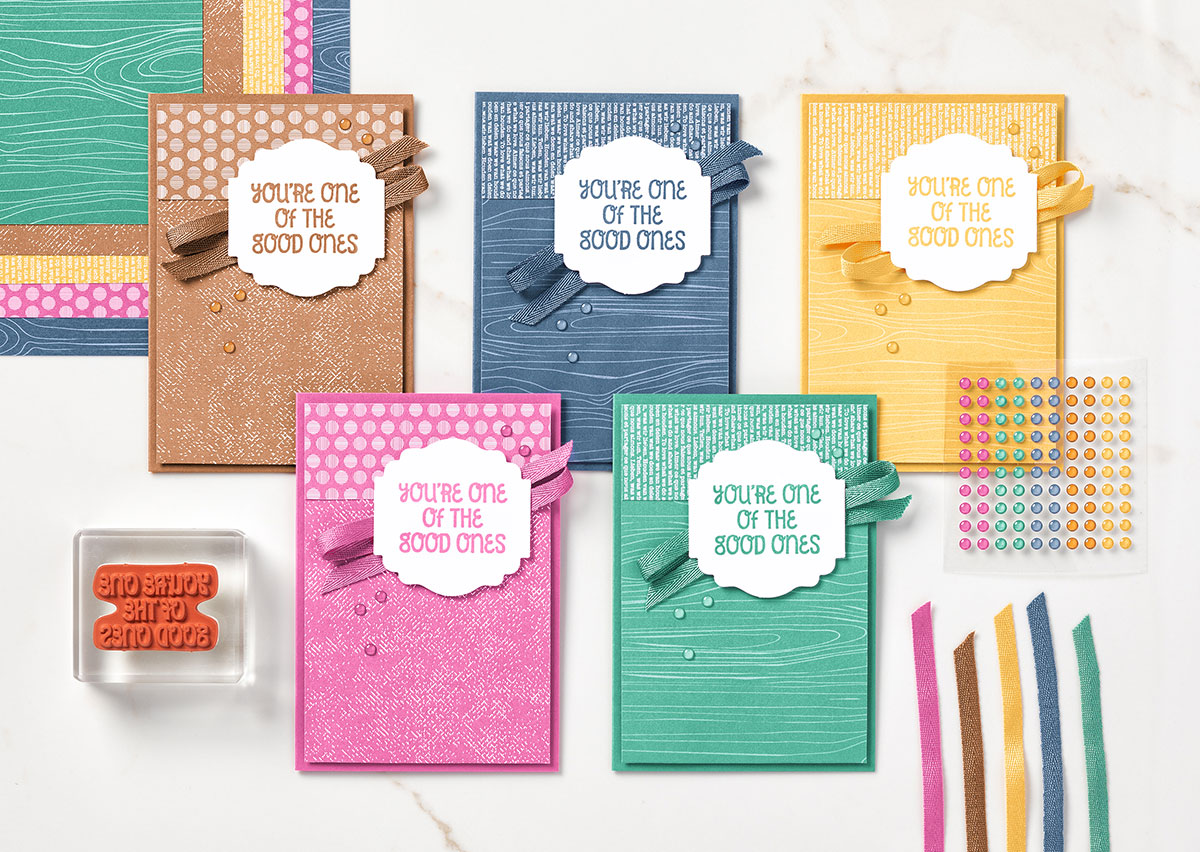
Here are today’s featured card samples … All patterns from the In Color Designer paper have been used.

These samples highlight all things In Color … don’t you love it!!  You can see the different patterns from the In Color Designer paper.  I like how the pattern with the “words” were used vertically instead of horizontally.

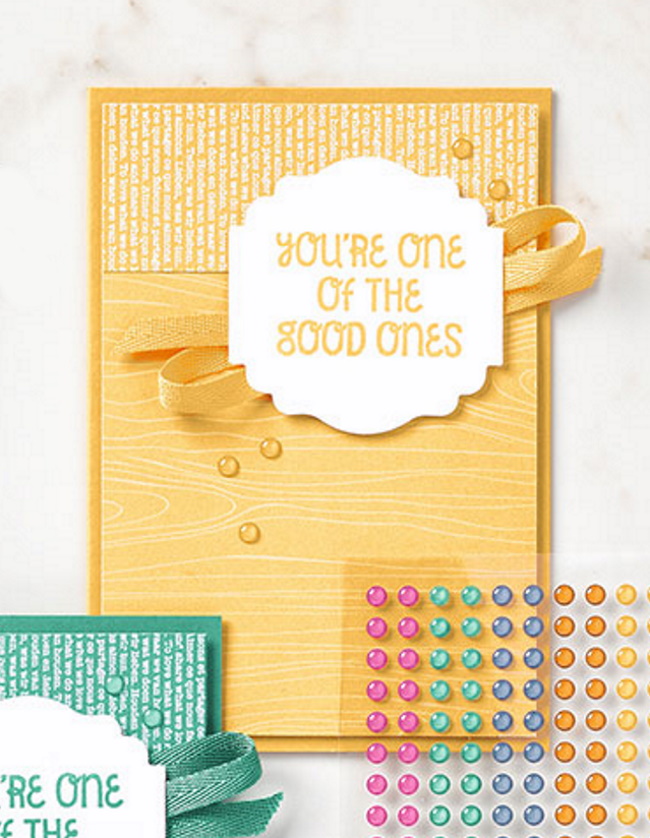
This is such a cute way to use your ribbon … it is simply draped back and forth behind the greeting. I use a touch of glue behind there because it really holds it in place … I’ve seen others use scotch tape.

I am amazed at the color coordination and how well the colors match!! It’s one of the reasons I did the close up … so you could see how spot on the color coordination is.

Thank you for taking time out of your day to join me. I’ll meet you back here tomorrow.

Stampin’ Supply List …

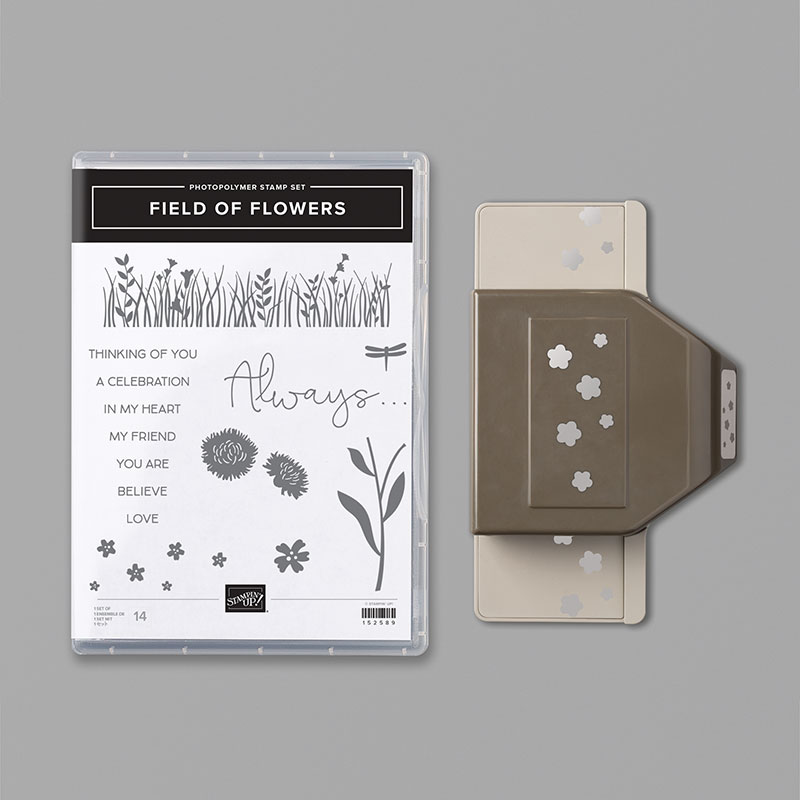
Field of Flowers: Stepped Up!

Hello Stampin’ Friends,

Sunday I shared a card with the Field of Flowers bundle and promised to share a “stepped up” version, so today I’d like to share a few tips & techniques you can used to step it up a bit! Here is Sunday’s card ….

The heartfelt greetings and beautiful images of meadows, flowers and a dragonfly allow you to express your feelings of friendship & love. It’s fun to pair with the Confetti Punch to create layered images of blossoms.

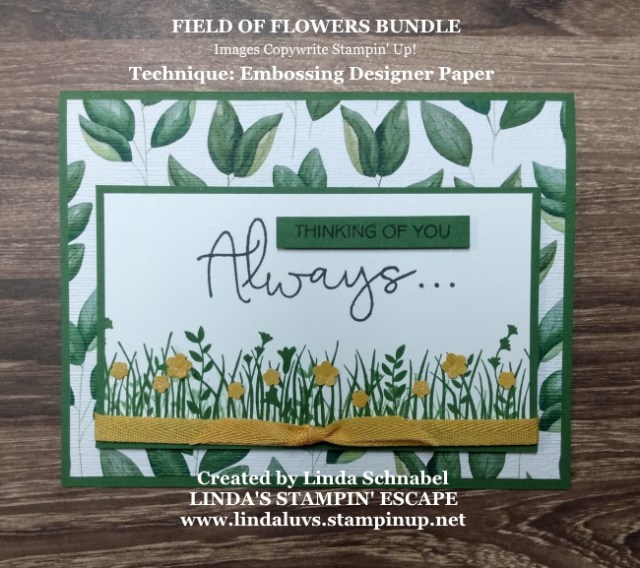
Today’s card is layered and I borrowed a sheet of the designer paper from the Forever Fern suite to begin. I added dimension in my greeting by stamping the “Thinking of you” on the Garden Green cardstock this time.

I wanted to change up the look of the designer paper, so I ran it through my embossing machine using the Subtle Embossing Folder … stunning!! It adds a subtle texture which really changed the look of the background … try it!

My card front is now smaller and the focal point on the card. I switched out the Daffodil Delight for the new In Color Bumblebee which gave me the opportunity to add the delightful ribbon that coordinates so nicely. No need to add rhinestones today … I did not want to detract from the overall look of the card.

If you look closely … you will see a “double layer” of stamping on the greens, this added depth and a slight change of color, even though I’m still using the Garden Green … I just didn’t re-ink my stamp. And “no” dragonflies on this card either.

It’s amazing what a little “steppin’ it up” can do for your card. Both are pretty … It all comes down to “your style of stamping”. Isn’t that beautiful?

Thank you so much for stopping back to visit with me today. Join me tomorrow as I share another look at all the new In Colors.

Have a beautiful day ~

Here is a list of the supplies I used to create this card. You can click on any image for more information, or to begin shopping. It will take you to my On-line store.

Simply Sunday: Field of Flowers

Hello Stampin’ Friends,

Yesterday I shared a card that featured the Field of Flowers stamp set, so today on this “Simple Sunday” … I’d like to share a card that I created featuring the Field of Flowers bundle.

You can celebrate love and friendship with the heartfelt greetings and beautiful images of meadows, flowers and a dragonfly. It’s fun to pair with the Confetti Punch to create layered images of blossoms.

The Confetti Flowers Border Punch, punches out flowers in six different sizes … and you can turn them into easy embellishments by layering them onto your stamped image like I did below …

The larger flowers I attached with “rolled up” Glue dots, and the rest I used the Multipurpose Glue … the centers were touched with a marker to add some color and then a dot of the Shimmery Crystal Effects was added. The larger flowers got rhinestones.

I stamped the greeting front and center in Garden Green to coordinate with my greenery and my card base. The Dragonflies were stamped around the greeting in Pretty Peacock and bedazzled with the Shimmery Crystal Effects on the body and Wink of Stella on the wings.

Thank you so much for taking a stroll through the flowers with me today. Join me tomorrow as I will “step up” my Field of Flowers card.

Have a beautiful Sunday 🙂

Here is a list of the supplies I used to create this card. You can click on any image for more information, or to begin shopping. It will take you to my On-line store.

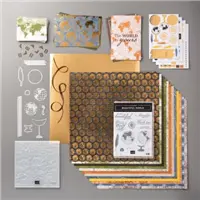
My Favorite: World of Good Suite

Hello Stampin’ Friends,

Yesterday I posted a video with 4 New Product Suites, and asked what “Your” favorite was, and what you thought “My” favorite would be … well Lynne, you were correct! My favorite new suite is the “World of Good”, fitting for what this world is going through right now.

This enchanting suite is full of inspirational sentiments for your graduates, dear friends and travel adventures … right up my alley!! How about you?

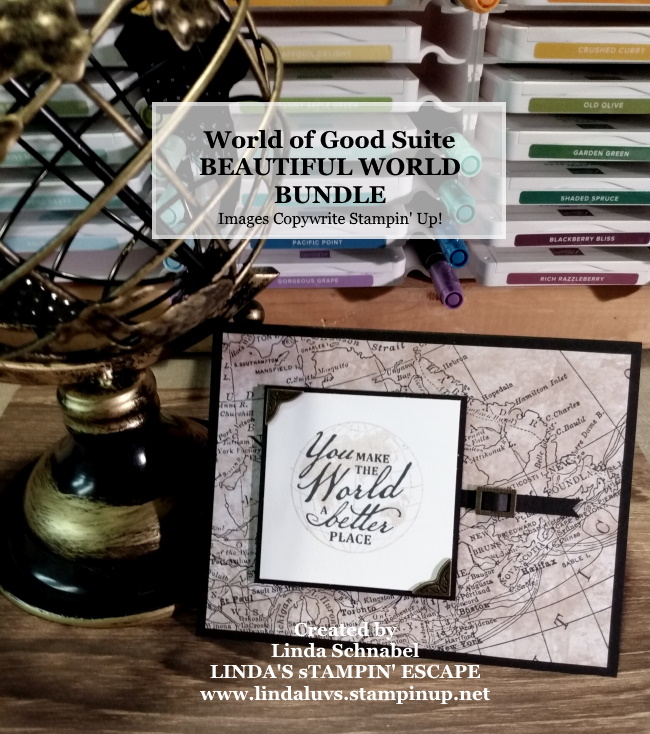
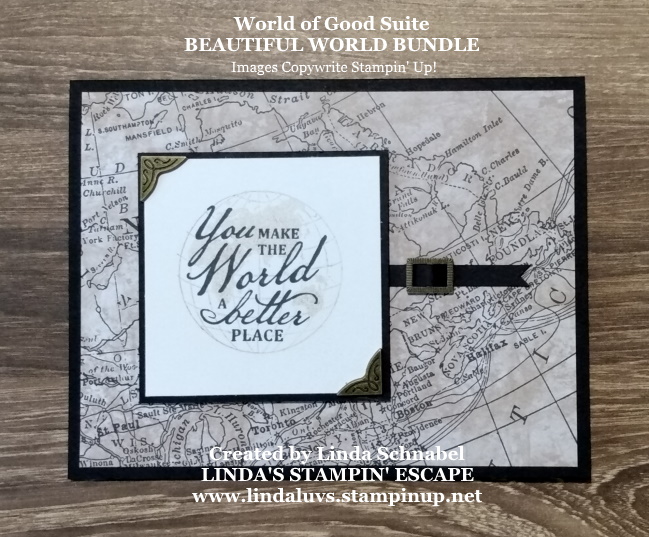
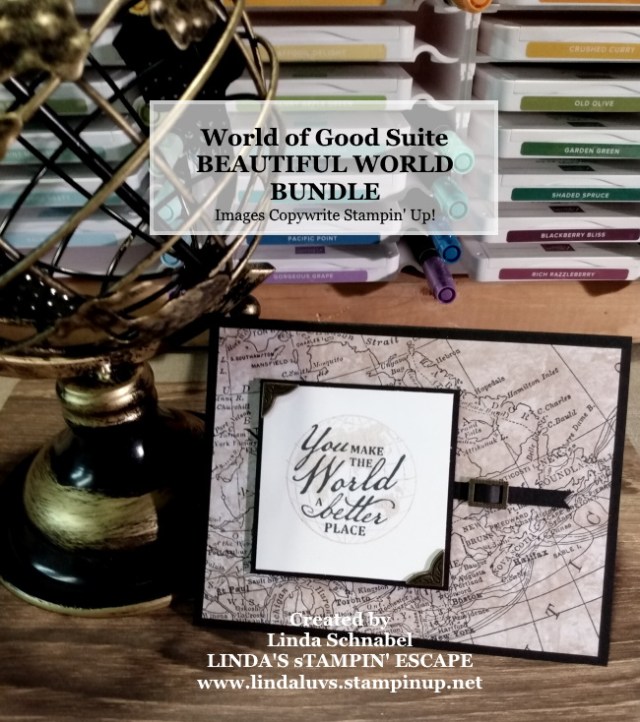
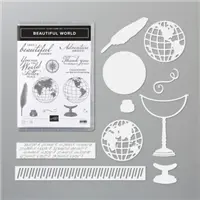
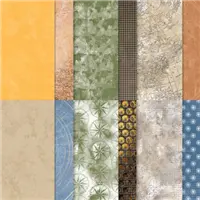
On today’s card I featured the impressive World of Good Specialty Designer Series paper as my backdrop to my hand stamped sentiment. I stamped off on the “world” stamp so the sentiment would become the focal point.

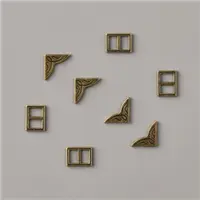
Once stamped, I matted my sentiment with Basic Black to coordinate with my base and then added the Antique Corners. I wanted to add a “slider” too so I slipped a piece of cardstock through and cut a banner end.

I think using the Antique Corners & Sliders gave the card a “memories” feel … and when you are telling your friend that they make the world a better place, I think you’ve got some “history” together ❤

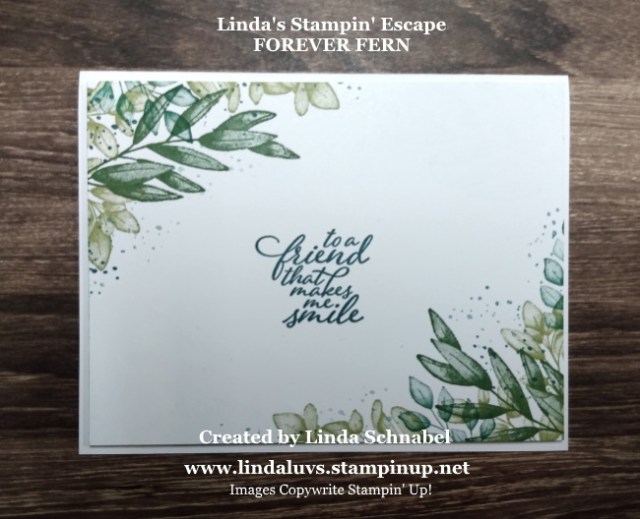
Lynne told us that her favorite suite is the Forever Fern … also a great suite. The designer paper is stunning and well, greenery can be used anywhere and for any occasion! Here is the very first card I made with that suite …

You are sure to see a lot more cards featuring both of these amazing new product suites. I’m still interested to hear from more of you and what you are lovin’ in the new catalog.

Thanks so much for joining me today, I’ve got some cool stuff to share with you tomorrow!!

Have a wonderful day ~

Here is today’s stamping supply list …

Gorgeous Posies: From Simple to Spectacular

Hello Stampin’ Friends ~

Today is an exciting day for more than one reason … not only is the New 2020-21 Annual Catalog going LIVE, but I have a beautiful card share with you today. Yesterday I showed you two different layouts for your card … the first was quite simple, and the second was more layered. So …

How can you take a project from simple to stepped up? It’s as easy as adding an embellishment here and a technique there. This card share comes direct from the home office, and the cute stamp set Gorgeous Posies found on page 8 of your new catalog. Let’s see what this stamp set can do …

  • Simple (Sample on Left). We are back to basics with our stamps, ink, and paper. There is still a little layering with the card front added to the base, and the greeting stamped and added as well.


  • A bit stepped up (Middle sample). Add a Crumb Cake base, and add layers using cut out flower and leaves.  Add some Flowers for Every Season Gems, and Rococo Rose 1/2″ (1.3 cm) Scalloped Linen Ribbon for texture.  Then spatter the background using a Water Painter and ink adds some beautiful dimension to the card.


  • Really stepped up (Sample on Right). Create a dramatic background with the Scripty 3D Embossing Folder and sponging a touch of color onto it. Cut all the stamped flowers and greenery to create some beautiful layering.  Swap the ribbon for Forever Greenery Trim. Finish off your card with some Flowers for Every Season Gems.

Amazing how some subtle changes or a fun technique can change up your cards.  They are all pretty but what’s your stamping level … which card do you prefer. Honestly … I see myself doing all three, just depends on the occasion!

Thank you for joining me today … Let me know if you need a catalog! If you have yours already, let me know what you want to see!!  I’m putting an order in today … at 1pm central time when the catalog goes live.

Have a wonderful day ~


Two 4 Tuesday … Tasteful Touches

Hello Stampin’ Friends ~

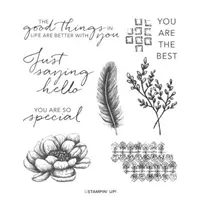
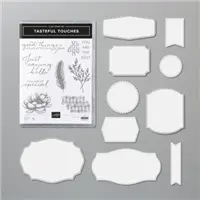
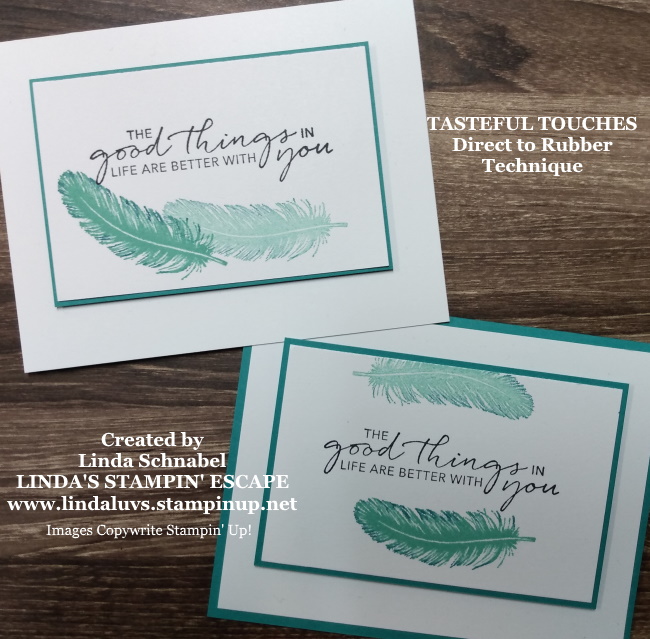
On Sunday I shared the 5 New In Colors with you, which I teamed up with the Tasteful Touches stamp set.  So today I’d like to show you a peek of the Tasteful Touches stamp set.  It is a stamp set filled with fun textural elements you can use on your cards or scrapbooking.

I used the feather from the stamp set and couldn’t decide how I wanted to stamp them, so I made two cards.  I also used a simple technique called Direct to Rubber to enhance my feather.  My color pallet is Bermuda Bay and Whisper White … with a hint of Pacific Point. The greeting is stamped with Momento Ink. Here is the first …

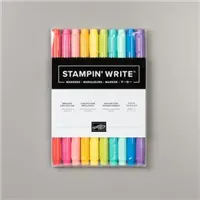
On the first card here, I inked up my feather stamp with Bermuda Bay ink and then used my marker … brush tip, and edges my feather with the Pacific Point Stampin’ Write Marker. This creates a soft, two-tone effect. I stamped it first in the lower left hand corner, then with a “huff” moistened the stamp with my breath and stamped the second image in the lower center.  The sentiment was stamped right in the middle.

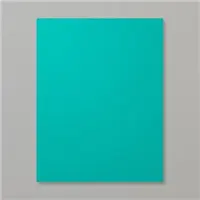
I matted the stamped piece with Bermuda Bay with an 1/8″ border and using Stampin’ Dimensionals, attached it to the Whisper White base.

The second card / layout …

The feather is inked the same way as the first card but this one is stamped above and below the greeting / sentiment. This mat has a 1/4″ edge around it and then mounted onto a piece of 4″ x 5-1/4″ Whisper White and then mounted onto a Bermuda Bay base.

My question for you is … Which layout do you like better.  Do you like the feathers above and below the greeting, or both feathers gently falling under the greeting.

As you can see, I could not decide which way I liked the feather placement.  I would love to know what you think, which way you prefer … just jot a little note below in the comment section.

One thing for sure … I like the way “tipping” the edge of the feather with the marker (direct to rubber) looks. The two tone feather looks great.

Thanks for stopping back today to check out my blog and please feel free to share your thoughts below.

Today’s Stampin’ Supply List … The Tasteful Touches will be available at 1pm Central Time on Wednesday, June 3rd.


Simply Sunday … A Splash of Color: Our 2020-2022 In Colors

Hello Stampin’ Friends ~

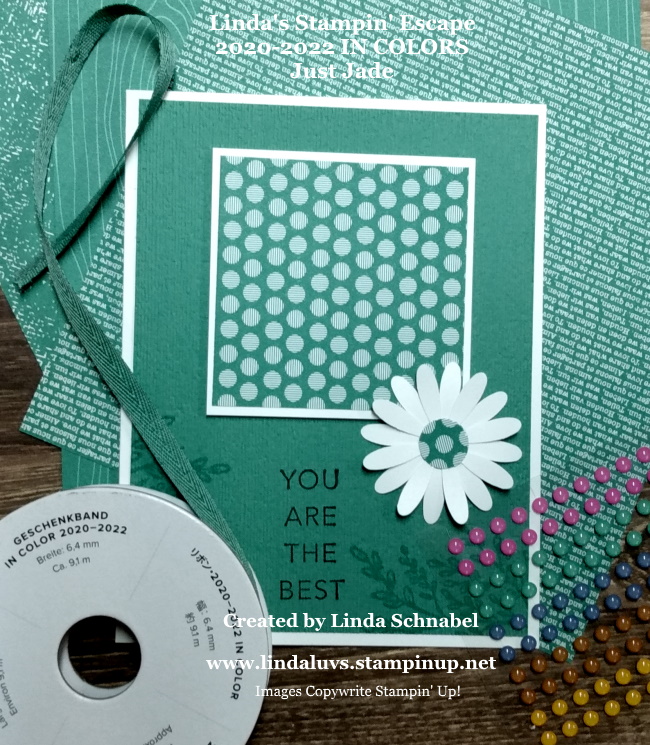
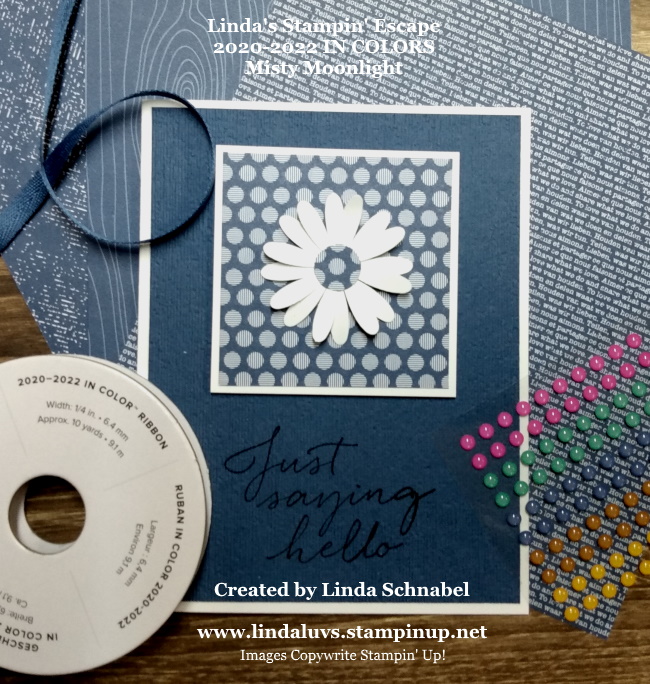
Hope you are enjoying this beautiful weekend, and thanks for stopping by! Yesterday I shared the new 2020-22 In Color; Magenta Madness! Today I have samples made using the rest of the 2020-22 In Colors: Bumblebee, Cinnamon Cider, Just Jade and Misty Moonlight.

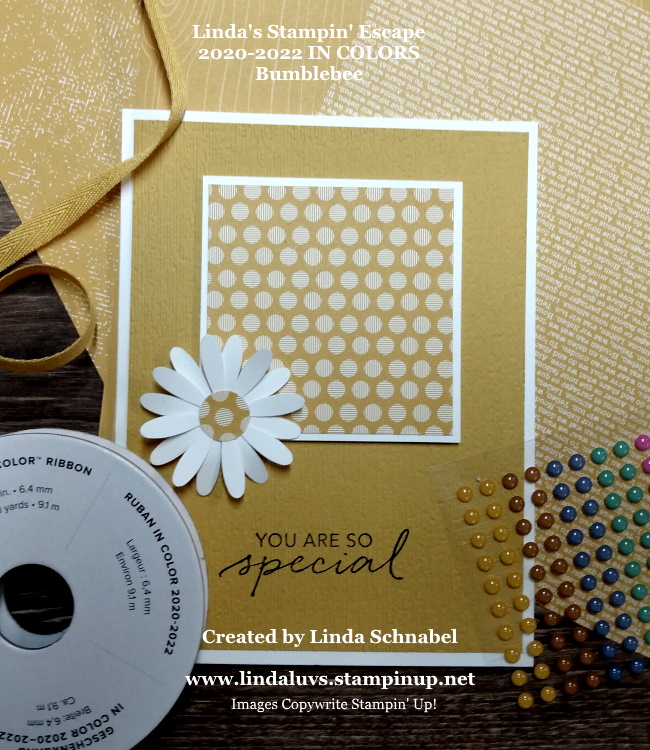
The card features one 2-1/2″ x 2-1/2″ piece of pattern paper from the 2020-22 In Colors Designer Series paper.  The photo shows the other patterns along with the ribbon and the enamel dots.

I made all of the samples using the 2020-22 In Color Designer paper with the “dots” and teamed it with different sentiments from the New “Tasteful Touches” stamp set.  Let me introduce you to “Bumblebee” …

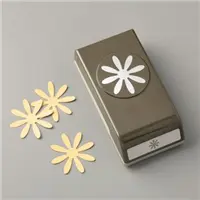
Just like yesterday … I embossed it with the “Subtle” embossing folder and punched two daisies out of Whisper White with the “Medium Daisy” punch.

If you like warm earth tone, you will fall in love with the new Cinnamon Cider ….

These cards are cute and easy for you to recreate and with the different sentiments, you can’t go wrong.  You can also save by buying your cardstock in the “assortment” instead of purchasing each of the color packages.

The next color, Just Jade is a beautiful “jewel” tone …

Each color to me … is a reflection of nature, which is why the jewel tones go so well with the earth tones, they have all been created by nature.

Finally comes Misty Moonlight ….

I have still not picked out a favorite, they are all beautiful and they go together so well.  They are also compatible with many, many of our current colors.  I will be sharing some combinations in future postings.

Which one is “your” favorite?

Thanks again for taking time out of your day to join me.

Stampin’ Supply List …


Something Old … Something New: Magenta Madness

Hello Stampin’ Friends ~

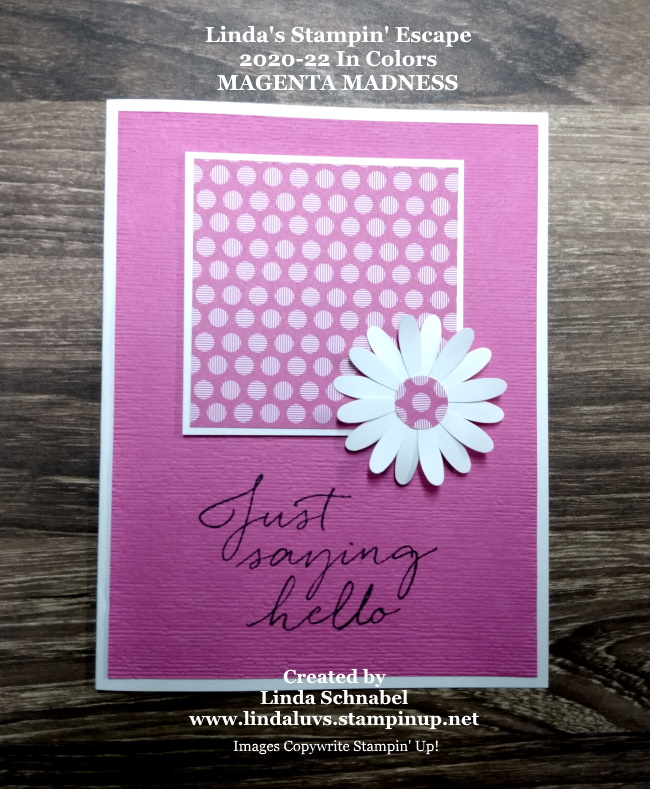
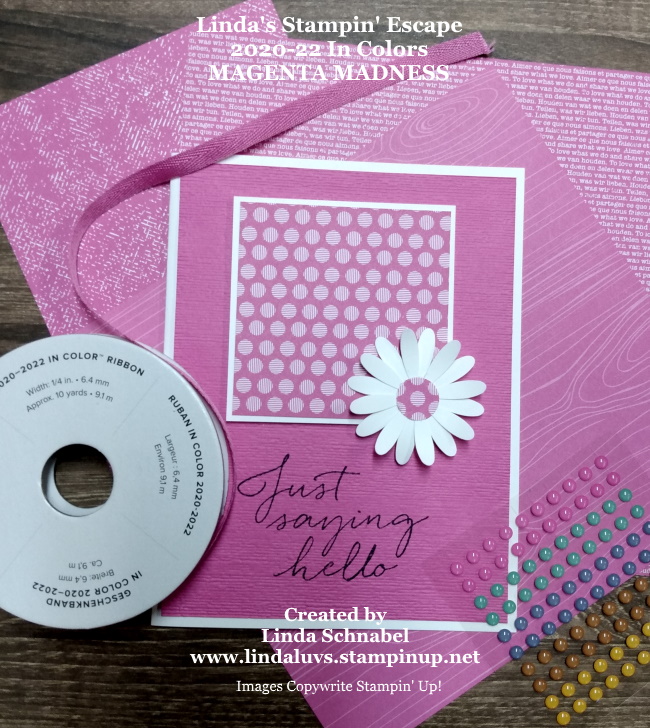
Today I’d like to share one of the new 2020-22 In Colors: Magenta Madness! Such a pretty bright pink color … just makes you happy! With the new catalog going live in just days (June 3rd) I wanted to share some new, mixed with some old.  With a new catalog, we don’t want to forget about those wonderful products that have been our “go to’s” … they will work together splendidly!!

Check this out …

The card features one 2-1/2″ x 2-1/2″ piece of pattern paper from the 2020-22 In Colors Designer Series paper.  The photo shows the other patterns along with the ribbon and the enamel dots.

I started with a Whisper White card base.  I choose the 2020-22 In Color Designer paper with the “dots” on it as my focal point. The front of the card; which is Magenta Madness was stamped with a greeting from the New “Tasteful Touches” stamp set.

Once I had stamped the cardstock … I embossed it with the “Subtle” embossing folder. It adds a soft texture to the card. Then I punched two daisies out of Whisper White with the “Medium Daisy” punch … both of these items can be found in the current catalog and will be available to use with all your new goodies.

With a little adhesive and a few Stampin’ Dimensionals our card is completed. Cute and easy for you to recreate. Let me know if you have any questions of the new products, or if you need a new catalog or are looking for a demonstrator.

My focus is to help you create beautiful, simple cards and teach you some fun stamping tips.

Thanks for joining me today.

Stampin’ Supply List …


Watercoloring with Pigment Sprinkles

Hello Stampin’ Friends ~

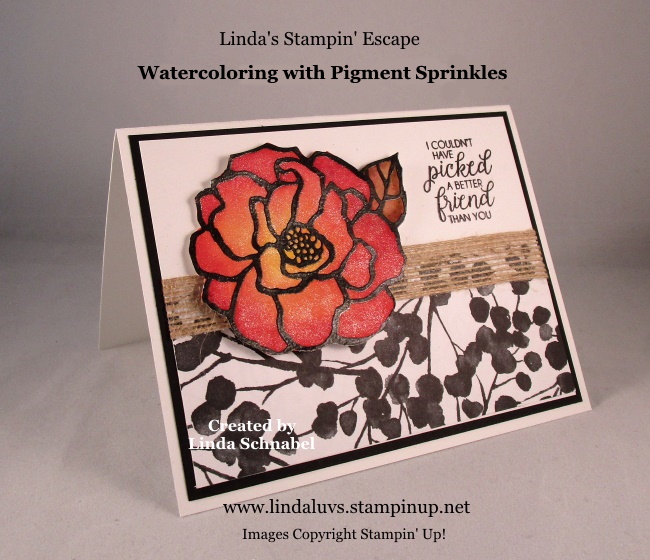
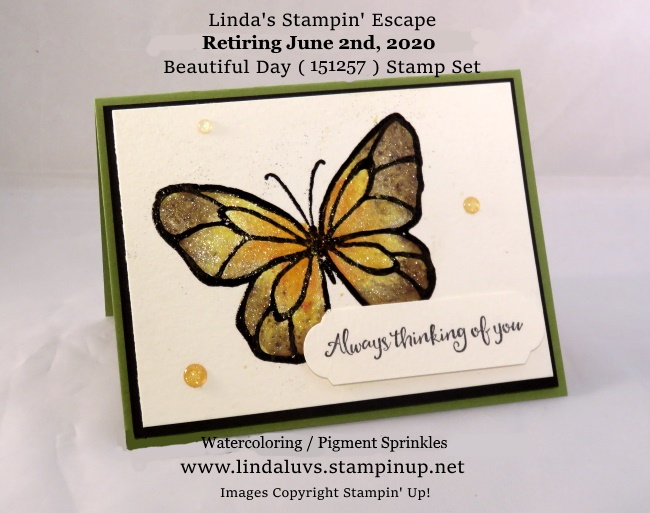
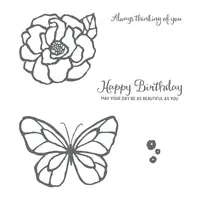
Today I’ve got 3 cards I’d like to share with you that highlights watercoloring with Pigment Sprinkles and the alluring “Beautiful Day” stamp set. Both are slated for retirement and will be gone after June 2nd.

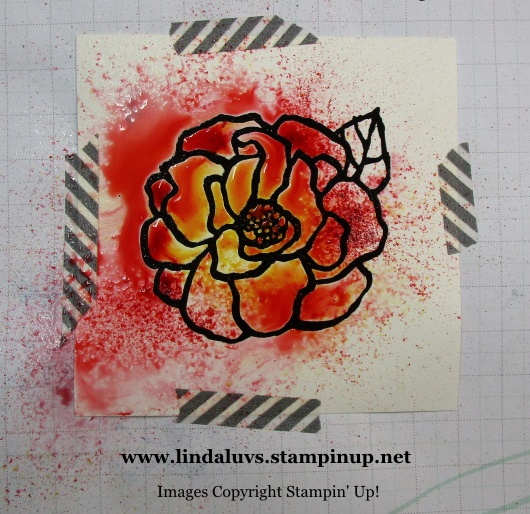
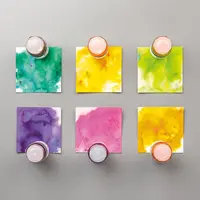
Water coloring is so easy … just sprinkle and spritz!!  I do use the AquaPainters to help move some of the water around. You will want to begin with our watercolor paper … I like to secure it with some washi tape.  The washi tape will hold it down after you spritz with water.

I believe in … “Less is More”, start out light with both your Pigment Sprinkles and then with the water. You can always add more but it’s a little harder to take away. However … if you have to “take away” and pull off some of that water – grab some paper towels, they soak up nicely.

Check out our first sample with our flower …

Our flower was cut out and mounted onto some designer paper in black and white, this really makes the flower pop.

Using the sample layout …

Even when you bring in some color, the flower still pops.  By embossing the background with the Layered Leaves (also retiring) you add some texture that compliments the flower.

I have one more sample for you … this one highlights the pretty butterfly from the set.

After this one dried, I added the Wink of Stella and some glitter dots to add a little sparkle … so pretty.  I wish I could have found the purple one, also …. very pretty.

This is such a fun and easy technique and you can experiment with colors and really create an amazing butterfly or flower.

Thanks so much for stopping by today, hope I sparked some interest in trying your hand at watercoloring. Save some time to enjoy this upcoming weekend, it’s supposed to be wonderful outside.

Have a great day ~

Today’s Stampin’ Supplies …


Sharing Sunshine Card Share …

Hello Stampin’ Friends ~

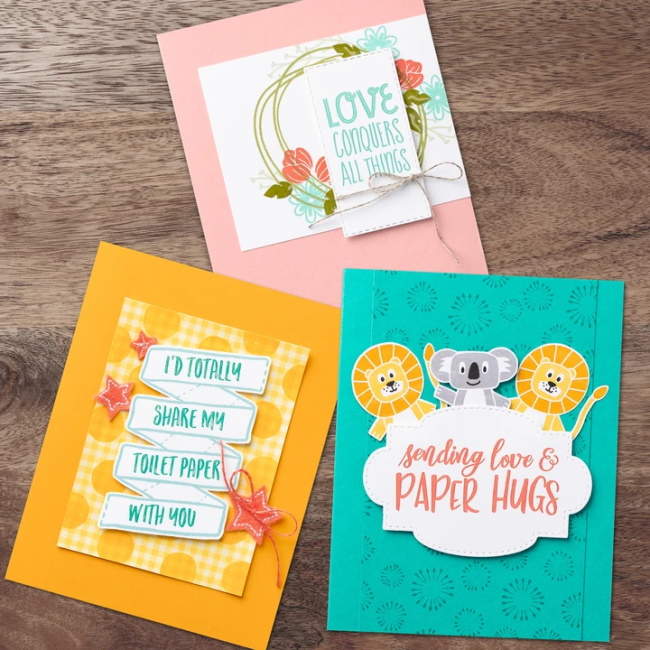
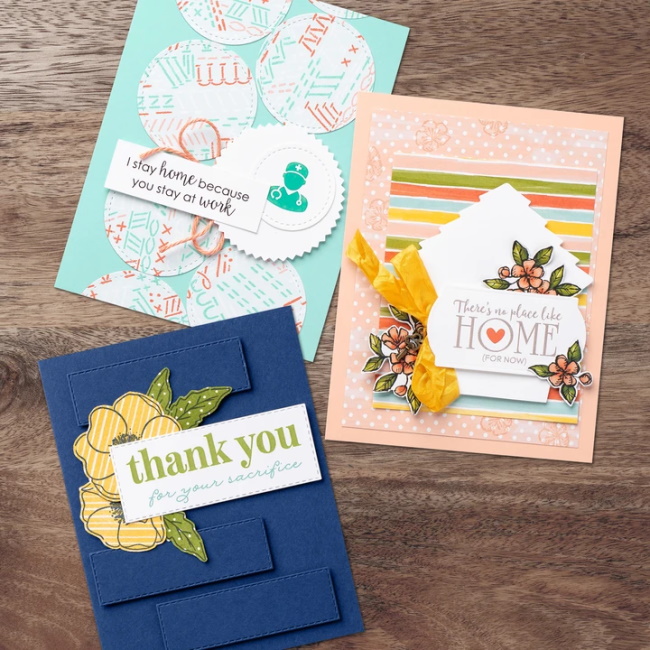
Today I’d like to share a NEW product that was designed for this unprecedented time we are all going through … ALL of us – Worldwide.  Stampin’ Up! has designed something special to help us say how we’re feeling … with heartfelt sentiments and a some lighthearted sayings. Check out the great samples using the “Share Sunshine” imagery. Best thing … it’s downloadable so you’ll have it in your creative hands in just minutes! HOWEVER … It’s Only Available Until June 2nd!!

Stampin’ Up! is committed to making a difference in our global communities and caring about people first. As part of our Making a Difference program they’re offering a product giveback opportunity to support organizations that are helping COVID-19 frontline responders and communities vulnerable to the pandemic.

You can purchase the “Share Sunshine” PDF Download and Stampin’ Up! will donate 100% of the proceeds to COVID-19 efforts.  CLICK HERE TO PURCHASE

This digital stamp set is packed with both lighthearted and heartfelt sentiments and imagery relevant to the unique COVID-19 and social distancing situation we’re currently experiencing–including many ideas that came from fellow demonstrators and you … our customers.  It’s amazing how many discussions have centered around … toilet paper!!

You can use the download in your cardmaking and papercrafting projects. Simply print the imagery on cardstock and cut it out using our Paper Trimmer, punches, or dies. Since we are physically distanced from each other, now is a perfect time to share sunshine with our friends and family by sending cards!

As part of Stampin’ Up!’s Making a Difference program, 100% of the Share Sunshine PDF Download proceeds will go to COVID-19 efforts through these organizations:

  • The World Health Organization’s COVID-Solidarity Response Fund
  • United Way Worldwide’s COVID-19 Community Response and Recovery Fund

Help us make a difference today! Purchase your copy here
Thank you for joining me today, and thank you for helping one of these organizations, as you can specify your preferred charity!

Have an awesome day ~

My Holiday Favorites …

Hello Stampin’ Friends,

On Saturday I shared over 30 cards and 3-D projects of some of my favorite retiring items, and as we enter the last stretch I thought it would be fun to share my Christmas fav’s …. I’ve got over 20 samples, they wouldn’t fit onto Saturday’s post.

Most of my avid customers already have most of these stamp sets and dies or punches, they are fun to create with and are so very versatile.

Let’s start out with the DASHING DEER …

Dashing Deer brings the serenity on nature into this Christmas set yet can be made quite sophisticated.

Introducing Winter Wood …. I used these a lot together (Dashing Deer & Winter Woods) Again, you will see elegance intertwined with nature … pure beauty.


My next pick is the MAKING CHRISTMAS BRIGHT …. These two are fun and whimsical and sure to brighten up anyone’s holiday.


The last I’ll be sharing is MERRY CHRISTMAS TO ALL … This is the perfect stamp set and coordinating dies if you are looking for greetings and sentiments.

A women of few words today, but I think the card samples and products speak for themselves. I have enjoyed using these for the past couple of years …

If you would like to purchase any of these items, I have them listed below.  If you would like help, please let me know by contacting me 262-334-1009, or lindaluvs2stamp@aol.com

Thank you for kickin’ back with me today while we strolled threw these card.

Have an awesome day ~

STAMPING SUPPLY LIST …