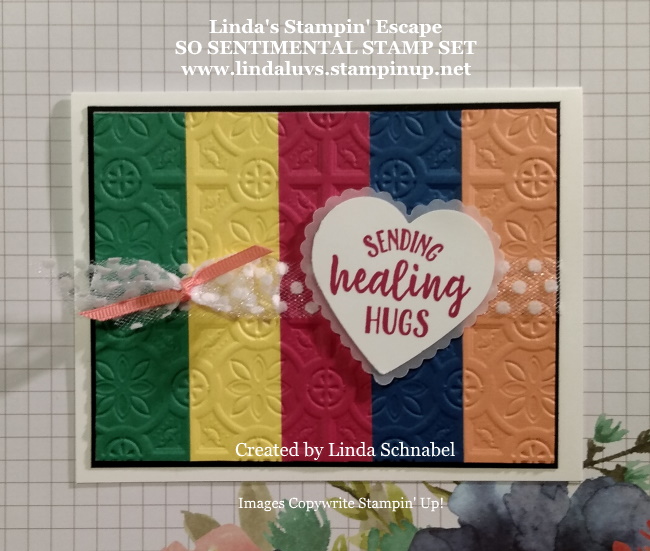
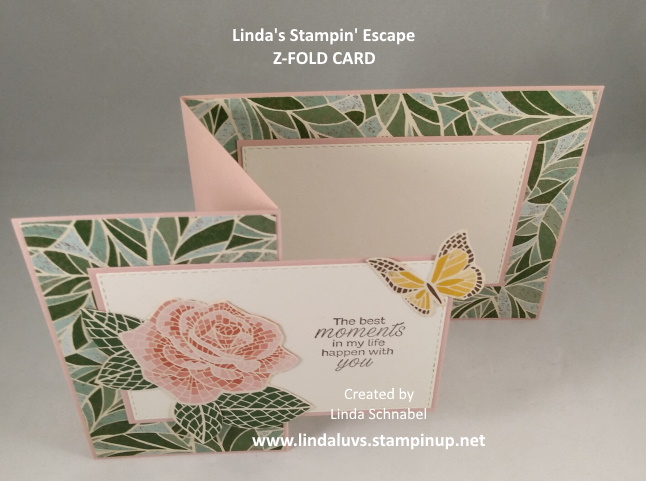
Hello Stampin’ Friends ~
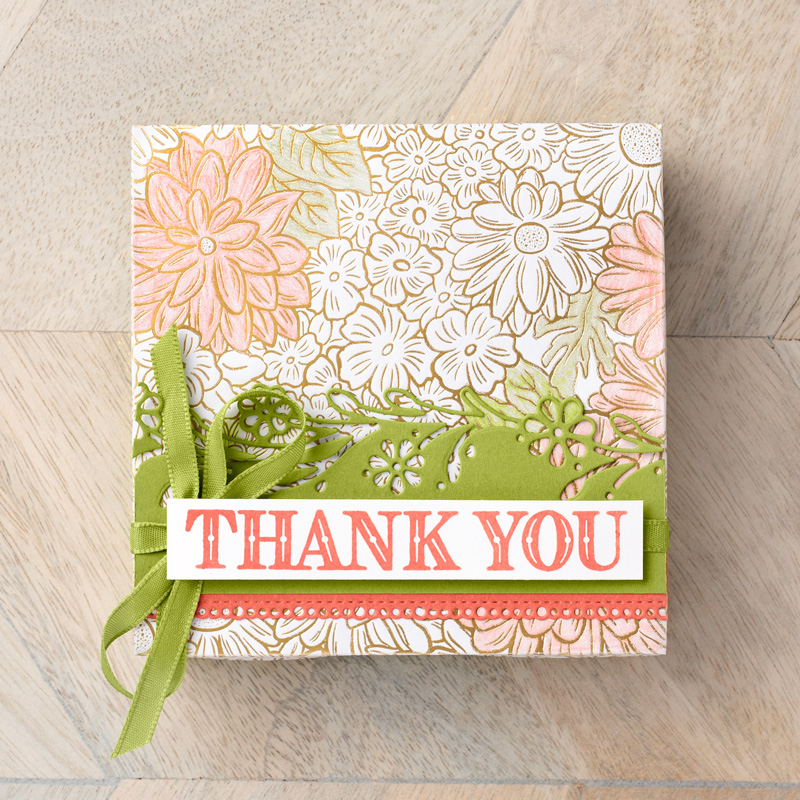
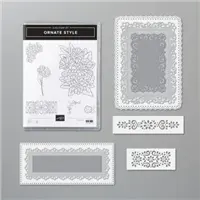
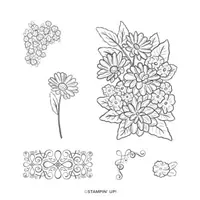
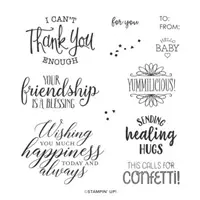
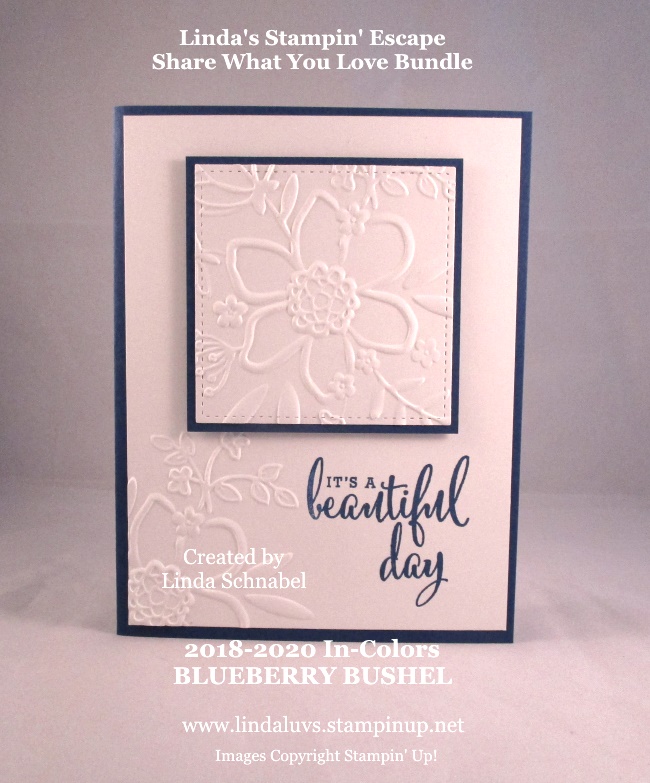
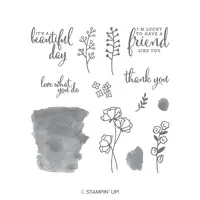
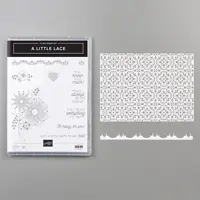
I am excited to be sharing this card with you today. This was one of the cards we were supposed to make at my Stamping Retreat last weekend. It was inspired by a card that I had found on Pinterest, with a neat twist of my own! I was sad to see this stamp set and die on the retirement list. For the next couple of days, I’ll be sharing cards using this amazing bundle.
My card looks similar to the original design (with a few changes) ….
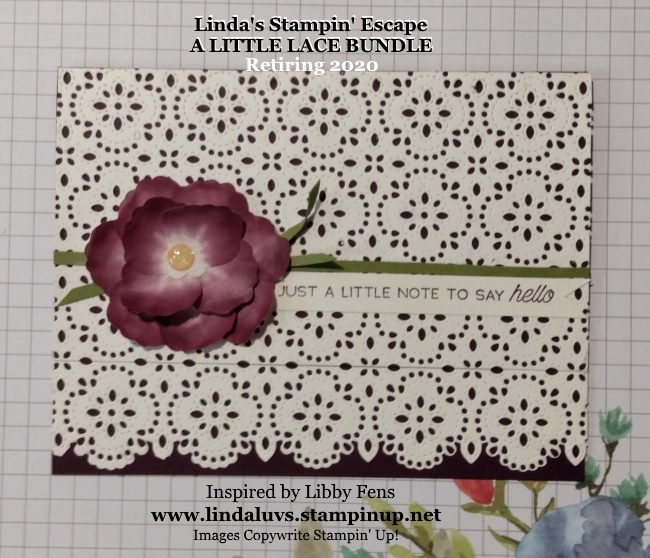
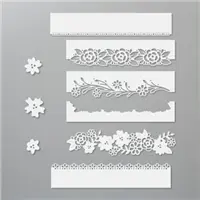
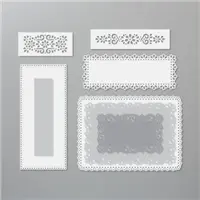
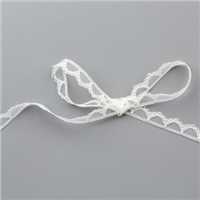
I began with the same Blackberry Bliss cardstock base as Libby used, followed by die cutting lace piece in Very Vanilla. ** When you are die cutting with this large detailed die, I would suggest using wax paper and our Take Your Pick Tool with the coordinating Brush Tip for easy removal. And I cut it using a larger piece of cardstock 6 x 4-1/2 … that made it easier to trim. If you cut it to size right away … the edge die does not want to stay aligned on the tiny edge.
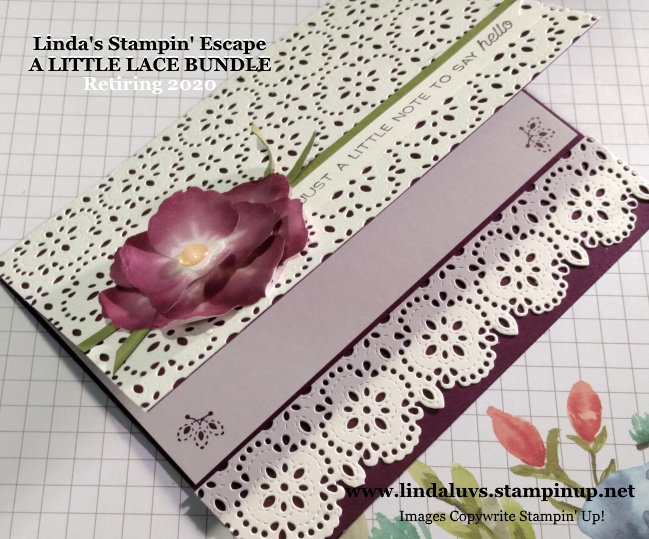
To attach the die cut lace piece … I used Tombo Liquid Glue, it allows you to align it with ease. After the glue has dried, I trimmed off the edges. Then I put JUST the card front into my paper cutter, aligning it with the dots on the lace, and then cut!! That pretty edge you cut off will be glued it to the inside of the card, making sure it aligned with the front piece. It aligns easy because you created it beforehand.
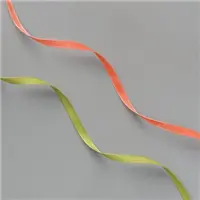
To complete the front, I used a scrap piece of Old Olive cardstock across the front in place of a ribbon, then I just added a few short ones in place of leaves … just a different look. The flower was created with the Pressed Petals Specialty Washi Tape. It’s soooo cool!! And topped it off with a glimmer dot I had laying around.
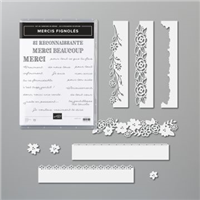
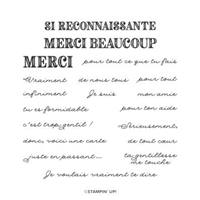
My inside was cut down to accommodate our decorative bottom piece… measures 5-5/8″ x 2-7/8″ (In other words … just shy of 5-1/2 x 3″) I stamped the cute little images from the A Little Lace stamp set in the corners … the greeting on the front also comes from this set/bundle. It’s pretty easy to make.
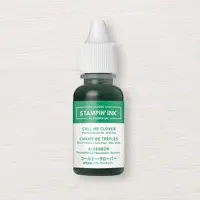
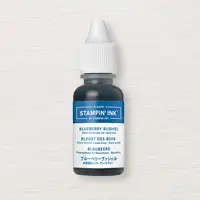
I hope you enjoyed today’s card, here are the ingredients I used ….


I will be showcasing retiring products and cards that I had intended to make at my Stamping Retreat. It’s a great combination!!
Enjoy this beautiful day, and I will see you tomorrow for my “Simply Sunday”.
Thanks for stopping by ~