Hello Stampin’ Friends ~
HAPPY NEW YEAR!!
I hope you enjoyed the holidays and I thank you for spending a part of your 2016 with me. I look forward to sharing more ideas, products and stampin’ tips with you in 2017. I have a great line up of classes and events for the new year as well.
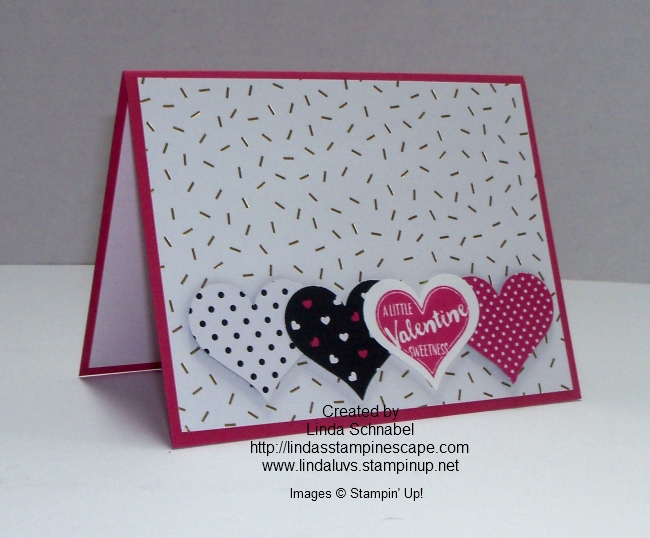
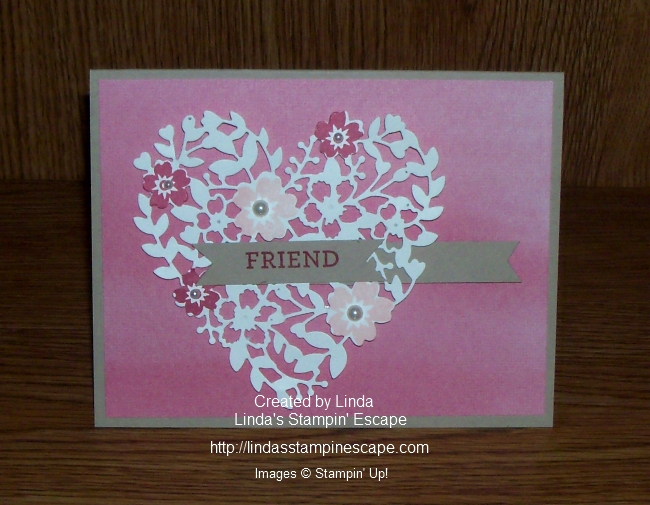
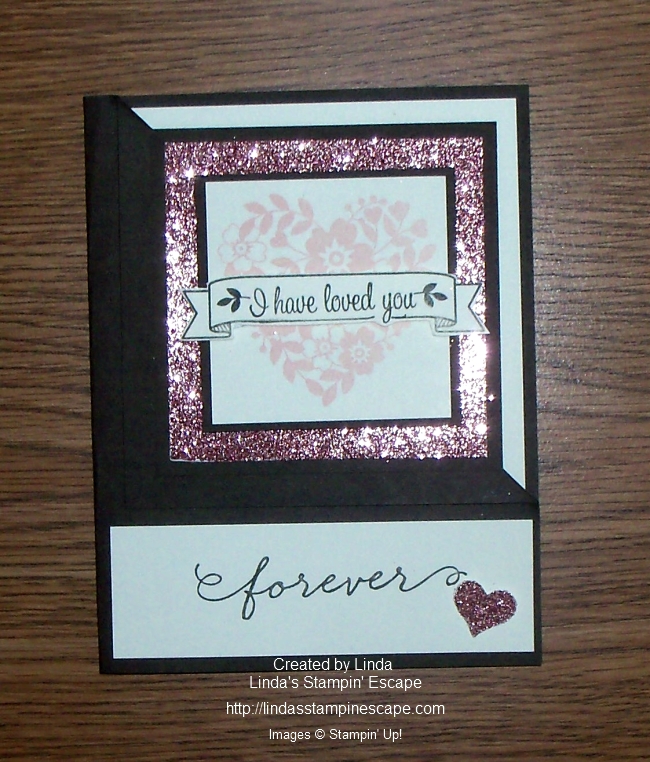
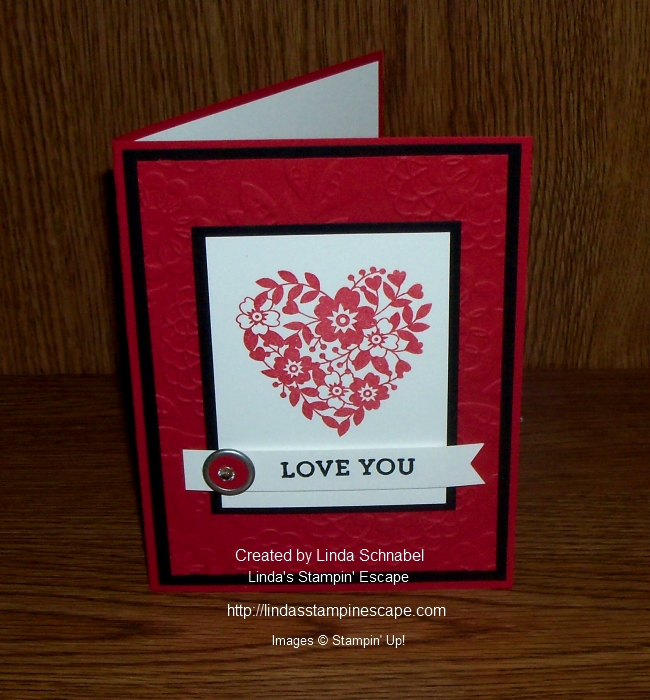
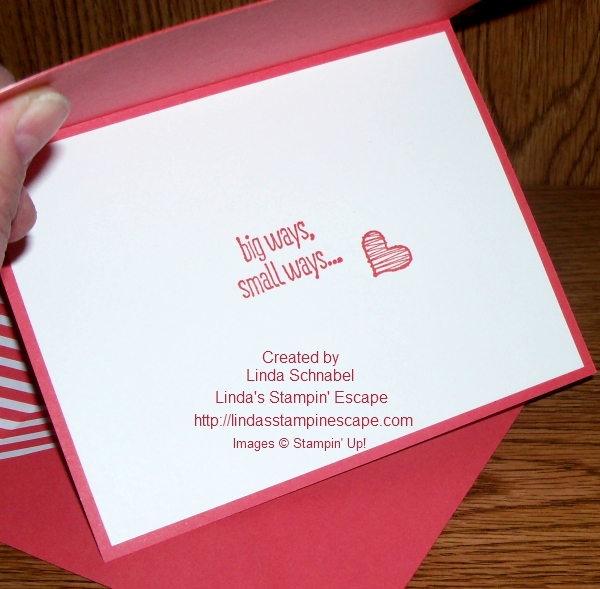
Today I’d like to share with you a sweet -n- simple card that showcases some of the new items in the 2017 Occasions Catalog.
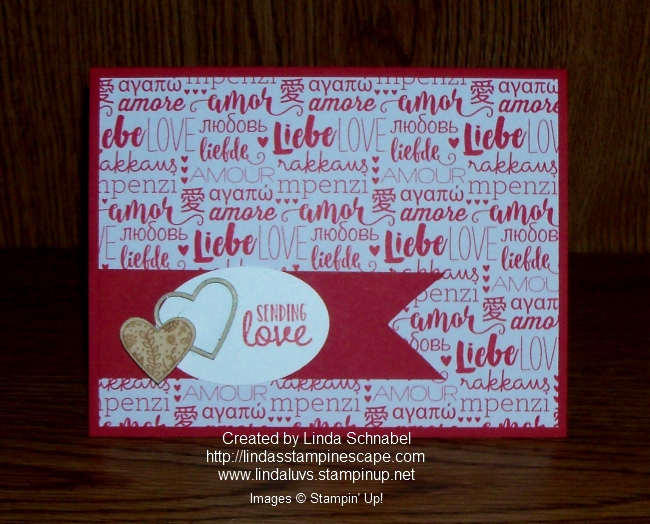
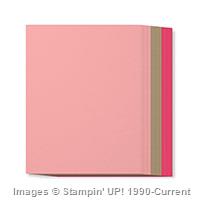
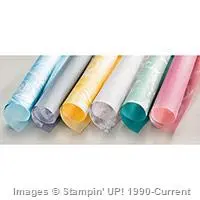
The designer paper used for the background comes from the Sending Love Designer Series Paper Stack (142733) and is part of the Sending Love product suite found on pages 14 and 15.
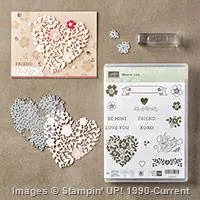
All of the items used today come from the Sending Love product suite including the “Sealed with Love ” (142815) stamp set.
To highlight the greeting and create a focal point … I added two of the hearts from the “Sending Love” embellishments (142735). There are 36 cute wooden elements in this set / 6 each of 6 designs.

Not a lot of work here … just a sweet -n- simple card to send your love in any language! Hope you enjoyed, the products seen here today will be available on January 4th.
Thank you for stopping by today … Happy New Year!
Take good care ~