Hello Stampin’ Friends ~
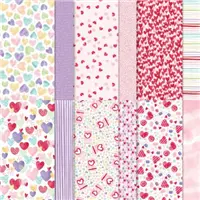
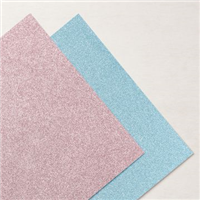
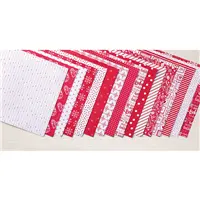
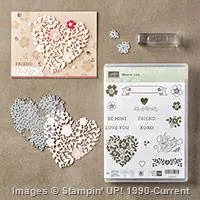
We are half way through my Twelve Days of Christmas and today I’m changing it up a bit. With the update to the Clearance Rack … I thrilled to share all of these cards with you today … the cards turned out so cute and are all so different for being created with the same Designer Paper: Sweet Talk.

With so many pretty patterns you can’t go wrong … and for under $5.00 you won’t find a better bargain. There are many different Designer Papers on the Clearance Rack.
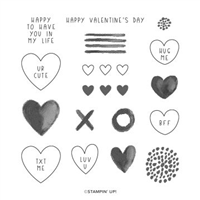
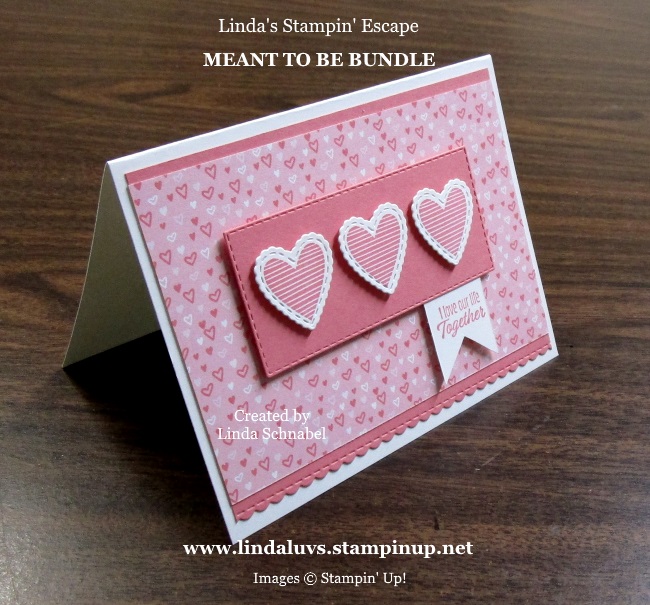
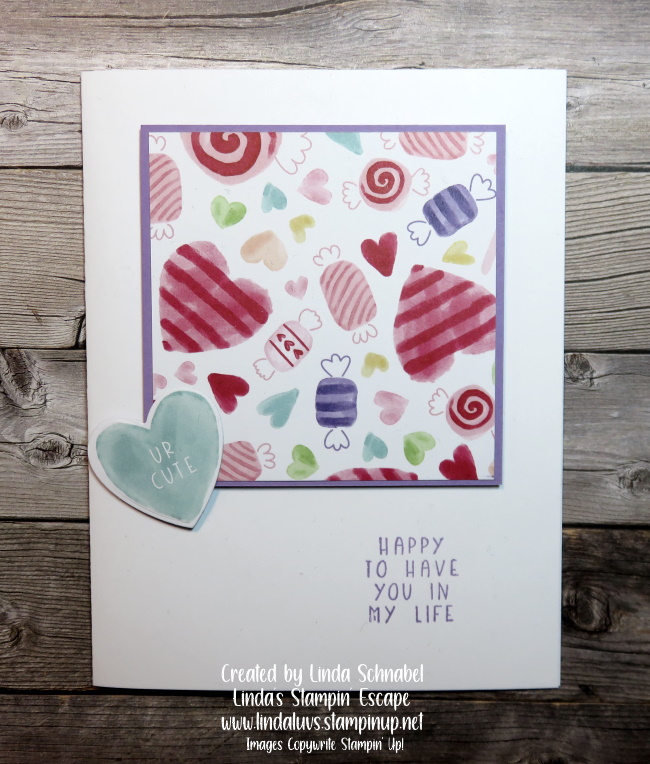
A simple card base and a 3″ x 3″ square with a 3-1/4″ x 3-1/4″ mat with a coordinating color behind it. Stamp on your greeting and your good to go. Remember, you can stamp those cute hearts instead of die cutting your designer paper … just do what works best for you!
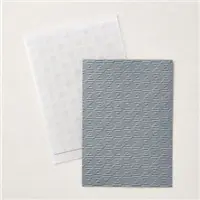
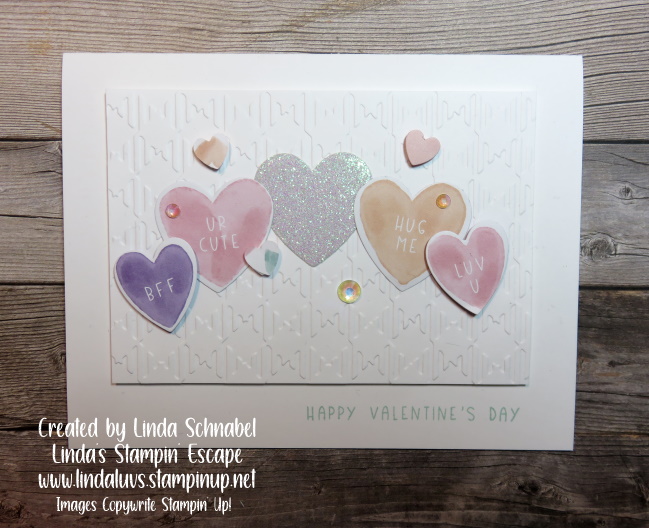
My second card highlights the embossing folder and the hearts and Iridescent Rhinestones really say … Happy Valentines Day!
By popping up the embossed card stock, you not only add texture to your card but so much dimension, and that includes the playful layering of the hearts. Who wouldn’t want to get this little cutie!? It’s just full of love ❤
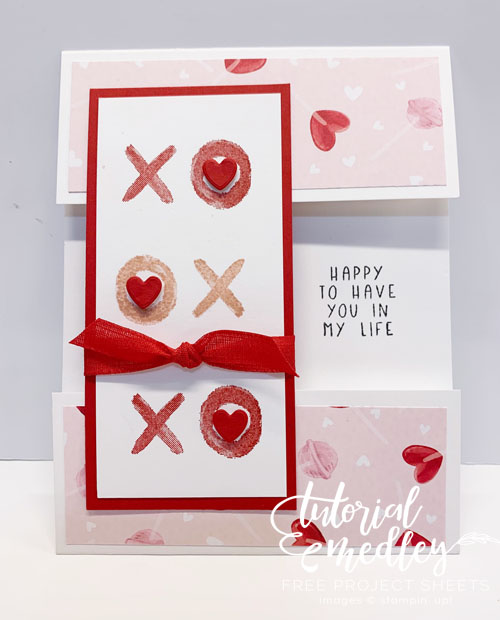
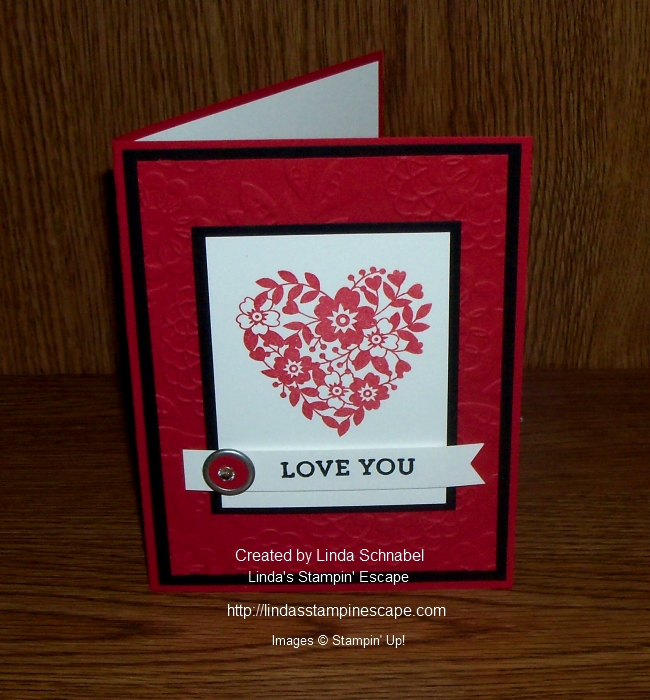
The third card adds a bit more “bold” to our valentine cards … I pulled the red out of the designer paper pattern and added some black. Don’t you just love the gingham ribbon, so glad it carried over, it adds that nice pop without over taking the the hearts.
The hearts are stamped in Real Red and die cut so I could “pop” them up too! There is double the layers because I popped up the tags as well. This card wouldn’t have to be for Valentines at all … it’s a perfect way to say “I’m glad you’re in my life” to your friends (BFF!)

I’m so thrilled with the way all these cards turned out and so happy to share them with you. I hope they inspire you to create and send Valentines or cards filled with love for a friend (or your favorite sister)!
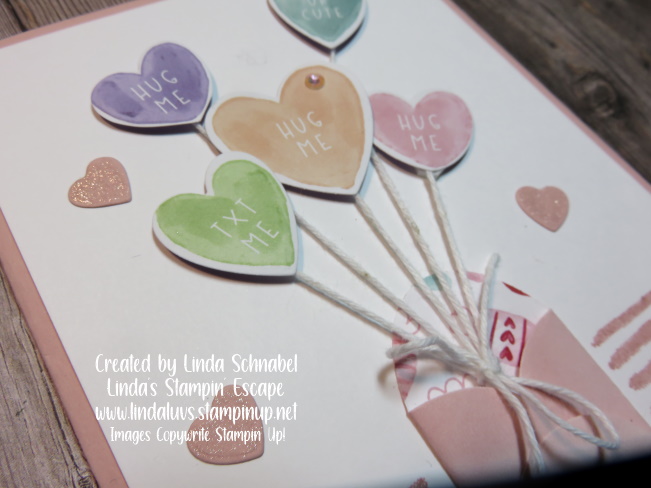
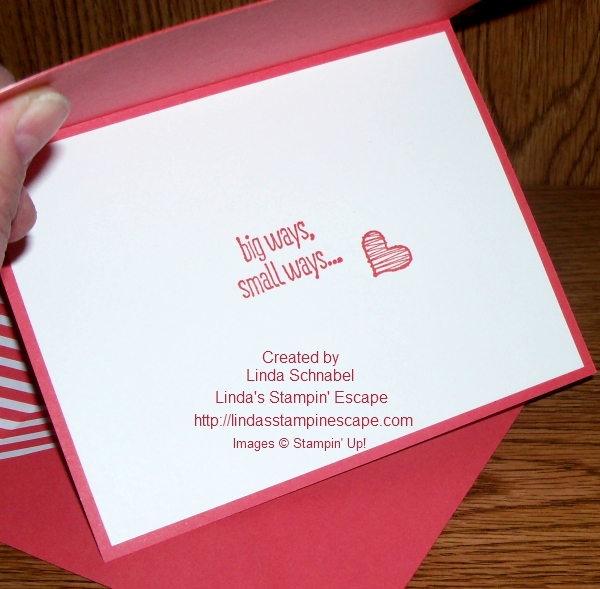
One last card for you … This is one of my favorites! I just love the way that the hearts are floating out of the little envelope.

Thank you for hanging out with me today, and I hope you are just as excited as I am for this pretty paper, and that I’ve inspired you to get back in your stamp room! Have fun 🙂
Have a wonderful day ~