Hello Stampin’ Friends ~
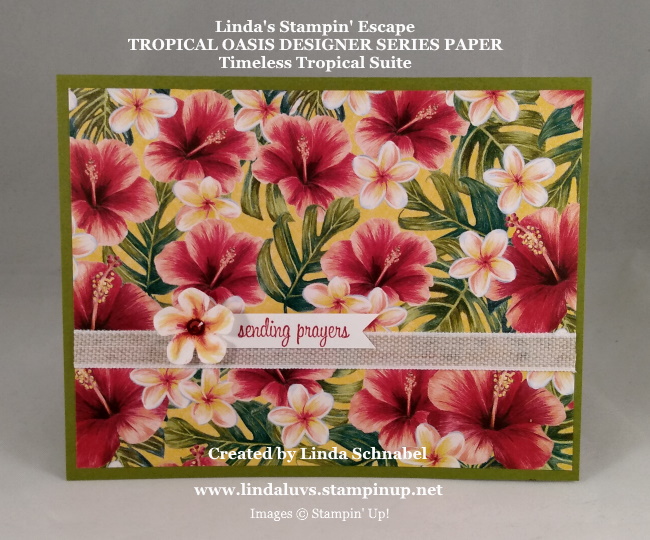
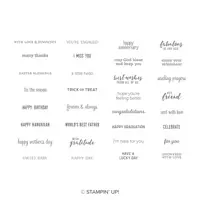
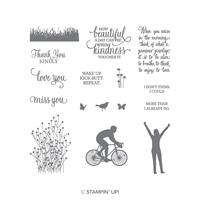
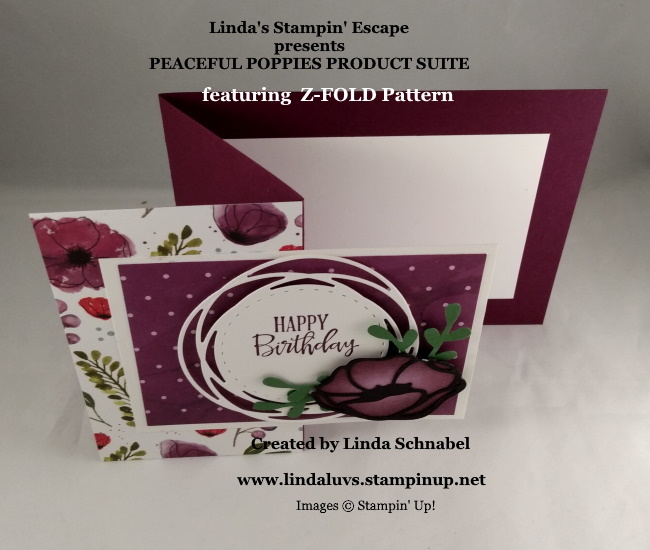
Today I’d like to share two cards with you featuring Sale-a-bration items, some really cool designer paper and a sneak peek into how I create a layout and design a card. Both cards also highlight the “Well Said” stamp set!
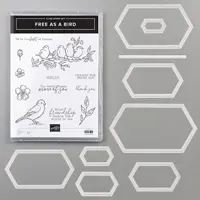
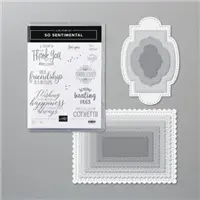
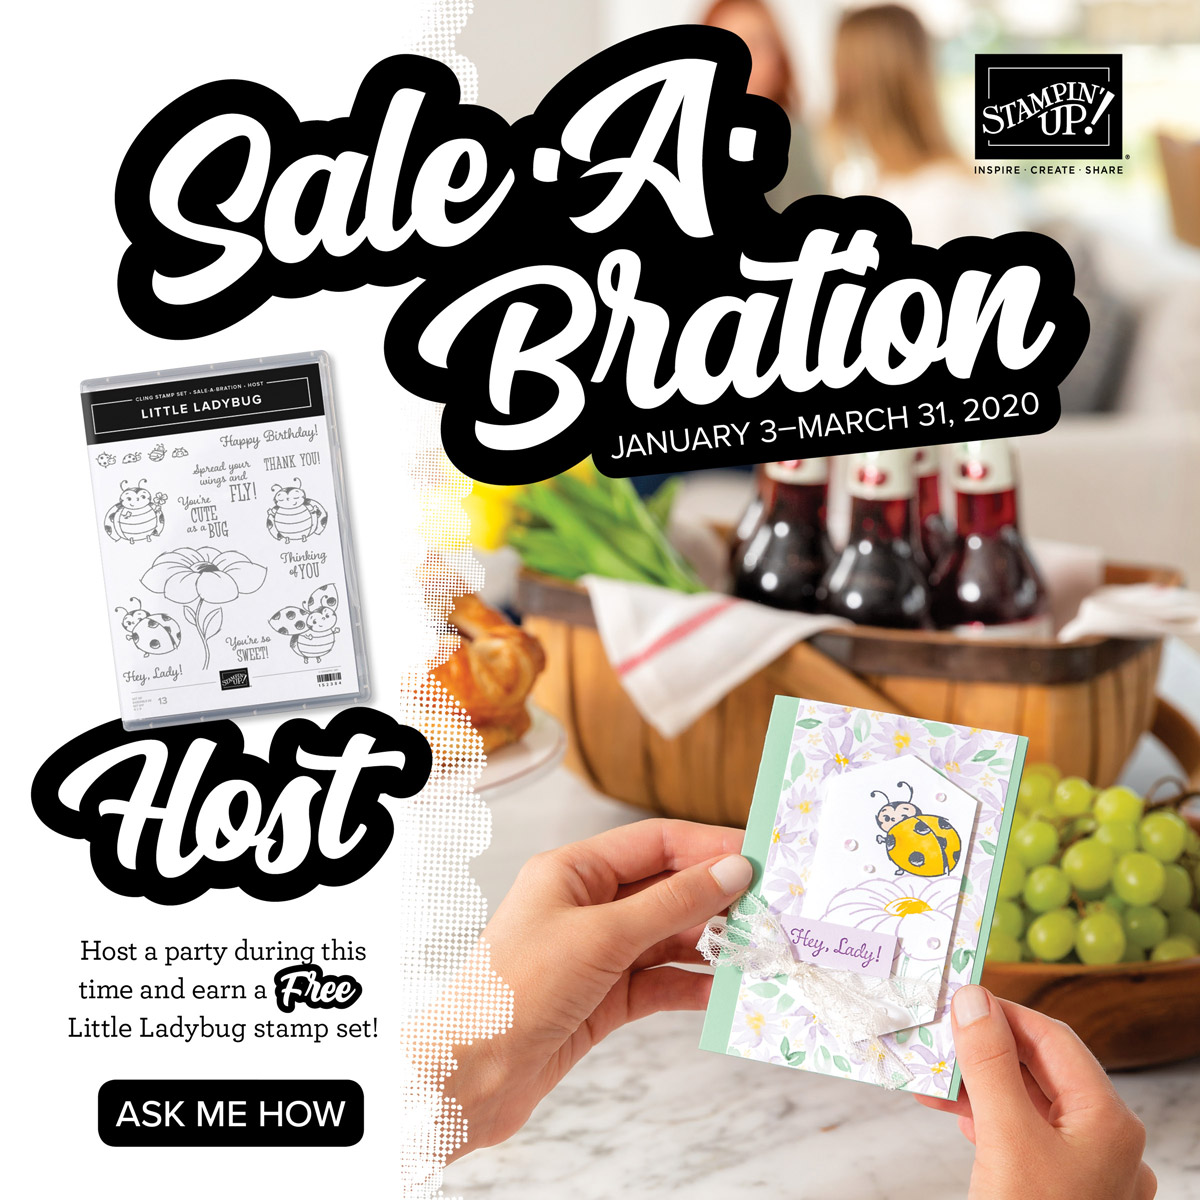
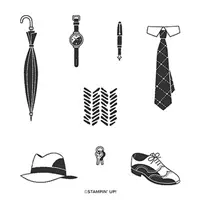
Let’s begin with the layout … My first decision is which stamp set I’m going to use and today I wanted to share the “Well Dressed” stamp set. Only two more days and this one will be gone, because it is an item you can earn FREE with a qualifying Sale-A-Bration order.
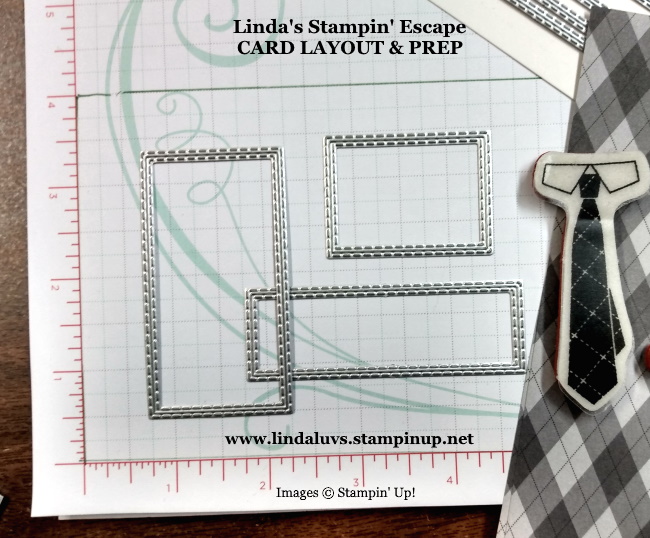
I chose the Stitched Rectangle dies as the stamps from the “Well Dressed” stamp set fit so nicely. I laid them out the way I wanted them on my card, then stamped them in Gray onto Whisper White and matted them with Basic Black.

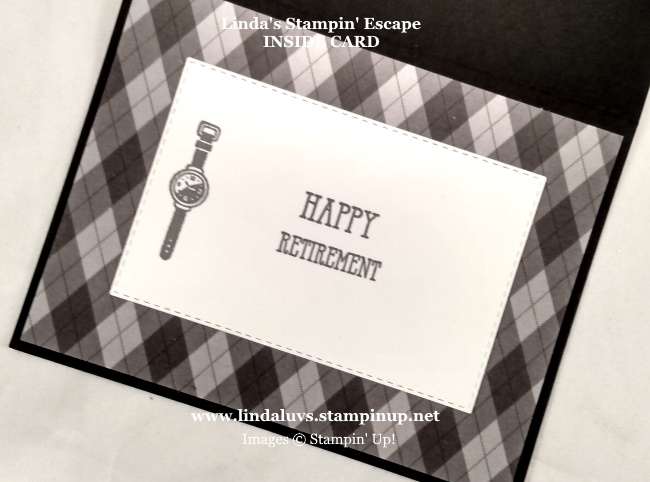
My thought behind this “retirement” card was that it was time to let go of the tie and items normally associated with going to your job including ditching the watch as you’ll see on the inside of the card …
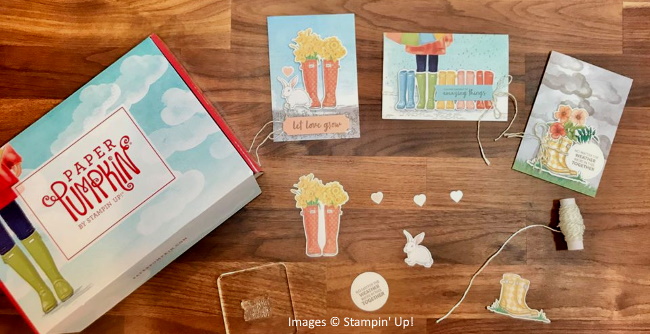
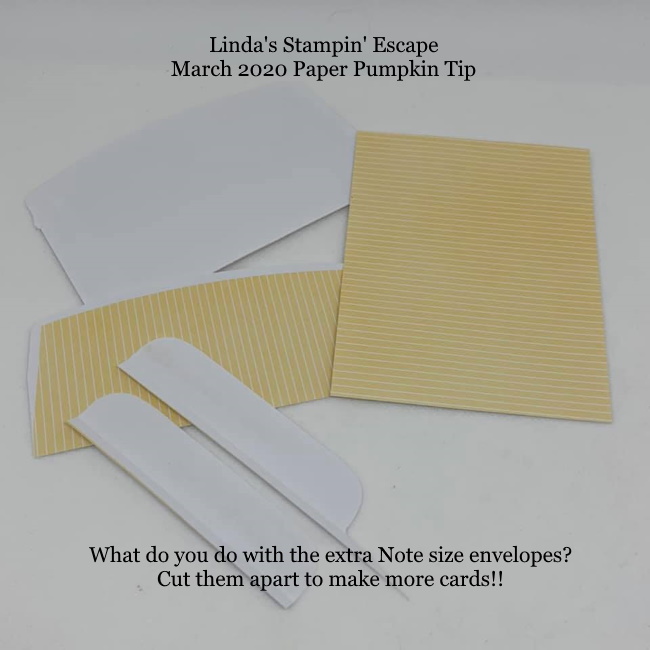
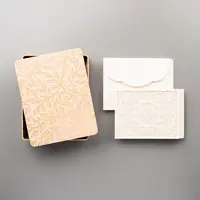
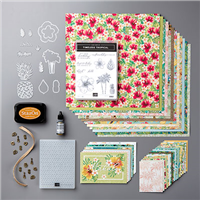
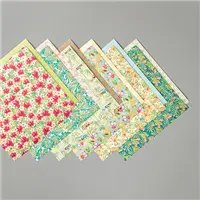
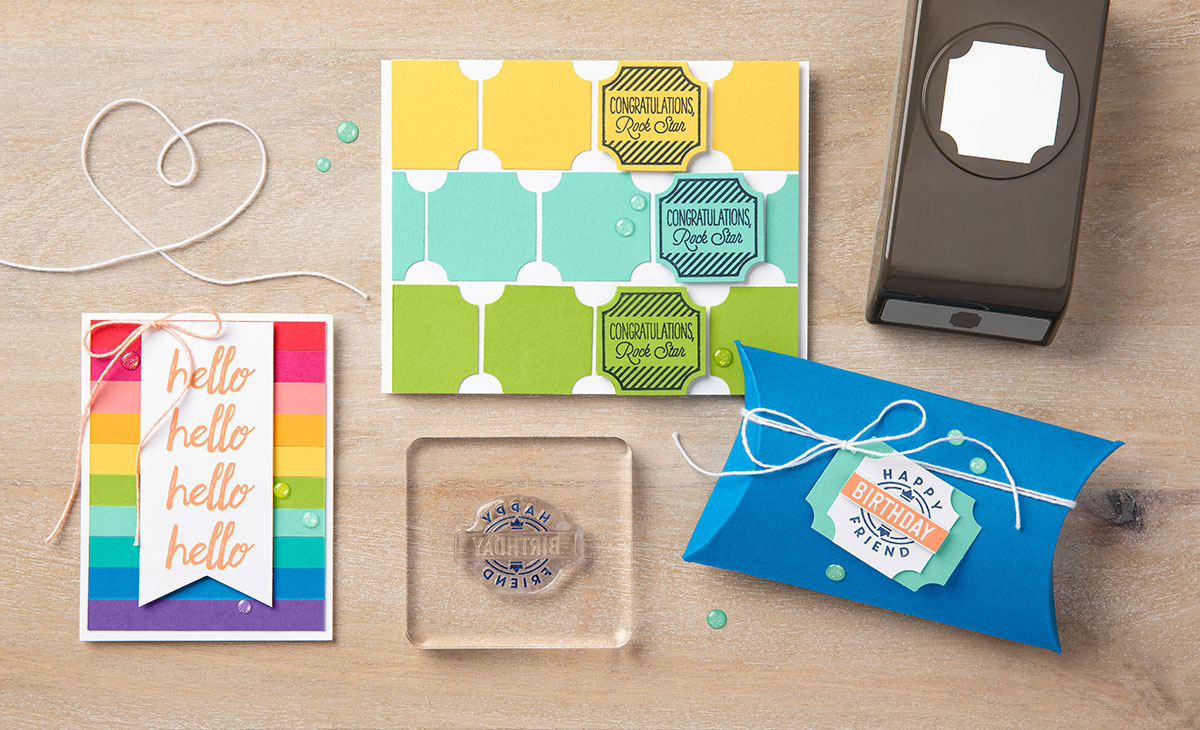
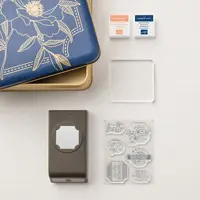
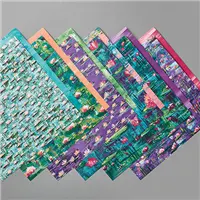
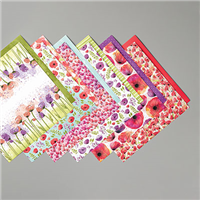
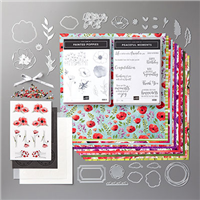
The designer paper I used here is from a sampler set that comes with the cute little paper cutter, both of which are FREE and tucked into your Starter Kit. You also get an extra FREE stamp set …

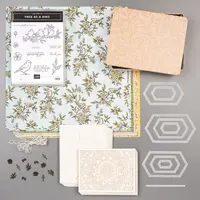
You’ll get all of this for $99 plus you will choose $125 more products! It’s a great time to explore the benefits and opportunity of joining my Stars by Design team and the Stampin’ Up! family. If you’re thinking about it … Give me a call 262-334-1009 or email me at lindaluvs2stamp@aol.com
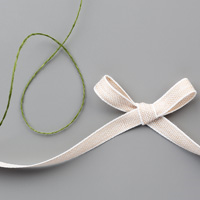
Back to my card! The designer paper is from the Country Club suite of products and really highlights the Well Dressed stamp set. Nice classy look … Don’t you love the way the stitching in the die cuts coordinates with the design on the tie, which looks great with the designer paper!!

Here is a list of supplies for both cards … Our “Well Dressed” Masculine and the “Best Dressed” feminine card …
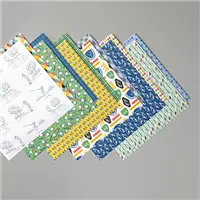


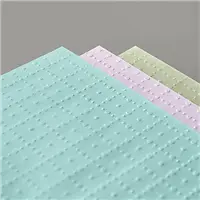

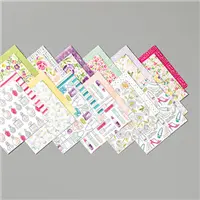
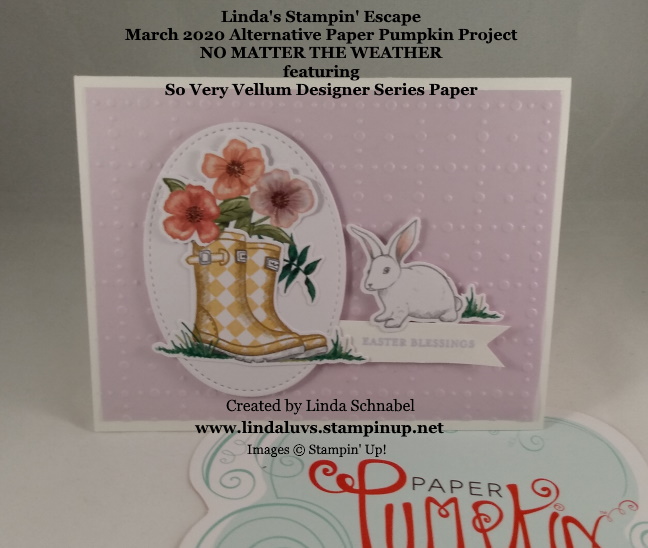
My second card does a 180 from the masculine to a more feminine card. This card highlights the So Very Vellum Designer paper and is teamed up with the “Best Dressed” Designer Series paper …

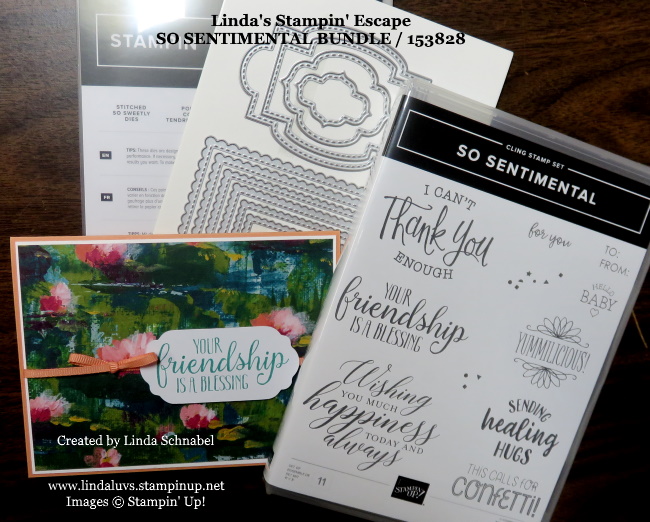
As I stated earlier, both cards used the “Well Said” stamp set for my sentiments. This card reflects a special thank you “for everything” you do … I’m here for you as well. The cute little handbags were fussy cut from the designer paper which you see in the foreground.
The sentiments were stamped in gray onto Whisper White and then die cut using the Stitched so Sweetly dies…
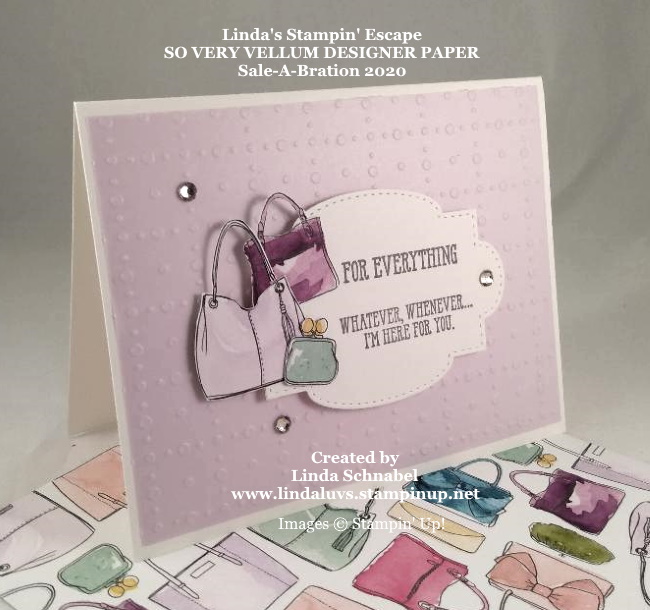
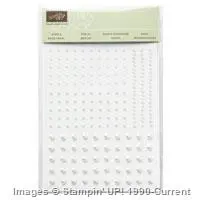
I popped up the greeting which highlights the bags as well and then to finish off this sweet card, a few rhinestones because what girl doesn’t like a little bit of bling!
I was so excited to share these two card with you, I’ve got so many ideas with all of the Sale-a-bration items but time is running out. We only have today and tomorrow and then it’s gone for another year. I understand that during these uncertain times getting everything you want may be difficult, maybe the starter kit with all it’s FREEBIES is an option. Let me know if you want to talk about the options.
Meanwhile, I’ll be stamping and will return tomorrow with the last of my Sale-a-bration projects.
Thank you for spending time with me today! This is a great way for us to gather … when we can’t gather.
Enjoy your day ~