Hello Stampin’ Friends,
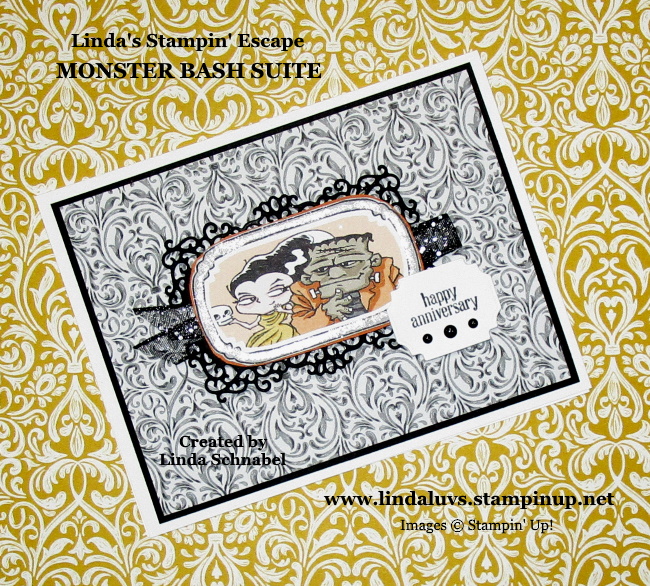
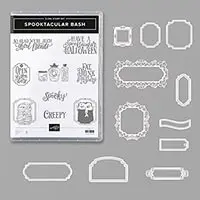
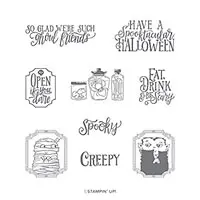
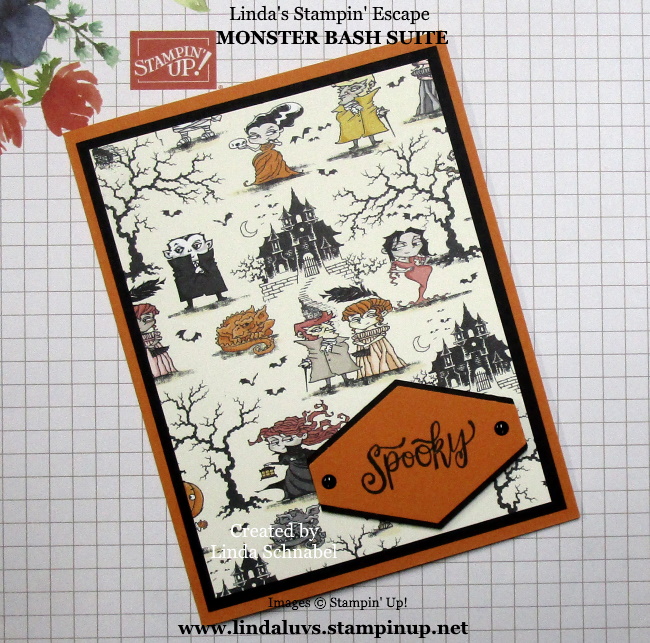
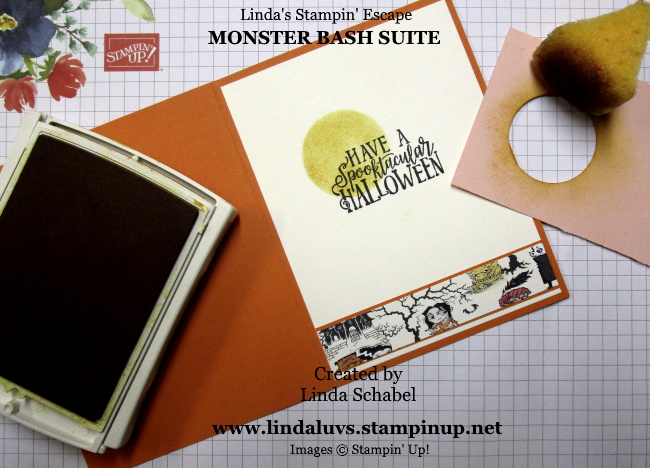
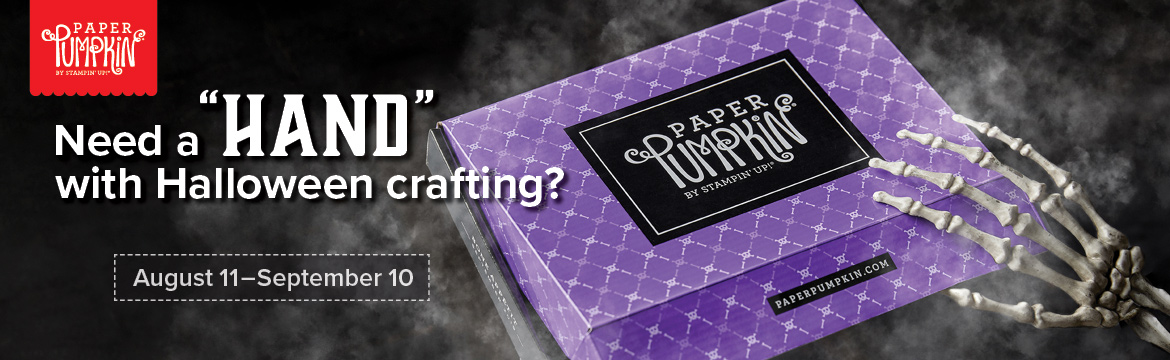
Step fright this was as I invite you in to my chambers for a Spooktacular event … My Halloween Bash Stamp Class! It’s going to be a thriller of a night as we create 5 bewitching Halloween projects! Don’t be a zombie on Friday the 13th of September, mark your calendar (or grave stone) and join your fellow stampers for an eerily good time …

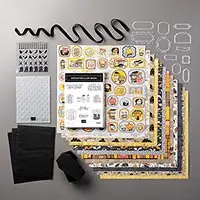
The cost for the Halloween Bash Stamp Class is only $25.00 and includes all of your Halloween Bash supplies, embellishments, envelopes and anything extra to complete your projects (something sweet perhaps?) This is the perfect class if you are looking for special cards / gift ideas for our favorite spooky holiday … Halloween .
The only thing you need to bring is your favorite adhesive … everything else is ready for you!
Join us for a fun evening out stamping * snacking * creating * and meeting new friends (or bring yours along!)

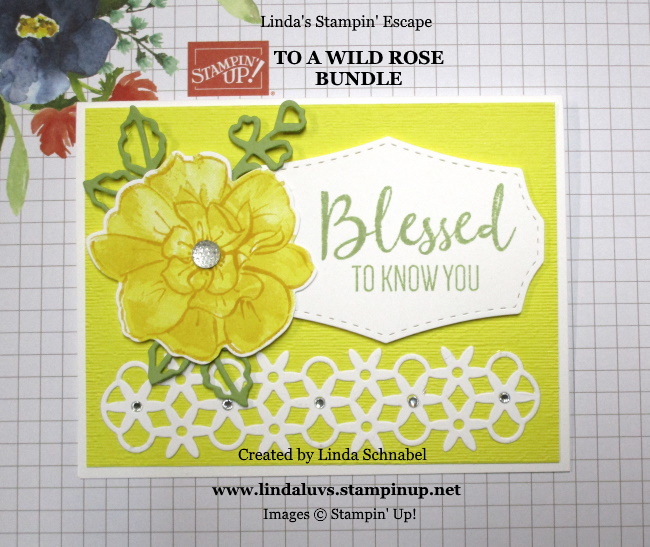
I am so excited to be able to invite you to our 2019-20 Stamp Clubs!!

My clubs are starting in September and we’re looking forward to stamping with you! This years Stamp Clubs will be highlighting Techniques and Fun Folds, plus I’ll be celebrating 20 years with Stampin’ Up! So expect more fun and surprises throughout the year.
There is no cost to the stamp club, however a $30 Minimum Order is required. You get what your ordered, plus a minimum of 2 projects and instructions!
* The minimum order allows each club member to receive HOSTESS BENEFITS for one month (more FREE stamping goodies)