Christmas Beauty and Joy

Hello Stampin’ Friends ~

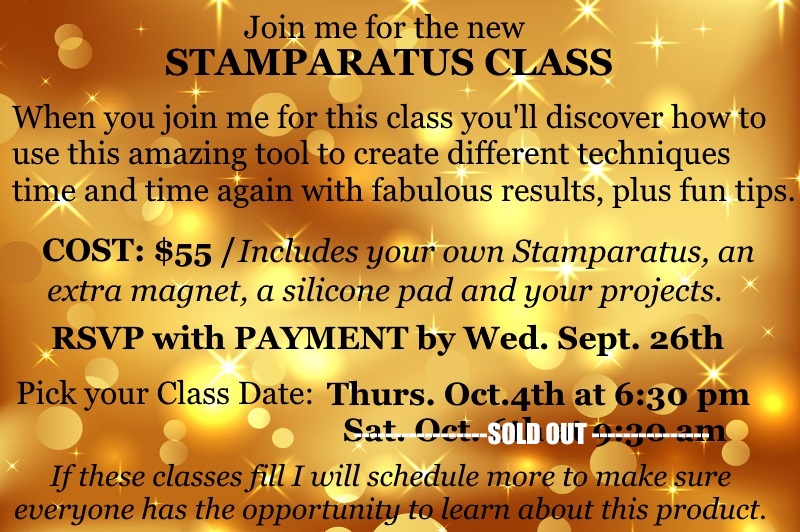
Did you enjoy your weekend? I hope so. I enjoyed a wonderful group of ladies who joined me for a Stamparatus Class! It is always fun to stamp with others … plus there is a touch of free therapy!  lol

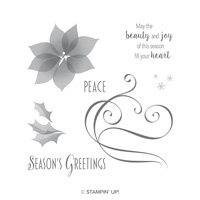
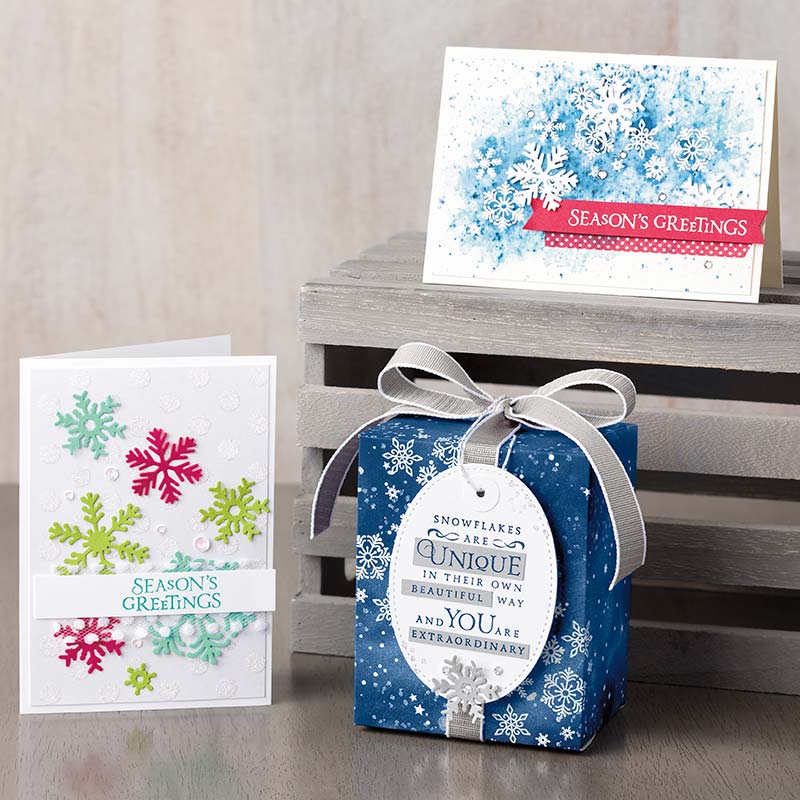
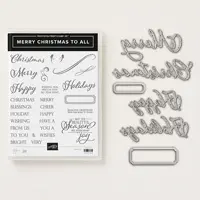
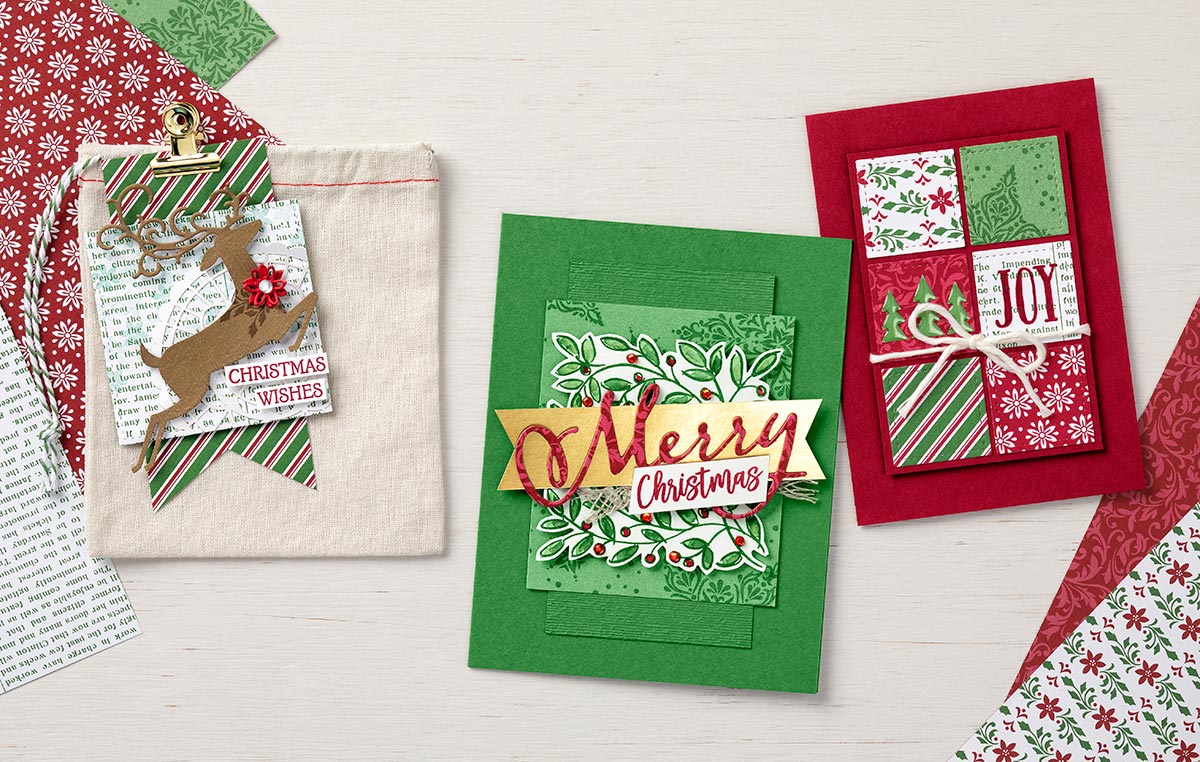
Today I’m bringing you a touch of the holidays … a little Christmas.  While you’re looking around for some inspiration for your Christmas cards this year, don’t forget the Annual Catalog. We have a few of the most popular sets from last years Holiday Catalog and some brand new ones, like Stylish Christmas on page 101.

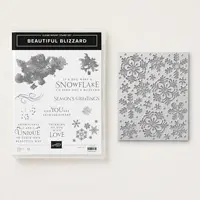
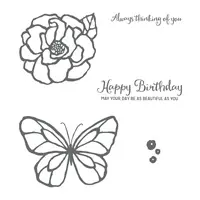
The poinsettia in this stamp set is so elegant … the soft swirls and the holly leaves are paired with some beautiful sentiments.  These are the new distinktive stamps. They are made of the same premium rubber as our wood-mount stamps and have deeply etched images so you get a superior stamped impression each time.

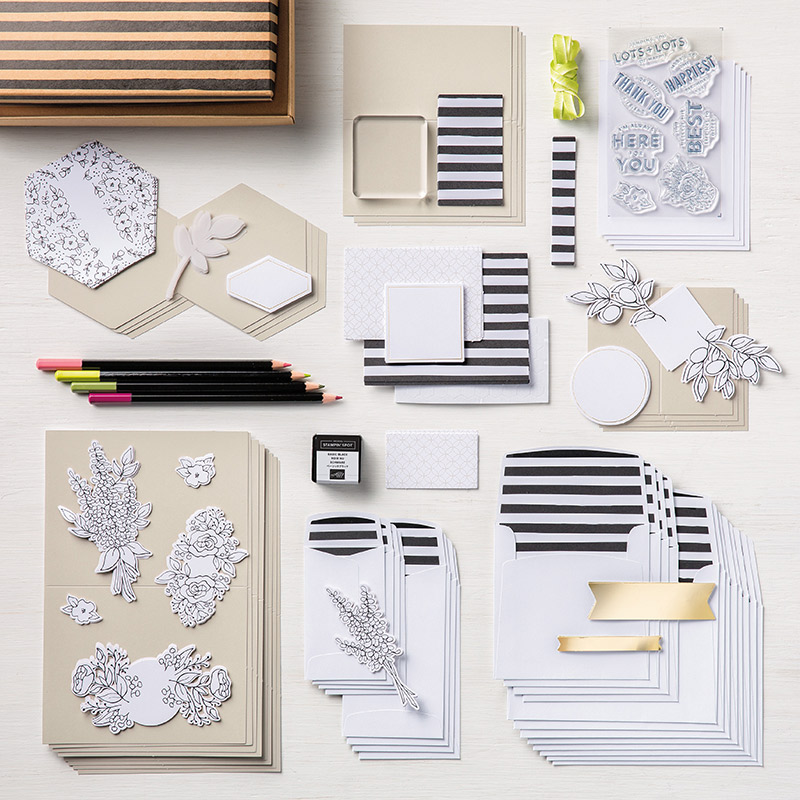
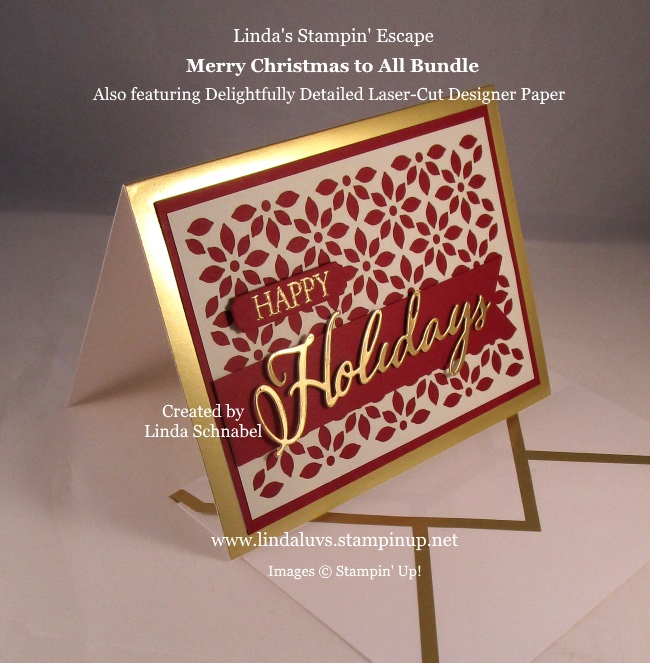
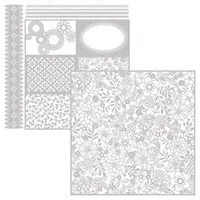
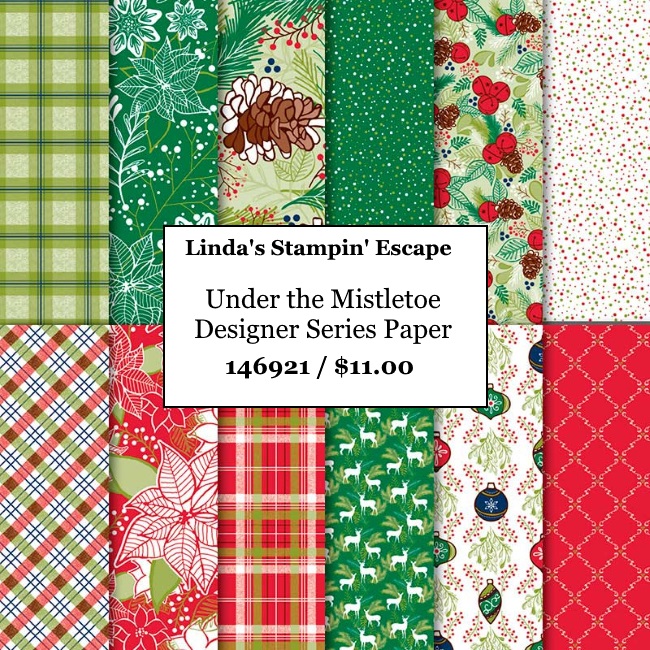
The “pretty paper” I used as my background also came out of the Annual Catalog (page 189) called “Under the Mistletoe”.  I love the festive, traditional, dynamic patterns for your holiday projects. You are able to create so many different styles with this paper.

Today’s card may have a simple layout but not everyone likes the “putsy” cards … so if you like these supplies and layout, just add the Stamparatus … you can have your holiday cards done in no time at all.

Please let me know if you have questions about the Stamparatus or the project I shared today. I’m here to help.

Thank you so much for stopping by today.

Enjoy your day ~

TODAY’S STAMPIN’ SUPPLY LIST … All your supplies can be found in the annual catalog!


Simply Sunday: Just Breathe …

Hello Stampin’ Friends ~

It’s good to be back!! My workload got a little more hectic than I had planned (happens to us all) but who plans on the drama … right!!  But I’m thrilled to be here today to share with you one of the cards that we created in my “Stamperatus 1” Class yesterday.

In class we learned about the parts of the stamparatus, how they interact, how to clean it and to store it. We talked about the it’s core function of “stamp placement” and the wonderful ability to create repeatable stamping. In fact, this little gem is great just for those two features alone, but it does so much more!

Here is a quick video to quickly share the basics and introduce you to the new products that came out to accessorize the Stamparatus…

Todays card features the “Hinge Technique” … we are able to do this fun technique because the hinges are not only removeable but can be moved in equal increments. It’s so easy and so amazing.

We used Cherry Cobbler for our greeting. The stamp is aligned onto my cardstock and then “picked up” with to plate so you can begin your stamping.  Once your stamp is inked, stamp directly onto your cardstock. You will then take the plate out of by the hinge, move it down one notch and replace it back into the hinge and stamp again (without re-inking) This will give you a slightly lighter image.  You will do that one more time creating the final and lightest of the 3 images.

The large leave stamp is stamped onto your cardstock and with the stamparatus you can add the solid stamp in perfect alignment every time. You see, I showed them how and where each of the stamps were placed and then everyone used the same plates to stamp their projects … what does that mean.  You have the ability to create a multitude of cards that all look the same.

The little leaves also used the “Hinge Technique” for their placement. This really is a slick little tool to help you with your card creations. Easy, fast and precise.

Thank you so much for joining me this Sunday.

I hope you have a most wonderful day ~

TODAY’S STAMPIN’ SUPPLY LIST …


Throwback Thursday: Autumn Memories

Hello Stampin’ Friends ~

How are you doing? We got a little peek of sunshine yesterday but there is rain in the forecast for the next 7 days! I like my fall to have warm sunny days with crisp cool nights … the sun of the leaves, so pretty!

Let’s have some fun and explore some cute scrapbook page layouts today! I’ll be sharing some memories of autumns past with some scrapbook pages I have done years ago …

With all the fancy gadgets and dies out there now days, we have a tendency to forget how simple yet pretty creating your own “designer” paper can be!  You can totally recreate this page by using the beautiful leaves in the “Rooted by Nature” stamp set.

To create the multi-colored leaves; you could either use the baby wipe technique or ink up the “UnInked Spectrum Pad” on page 202 of the annual catalog.  My suggested colors are …

Now there is a beautiful fall color line up!  You can also see that while some images are stamped in full color, some are stamped without re-inking so you get a nice light coloring … this adds dimension to your page just by stamping!

My next page is one of my all time favorite layouts … I also had a great time with my daughter and her two little girls that day.  Cassie, the little blond picking pumpkins asked me what size pumpkin she could get, and I told her “anyone” she could lift!!  I could not believe how strong she was … or should I say determined!!

There is not a lot of stamping on this page layout, just a little decorative edge and an alphabet set which you can find on pages 174 and 175 on the annual catalog.  The color blocking is a fun way to coordinate a page and really make your pictures pop off the page!

I hope you enjoyed my little stroll down memory lane and I thank you for coming along with me.  If you have any questions about scrapbook layouts or how to get started with stamping in your scrapbooks … message me.

Have a great day ~

Suggested products ….


Create your own Blizzard …

Hello Stampin’ Friends ~

Today I have an awesome bundle I want to share, the BEAUTIFUL BLIZZARD STAMP SET. The Beautiful Blizzard stamp set includes images, sentiments, and is perfect for creating that winter snow storm. The Blizzard Thinlets die is a great way to give your project snowflake embellishments.

I find this stamp set mesmerizing with it’s fairy tale font for your very own happily ever after cards. This is not just a Christmas card stamp set, think of the beautiful birthday cards you can make.  My daughters birthday is just two days before Christmas and this card would be perfect …

Watercoloring is the “HOT” look for cards right now and if you are not real comfortable with doing it yourself, this stamp set does the work for you with its watercolor splashes stamps. Then you have the swirls (I love swirls … so you?) They add such a fun whimsical look as in our Balmy Blue card on top.

Look closely at the gold and white gift back … Can you see the embossed pattern on the Pool Party? That is created with the die and our Big Shot Embossing Mats!!  Below I have the stamp set and die for you to see …

So now you know that you can create a beautiful textured cardstock with the Beautiful Blizzard  die and our Big Shot Embossing Mats, now lets see what we can do with all those amazing snowflakes when we cut them out …

How fun is it to make any color snowflakes you want!!  Now that would make a perfect birthday card with any of the fabulous greetings in this stamp set paired with a Birthday one in your collection.

Our gift box is so pretty and it is so easy to recreate … the pretty snowflakes from the stamp set are actually stamped on a pattern of designer paper found in the Twinkle Twinkle Designer paper (not just for baby cards either).

I love, love, love this bundle and will be hosting a class with it in the near future so make sure you are on my mailing list for an invite 🙂  Till then … here are some more ideas!

So … what do you think?  Are you ready for a “hand on” class so you can try some of these techniques yourself? I’ll be posting the date shortly so make sure you on are my mailing list.

Thank you for spending a part of your day with me …

I hope your have a “beautiful” day.

Here are the core supplies used in todays projects …


Lots of Happy …

Hello Stampin’ Friends ~

It’s a new day … a new week … and a new month! And with the kick off of October we have World Cardmaking Day in which we are celebrating this entire week, and I’m here to share some samples from the specials!!

Today I’m sharing yet another card kit, these are not only great for when you are in a hurry (no thought needed) but perfect for gifting! And Christmas is sneaking up on us quickly!!  Let me introduce to you the “Lots of Happy” card kit…

There’s lots to love in this all-inclusive card kit. Create all-occasion cards, then add your own color using the included Watercolor Pencils.  The kit makes 20 cards, 4 each of 5 designs, using the included Lots of Happy Stamp Set which  Includes set of 7 photopolymer stamps and a clear stamp block!

It also includes full-size Watercolor Pencils in Flirty Flamingo, Lemon Lime Twist, Old Olive, and Rich Razzleberry!! And the “Cherry on Top” … it’s all packed nicely into a “giftable” kraft box!

I think this is one of the prettiest card kits Stampin’ Up! offers and you’ll love the step by step instructions!  Let’s take a closer look at this kit with the help of Andrea and this video …

Again … this is just one of the many items that has a special “Price Reduction” to celebrate World Cardmaking!

To view the entire list, click on this link … 10.01.18_FLYER_WCMD_US

Thank you so much for joining me today, and let me know if you have any questions about this kit or the World Cardmaking day promotion.

Have a great day ~

Celebrate World Cardmaking Day

Hello Stampin’ Friends ~

Hope you have been enjoying your weekend, and our week isn’t the only thing coming to an end … we’re at the end of the month already! Is it just me or is this year just flying by?!

We just got an exciting announcement from Stampin’ Up!  To honor world cardmaking day, they have put out some great specials!! What I love and think you will to, are some fun new items and those staples that we use every time we create!!

One of the great items on this list is the “Notes of Kindness” card kit.  This kit makes it easy to create and send your heartfelt greetings.

* Makes 20 cards: 5 each of 4 designs
* Folded card size: 3.5″ x 5″ (8.9 x 12.7 cm)

To view the entire list of goodies, just click on this link … 10.01.18_FLYER_WCMD_US

This will allow you to download the list so you can have it at your fingertips.  The sale begins October 1st and runs through the 7th.  Please let me know if you have any questions.

Thank you for stopping by,

Have a beautiful day ~


Throwback Thursday: Autumn Colors

Hello Stampin’ Friends ~

Today I’m going to share two cards that I created in 2005 – 13 years ago… Wow!

My first card is a whoot because even thought it’s been 13 years – Lovely as a Tree … Is still in the catalog, so other than the greeting, this one does not need much updating!! lol


I actually believe that this was done with a brayer and a multi-colored ink pad.  This is a great technique that is simple to make but gives you a “wow” factor!

My second card highlights the “Resist” technique, simple to do and looks cool.  It’s nice to come back to some of the techniques that we used to do before the BigShot came out!! lol

I’m not even sure what stamp set this was but if I remember correctly … it was a triple stamp! Which stamp set do you think I will use to update this card?

Let’s have some fun and recreate these cards with our current supplies. I will share these with you tomorrow!!

So … stop back tomorrow and I will go through each of these cards, but updated. It’s going to be like “flipping” my cards! Make sure you’re here for the reveal.

Thank you for checking out my blog today …

Hope your day is a good one! See you tomorrow ~

Coming Attractions … Stamparatus Accessories

Hello Stampin’ Friends ~

I am thrill to share that Stampin’ Up! has announced the release of Stamparatus accessories! You will be able to order beginning October 1st, 2018.

We know that owning a Stamparatus means it was love at first sight and we wanted to give you even more to love about this versatile tool by introducing Stamparatus accessories! The new accessories are: Small Grid Paper, Stamparatus Plates, and Stamparatus Foam Mats.  They will continue to offer Stamparatus magnets.

  • The small grid paper fits perfectly in the Stamparatus.
  • It will be nice to have a replacement mat, when yours starts to wear (everything does).
  • The extra plates can be used for quicker stamping of multiple set ups without having to switch stamps out often.

A little birdie told us that there will also be a “carrying case” for our Stamparatus coming in the near future … I will keep you posted!

Today is the last day to register (and PAY) for my Stamperatus Class … 

Payment is required for this class as I will be ordering your Stamparatus and supplies.  ONLY Payment confirms your registration for this class.

Let me know if you have any questions ~

Have a great day, and thank you for checking in!


Technique Tuesday: Brusho Crystal Colour

 Hello Stampin’ Friends ~

Today I’d like to share a technique that I had posted earlier this year and I card that I did with my Stamp Clubs. They were the first to use the Brusho Crystal Colour technique … an awesome product that was introduced in the Occasions catalog and can now be found in the Annual Catalog on page 202.

On this card we used the Shimmery White Cardstock and the “Beautiful Day” stamp set.  We will be embossing the flower with the black embossing powder.

Next thing you want to do is to poke a hole or two in the top of the plastic bottle the Brusho is in. I used my Paper Piercer to poke the hole and then use a push pin to keep it sealed ….

I like to use a little washi tape to hold my sides down … it keep the colors from running together if the paper “rolls up” from the water.  Then you will gently tap the Brusho bottom to dispense the powder … Less is More!  You can always add more but it’s best to start light, especially if you are new to this technique. It looks a little like peppering your food! lol

I started with “Yellow” in the center, “Gamboge” around the center, and then the “Brilliant Red” around the outer petals.

Now with your Stampin’ Spritzer … spritz some water onto the image. I stand during this process and I’m at least 8 – 12″ above my cardstock – You don’t have to measure, but if you are too close it might splatter your color.

Notice I kept the Brusho colors I used away from the leaf — also less spritzing, I can always add water with the use of my Aqua Painter… which I will be using to color in the leaf.

With the use of my Aqua Painter, I began to move my color around starting with the yellow.  I keep a tissue or paper towel handy to keep my Aqua Painter clean.  If you mix your colors too much – you’ll end up with one color or a mess!

Once the color was where I wanted it, I tapped a bit of the Green Brusho onto a block and used my Aqua Painter to pick up the crystals and color in the leaf directly.  That is two techniques you’ve now learned with the Brusho!!  Once DRY you can cut it out and mount it to your card ….

I used a Whisper White base with a Basic Black mat and my background was embossed with the beautiful “Layered Leaves” Dynamic Textured Embossing Folder. The greeting comes from the stamp set “Beautiful Day” which is found on page 134 of the Annual catalog.

It really is simple to use … Remember, I did this at my Stampin’ Club and each and everyone’s card turned out beautiful yet no two were alike … it was awesome!!

Please let me know if you have any questions about this technique or please leave a comment on what you would like me to share on an upcoming Technique Tuesday.

Thank you for joining me today ~

TODAY’S STAMPIN’ SUPPLY LIST …


Holidays Edged in Gold …

Hello Stampin’ Friends ~

I hope you enjoyed your weekend and my Simply Sunday post … You will notice that todays card has the same basic layout as yesterdays card but by stepping it up by adding an additional product, it will change the entire look of the card. WOW!!

So in they style of keepin’ it simple, I am still using the Gold Foil-Edged cards, envelopes, and the Merry Christmas to All Bundle with the Gold Foil Sheets, BUT instead of the Vanilla cardstock … I’m using Cherry Cobbler cut to the 5″ x 3-3/4″ card front …

WOW …  is what the stunning Delightfully Detailed Laser-Cut Designer paper does to your card when you add it to your card. You know, this would be pretty over the Vanilla paper too! Want to know something else amazing about this designer paper? It’s Whisper White on one side and Very Vanilla on the other … how cool is that!?

This delicately detailed laser-cut sheets can easily be cut apart and used as accents on card fronts. So pretty and so much fun, I know you’ll think of amazing cards with this paper… just switch out colors and switch out your greetings and you’ll be set for any occasion … oh, weddings would be pretty too!

I did put a banner on this card to highlight my greeting so it would “pop”.  I used glue dots to attach it but I had to roll them so they would be skinny … that helped hide them and lifted the greeting up to create some dimension.  Simple can be stunning!

I thank you for stopping back and I hope your have a wonderful week.

My Saturday Stamparatus Class is SOLD OUT but I have room left in the Thursday Night Class.  Payment will have to get to me by this Wednesday so I can purchase your Stamparatus for class.

There is still one week remaining in our Dashing Along Promotion …


TODAY’S STAMPIN’ SUPPLY LIST …


Simply Sunday: Making Holidays Simple

Hello Stampin’ Friends ~

I hope you are enjoying this beautiful weekend. I had the pleasure of going to my grandsons soccer game yesterday. I had a nice time chatting with my daughter and watching Aiden’s game … and they won!!

We all have to remember to slow down every now and then and enjoy the little things in life, because they are truly the important things.  Many of us have very busy lives and find it hard to do all the things we want, our intentions are good!

Lets say you’ve been meaning to make Christmas cards year after year but you just run out of time or you don’t get as many made as you’d like to, let me help … Today my Simply Sunday post is to share a beautiful yet simple card that will be easy for you to get those cards done.

Pretty right!? The base of the card is the Gold Foil Edge Cards & Envelopes!! You can find these on page 11 of the Holiday Catalog and you get 20 of each (card base & envelope). Then I simply cut a front to emboss, you don’t have to … you can go directly to the greetings which are from the “Merry Christmas to All” bundle. It can be that easy!

If you do want to step it up and create some texture on the card, the front is 5″ x 3-3/4″ then run it through the BigShot with your favorite embossing folder.  I used the “Tufted” but the new “Swirls and Curls” embossing folder that is part of the All is Bright product suite, either would work great!  The new Seasonal Wreath would be pretty too!

The “Happy” is heat embossed in gold and the “Holidays” is cut from the Gold Foil paper, again both are from the Merry Christmas to All Bundle from the All is Bright product suite found on pages 4 and 5 of the Holiday Catalog.

So whether you chose the card front to emboss and add texture of just adhere the greeting directly to the front, it will get you on the fast track to your cardmaking this holiday season.

If you would like to see this layout stepped up just a bit more … stop back tomorrow, it’s a beauty!!

I’m so happy and grateful that you’ve taken time out of your Sunday to sit with me a while.

Enjoy the rest of your day, and I’ll see you tomorrow.

TODAY’S STAMPIN’ SUPPLY LIST …


A Delightful Dash

Hello Stampin’ Friends ~

Well it seems that the last day of summer has transitioned to a nippy night last night, and oh how I love a crisp fall evening. We all know what comes next, our holiday preparations … are you ready?

It’s the perfect time of year to gather with friends and family and create!  I think this festive sampler will inspire you to get started …

This beautiful paper is our Dashing Along Designer Paper and is combined with some of most popular holiday stamp sets. I would love to help you and your friends get prepared for your holiday cardmaking.

You can get this gorgeous Dashing Along Designer paper for Free with a $250 stamping party.  There are so many different ways to host an event; whether you invite your friends and family over to your house for an evening of fun, or invite them to my home for a stamp camp … we can set it up together. You bring the treats, I bring on the stamping.

You let me know what you and your friends would like to see, we’ll design your event around your wants and needs.

Let’s get you that free paper and some extra goodies! Let’s chat!

Thank  you for checking in with me today ~

Have a wonderful weekend.

Beautiful Baubles

Hello Stampin’ Friends ~

and a happy Friday to you!! I know you are busy so I’ll keep it short today with words but big on beautiful content … multiple card share! These beautiful cards were created by Stampin’ Up! but since I do not have this bundle (yet) I thought I would share Beautiful Baubles with you…

Have you been thinking about your Christmas card making yet? You’ll be able to Deck the halls and everything else with beautiful baubles, bursting with color and delight!

What do you think?  Do you think that decorative die at the top could be used as a wreath?  How about a doily?  Maybe even several of them cut in different colors to create a really cool birthday card.  Sometimes it’s fun to think outside of the box!

Are you a traditional card maker sticking with the reds and green … or how about a touch of modern with the wood panel behind your holiday decorations!

Either way, you can see the versatility of this beautiful stamp set and coordinating die set. If I was to pick my favorite of these three … Hmmm, it’s a hard choice but I may pass on the sparkle this time and vote for the elegance of the blue and silver.

They are all pretty and it’s nice to see the different styles. Just like we are all different but a fun craft called stamping brings us all together!

Thank  you so much for checking in on me today.

I wish you a great day and a beautiful weekend!

Click on image to learn more about this amazing bundle …


Spooky Graveyard …

Hello Stampin’ Friends ~

Today I have my alternative Paper Pumpkin project to share with you … I may have gotten a bit carried away with the spooky side of things – lol

So I took the tags and cut them down to turn them into headstones and created a graveyard! The cute little ghost and the bat along with the greetings were all included in the Paper Pumpkin kit …

Since I sponged my background, I added a little sponging on my gravestones to age them a bit.  Not included in the kit was the moon which I just punched with the 1-1/2″ Circle punch. Oh yes … and I had to add a few orbs in the grave yard … the cute little Glitter Dots really did the trick.

Hope you enjoyed taking a haunted hike with me today through my spooooky graveyard, thanks for joining me.

Have a safe and fun day ~