
Hello Stampin’ Friends ~
I hope you enjoyed a wonderful weekend. Mine was filled mainly with stamping … a Stamp Club on Saturday morning and a Stampin’ Party on Saturday afternoon, and some card designing on Sunday!
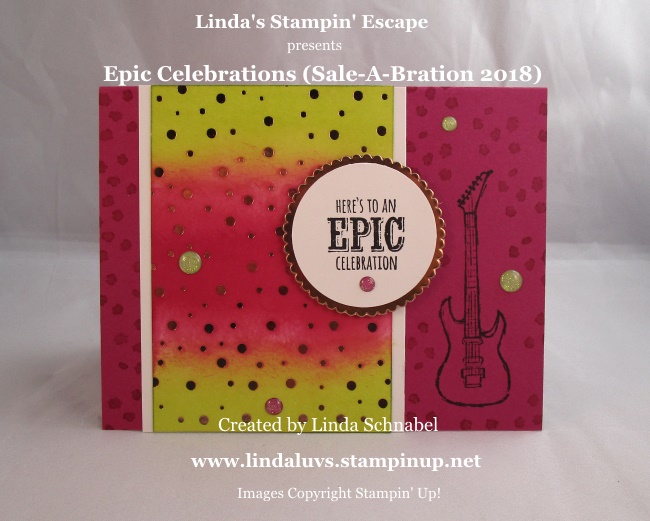
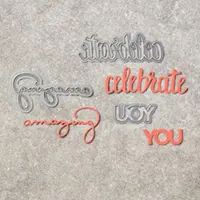
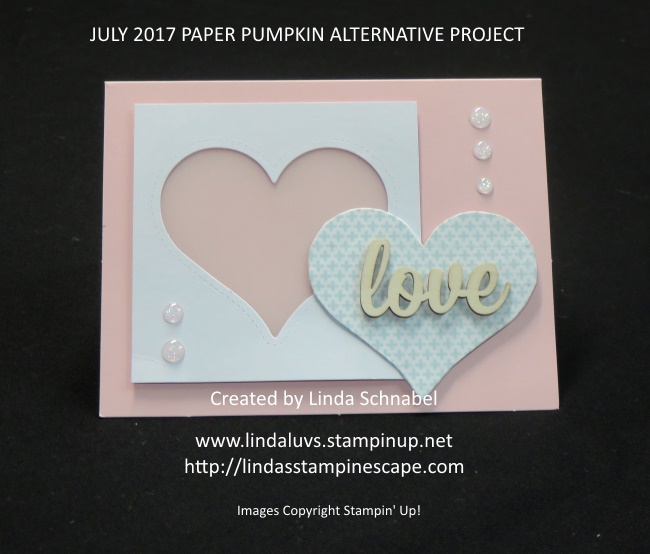
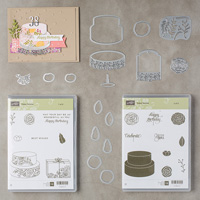
One of the cards I designed yesterday is the one I’ll be sharing with you today. I was having some fun with the Epic Celebrations stamp set … it is one of the Sale-A-Bration items you can get FREE with a qualifying purchase.
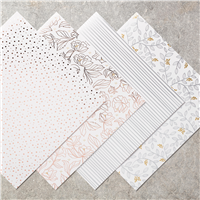
I began by stamping my guitars onto the Wood Textures Designer Series paper, cut them out and then sponged a little Crumb Cake ink onto my guitars … gives them a little dimension ….

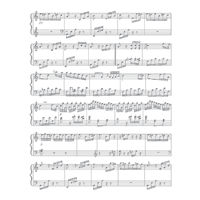
Then I stamped the Sheet Music Background stamp onto some Very Vanilla cardstock … I sponged the musical paper as well because it ages it some and really highlighted the guitars.
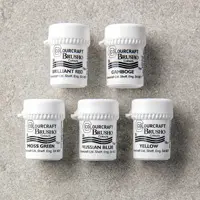
I created my background by starting with a 4″x5-1/4″ piece of Bermuda Bay. Then I sprinkled some of the Brusho directly onto my cardstock and then spritzed it with water … I did not over saturate, I just wanted speckles!
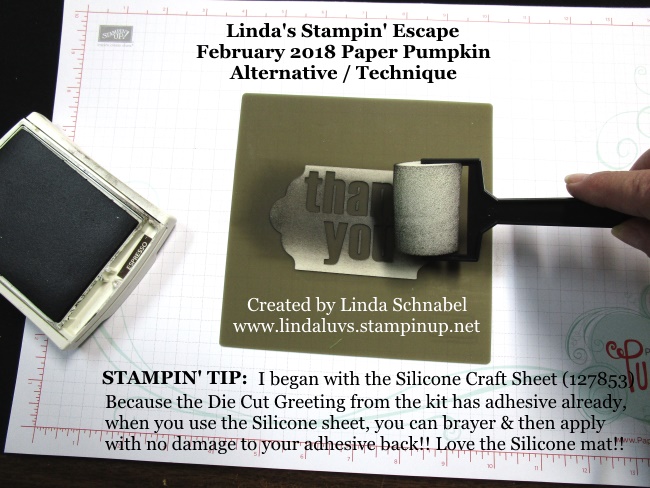
Begin lightly “Less is more” … you can always add, but sometimes it’s hard to take it back off. I did the same with my greeting on a piece of Very Vanilla.

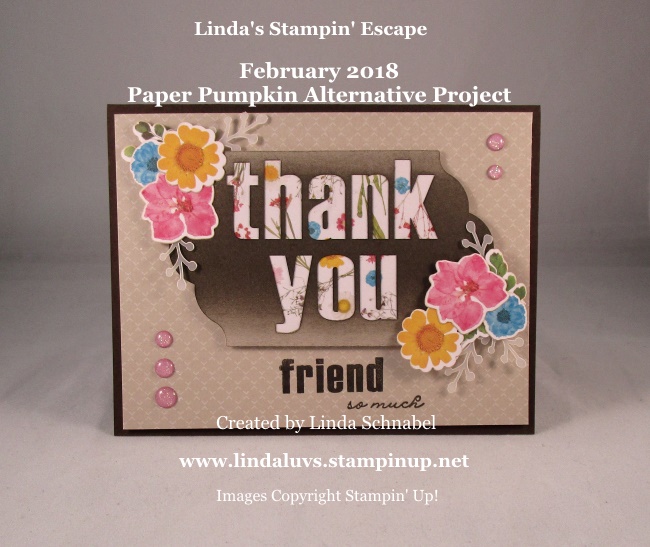
I then cut my greeting out with the “Layering Ovals Framelits” and sponged the edge with the Crumb Cake as well. The greeting, the music notes, and the entire card front are matted with the Basic Black Cardstock. The entire cardfront is adhered to a Very Vanilla back.
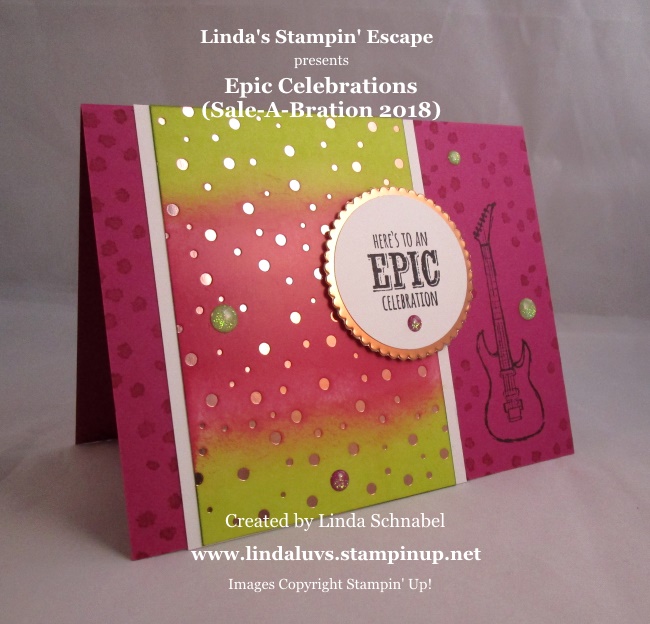
Check this out …

I really liked the way this turned out, I glazed (covered) the guitars with the glue from the Fine Tip Glue Pen. Not only does the glue stiffen the paper but it highlights the grain of the “wood” grain paper. Love it!!
Sometimes you just gotta play and discover all the different things you can do with the products you have in your craft room!
Thank you for joining me today, it is appreciated!
Have a marvelous Monday ~

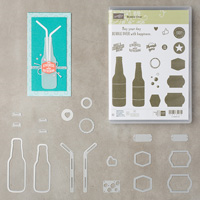
TODAY’S STAMPIN’ SUPPLY LIST …


