Hello Stampin’ Friends,
Today I have an enchanting combination of water-based ink pads, masking, and blending techniques to help you brew up some spooktacular Halloween fun!
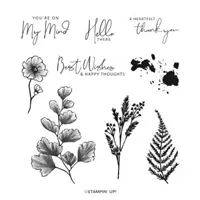
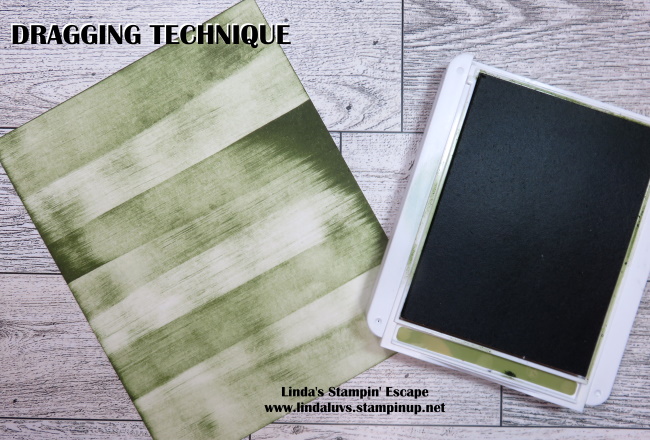
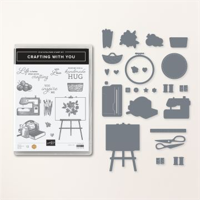
Let’s dive into the enchanting world of water-based ink for the masking technique using our blending brushes to create a mesmerizing background. We’re creating a Halloween card using the Tricks and Treats bundle from our new Holiday Mini Catalog. Sit back and watch while I stir things up ….
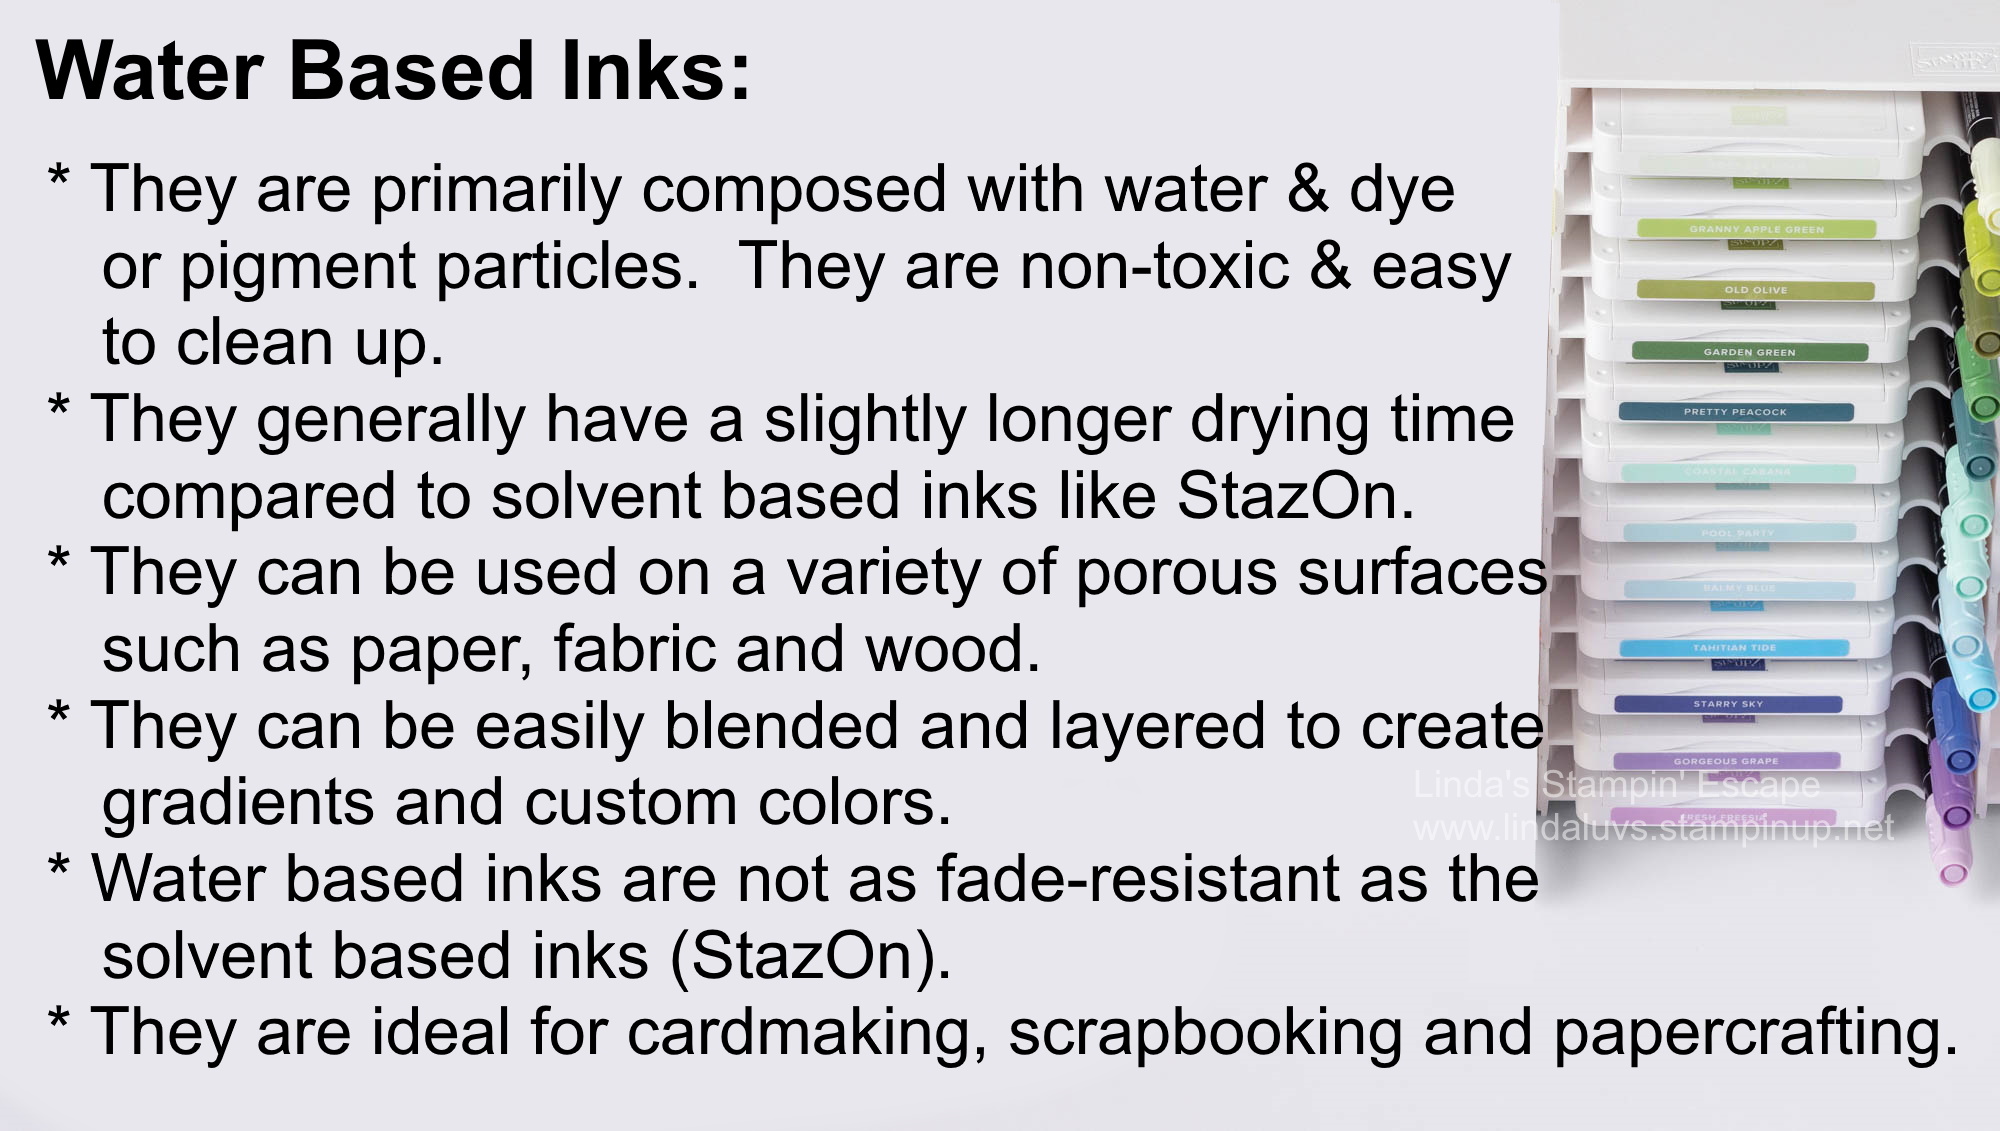
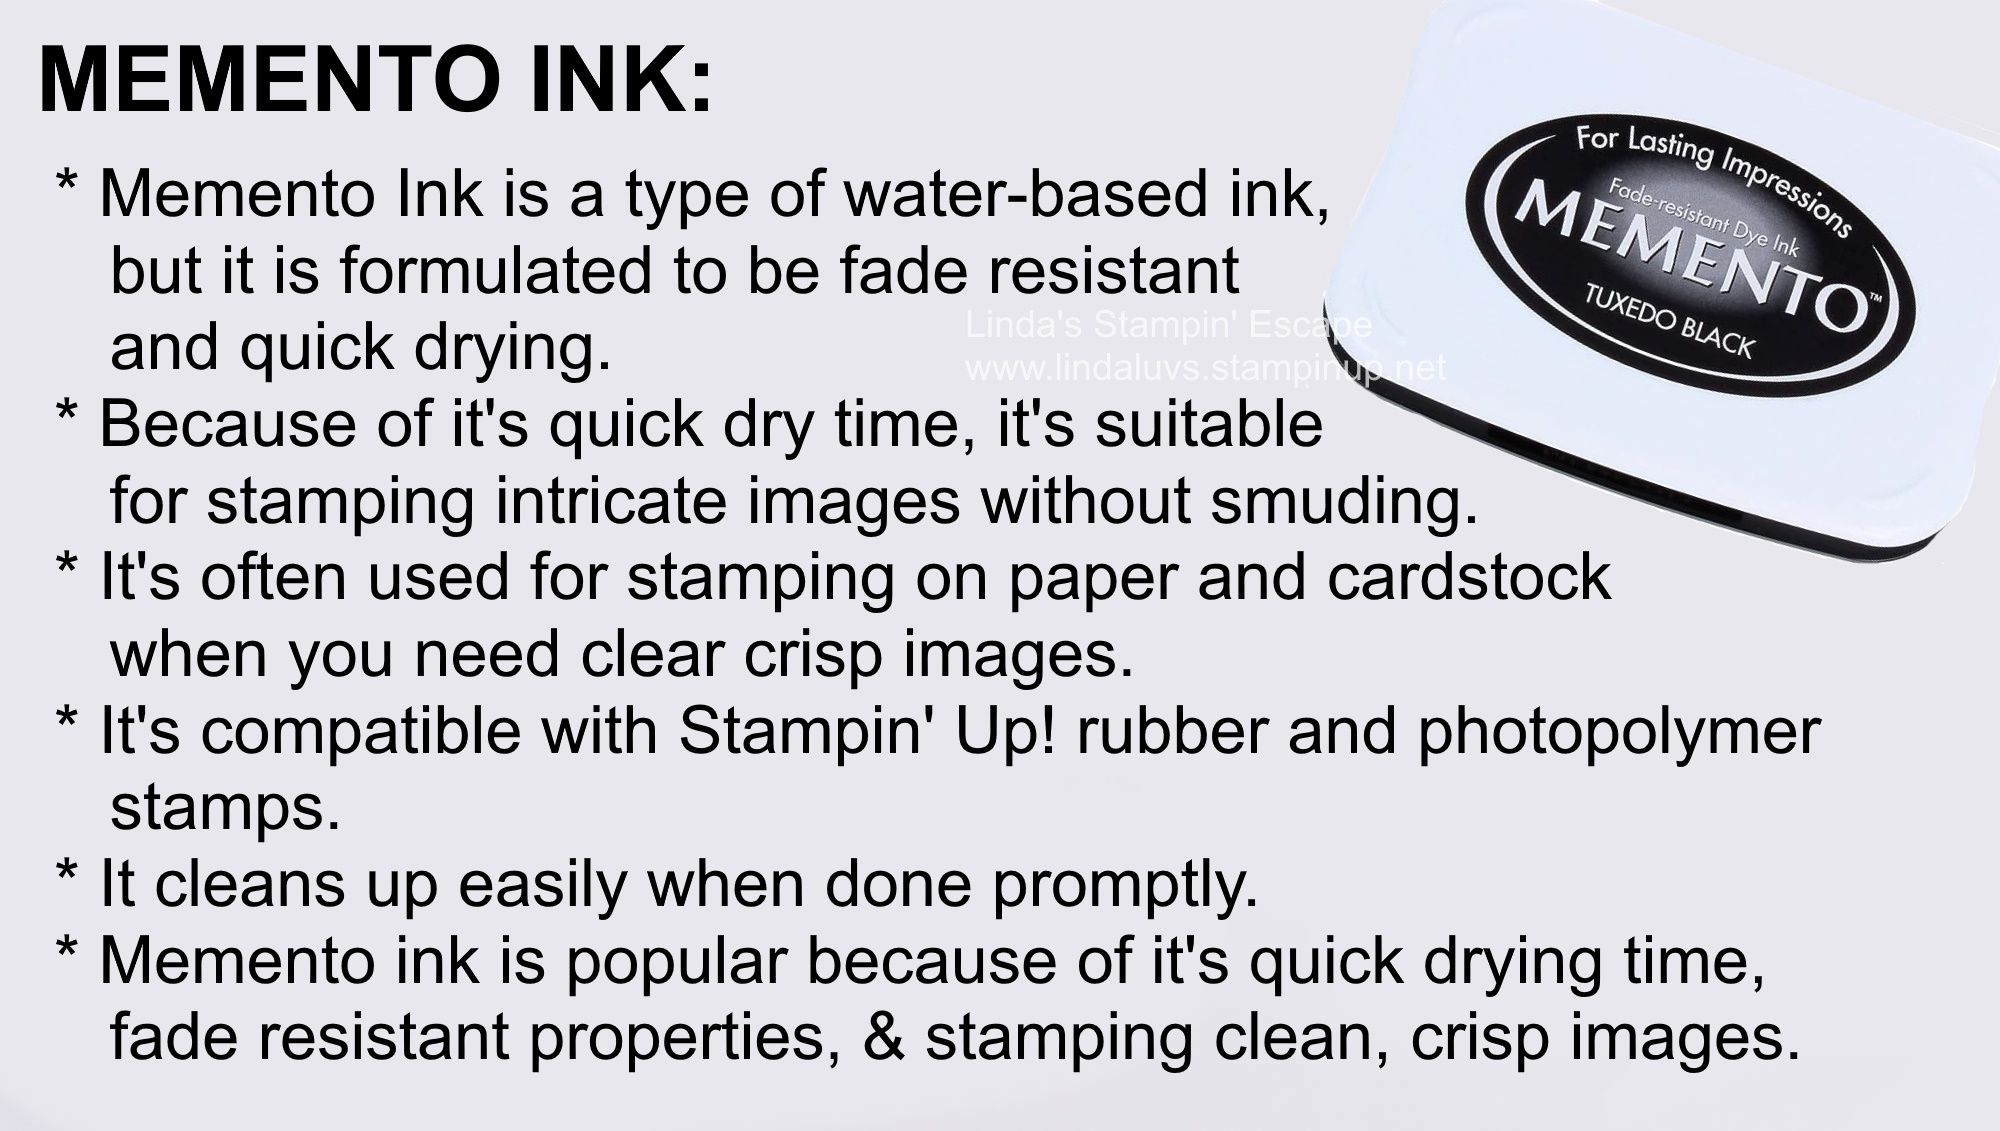
Let’s talk about the fabulous water-based ink pads. These little magic makers are perfect for your Halloween crafting escapades. They are easy to use, vibrant, and blend like a witch’s brew!
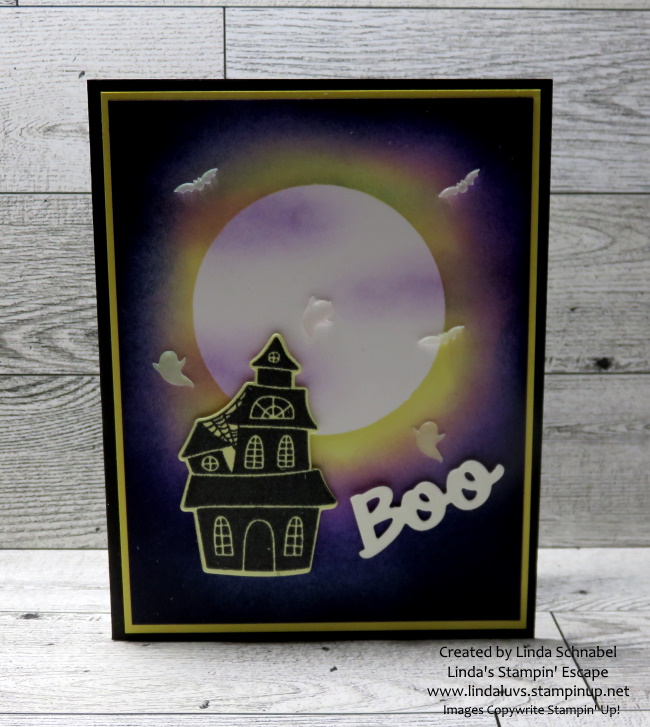
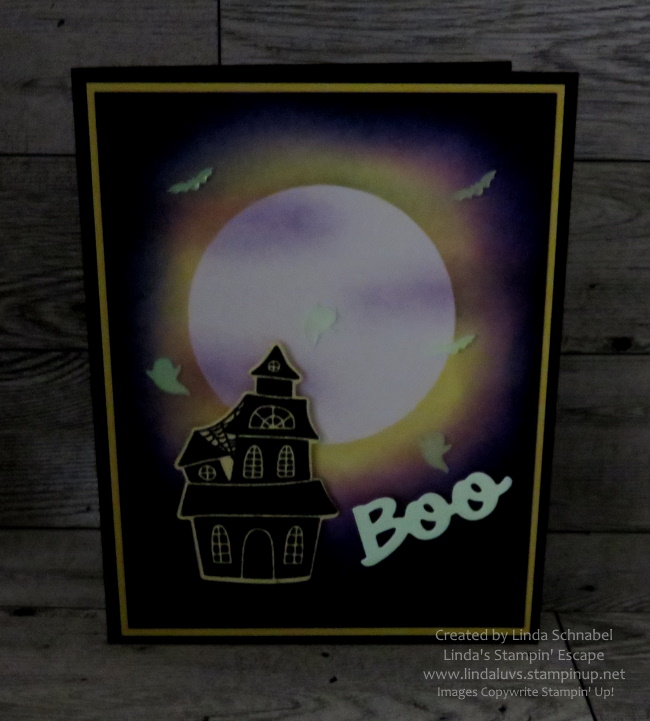
Blending is like the magic spell that ties everything together and gives your card that “wow” factor. And speaking of “wow” … let’s see those Glow in the Dark Bats & Ghosts.
Now that you’ve unleashed your inner Halloween crafting wizard, you might be wondering why you should bother with masking and the blending brushes… There’s something therapeutic about this technique, it’s like creating your very own therapy session. And you can totally change up the theme.
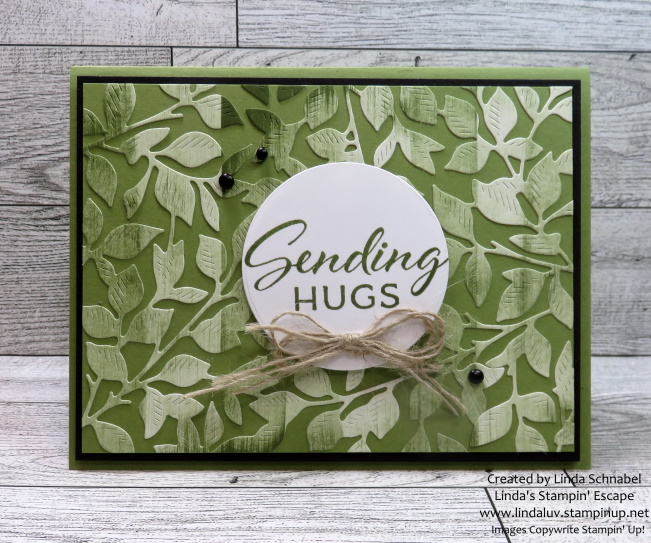
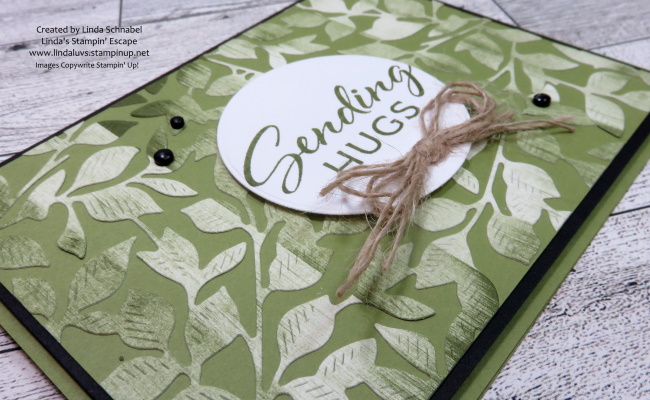
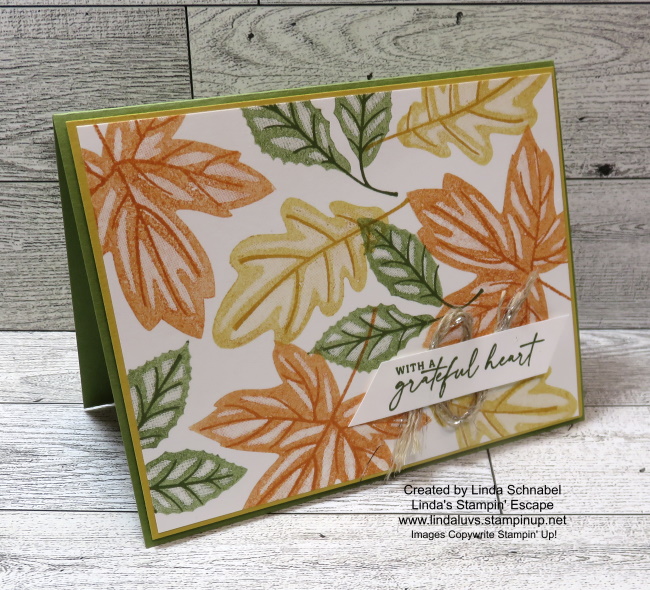
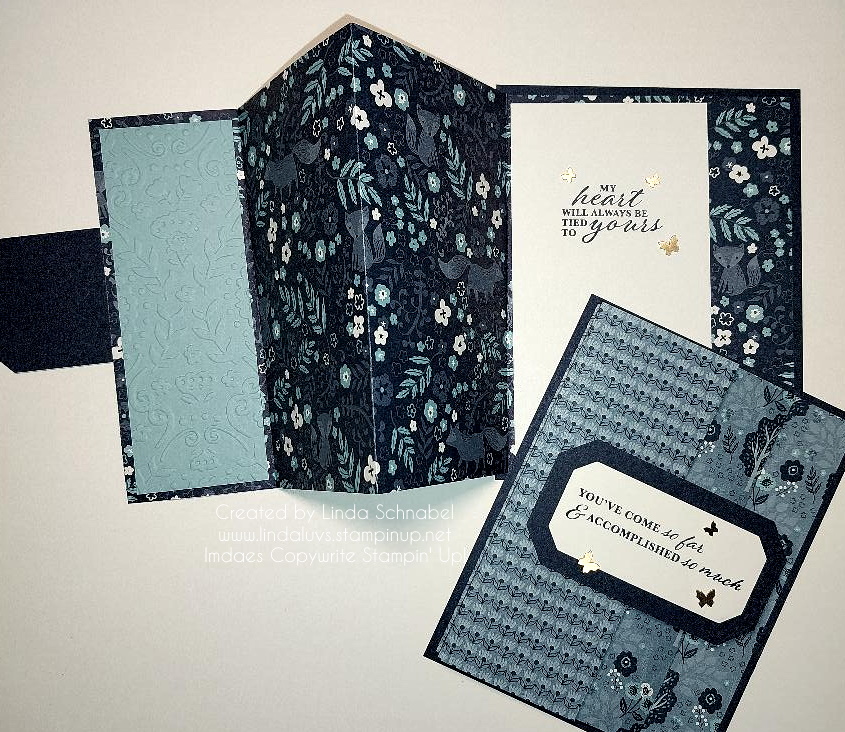
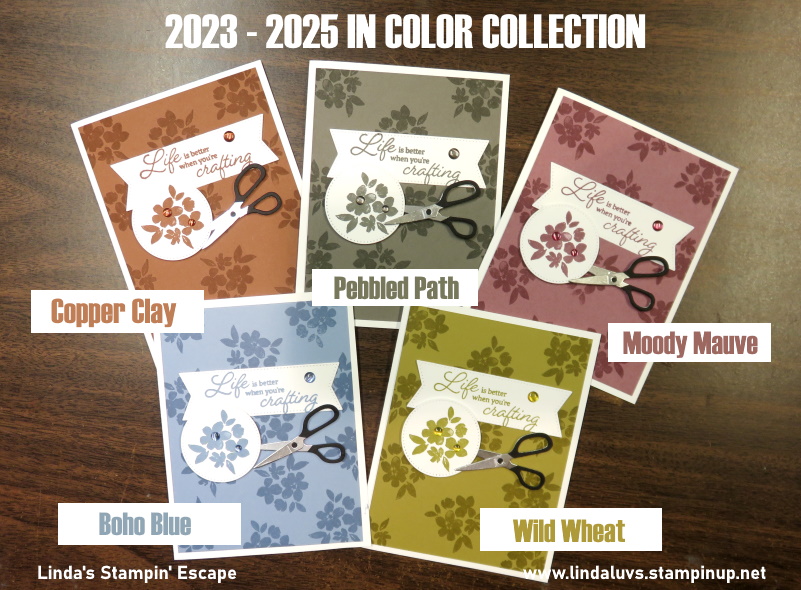
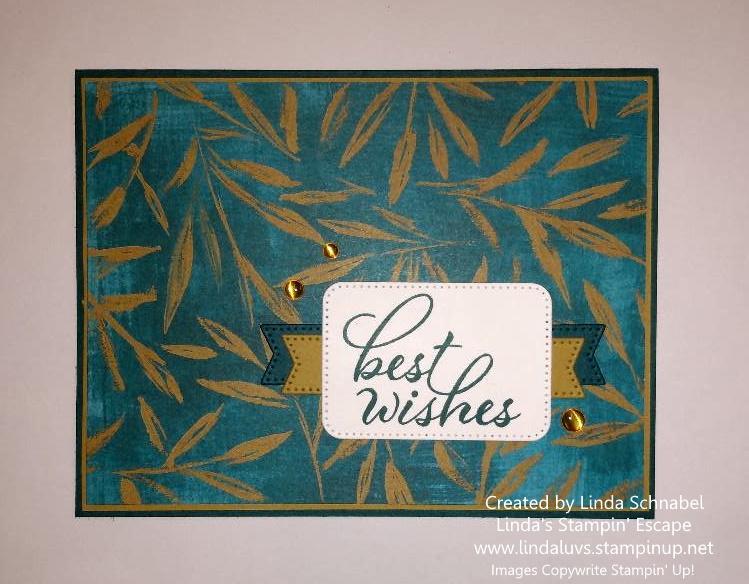
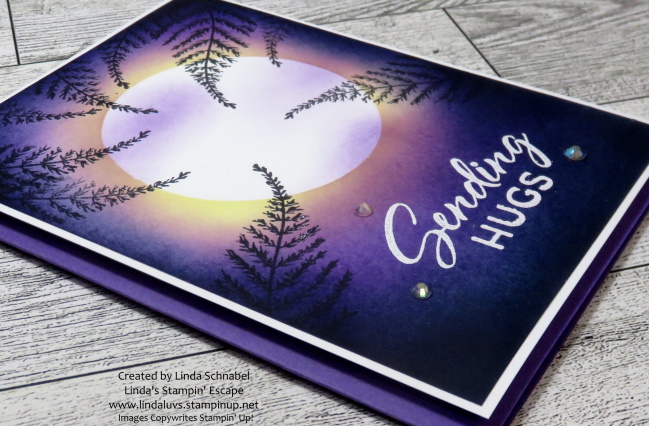
As promised in the video, I went from a spooktacular Halloween card to a stunning card sending hugs ….

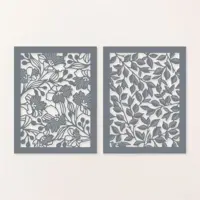
The spooky background with a full moon was transformed into a warm background and heartfelt feelings that can be sent to a friend to show you care. Instead of bats and ghosts, I stamped some pretty foliage from the Natures Prints stamp set.
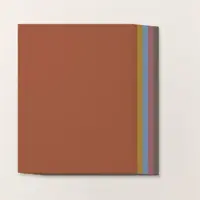
A slight change to a White mat and a Gorgeous Grape card base can help and soften that transformation.
So, there you have it – a bewitching blend of Stampin’ Up! water-based ink pads, masking, and blending techniques to brew up some Halloween magic or a total transformation. Remember, crafting is all about having fun.
Now, go forth, my friends, and create cards that are spooktacular… or sensational! Thanks for hanging out with me.