Effortless Coloring: Stampin’ Blends and the Festive & Fun Stamp Set

Hello Stampin’ Friends,

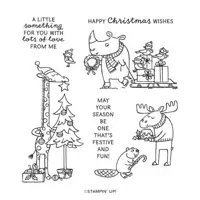
Are you looking to add a touch of whimsy and color to your holiday cardmaking? Look no further than the delightful Festive & Fun stamp set, coupled with the versatility of Stampin’ Blends markers! Specifically designed for ease and creativity, these tools can transform a our cute giraffe stamp into a vibrant, eye-catching focal point.

One of the standout features of the Festive & Fun stamp set is its charming giraffe illustration. This adorable character becomes a joy to color using Stampin’ Blends. These alcohol-based markers offer smooth and seamless blending, allowing both novice and experienced crafters to achieve professional-looking results effortlessly.

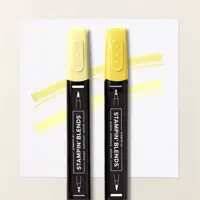
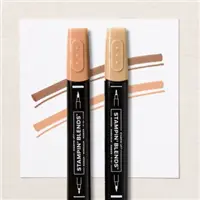
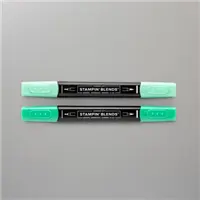
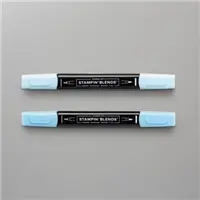
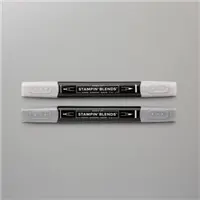
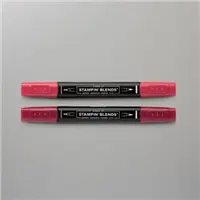
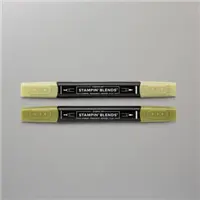
The secret to achieving stunning color depth lies in the layering and blending capabilities of Stampin’ Blends. Begin by selecting your desired shades for the giraffe’s body: Lemon Lolly & Medium Naturals. I used the Real Red, Shaded Spruce and Balmy Blue to color the rest. With the fine and brush tips of the markers, apply the lighter shade as the base layer and gradually add depth by layering the darker shade. I go over again once I lay down the darker color which really blends them and creates a visually appealing finish.

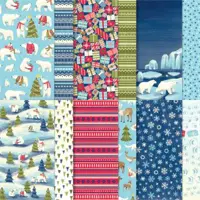
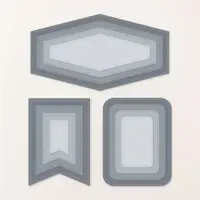
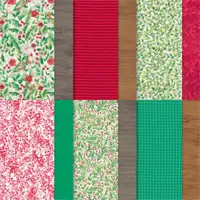
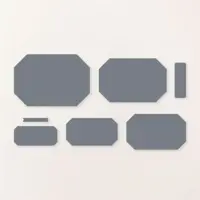
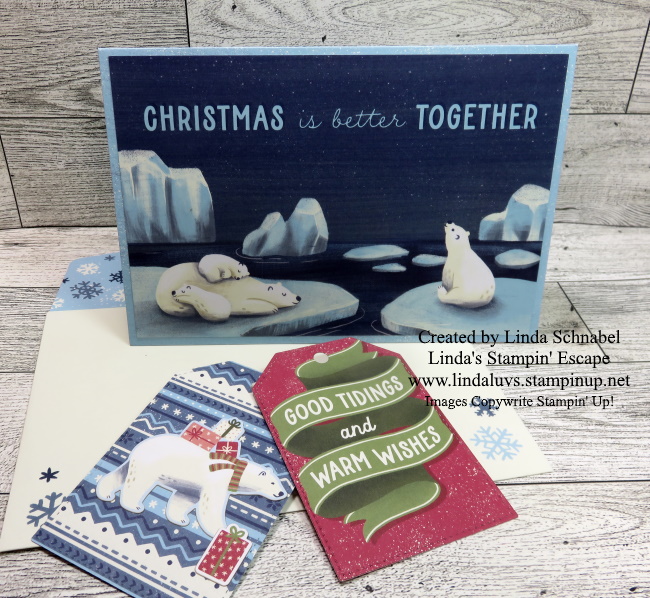
I used the Nested Essentials and Stylish Shapes Dies to highlight my images that are layered upon our festive Beary Christmas Designer Series Paper. I have another card to share … the Designer paper is retired however I wanted to share this fun layout.

Unleash your creativity and bring this adorable giraffe to life with the vivid hues of Stampin’ Blends markers. Even a subtle change in designer papers and layer can add to the festivities! Don’t forget that Wink of Stella on your Star and ornaments!!

Time to grab your Festive & Fun stamp set, Stampin’ Blends markers, and Nested Essentials Dies, and embark on a colorful crafting escapade today!

Thanks for stopping by and Happy crafting!
So Very Merry & Coloring Techniques

Hello Stampin’ Friends,

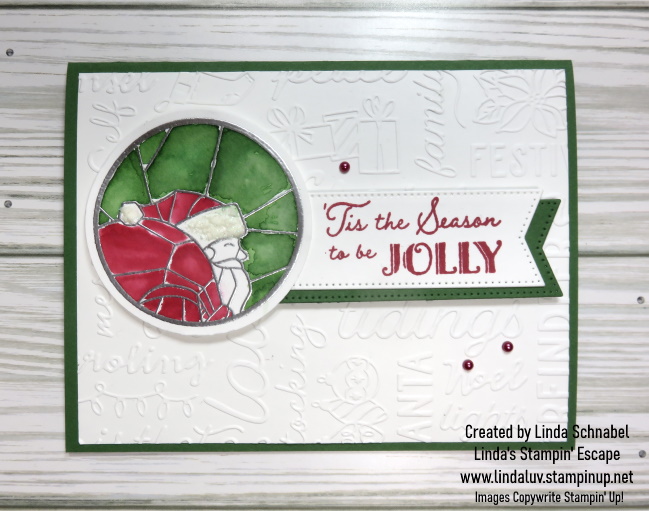
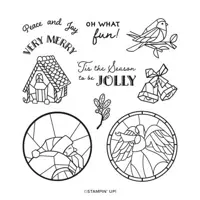
We continue to party over on my FACEBOOK page and I extend an invitation to you to join me in Santa’s Workshop for a spectacular Holiday Stamping Extravaganza! We’ve kicked off our LIVE Demonstration with the So Very Merry Stamp Set in the OnLine Exclusives …. This beautiful set was demonstrated using different coloring techniques.

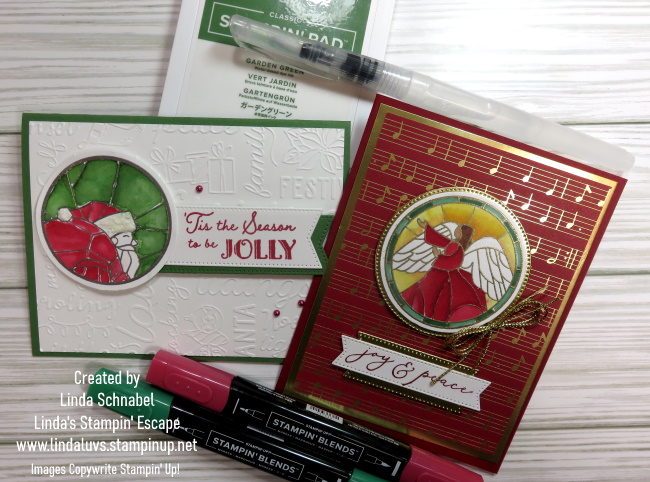
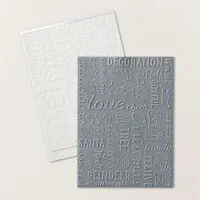
Our Santa card features the Christmas Tidings embossing folder. Santa is done in the water-coloring technique using or classic ink and Water Painter. We embossed the image in Silver with helps to contain the color when using this technique. I think this watercolor technique lends itself well to the stained glass look of the stamp set.

The second card is the stunning angel and was colored using the Stampin’ Blends and was paired with the “Joyful” Designer paper and Gold Foil …

I showcased several coloring techniques including our Watercolor Pencils … it was a fun stamp session that kicked off several more. The party continues throughout the day tomorrow with a LIVE demonstration at 6:30pm.

Join us virtually at Linda’s Stampin’ Escape Facebook page [CLICK HERE] for live-streamed demonstrations and virtual participation in games and prize opportunities.

Get ready to immerse yourself in a day of creativity, inspiration, and holiday cheer at the Holiday Stamping Extravaganza. Let’s make this season extra special by crafting heartfelt cards, exploring new techniques, and sharing the joy of creativity together.

Hope to see you on my Facebook page!

Here is the list of basic supplies used for these projects …

Twelve Weeks of Christmas: Week 7 / Gifting Creativity

Hello Stampin’ Friends,

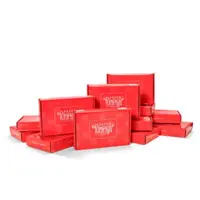
Looking for a unique gift that sparks creativity and brings loved ones together? Enter Paper Pumpkin – a delightful subscription box packed with everything needed to craft stunning projects. Whether you’re a seasoned crafter or a complete novice, Paper Pumpkin invites you to explore the joy of creating beautiful handmade crafts while making cherished memories with family and friends.

Let me share the fun of Paper Pumpkin with our October Christmas Kit ….

But why is Paper Pumpkin the perfect gift? Here are a few reasons:

  1. Shared Experience: Gifting a Paper Pumpkin subscription isn’t just about providing a crafting kit; it’s about sharing an experience. Imagine the joy of gathering around a table with family and friends, eagerly unboxing the latest kit, and embarking on a creative adventure together.
  2. Accessible Creativity: Not everyone feels confident in their crafting abilities, but Paper Pumpkin is designed for all skill levels. It’s a fantastic way to introduce loved ones to the world of crafting without overwhelming them. The guided instructions make it accessible and enjoyable for everyone involved.
  3. Monthly Surprise: The anticipation of receiving a new kit each month adds an element of excitement and surprise. It’s like unwrapping a present filled with creative possibilities every time the mailbox clinks!

Let’s take a closer look at the Alternative Projects. My first was a simple take on the card by just removing one of the house stacks ….

The second card I took the houses from the landscape card and paired it with a card base that was colored with a Blending Brush and then spritzed with Wink of Stella….

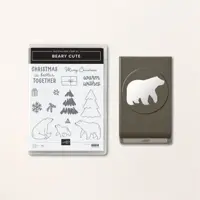
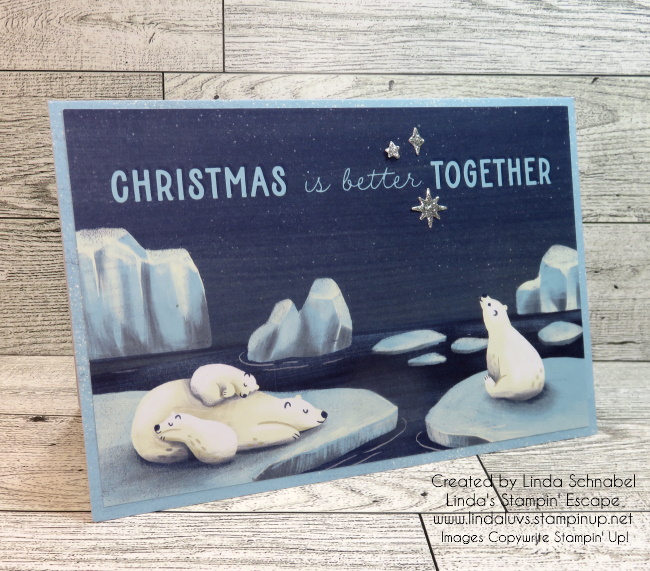
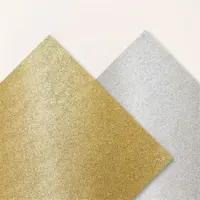
The third card used the cardbase from the houses of our second card and added the Beary Cute Bears! The greeting comes from the “So Very Merry” from the Online Exclusive line. I inked “each” word separately and stamped it. I also added a scarf and hat to my bear “after” the Facebook LIVE ended…. I also added some snow from the scrap glitter paper around the banners in the kit!!

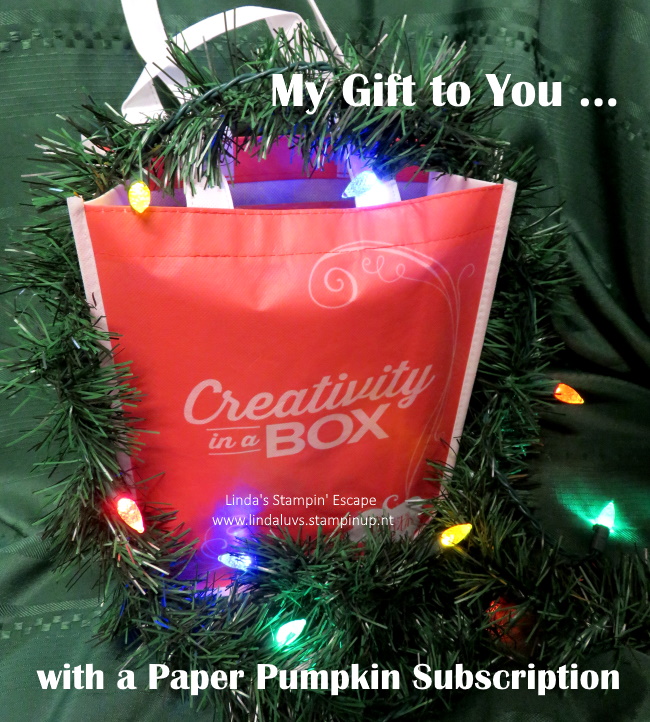
So, how can you gift this wonderful experience? Consider presenting your loved ones with a Paper Pumpkin subscription. It’s a gift that keeps on giving, delivering monthly doses of creativity right to their doorstep. AND … to sweeten the deal, I have a special offer: when you purchase a Paper Pumpkin subscription for yourself or as a gift, you’ll receive a complimentary Paper Pumpkin Bag to enjoy yourself! It’s a gift to them, from you, and a little something for you too.

Join the Paper Pumpkin family today and spread the joy of creativity among your loved ones. Whether it’s a cozy family crafting session or a get-together with friends, Paper Pumpkin brings people together through the magic of creativity.

Ready to gift the joy of crafting? CLICK HERE to get started!

Thanks for hanging out with me today! Let me know if you have any questions about Paper Pumpkin. I have some of the subscription links for you below as well.

A Beary Cute Christmas Together

Hello Stampin’ Friends ~

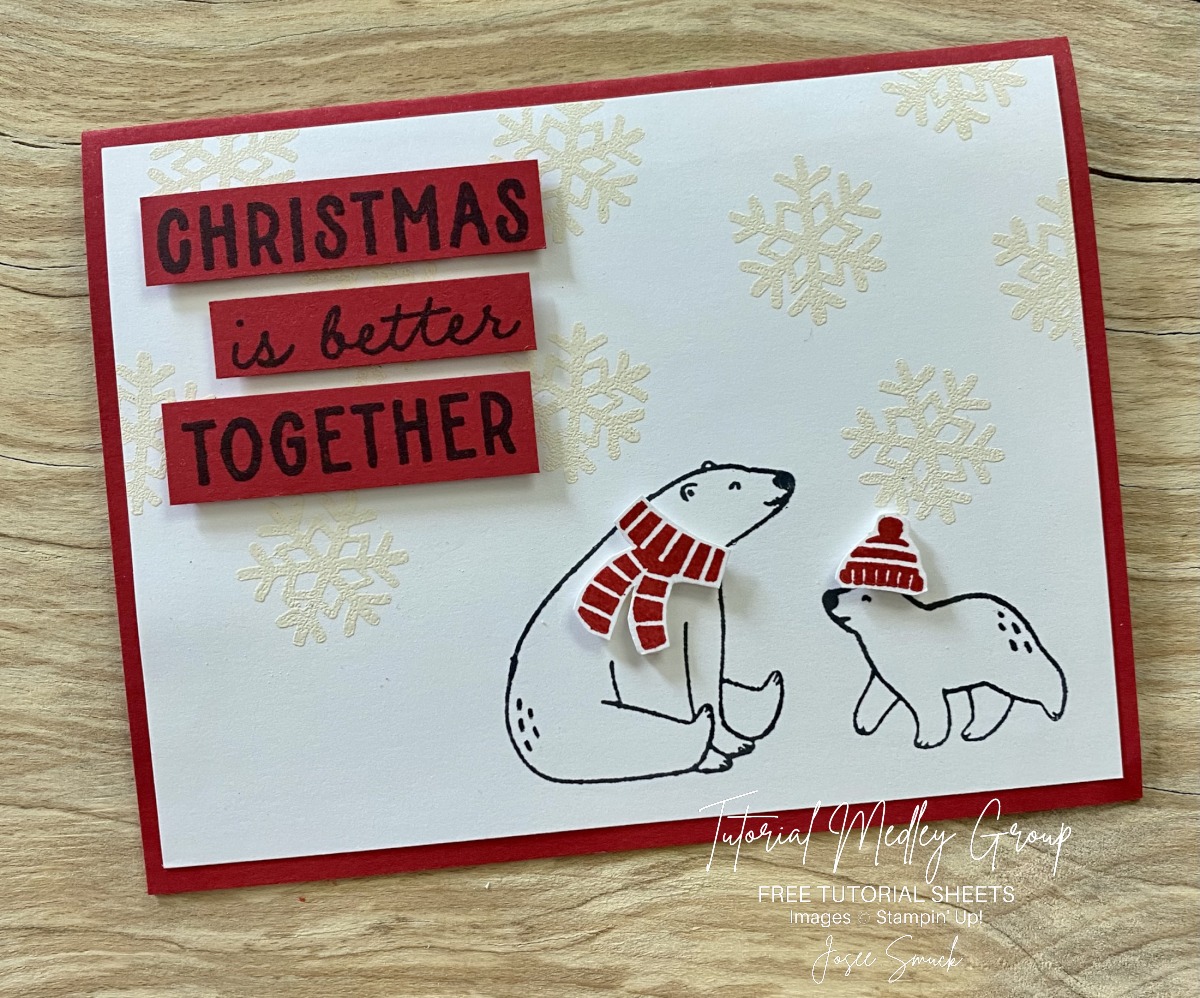
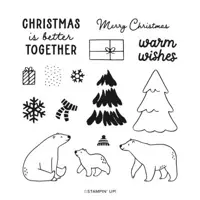
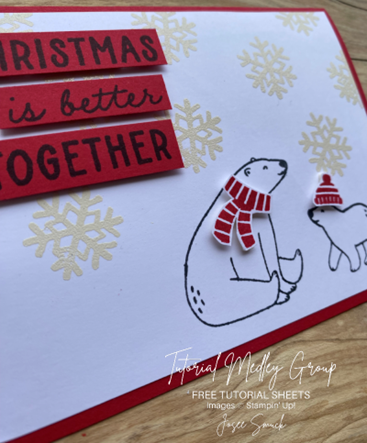
Today I have a “Beary Cute” card for you from a fellow design artist from the Tutorial Group I am part of. You will get the measurement and instructions to recreate this card yourself. If you don’t have these supplies yet, I will have everything listed at the end of the tutorial. Enjoy ….

Measurements:

  • Real Red : 5 ½ x 8 ½
  • Basic White: 4” x 5 ¼”

Instructions:

  • Score and fold the Real Red cardstock at 4 ¼.
  • Stamp the bears using Memento Black ink.
  • Use the Versamark ink pad to stamp the snowflakes randomly on the Basic White cardstock.
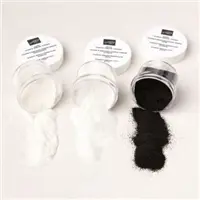
  • Sprinkle White Embossing Powder on cardstock and tap off excess.
  • Heat until totally melted using the Heat Tool. Adhere the layer to the card.
  • Stamp the greeting on Real Red cardstock using Memento black ink. Cut each line using a Paper Trimmer. Adhere the greeting using Dimensionals.
  • Stamp the scarf and hat on a piece of Basic White cardstock. Cut them out using Paper Snips. Add them to the card using Dimensionals.

So cute and so simple to make!! I hope you enjoyed today’s card share and felt inspired to pull out your stamps and start creating.

Thank you for stopping by today ~

The Enchanting world of the Oh Holy Night Product Suite

Hello Stampin’ Friends,

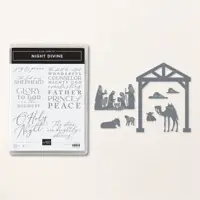
Welcome to an exciting showcase of holiday magic! Today, I’m thrilled to share a captivating video replay from my Facebook journey, unveiling the enchanting world of the Oh Holy Night product suite. As we dive into the festive season, join me in exploring the three cards that serve as luminous beacons, each illuminating a unique facet of this delightful collection. Let the festivities begin!

Glory to God Card …

Measurements for Glory to God:

Night of Navy Base: 8 ½” x 5 ½” / Score & Fold at 4 ¼”

Vanilla (Front/Inside) Cut 2 – 5 ¼” x 4”

Gold: 3” x 3”

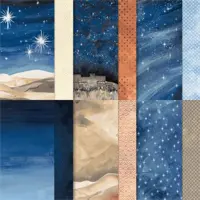
Designer Paper: 2 ¾” x 2 ¾”

Ribbon as needed / Stampin’ Dimensionals

Joy and Peace Card …

Here is another view so you can see the dimension!!

Measurements for Joy & Peace Card

White Base: 8 ½” x 5 ½” / Score & Fold at 4 ¼” / Plus enough Whisper to cut out 4 point star and stamp greeting

Pretty Peacock Mat:  5 ¼” x 4”

Hologram Trio Specialty Paper: 5” x 3 24” plus enough to cut a star out

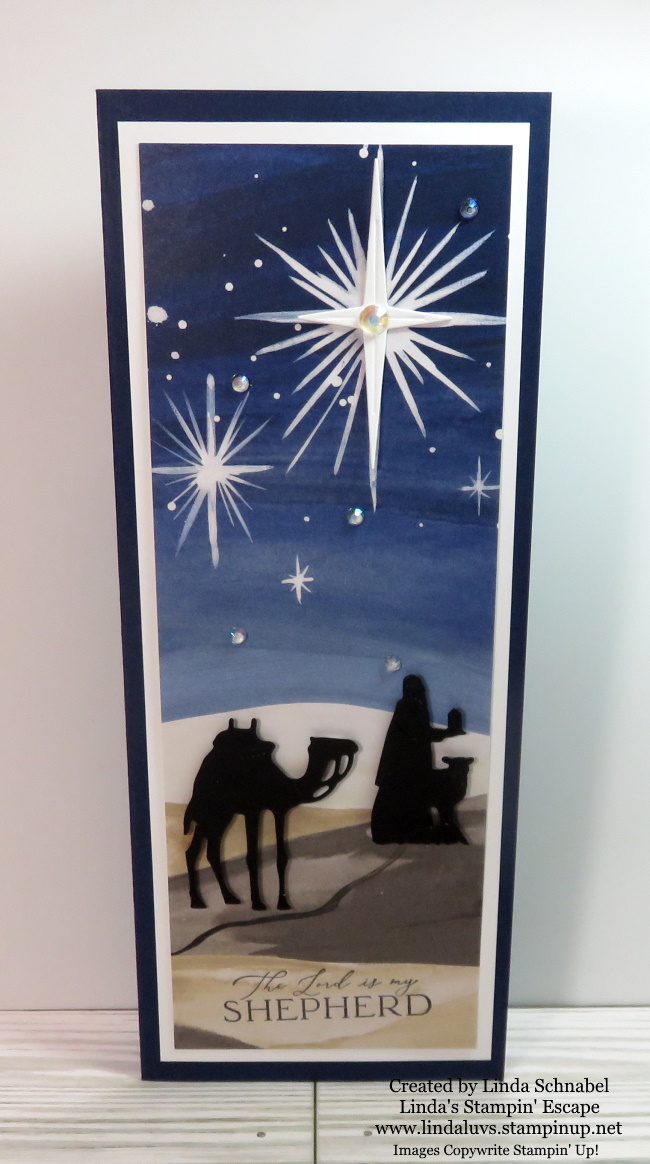
The Lord is my Shepard Card …

Measurements for Joy & Peace Card

Night of Navy Card Base: 9 1/4” x 8″ / Score & Fold at 4″

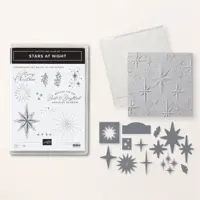
Basic White (Front & Inside) Cut 2 – 9″ x 3 3/4″ pieces, plus enough Basic White to cut out 4 point star and stamp greeting

Designer Paper: 8 3/4″ x 3 1/2″

Black scrap to cut out camel and king

As we wrap up this festive journey through the Oh Holy Night product suite, I hope the video highlighted the three radiant cards and have sparked a sense of holiday wonder in your hearts. As you explore the possibilities within this enchanting collection, may you find the perfect expressions to share with your loved ones or add a touch of holiday spirit to your surroundings.

Thanks for joining me today ~

🌟🎄 #OhHolyNightMagic #HolidayJoy #FestiveRevelry

Celebrate the Season with the Joy of Christmas Suite

Hello Stampin’ Friends ~

Today we will be celebrating the upcoming season with the Joy of Christmas Suite. Many of you are beginning your holiday cardmaking, and what better way to do so than with beautiful handmade Christmas cards? The Joy of Christmas Suite from Stampin’ Up! offers everything you need to create stunning holiday greetings that will warm the hearts of your loved ones.

In this blog post, we’ll focus on two exquisite components of this suite: the Joy of Noel dies and the Joyful 12 x 12 Specialty Designer Paper. I’ll also demonstrate how to make a simple yet elegant Christmas card, embellished with Gold Festive Pearls, using Cherry Cobbler cardstock and Gold Foil. Let’s dive into the world of festive creativity!

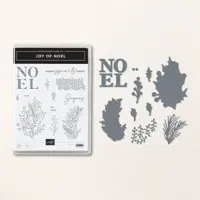
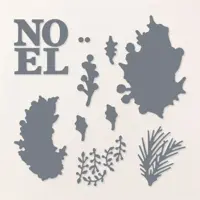
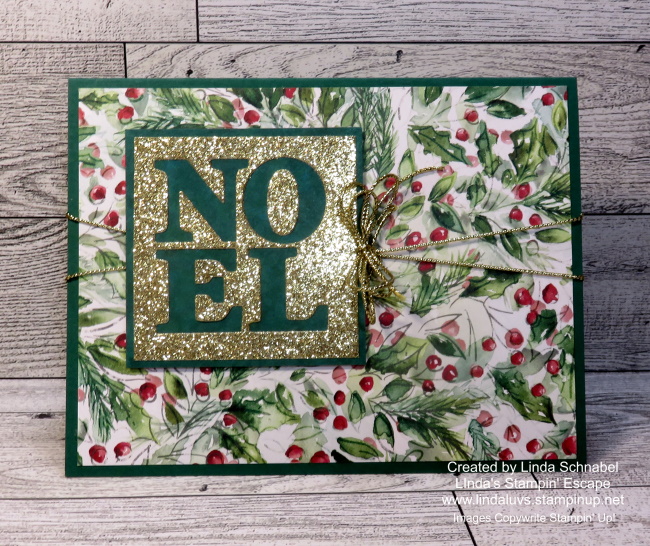
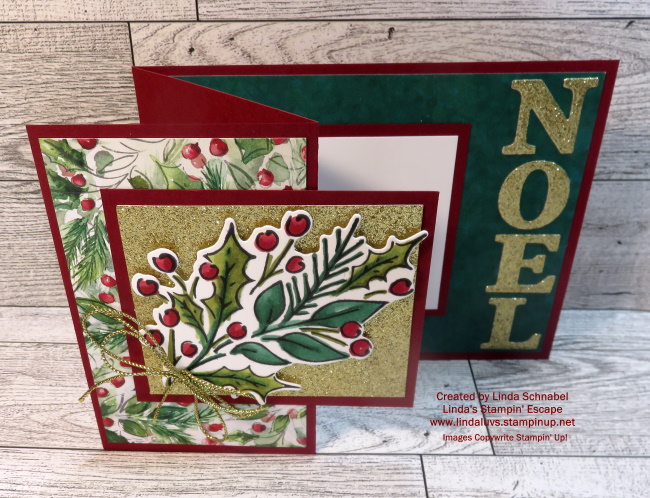
The Joy of Noel dies are the perfect addition to your crafting arsenal this holiday season. These intricate dies allow you to effortlessly create stunning holiday-themed designs that will leave a lasting impression. One of the standout features of these dies is the word “Noel,” which adds a touch of elegance to any project.

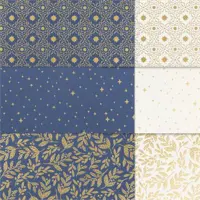
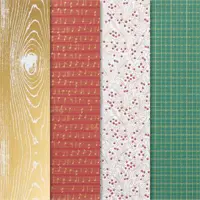
The Joyful 12 x 12 Specialty Designer Paper is a delightful collection of holiday-themed patterns and designs. With its rich color palette and intricate patterns, this paper is ideal for creating beautiful cards and projects. It includes metallic accents that add a touch of opulence to your creations, making it the perfect choice for your Christmas-themed projects.

  • Cherry Cobbler cardstock (8.5″ x 5.5″, folded in half to create a 4.25″ x 5.5″ card base)
  • Gold Foil (4″ x 5.25″)
  • Joyful 12 x 12 Specialty Designer Paper (3.75″ x 5″)

Using the Joy of Noel dies and a die-cutting machine, cut out the word “Noel” from the Gold Foil. This is a great paper saving technique. Now you can attach the Gold Foil to your Cherry Cobbler Cardbase, and the Joyful Designer paper over that. Using Dimensionals, attach your “NOEL” to the cardfront.

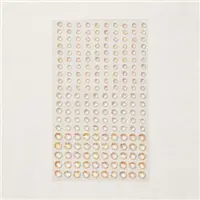
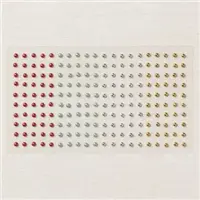
Add Gold Festive Pearls to the card to enhance its elegance. You can place them strategically around the “Noel” die-cut or as you prefer.

With the Joy of Noel dies, Joyful 12 x 12 Specialty Designer Paper, and other coordinating products, you can create beautiful, heartfelt Christmas cards that will bring joy to your loved ones. This simple yet elegant card, adorned with Gold Festive Pearls, is just a glimpse of the endless possibilities this suite offers.

So, gather your supplies, let your creativity shine, and share the magic of Christmas with handmade cards that truly convey the spirit of the season.

Happy crafting ~

Beary Cute Gifts For You

Hello Stampin’ Friends,

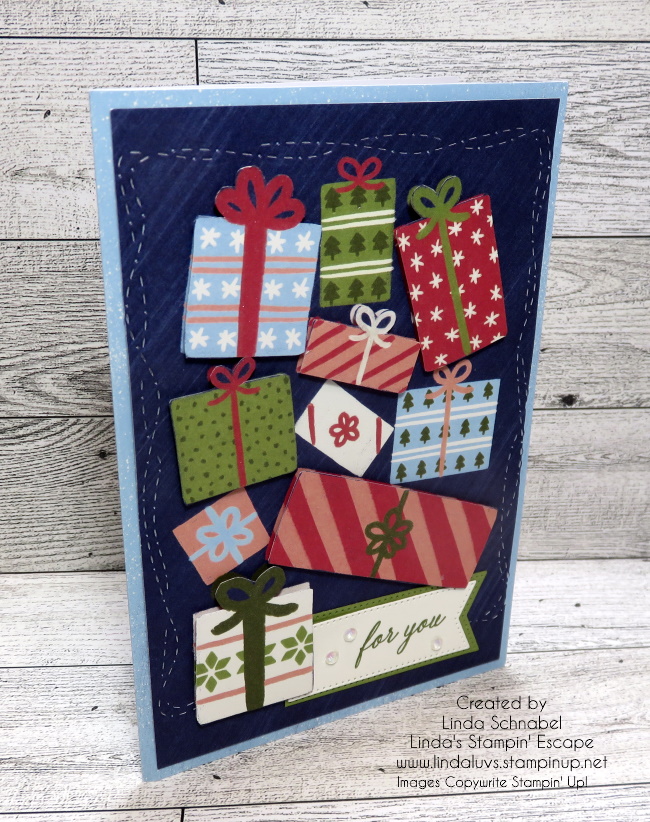
Yesterday, we explored the Beary Christmas Memories and More Card pack, and I showed you how to create some delightful and easy-to-make holiday cards. Today, we’re continuing our creative journey with these cards by exploring the art of layering. I’m using the same two cards, and cutting out the presents on one to layering a few onto the first card … you can actually get two card from 3 of these 4′” x 6″ present cards.

One of the most enjoyable aspects of crafting is experimenting with different techniques and materials to make your creations stand out. Layering is a fantastic way to enhance the visual appeal of your cards. The key to successful card layering is to be adventurous and have fun.

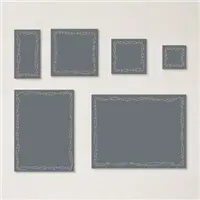
Layering looks great with texture so I used the Stitched with Whimsey dies to create some fun texture around the edge. I added Wink of Stella to each of the bows on the packages that I popped up. My greeting was stamped in Old Olive from the Sparkling Snowflakes stamp set and then die cut with the banners from the Stylish Shapes dies.

So, if you’re ready to have some fun with your holiday card-making, give this layering tip a try. The Beary Christmas Memories and More Card pack offers an excellent canvas to spark your creativity. With a little patience and a sprinkle of festive magic, your layered presents will be sure to spread joy and cheer to your loved ones this holiday season.

Hope the cards that I have shared these past two days have inspired you to try some fun and easy layering techniques.

Thank you for checking out my blog … Have a great day.

Twelve Weeks of Christmas: Week 4

Hello Stampin’ Friends,

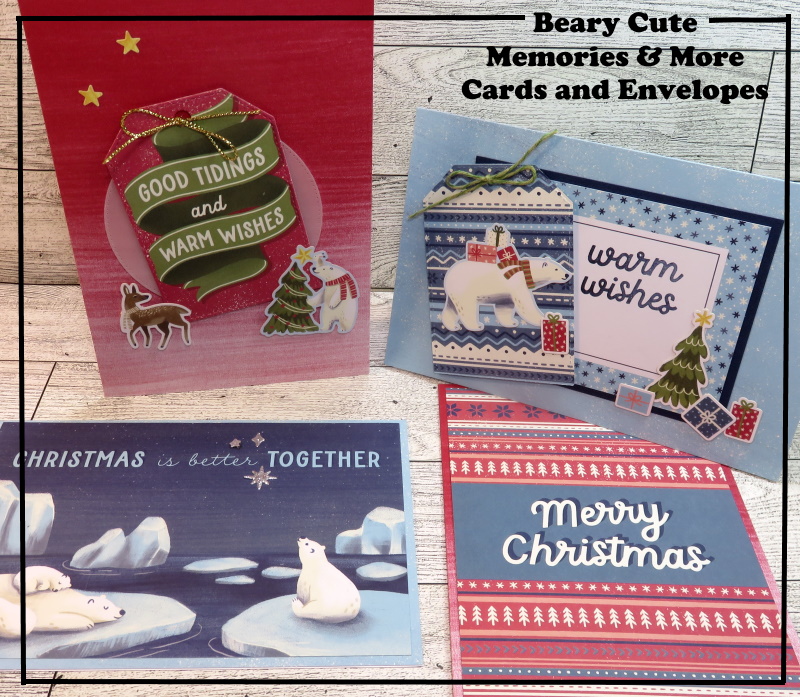
The holiday season is just around the corner, and what better way to spread joy and warm wishes than by sending heartfelt Christmas cards to your loved ones? If you’re looking for a simple and delightful way to craft your own Christmas cards, Stampin’ Up! has the perfect solution with their Beary Christmas Memories & More Cards and Envelopes. In this blog post, we’ll explore the ease and creativity that comes with using these wonderful products to craft your own personalized Christmas greetings.

Today I have a video with 4 cards to share with you …

One of the key advantages of using Stampin’ Up! Beary Christmas Memories & More Cards and Envelopes is that the cards are pre-designed and ready to use. The cards feature delightful Christmas-themed designs that instantly set the festive tone for your holiday greetings. These designs include adorable bears, festive ornaments, and cheerful patterns that are sure to bring a smile to anyone’s face.

Creating your Christmas cards from scratch can be time-consuming, but with these pre-designed cards, the process becomes a breeze. You can simply pick the cards that resonate with your style and sentiments, saving you precious time during the busy holiday season.

While the cards are pre-designed, there’s plenty of room for personalization. You can add your own heartfelt messages, family photos, or even embellishments like ribbons, stickers, or glitter to make each card truly your own. This is a great way to make your cards unique and memorable.

Creating Christmas cards with Stampin’ Up! Beary Christmas Memories & More Cards and Envelopes is a delightful and stress-free way to share your love and warm wishes during the holiday season. These pre-designed cards, accompanied by coordinated envelopes, make the process of crafting your own cards easy and enjoyable.

With the freedom to add your own personal touches, you can create cards that are as unique as the people you’re sending them to. So, make this holiday season extra special by sharing your love and creativity with your friends and family through personalized Christmas cards.

Thank you for taking time out of your Sunday to stop by for a visit ….

Happy crafting!
Last Nights Leftovers … Crafters Heaven!

Hello Stampin’ Friends,

If you’re like me, you’ve probably been busy creating beautiful holiday cards, and you might just have a pile of leftover die cuts from your previous projects. Well, fear not! Today, we’re going to embrace the Joy of Christmas suite of products and turn those remnants into a cute and quick Christmas card that will warm the hearts of your recipients.

The Joy of Christmas Suite: A Festive Wonderland

Before we dive into our crafting adventure, let’s talk about the Joy of Christmas suite of products. This collection is a true winter wonderland for crafters, featuring everything you need to create stunning holiday cards and decorations. With its rich colors, whimsical designs, and versatile elements, the Joy of Christmas suite is sure to make your crafting sessions joyful and memorable.

The suite typically includes:

  1. Christmas-themed Paper: High-quality, double-sided paper with charming holiday patterns.
  2. Stamps and Dies: Coordinating stamp sets and die cuts for easy card-making. (Save 10% when bundled)
  3. Embellishments: Currently Unavailable.

Now, let’s put those leftover die cuts to good use and create a delightful Christmas card!

All you need is your card base, I’m using Shaded Spruce, then my 4″x 5-1/4″ piece of Designer paper and then I took the left over piece from yesterday’s card and popped it onto a piece of Shaded Spruce designer paper …. And there you have it! In just a few easy steps, you’ve transformed your leftover die cuts into a cute and quick Christmas card that’s sure to bring a smile to someone’s face.

Remember, the Joy of Christmas suite of products is all about embracing the festive spirit and spreading joy through your creations. So, dig into your crafting supplies, unleash your creativity, and enjoy the magical process of making handmade Christmas cards. After all, there’s nothing quite like receiving a thoughtful and homemade card during the holiday season.

Happy crafting, and don’t forget to join me LIVE on Saturday for my World Cardmaking Day LIVE on Facebook…..

Twelve Weeks of Christmas: Week One

Hello Stampin’ Friends,

‘Tis the season to be merry, and last night’s Facebook LIVE session marked the exciting kickoff of my “12 Weeks of Christmas” series! With this week dedicated to the “Joy of Christmas,” we delved into the world of holiday card crafting, and it was an absolute delight… except maybe tying the bow! 😅 You’ll have to watch the video to catch that ….

I’m was thrilled to guide you on the first card of this creative journey. After all, what’s better than starting your Christmas preparations early and infusing a little extra joy into your holiday season? If you can’t wait till next week Tuesday, join me for my World Cardmaking Event this Saturday!!

Let’s get you set up to create today’s card with the dimensions you’ll need …

  • Cherry Cobbler: 11″ x 4-1/4″ Scored at 2-2/3″ x 5-1/2″ plus 2 – 3-1/4″ x 2-3/4″
  • Designer Paper/ Front: 4″ x 2-1/2″ Inside: 4″ x 5-1/4″
  • Basic White: 3″ x 2-1/2″ and 4″ x 2-1/2″
  • Gold Adhesive Backed Glimmer Paper: 3″ x 2-1/2″ plus 2-1/2″ x 2-1/2″ for Die Cut Noel

Christmas is not just about receiving, but also about giving from the heart. Handmade cards are a personal touch that can warm the hearts of friends and family.

Make sure to tune in next week for another dose of festive inspiration as we continue our “12 Weeks of Christmas.”

Let’s make this holiday season the most joyful and creative one ever! 🎄✨

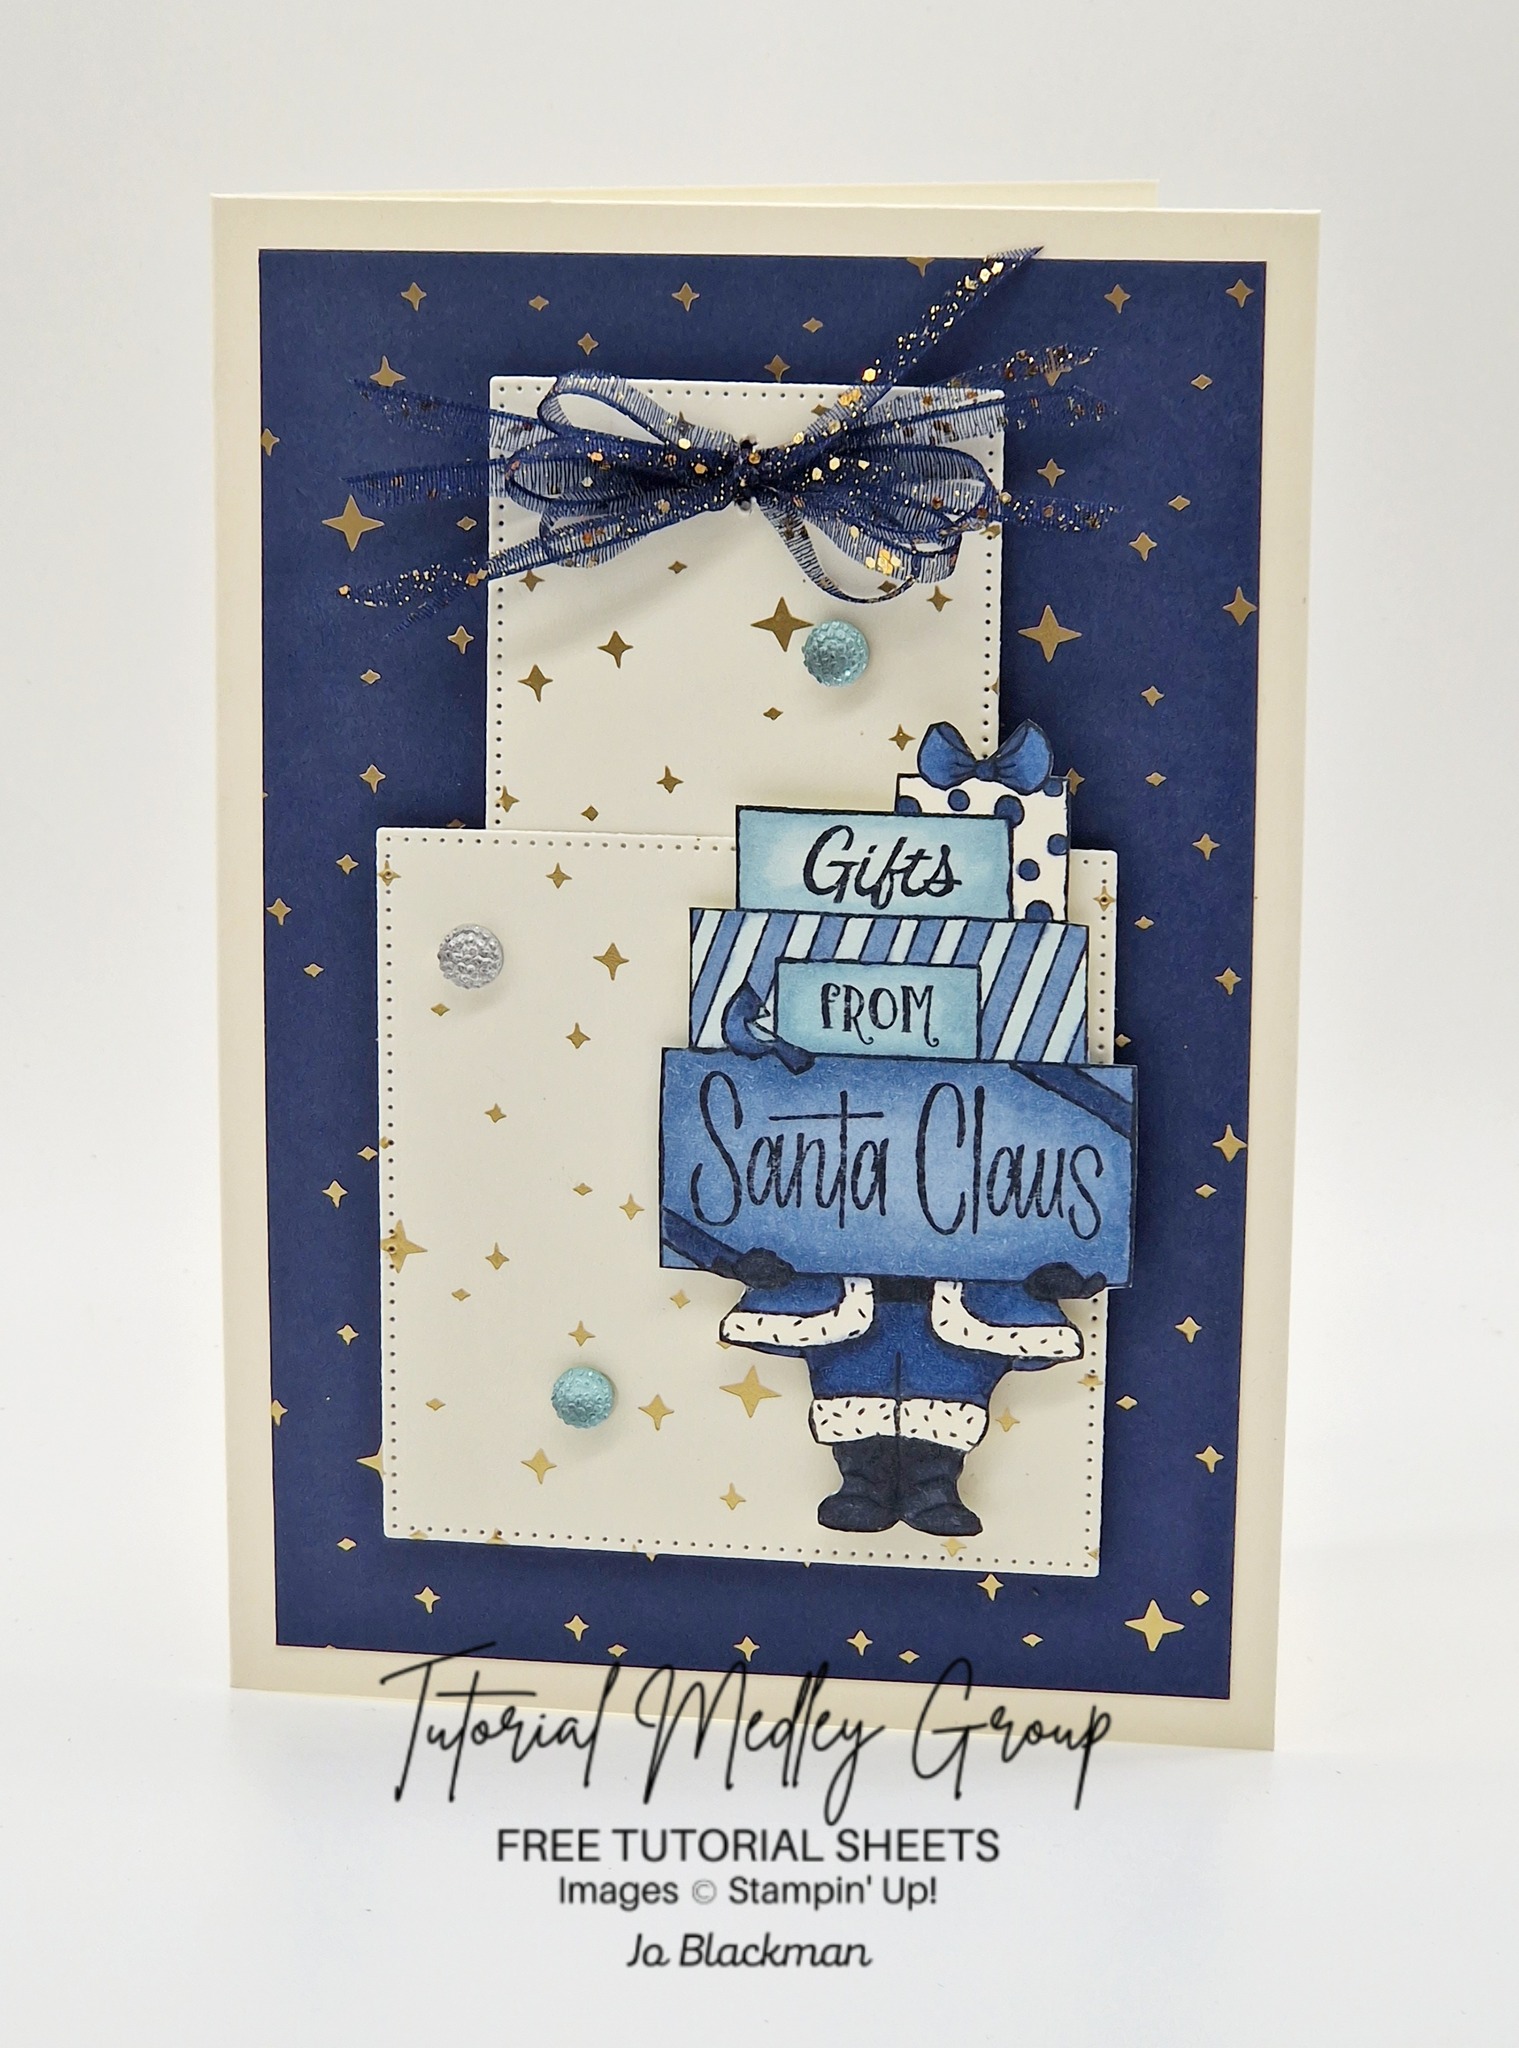
Gifts from Santa Claus …

Hello Stampin’ Friends,

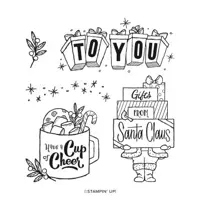
Prepare to be charmed by the heartwarming holiday spirit embodied in this adorable Christmas card created with the “Gift of Giving” stamp set and “Shining Brightly Specialty Designer Series Paper” from Stampin’ Up!

The “Gift of Giving” stamp set features endearing images, perfect for conveying the warmest wishes of the season. Pairing it with the “Shining Brightly Specialty Designer Series Paper” adds a touch of festive elegance, with its rich colors and sparkling accents.

Measurements:

  • Very Vanilla Thick:  8 ½” x 5 1/2”, scored at 4 ¼”
  • Navy Star DSP: 5” x 3 ¾”
  • Vanilla Star DSP: Largest square and Second square from Stylish Shapes Dies
  • Vanilla: Scrap for Santa

Instructions:

  • Glue the Navy Star DSP to the card front.
  • Cut the two squares from the Vanilla Star DSP.
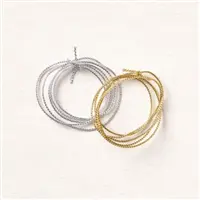
  • Pierce two holes into the smallest square, as shown.  Take a length (8”) of the Night of Navy & Gold Glitter Ribbon and cut it lengthways into 4 thin strips.  Thread one of the small strips through the holes from the back.  Take the other three strips and wrap them around your fingers.  Carefully remove the ribbon from your fingers and squash the centre to create two loops (held with tweezers).  Place the loops on to the square and tie in place with the ribbon ends on the square.  Arrange the bow as you wish and trim the ends.
  • Stamp Santa in Memento ink and colour using Stampin’ Blends.  Cut out.
  • Attach the two squares (parcels) on to the card front using Stampin’ Dimensionals.
  • Attach Santa to the card front using Stampin’ Dimensionals.
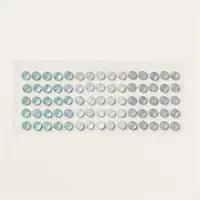
  • Add a few gems to complete your card.

Today’s card not only captures the joy of giving during the holidays but also adds a delightful dash of whimsy and style. It’s a true testament to the magic of handmade cards, where every detail conveys love and thoughtfulness. Share the joy of the season with a card that radiates warmth, created with the “Gift of Giving” stamp set and “Shining Brightly Specialty Designer Series Paper.”

Have a wonderful Sunday and thanks for stopping by ~

Delighting friends with the Joy to You stamps

Hello Stampin’ Friends,

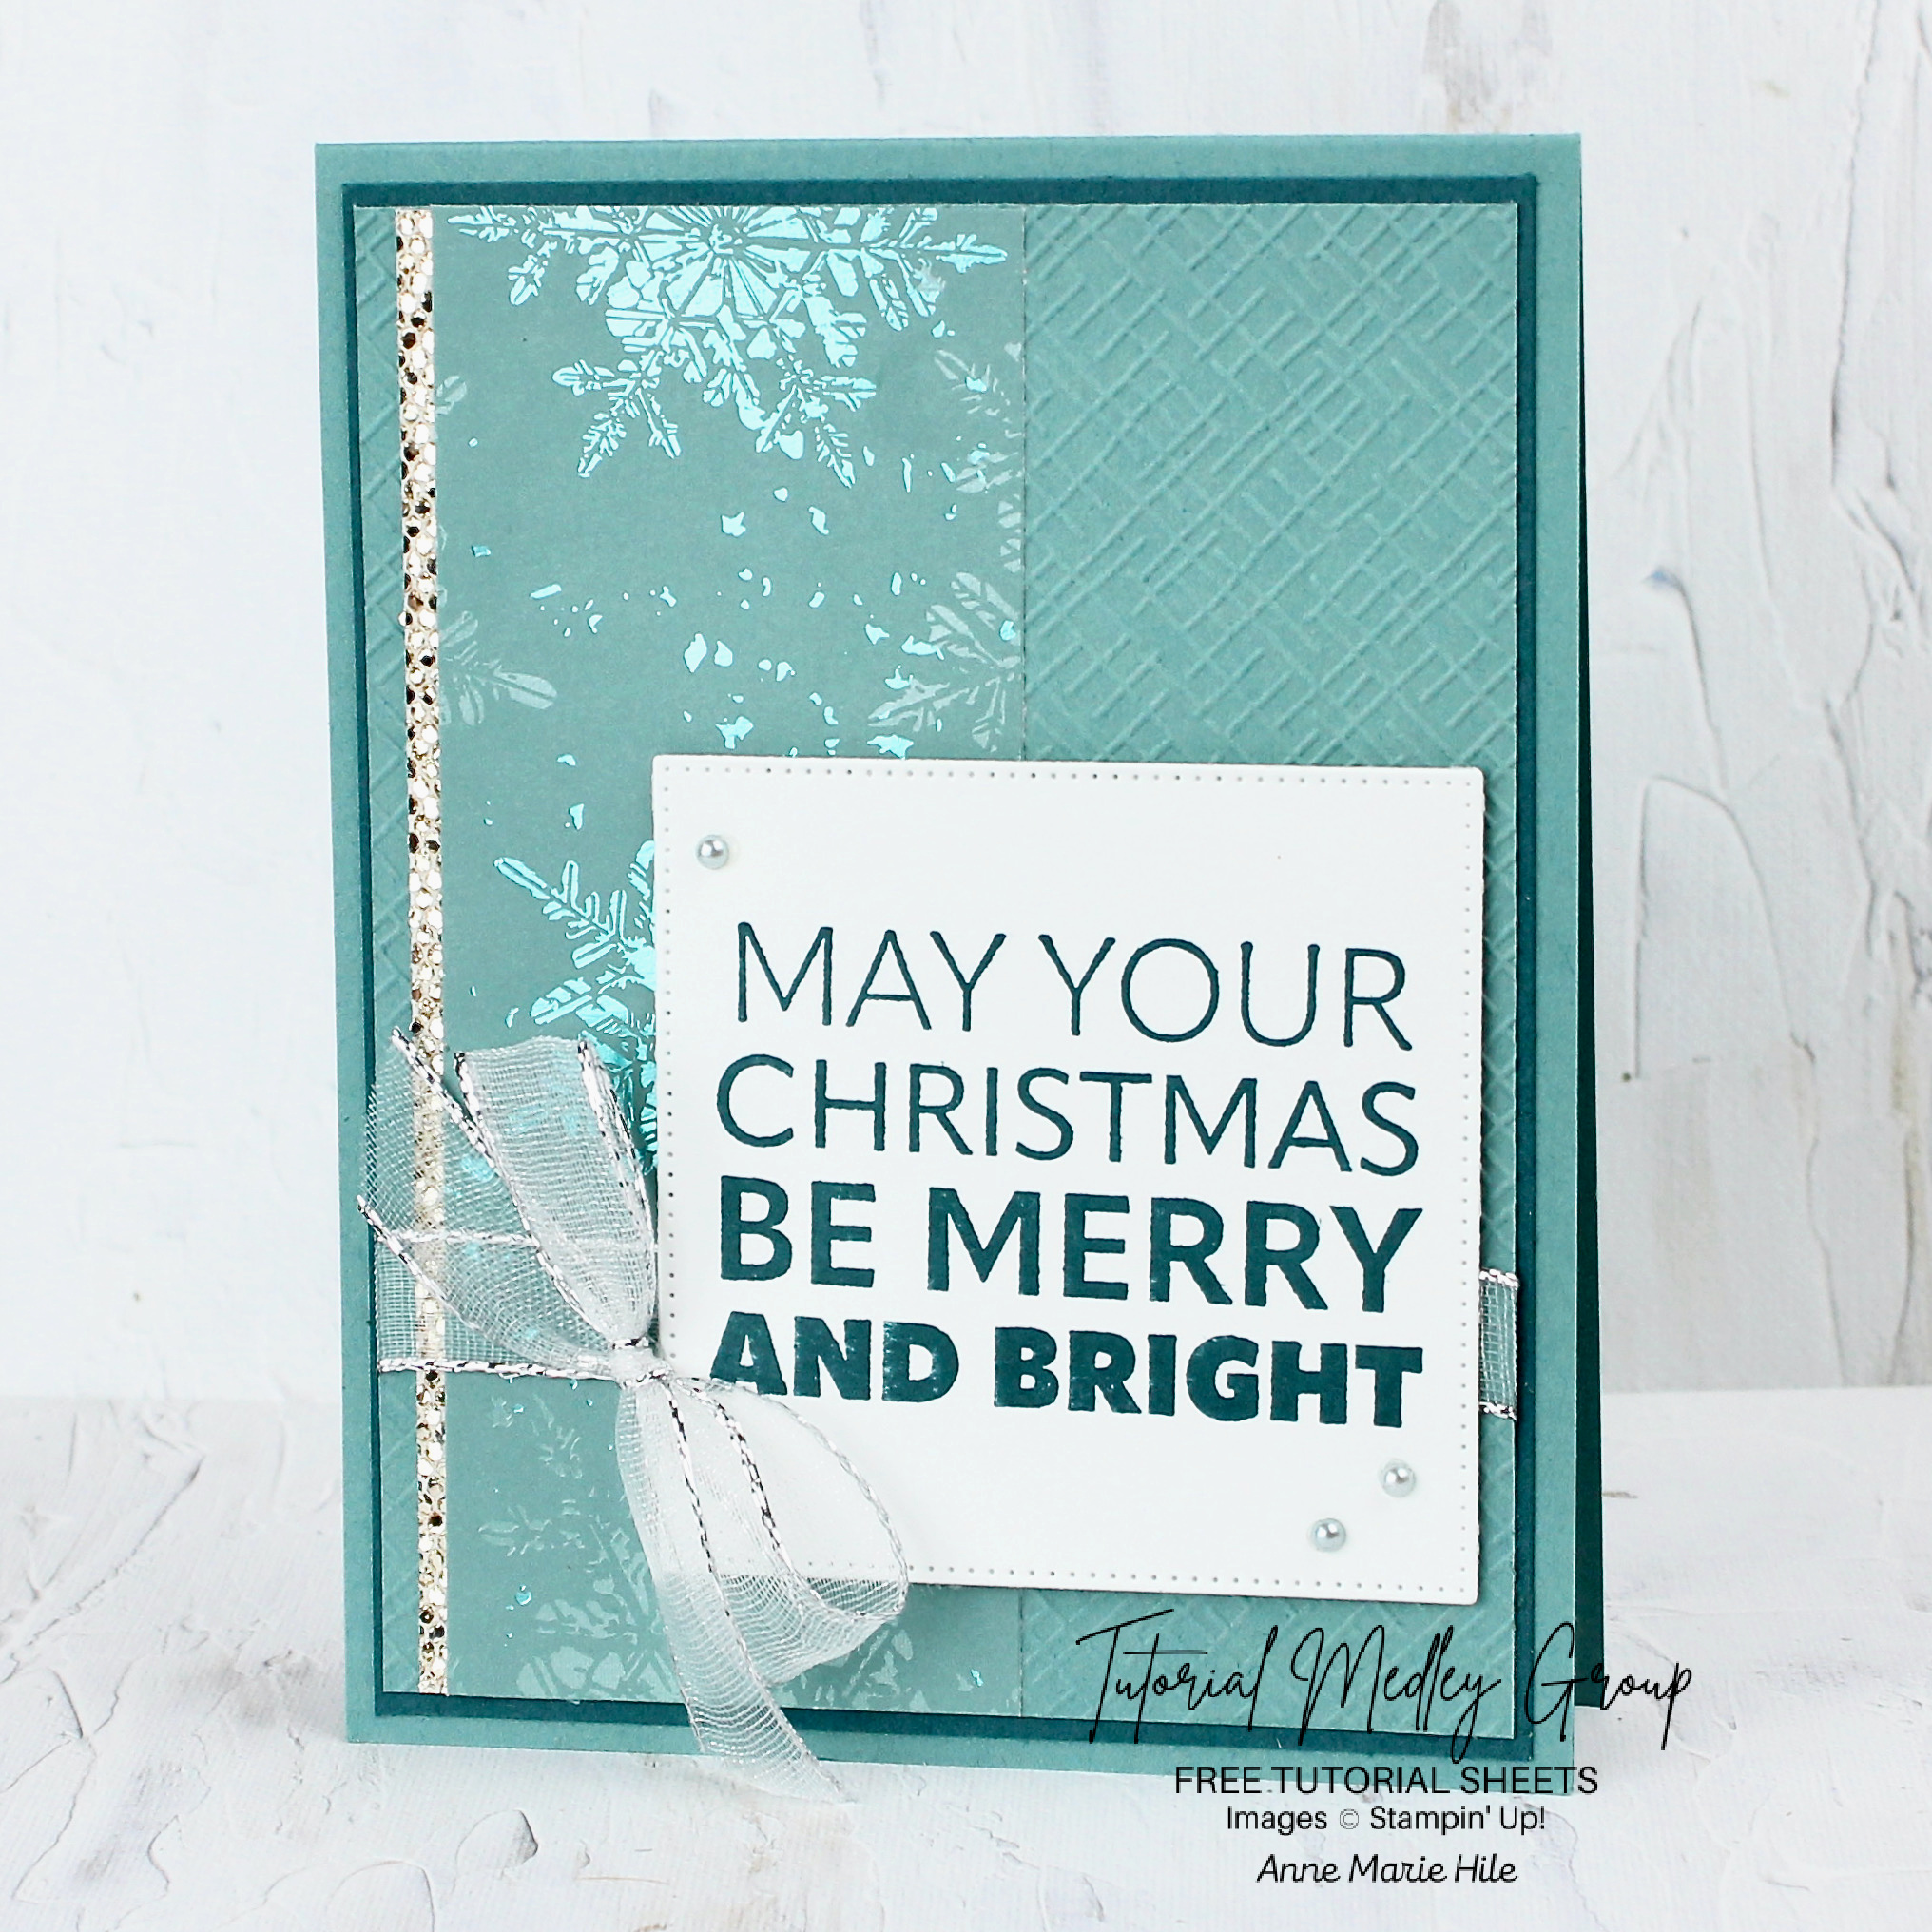
Today I’m introducing the delightful “Joy to You” stamp set from Stampin’ Up!’s Mini Catalog, a delightful collection of holiday-themed stamps designed to spread joy and warmth. Paired with the exquisite “Snowflake Magic Specialty” paper, today’s card creation is nothing short of magical.

The “Joy to You” stamp set offers a versatile array of seasonal sentiments, perfect for sending your heartfelt holiday greetings. Meanwhile, the “Snowflake Magic Specialty” paper, with its intricate snowflake designs and shimmering accents, adds an extra layer of elegance and sophistication to your projects.

Measurements: 

  • Card Base: Lost Lagoon 4-1/4” x 11”, scored at 5-1/2”
  • Cardstock #1: Pretty Peacock 4” x 5-1/4”     
  • Cardstock #2: Lost Lagoon 3-7/8” x 5-1/8”
  • DSP: Snowflake Magic Specialty 2” x 5-1/8”
  • DSP: More Dazzle Specialty 1/2” x 5-1/8”
  • Cardstock #3: Basic White 3” x 3” for die-cut sentiment

Instructions:

  • Fold the Lost Lagoon card base in half at the score line and burnish the fold.
  • Emboss Lost Lagoon layer with Basics 3D Embossing Folder.
  • Adhere strip of More Dazzle Specialty Paper to left side of Embossed Lost Lagoon layer with Stampin’ SEAL.
  • Adhere Snowflake Magic Specialty Designer Paper to the Lost Lagoon layer with Stampin’ SEAL, slightly overlapping More Dazzle layer . Leave approximately a 1/8” border of More Dazzle paper visible.
  • Wrap a piece of Silver & White Sheer ribbon around embossed Lost Lagoon layer (approx 1-1/8” from bottom) and secure ends of ribbon on back with Stampin’ SEAL, or tape.
  • Adhere Lost Lagoon layer to Pretty Peacock layer with Stampin’ SEAL, then adhere to card base with Stampin’ SEAL.
  • Stamp sentiment on Basic White Cardstock in Pretty Peacock ink.
  • Die-cut sentiment with largest square in Stylish Shapes Dies.
  • Adhere the sentiment layer to card Stampin’ Dimensionals.
  • Tie a bow with Silver & White Sheer Ribbon and adhere to left side of die-cut square with a Mini Glue Dot.
  • Add (3) Festive Pearls to the card front, as shown.

Together, the “Joy to You” stamp set and “Snowflake Magic Specialty” paper create a harmonious blend of festivity and beauty, making your cards and crafts truly stand out this holiday season. Whether you’re sending wishes to friends and family or creating stunning holiday decor, the “Joy to You” stamp set and “Snowflake Magic Specialty” paper will undoubtedly make your creations sparkle with joy and charm.

Thank you for joining me today ~

Embrace the Beauty of the Season: Graceful Deer Stamp Set

Hello Stampin’ Friends ~

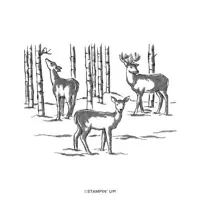
Today we embrace the beauty of the season with the Graceful Deer Stamp Set. The holidays are a time when we come together with our loved ones to create lasting memories and exchange heartfelt greetings. And what better way to convey your warm wishes and spread the festive spirit than with beautifully crafted, hand-stamped cards and projects?

The Graceful Deer stamp set is a masterpiece that captures the serene beauty of nature in the wintertime. This set is perfect for anyone who appreciates the elegance and grace of deer against a backdrop of snow-covered trees. Today’s card was created by one of my fellow Design Team members.

Measurements: 

  • Thick Very Vanilla: 8 ½” x 5 ½”, scored at 4 ¼”
  • Pool Party: 5 3/8” x 4 1/8” and 2 ½ x 1
  • Very Vanilla: 5 ¼” x 4” and scrap

Instructions:

  • Cut card base & fold at score line.
  • Glue Pool Party to card front.
  • Stamp Graceful Deer image on Very Vanilla piece using Pecan Pie ink. Color using Stampin’ Blends: Wild Wheat deer, Cherry Cobbler bird, Pool Party snow drifts, Crumb Cake Antlers, Petal Pink ears.
  • Add sparkle using Wink of Stella on the snow drifts.
  • Glue to Pool Party layer.
  • Stamp sentiment on Very Vanilla scrap using Wild Wheat ink then cut out using Countryside Corner Dies.  Glue to small Pool Party piece, then pop it up using Stampin’ Dimensionals.

The Stampin’ Up! Graceful Deer stamp set from the Holiday Mini Catalog is a must-have for anyone looking to add a touch of elegance and warmth to their holiday crafting. Whether you’re creating cards, gift tags, home decor, or heartfelt gifts, this versatile set will help you capture the beauty and grace of the season. So, embrace your creativity and let the Graceful Deer stamp set bring a touch of magic to your holiday projects this year.

Happy crafting!
Simply Sunday: A Beary Christmas

Hello Stampin’ Friends,

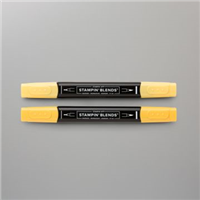
The Beary Christmas suite shines in the joy of simple, delightful crafting! Today, we’re taking a step back from the complexities of life and crafting to embrace the art of simplicity. We’ll be exploring how to create charming Christmas cards and gift tags effortlessly using the Beary Christmas Memories and More Card Pack in combination with the Beary Christmas Memories Cards & Envelopes by Stampin’ Up!

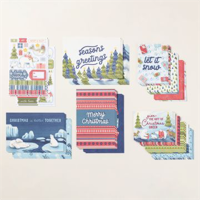
Before we dive into the crafting magic, let’s talk about what’s included in the Beary Christmas Memories and More Card Pack. This pack is a treasure trove for crafters, especially those seeking an easy and enjoyable creative experience. Inside, you’ll find:

  1. Cards: A variety of beautifully designed, double-sided cards that come in different sizes. These cards feature delightful Christmas-themed artwork, perfect for spreading holiday cheer.
  2. Stickers: An assortment of coordinating stickers that match the card designs. These stickers are great for adding extra flair to your projects.
  3. Journaling Cards: Some cards are designed for journaling or adding personalized messages, making them versatile for different crafting projects.
  4. Memories Cards: These cards are designed for scrapbooking but can be repurposed for other creative endeavors, as you’ll see in our project today.
  5. Coordinating Colors: The color palette in this pack is classic Christmas with shades of red, green, and white.

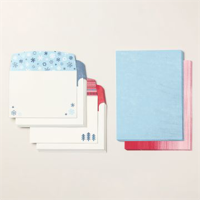
Now, let’s get to the fun part! When you combine the Beary Christmas Memories and More Card Pack with the Beary Christmas Memories Cards & Envelopes, you can create adorable Christmas cards in no time at all. The pre-scored and pre-folded cards and envelopes make crafting a breeze, especially if you’re new to cardmaking.

Creating Christmas Cards:

  1. Select a Card Base: Start by choosing a Beary Christmas Memories Cards & Envelope as your card base. These cards already have a festive design on the front, saving you time and effort.
  2. Embellish with Memories and More: Pick a Memories and More card or stickers from the Beary Christmas Memories and More Card Pack that complements your card base. You can use double-sided tape or glue to attach these elements.
  3. Personalize: Add a heartfelt message or greeting to the inside of the card using the journaling cards or simply write your own message.
  4. Envelope Decoration: Don’t forget to decorate the envelopes with matching stickers or a touch of your creativity.

But that’s not all; these supplies aren’t just for cards. You can also use them to create easy and charming gift tags for your holiday presents. Here’s how:

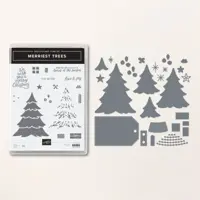
  1. Die-Cut Tags: Use the tag die from the Merriest Trees Bundle (or any tag die you prefer) to cut out tags from the Memories Cards or other cardstock in the Beary Christmas Memories and More Card Pack.
  2. Add Festive Touches: Decorate the tags with stickers, additional embellishments, or even some ribbon for that extra holiday charm.
  3. Attach to Gifts: Use a hole punch to make a hole at the top of your tag and thread a ribbon or string through it. Then, attach the tag to your beautifully wrapped gifts.

Crafting doesn’t have to be complicated or time-consuming. With the Beary Christmas Memories and More Card Pack in tandem with the Beary Christmas Memories Cards & Envelopes, you can effortlessly create delightful Christmas cards and gift tags that will bring smiles to your loved ones’ faces. It’s the perfect crafting experience for beginners or anyone seeking a simpler, more joyous way to celebrate the holidays through handmade creations.

So, grab your supplies, put on some holiday tunes, and enjoy the magic of simple crafting this Sunday. Happy crafting! 🎄✨
Celebrate the Season with the Joy of Christmas Suite

Hello Stampin’ Friends ~

Today we will be celebrating the upcoming season with the Joy of Christmas Suite. Many of you are beginning your holiday cardmaking, and what better way to do so than with beautiful handmade Christmas cards? The Joy of Christmas Suite from Stampin’ Up! offers everything you need to create stunning holiday greetings that will warm the hearts of your loved ones.
In this blog post, we’ll focus on two exquisite components of this suite: the Joy of Noel dies and the Joyful 12 x 12 Specialty Designer Paper. I’ll also demonstrate how to make a simple yet elegant Christmas card, embellished with Gold Festive Pearls, using Cherry Cobbler cardstock and Gold Foil. Let’s dive into the world of festive creativity!

The Joy of Noel dies are the perfect addition to your crafting arsenal this holiday season. These intricate dies allow you to effortlessly create stunning holiday-themed designs that will leave a lasting impression. One of the standout features of these dies is the word “Noel,” which adds a touch of elegance to any project.

The Joyful 12 x 12 Specialty Designer Paper is a delightful collection of holiday-themed patterns and designs. With its rich color palette and intricate patterns, this paper is ideal for creating beautiful cards and projects. It includes metallic accents that add a touch of opulence to your creations, making it the perfect choice for your Christmas-themed projects.

  • Cherry Cobbler cardstock (8.5″ x 5.5″, folded in half to create a 4.25″ x 5.5″ card base)
  • Gold Foil (4″ x 5.25″)
  • Joyful 12 x 12 Specialty Designer Paper (3.75″ x 5″)

Using the Joy of Noel dies and a die-cutting machine, cut out the word “Noel” from the Gold Foil. This is a great paper saving technique. Now you can attach the Gold Foil to your Cherry Cobbler Cardbase, and the Joyful Designer paper over that. Using Dimensionals, attach your “NOEL” to the cardfront.

Add Gold Festive Pearls to the card to enhance its elegance. You can place them strategically around the “Noel” die-cut or as you prefer.

With the Joy of Noel dies, Joyful 12 x 12 Specialty Designer Paper, and other coordinating products, you can create beautiful, heartfelt Christmas cards that will bring joy to your loved ones. This simple yet elegant card, adorned with Gold Festive Pearls, is just a glimpse of the endless possibilities this suite offers.

So, gather your supplies, let your creativity shine, and share the magic of Christmas with handmade cards that truly convey the spirit of the season.

Happy crafting ~