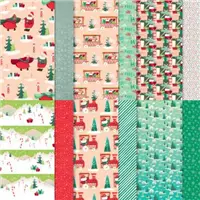
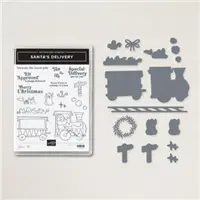
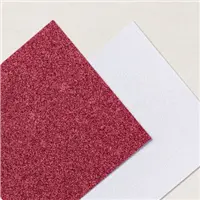
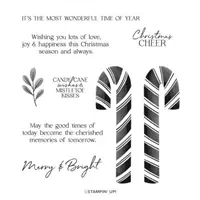
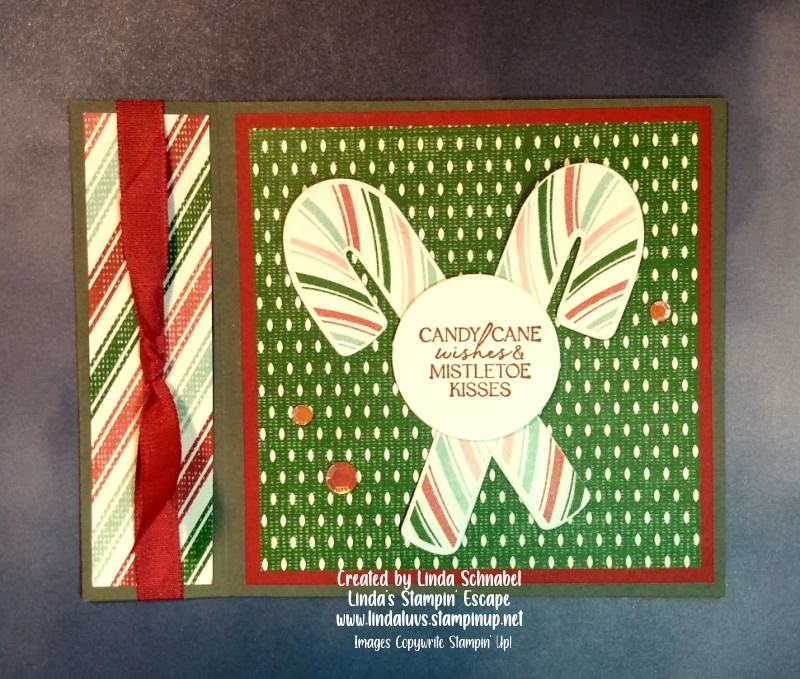
Celebrate the Season with the Joy of Christmas Suite

Hello Stampin’ Friends ~

Today we will be celebrating the upcoming season with the Joy of Christmas Suite. Many of you are beginning your holiday cardmaking, and what better way to do so than with beautiful handmade Christmas cards? The Joy of Christmas Suite from Stampin’ Up! offers everything you need to create stunning holiday greetings that will warm the hearts of your loved ones.

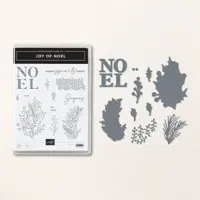
In this blog post, we’ll focus on two exquisite components of this suite: the Joy of Noel dies and the Joyful 12 x 12 Specialty Designer Paper. I’ll also demonstrate how to make a simple yet elegant Christmas card, embellished with Gold Festive Pearls, using Cherry Cobbler cardstock and Gold Foil. Let’s dive into the world of festive creativity!

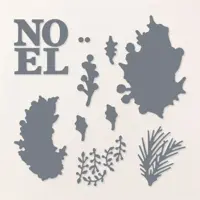
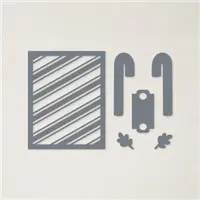
The Joy of Noel dies are the perfect addition to your crafting arsenal this holiday season. These intricate dies allow you to effortlessly create stunning holiday-themed designs that will leave a lasting impression. One of the standout features of these dies is the word “Noel,” which adds a touch of elegance to any project.

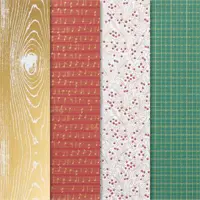
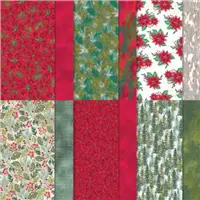
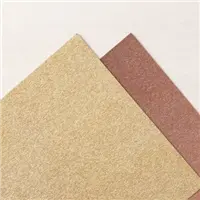
The Joyful 12 x 12 Specialty Designer Paper is a delightful collection of holiday-themed patterns and designs. With its rich color palette and intricate patterns, this paper is ideal for creating beautiful cards and projects. It includes metallic accents that add a touch of opulence to your creations, making it the perfect choice for your Christmas-themed projects.

  • Cherry Cobbler cardstock (8.5″ x 5.5″, folded in half to create a 4.25″ x 5.5″ card base)
  • Gold Foil (4″ x 5.25″)
  • Joyful 12 x 12 Specialty Designer Paper (3.75″ x 5″)

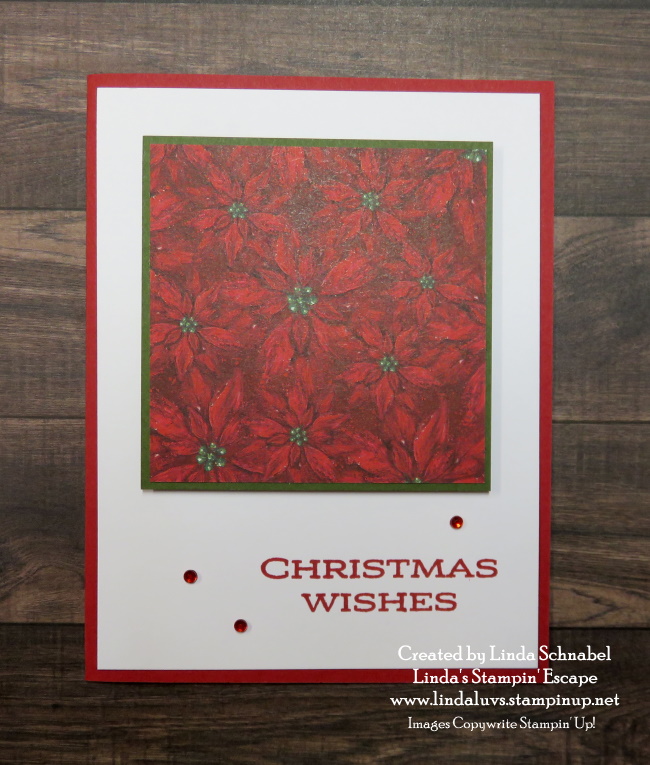
Using the Joy of Noel dies and a die-cutting machine, cut out the word “Noel” from the Gold Foil. This is a great paper saving technique. Now you can attach the Gold Foil to your Cherry Cobbler Cardbase, and the Joyful Designer paper over that. Using Dimensionals, attach your “NOEL” to the cardfront.

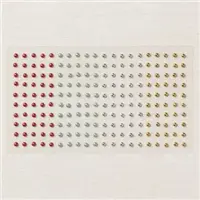
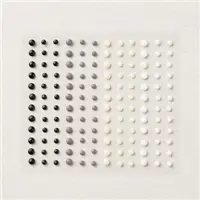
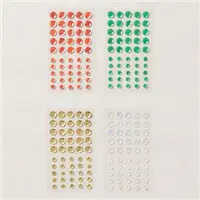
Add Gold Festive Pearls to the card to enhance its elegance. You can place them strategically around the “Noel” die-cut or as you prefer.

With the Joy of Noel dies, Joyful 12 x 12 Specialty Designer Paper, and other coordinating products, you can create beautiful, heartfelt Christmas cards that will bring joy to your loved ones. This simple yet elegant card, adorned with Gold Festive Pearls, is just a glimpse of the endless possibilities this suite offers.

So, gather your supplies, let your creativity shine, and share the magic of Christmas with handmade cards that truly convey the spirit of the season.

Happy crafting ~
Sparkling Season … Find out how!

Hello Stampin’ Friends,

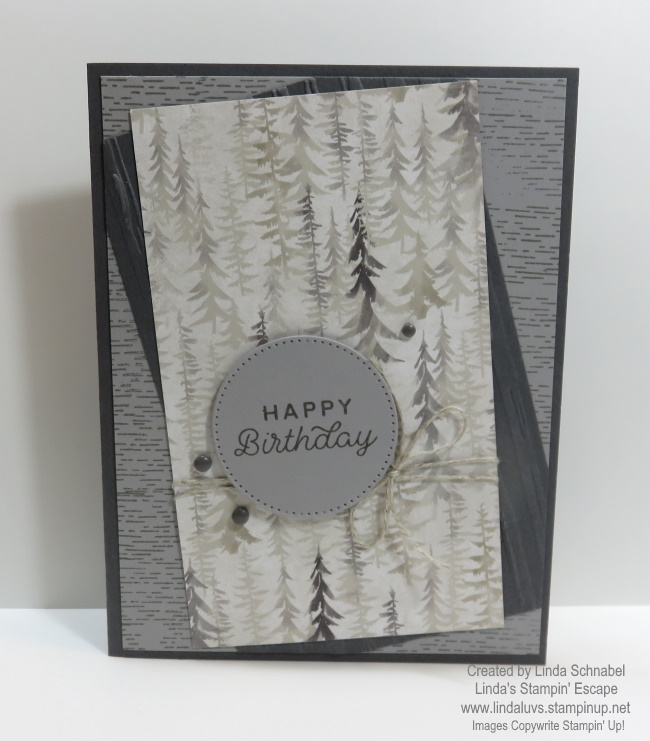
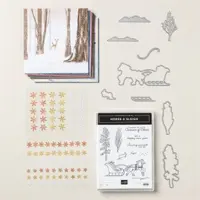
Today I’m going to the second card using the One Horse Open Sleigh designer paper… I even have another 3″ x 3″ piece left to make another. Yesterday I shared this pretty woodsy card that cold be used for any occasion, I did a birthday card.

I used the Smoky Slate again today but highlighted it with the Mossy Meadow cardstock and ink. Because I am making this a Christmas card, I wanted just a hint of a traditional color… and the Mossy Meadow plays nice against the gray and brown tones of the One Horse Open Sleigh designer paper.

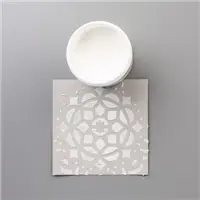
Wondering how I got that sparkle background? It also adds some fun texture to the card … I used the Shimmery White Embossing Paste found on page 136 of your Annual Catalog. I used the long Palette Knife to drag it across my cardstock and create my background.

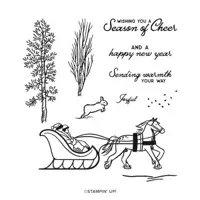
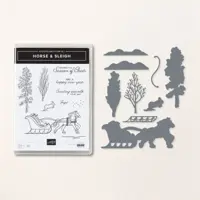
I popped up my 3″ x 3″ piece of the One Horse Open Sleigh designer paper after matting with with a 3-1/8″ x 3-1/8″ piece of Mossy Meadow. I stamped my greeting from the Horse & Sleigh stamp set. I ordered the bundle which includes the dies to save 10% because you’re going to want the dies too.

No fancy punches or dies used for my greeting, just a scrap piece of paper and a diagonal cut using my scissors. I scrap piece of the designer paper in Mossy meadow was tucked behind the greeting to tie into the cardbase and mat.

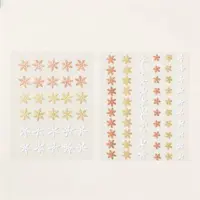
The photo above that is on an angle really highlights the change in your cardstock when you use the Embossing Paste. It creates a two-tone look and adds that shimmer … so with that, I added a snowflake from the Adhesive Backed Snowflake Assortment and 3 of the gray Classic Mat Dots.

Thank you for stopping in or coming back to see the second of these two cards … one more to go! And to think, I only used one sheet so far.

Have a great day.

Two for Tuesday Cards & Stamp Sale!

Hello Stampin’ Friends,

We’re going to have some fun today with Two cards for Tuesday and a fun new Stampin’ Up! promotion. Let’s begin with the great news that was just announced … A STAMP SALE!

If you’ve had your eye on stamps from the 2023–2024 Annual Catalog, then we have some exciting news! On 19 July, these stamps will be 15% off for 24 hours (this offer does exclude host stamp sets). You heard us right, for one day only you can snag your favorite stamp sets for a stellar price!

Amazing right … all the stamp sets in the Annual catalog (the big one) are on sale for one day only. PLUS … While you are shopping, don’t forget the Clearance Rack. It was just updated recently, and that brings me to my 2 cards for this Tuesday!!

Both cards were created with the All Together 6 x 6 Designer Series paper …

I wanted to show how fun and versatile that this black & white paper can be. You can see more cards samples HERE from a previous post featuring the All Together Paper.

Tomorrow when you begin your sales shopping; you can use this link: https://www.stampinup.com?hostcode=PJ4UWCQB If you are spending more than $150 – Do Not use this link because you will qualify for Free Host Benefits & more!!

Both of today’s cards were “jazzed” up with my Stampin’ Blends! My first card is a fun Autumn card and I used the Pumpkin Pie Stampin’ Blends to add a strip of color between the stripes on the designer paper ….

I used several items from the Stargazing Suite; the Designer paper and the dies! The fun pumpkin was created with both of those items … all I did was sponge the edges of the circles to create an illusion of depth. The greeting was also cut from the same designer paper pattern than I cut the circles. The “celebrate” comes from the “Wanted to Say” dies.

Next up is a Christmas Card ….

This plain black & white background was transformed by my Cherry Cobbler and Shaded Spruce Stampin’ Blends … just drag your marked across the designer paper / I didn’t even use a ruler, it’s all free hand and easy but creates a fun colorful background. It is adorned with the trees and snow from the One Horse Open Sleigh Bundle.

One more thing while you create your shopping list …. Bonus Buys!! For each $50 you spend, you’ll receive a $5 coupon to shop with in August. So feel free to bundle your discounted stamp sets, with more savings from the Clearance Rack and pick up your Bonus Coupon too!

Those will be emailed to you by Stampin’ Up! so make sure you have an email address and you save your codes. Message me if you have any questions or if you would like help placing your order tomorrow.

Again, here is that link to shop: https://www.stampinup.com?hostcode=PJ4UWCQB

One more thing … I invite you to join me LIVE tonight on my Facebook page for another Free Class / Demonstration.

Thank you for joining me today and I hope I see you tonight.

Sneak Peek at our Online Exclusives …

Hello Stampin’ Friends ~

Today I’m going to share two card with you that will give you a peek at the ONLINE Exclusives being released tomorrow the 6th of July. The online exclusives cannot be found in any publication … annual or mini catalog. This allows us to release new products any time of year, we’re not restricted to a catalog… How fun is that.

The two cards will be from two different bundles … I’m showcasing the One Horse Open Sleigh and the second card is from our Artisan Team member Charlet Mallett, she’s highlighting the Trucking Along stamp & punch bundle.

I can’t tell you a lot about this card but from the looks of it, she stamped the trucks to create a background and then punched one out as a focal point. The banner she used behind the truck comes from the All That Dies. The designer paper is Let’s Go Fishing. This is such a cute take on this bundle, it’s been the talk of the internet! Can’t wait to order one for myself on the 6th.

The second is mine, and I am using the One Horse Open Sleight Suite …. This was one of the sets that we as demonstrators could pre-order so I have just started playing with mine. Getting ready for my class but here is one of my first designs …

I knew I wanted to use the sleigh so I stamped it onto Basic White with the Memento Ink and then began coloring with the Cherry Cobbler, Pecan Pie, Night of Navy and Misty Moonlight Stampin’ Blends. After die cutting it, I used it to pick out what designer paper pattern I wanted to use. I cut it down to 3-7/8″ x 5-1/8″ matted it with Misty Moonlight at 4″ x 5-1/4″ and mounted it onto Early Espresso.

The die cut sleigh was glued at the bottom and popped up on the top half! I stamped the greeting in Misty Moonlight and die cut it, then added a bit of Bakers Twine to it before popping it up onto my card front. I added some of the adhesive backed snowflakes with an Iridescent Rhinestone on top to finish off the card.

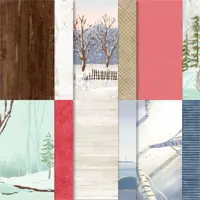
The left over designer paper was added to the inside of the card. I also added a small strip of Misty Moonlight cardstock in there as well … just made the card look finished on the inside too. The designer paper in this suite is fabulous. The winter scenes are so pretty and the other side has great patterns you can use anytime throughout the year.

Don’t forget the Online Exclusives go LIVE tomorrow July 6th and you can take a look then on my website at http://www.lindaluvs.stampinup.net

I hope you enjoyed your holiday … and I thank you for stopping by today.

Merry Christmas Eve …

Merry Christmas Eve my Friends ~
I hope everyone is fairing well in this crazy weather … I’m not the biggest fan of snow and cold, but it’s crazy cold here! I had to take a little break to warm up so I made some “Christmas Poke” Cake and Deviled Eggs for the family get together.

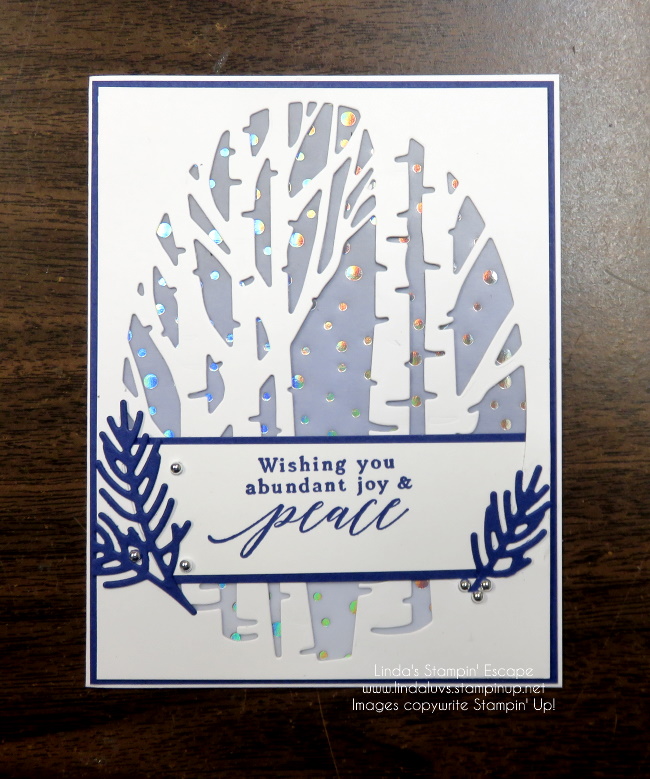
Today I’m highlighting the “Perched in a Tree” bundle. Let’s get started 🙂 The first card was cased from Pinterest and I just loved the cool color and blue and paired with white.

Cardbase is your A2 size (8-1/2″ x 11″) and the die cut piece was cut to 4″ x 5-1/4″ and so was the pretty Snowflake Specialty Vellum, which is also on the Last Chance List 😦 The blue is the Starry Sky … so pretty. This is a great card choice if you like layers but need something on the simple side to get your Christmas cards done quickly.

My next card I changed up to show this beautiful bundle can be kept in your stamp collection all year long ….

With a simple change of sentiment you can change the entire feel of your card, and easily turn this from a Christmas card to a Birthday Card!

Thank you for spending a part of your day with me, enjoy this holiday with your family and friends ~

Santa’s Express Double Z Fun Folds

Hello Stampin’ Friends ~

I’m thrilled to share with you my “finished” cards from last nights Facebook LIVE presentation. I will not be sharing the video here today, not my best moment! Right before I went Live … I dropped all the parts to my card, so let’s just say “I had a few pieces missing” and I was a bit flustered BUT the cards turned out awesome and I can’t wait for you to see them!

Let’s begin with our first card … and I will include the measurements!

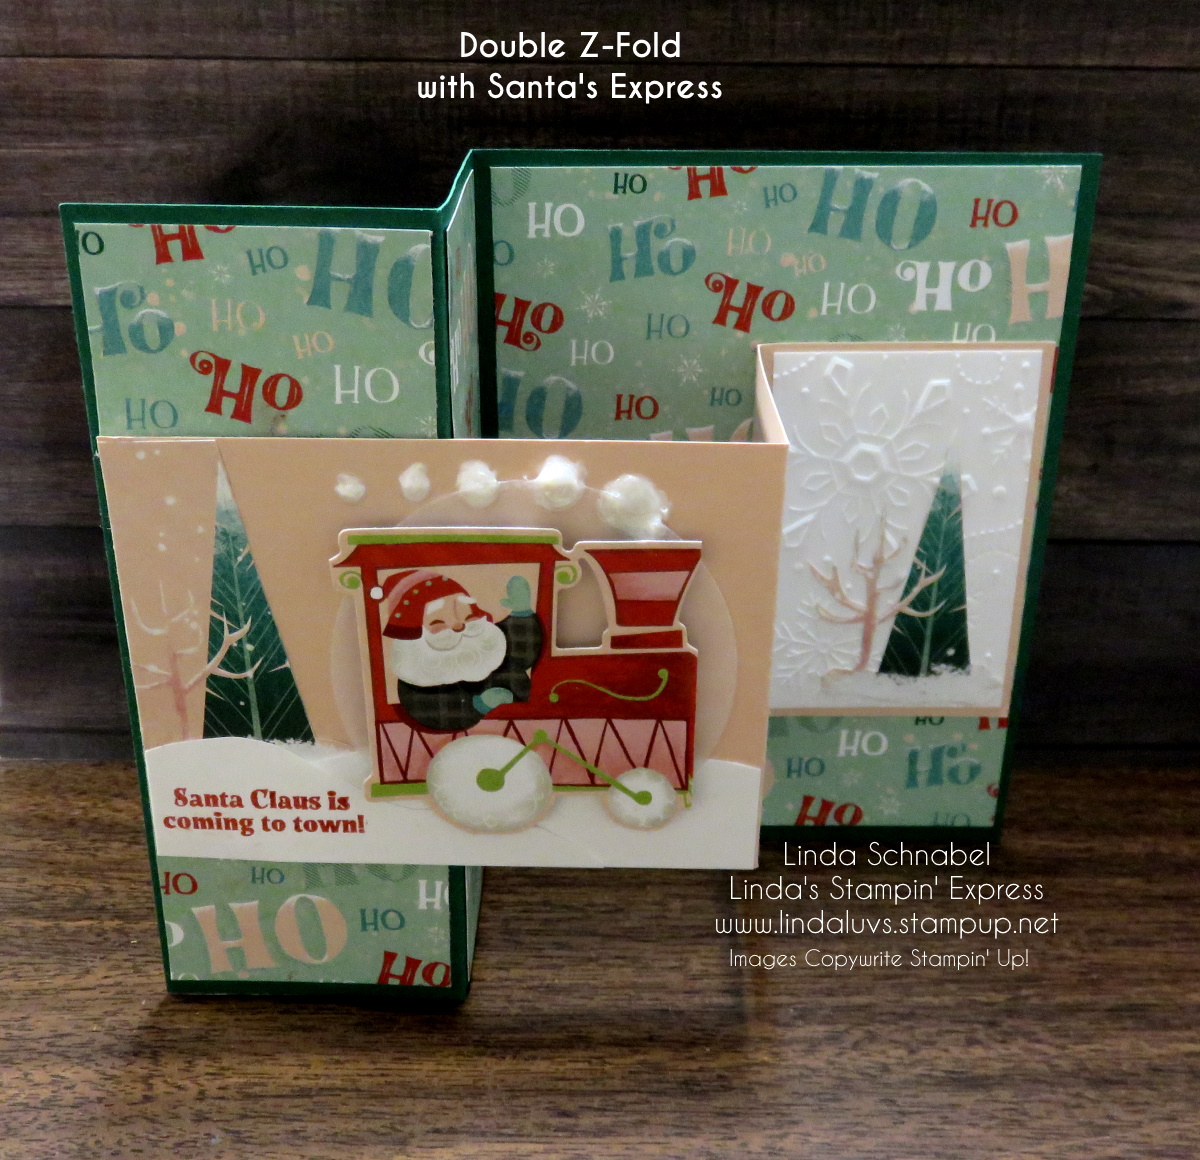
My card base is Shaded Spruce and is cut 8-1/2″ x 5-1/2″ … Score at 2-1/8″ and 4-1/4″. You will fold the card in half at the 4-1/4″ score and then fold the front “back onto itself” at the 2-1/8″ score line. The first two panels were cut to 2″ x 5-1/4″ and then cut your designer paper to 5-1/4″ x 4″ for the larger area.

Your second “Z” is Petal Pink and cut 8-1/2″ x 3″ and will be scored at 4-1/4″ and 6-3/8″ (or use the dimensions above … just flip it around). From a piece of scrap … I cut some snow on the bottom of my larger front panel and then glued a piece of the designer paper (with tree) into the upper left hand corner.

I die cut the Santa and the vellum circle behind him. Sink of Stella was added to the snow on the ground and on my trees. Then I stamped my greeting into the corner with Poppy Parade. My smoke puffs were created using the Pearlized Enamel Effects.

The two Basic White panels are cut to 2-7/8″ x 1-7/8″ for the smaller panels and the one of the far right is embossed with the Wintry Embossing Folder and I fussy cut a tree to match the one on the front panel. The center panel was left plain so you could write your sentiments in there.

My second card has the card base cut lengthwise on the 11″ x 4-1/4″ ….

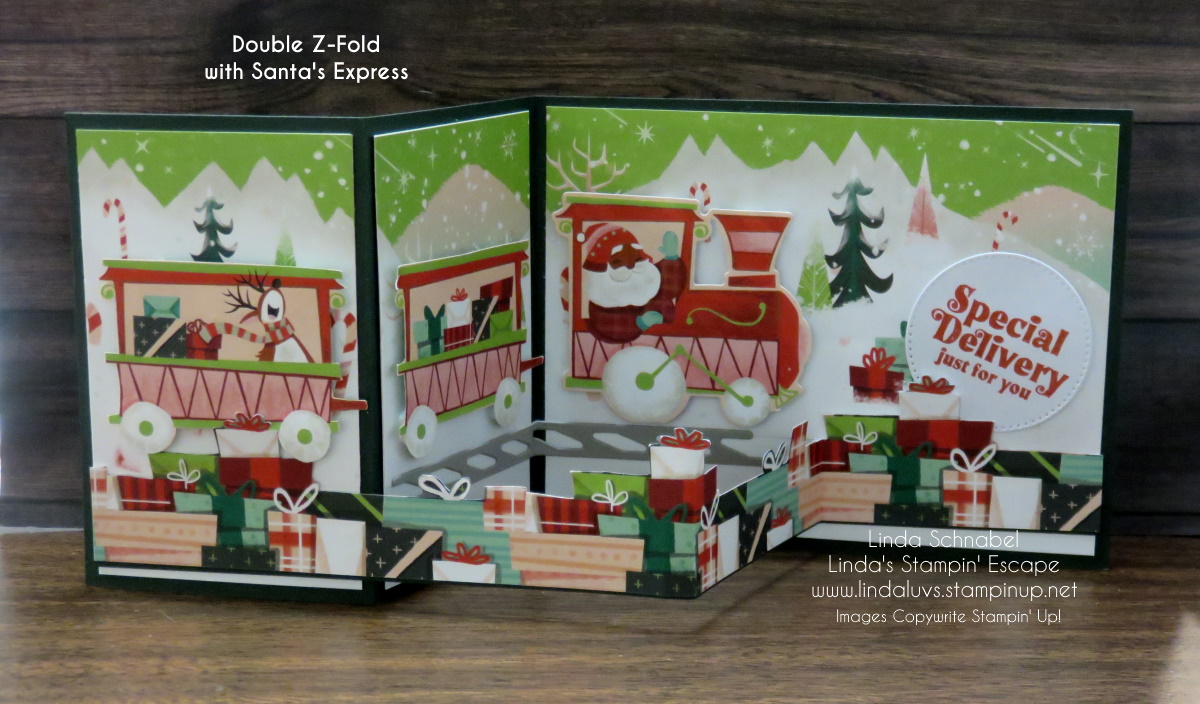
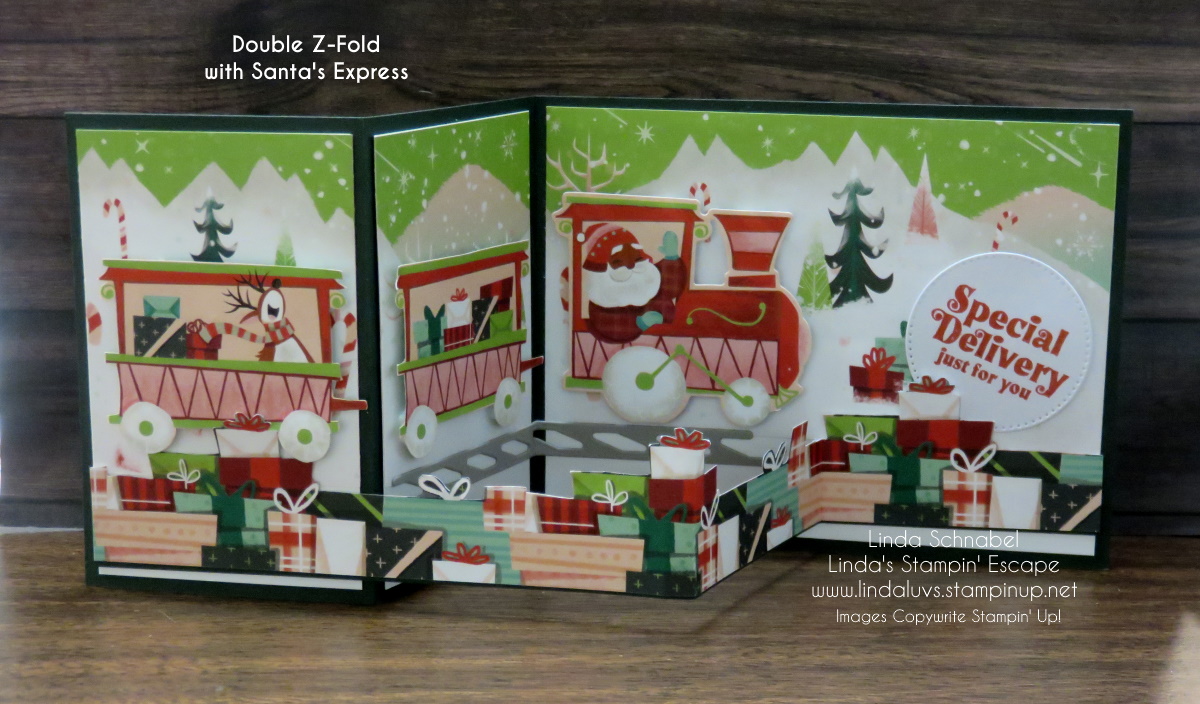
The card base is Shaded Spruce and scored at 2-3/4″ and 5-1/2″. I began with cutting panels for my card … two at 4″ x 2-1/2″ for the two smaller panels and the two at 4″ x 5-1/4″ … one for the front and one for the back if you’d like to write a note to the receiver.

I used the designer paper that has the four backgrounds … it cuts to 3″ x 12″. I cut it down starting from the “right” because I liked the pattern better!! With 3″ tall, I made my first cut at 4″, then the next two panels to 2-1/2″ Now you can secure them to the panels aligning from the top. The gap will be covered by your second “Z” which is placed near the bottom, where as our first card we centered the “Z”.

The second “Z” is cut to 11″ x 3/4″ … then our “Presents” Designer paper is fussy cut to about 1-1/4″. Then attach it to your second “Z”. I then die cut the 3 train parts from the Santa’s Express designer paper and the train tracks. The train cars are all popped up to give it some dimension and then I added the tracks.

I stamped my greeting Poppy Parade and die cut it and tucked it behind my “Z”. Looks like Santa has some fun coming down those tracks … even his reindeer is along for the ride!! The Santa Express Designer Paper is sooo fun to create with. It’s ON SALE for Only $7.20!! Don’t wait to get yours, it will be gone. Grab it now while we have FREE SHIPPING … Today Only.

I can’t promise it will arrive before Christmas but it’s a great time to enjoy some savings. Let me know if you would like some help.

Thank you for joining me today, I enjoyed sharing these cards with YOU!

Here is a list of supplies used to create today’s cards …. Click on the image for more information on that product or begin your purchase.

Simply Sunday: Pretty Paper Quick Cards

Hello Stampin’ Friends ~

On Tuesday I shared the Twisted Ribbon Technique with you which included a video replay of my LIVE presentation … TODAY I want to share how to use the left overs of that Pretty Paper to make quick cards.

I shared how I save 3″ x 3″ squared when cutting, now let’s see how those make simple and quick cards. Great way to get those Christmas cards done if you haven’t!! (I know that feeling). Simple does not mean that your cards can’t be pretty.

Here we have our 3″ x 3″ square in it’s simplest form ….

An easy way to step up your card is simply stamp a background … You could even use an embossing folder to add texture instead of ink. The greeting ends were punched to create a tag, and anchored with embellishments.

If you didn’t catch my LIVE presentation or did not take a look at the video yet, here it is ….

Sometimes it’s just nice to create cards with our scraps / leftovers that are easy, and simple … and pretty!

Thank you so much for joining me! Have a wonderful day.

Twelve Days of Christmas: Day 11 / Holiday Mash-Up!

Hello Stampin’ Friends ~

Woot Woot … It’s finally Friday and I have a pretty little card to share with you today. I did a mash-up of a some of my favorite items in the Holiday Mini Catalog … the Boughs of Holly Designer Paper, Holly Berry Dies and the Perched in a Tree Bundle.

My card base is Shaded Spruce and I used Cherry Cobbler to mat the beautiful Boughs of Holly Designer Series paper. I used the Holly Banner from the Holly Berry Dies to highlight my greeting (Old Olive was used behind the leaves to coordinate with the leaves on the designer paper).

I stamped the bird on Basic White using Momento Ink and then colored it with the Stampin’ Blends, making it easy to create multiple cards. I perched my bird on the “Textural Elements” which are also colored with my Blends!

You can see in this close-up that I added a touch of Wink of Stella on the leaves and the wooden element … who doesn’t like a little sparkle on a Christmas Card.

Thank you for joining me today. I truly appreciate the visit … If you like what you see on my page, please click on the LIKE button. It helps others find my blog ❤

Have an amazing day ~

Here are the supplies I used for my card (the ones still available) The last chance list is out so products are selling out fast.

Twelve Days of Christmas: Day 9 / Twisted Ribbon Technique

Hello Stampin’ Friends ~

I am so excited to share my cards and video with you today. Christmas is full of pretty paper and ribbons, and today I’m thrilled to show you the “Twisted Ribbon” Technique. In the video, you will also learn two different tips to creating this technique with ease.

Let’s watch the video and then I will share the cards with you …..

How fun is this technique!?? Oh my gosh …I am addicted!! And with the use of my template, it makes creating these cards fast and simple. Let’s talk “Core” dimensions / What you need to create the card. The punches or dies you can add for greetings and such are endless!! Just have fun with it.

  • Card Base: 8-1/2″ x 5-1/2″ then score at 4-1/4″.
  • Panel for ribbon technique: 5″ x 2″ … this allows you to add a mat and still layer!
  • Ribbons (Designer Paper): 3″ x 1/2″ (Sorry I said 1/4!)

I’ll begin with the card that I demonstrated in the video ….

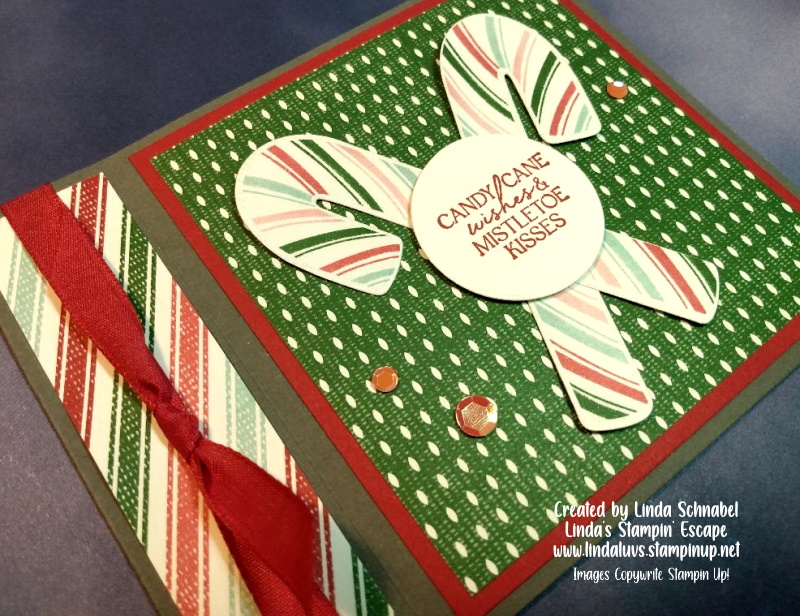
This card highlights the “Boughs of Holly” Designer Series paper. I complimented that with Real Red and Mossy Meadow cardstock. My greeting comes from the Sweet Candy Cane Stamp Set and Real Red ink.

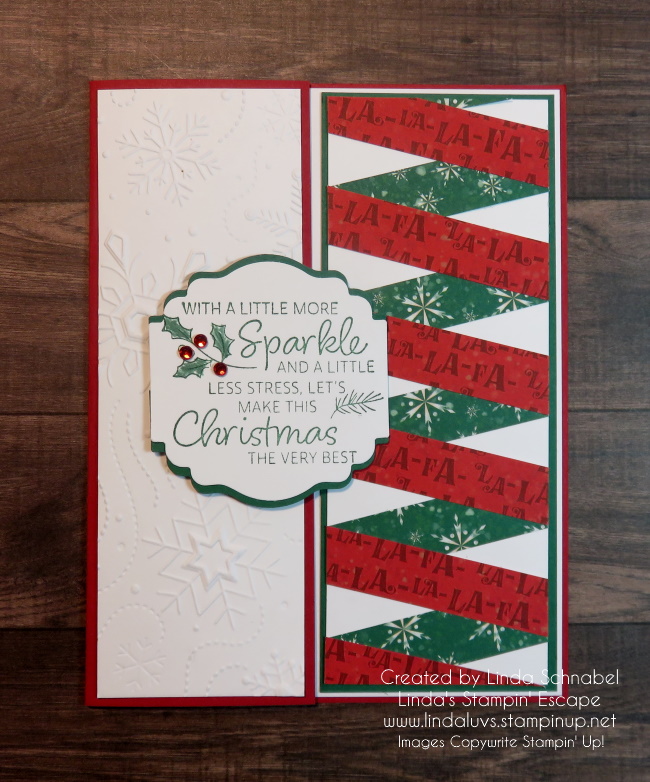
On this card I used the Framed Florets bundle and the Framed & Festive Stamp Set. The designer paper to create the “Twisted Ribbon” is the Fitting Florets! I also used the Timeworn Type Embossing Folder to add some texture to the card.

I got a bit more creative with this card … I cut 2-1/4″ off the front flap of my card and placed my “Twisted Ribbon” on the right side of the card. Now it shows with the card is open or closed!! My designer paper of choice is the “Santa Express” full of fun and whimsy!

To create the texture on the front flap, I used the Wintery 3-D embossing folder. My greeting comes from the Very Best Occasion stamp set and was punched out using the “Label Me Lovely” punch. Cardstock colors are Poppy Parade and Shaded Spruce.

My last card I shared also used the Santa Express Designer paper ….

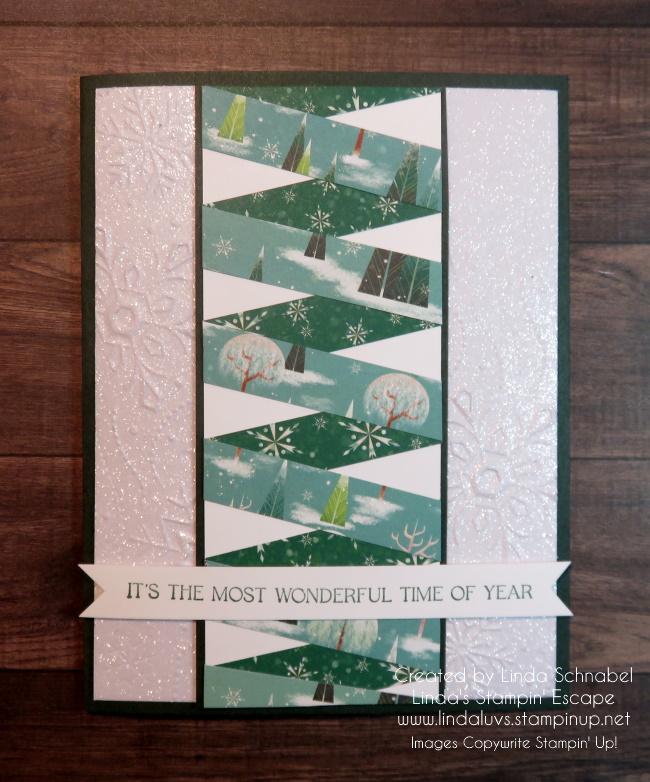
I also used the Wintry on this card but I embossed the beautiful White Glimmer paper! I centered my “Twisted Ribbon” to give it another different look. The greeting comes from the Sweet Candy Cane stamp set and fits this card perfectly.

I had so much fun making these cards and I hope I inspired you to grab some of your designer papers and try out this technique.

Thank you so much for joining me! Have a wonderful day.

Here are some of the supplies used to create my cards. Don’t forget that there are many beautiful designer papers on the Clearance rack at low, low prices!

Twelve Days of Christmas: Day 8 / Book Binder Fun Fold & Christmas Barn …

Hello Stampin’ Friends ~

Today I’m going to share one of my heartfelt favorites that hit the retirement list … Christmas Barn. This set brings feelings of my grandparents. I also created this card using the Book Binder Fun Fold, so I will be sharing one of my demonstration videos with you. I will be sharing it with you today, along with close-ups and dimensions shared in the video. The Book Binder Fun Fold is so easy to make but gives you that special touch of fun … and it works great with any occasion!!

Besides the Fun Fold, I’ll also be highlighting the “Masking” technique. Masking allows you to create dimension on your card without the use of dimensionals and such. First, you will need to stamp the barn, once on your cardstock, I’m using Shimmery White here, and then again on a piece of scratch paper …. then cut out your barn.

Now that you have your barn cut out, use a removable adhesive to attach your cut barn onto your stamped barn. Now you can stamp your trees around the barn … Remove your mask and it looks like the trees are behind your barn!! Now you can color your barn as desired. Now onto the Fun Fold Directions …..

Let’s take a look at the video and then I will share the measurements for the card…

So cute and easy … right! One piece of cardstock, two score lines and some adhesive and you can create the Book Binder Fun Fold. This bundle makes it easy to stamp and die cut your way to “sweet” Christmas cards and treats!

Measurements:

  • Card Base: 11″ x 4-1/4″ then score at 5-1/2″ and 6-3/4″ … the adhesive goes between the 5-1/2″ and 6-3/4″ score lines to create the “binder”.
  • Real Red Mat: 4″ x 4″
  • Designer Paper or White (for inside): 3-3/4″ x 3-3/4″
  • Binder Designer Paper: 4″ x 1″

The layout to this card is so simple that you can use it for any occasion … I’ll share more with you later.

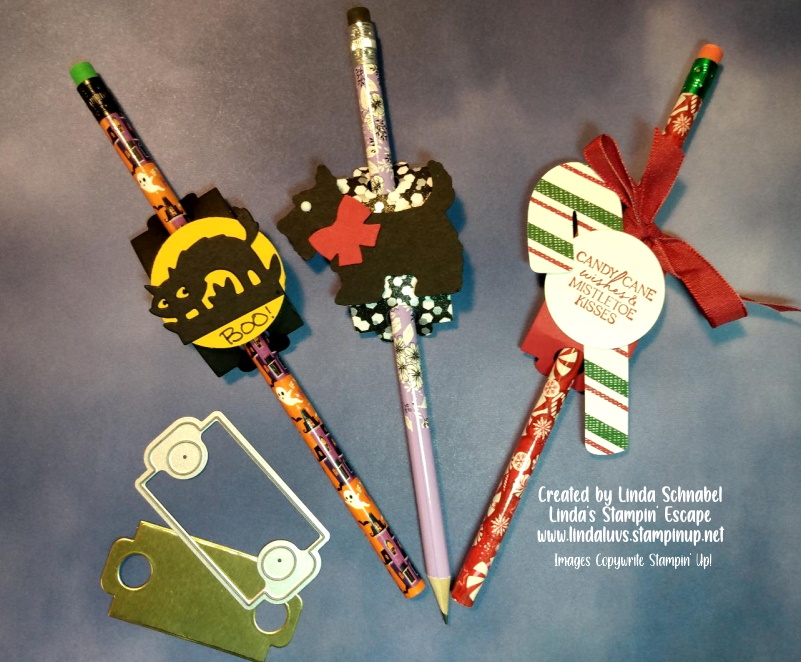
In the Sweet Candy Cane bundle I showed you that one little die that creates a little “wrap” for candy canes but I wanted to share what else you could use them for … non-candy treats / gifts!!

Talk about a quick and easy little gift to give … and inexpensive. I used scrap pieces to cut my little wraps out and the pencils were from the $$tore! I think there are about 8 pencils in each pack, and they always have them for special occasions.

I hope you enjoyed the two cards highlighting the fun fold and the little treat wraps today.

Thank you so much for joining me today, and to those who watched me LIVE last night.

Have an amazing Wednesday ~

Here are the supplies that I used to create today’s Book Binder Fun Fold. If you do not have a demonstrator, I’d be happy to serve your stamping needs. Thank you.

Twelve Days of Christmas: Day 5 / Boughs of Holly

Hello Stampin’ Friends ~

I am really excited to share today’s card with you as it comes from one of the first suites I had to get my hands on when this Mini Catalog game out, and now it’s on the retiring list 😦

The Boughs of Holly Designer Series paper is simply stunning and is the backdrop for my card. I layered the poinsettia pattern with the Evening Evergreen and Cherry Cobbler which creates such a beautifully rich look.

To add a holiday touch, I die cut the frame from the Gold Metallic Specialty paper and it seems to make the centers of the poinsettia really pop out. I also die cut a piece of the designer paper with several green shaded to put behind the leaves.

To keep the deep rich them of my card going … I heat embossed a piece of Cherry Cobbler with Clear Embossing powder and die cut the cherries. I also cut the detailed part of the cherry in the Gold Metallic paper. To bring in the deep green from the designer paper, I cut 3 sprigs from the Evening Evergreen cardstock.

A simple piece of white Bakers Twine behind the leaves complimented the white used for the greeting. Then I added a few of the Gold Holly Leaves to balance out the entire assembly. To complete my card, I added a piece of the designer paper onto the Basic White and then layered a piece of Evening Evergreen behind the Basic White.

If you take a good look at my card, then flip to page 24 on the Mini Catalog you will see where I got my inspiration from!! I think our catalogs are a great place for inspiration, and if you have shopped with me in the past year … You are on my mailing list and will be receiving the upcoming Jan – June Mini and Sale-a-bration Catalogs!! Woot Woot!! Just my way of saying “Thanks” for choosing me as your demonstrator ❤

Thank you so much for joining me today, I hope I inspired you with these rich, warm colors.

Have a great weekend!!

Here is a list of supplies that I used to create today’s card ….

Twelve Days of Christmas: Day 4 / Sweet Candy Cane Bundle …

Hello Stampin’ Friends ~

Today I will be sharing a FUN FOLD with you today, along with close-ups and dimensions shared in the video. This is also part of the Mega Suite: Sweetest Christmas. The Book Binder Fun Fold is so easy to make but gives you that special touch of fun … and it works great with any occasion!!

Let’s take a look at the video and then I will share the measurements for the card…

So cute and easy … right! One piece of cardstock, two score lines and some adhesive and you can create the Book Binder Fun Fold. This bundle makes it easy to stamp and die cut your way to “sweet” Christmas cards and treats!

Measurements:

  • Card Base: 11″ x 4-1/4″ then score at 5-1/2″ and 6-3/4″ … the adhesive goes between the 5-1/2″ and 6-3/4″ score lines to create the “binder”.
  • Real Red Mat: 4″ x 4″
  • Designer Paper or White (for inside): 3-3/4″ x 3-3/4″
  • Binder Designer Paper: 4″ x 1″

The layout to this card is so simple that you can use it for any occasion … I’ll share more with you later.

In the Sweet Candy Cane bundle I showed you that one little die that creates a little “wrap” for candy canes but I wanted to share what else you could use them for … non-candy treats / gifts!!

Talk about a quick and easy little gift to give … and inexpensive. I used scrap pieces to cut my little wraps out and the pencils were from the $$tore! I think there are about 8 pencils in each pack, and they always have them for special occasions.

I hope you enjoyed the fun fold and the little treat wraps today. I’ll be back to share more of these with you.

Thank you so much for joining me today, and to those who watched me LIVE last night.

Have an amazing weekend ~

Here are the supplies that I used to create today’s Book Binder Fun Fold. If you do not have a demonstrator, I’d be happy to serve your stamping needs. Thank you.

Twelve Days of Christmas: Day 3 / Christmas Banners

Hello Stampin’ Friends ~

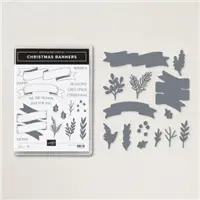
Today I am going to share my card from the Christmas Banners bundle which is part of the mega suite “Sweetest Christmas”. You’ll find these on pages 8 through 11.

My card also uses the background die from the Sweet Candy Cane bundle. Let’s begin …

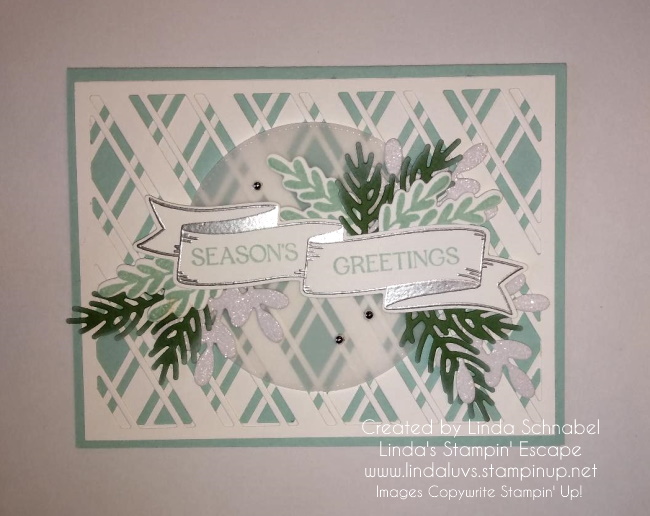
The card base is Pool Party and then I layered two die cut sheet on top. The secret to get that “criss-cross” look is to turn one of the die cut piece upside (flip it over) … I hope you know what I mean. I attached the layers together and to the front of the card using the Tombo Liquid glue. On top of that is a circle cut from our Layering Circle Dies.

Next I inked up my banner with VersaMark and heat embossed it with Silver Embossing Powder. Then using the Christmas Banners stamp set, I stamped my greeting onto the banner using Pool Party Ink. Before you attach this to the card front, you have to die cut all your foliage.

I stamped the foliage in Pool Party ink three times and then die cut it, then I die cut the “sprigs” from Garden Green and using a Sponge Dauber and White Craft ink … I tipped the ends to give it a “frosty” look. The I cut more of the foliage out of the White Glimmer paper. Once all your pieces are stamped, tipped and die cut … you can begin layering them behind your banner.

I added adhesive directly to the back of my banner and then began layer the pieces behind. You may need to add a bit more adhesive to get all you layers done. Then I added Stampin’ Dimensionals on the back to give it dimension and to help secure your foliage to the banner.

Then I added some Silver Festive Pearls to complete my card. I love the way this card turned out and it was one that I featured at my Fall Holiday Stamping Retreat.

Thank you for stopping back. I’ll see you tomorrow for day 4 of my Twelve Days of Christmas.

Here is a list of supplies used for today’s card ….

STARTS TODAY ….

Twelve Days of Christmas: Day 2 / Merriest Moments

Hello Stampin’ Friends ~

It’s Day 2 and I have a beautiful card to share with you today! It comes from the Merriest Moments bundle which is found on page 23 in the June thru December Mini Catalog …. and is retiring 😦

This stunning card was created for my Holiday Stamping Retreat but since it’s on our Last Chance list, I thought I would share it will you. It’s way to pretty not too!

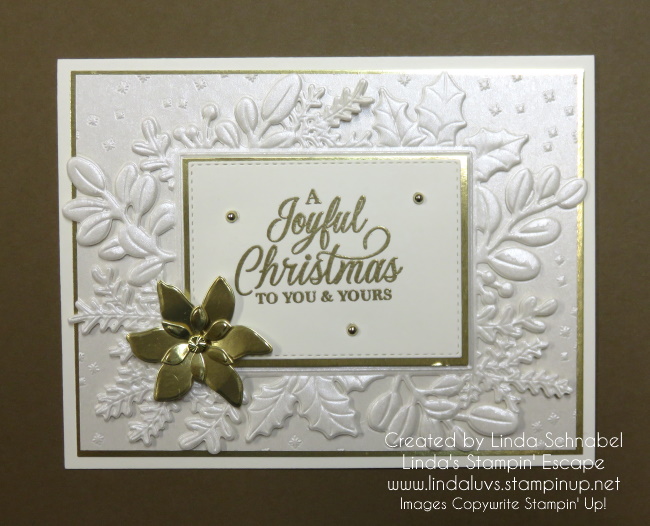
I began with a Very Vanilla card base and from there … it’s layered with Gold and Pearlescent Specialty Paper. You will find both the Goil Foil paper and teh Pearlescent paper in the Annual catalog – pg.139

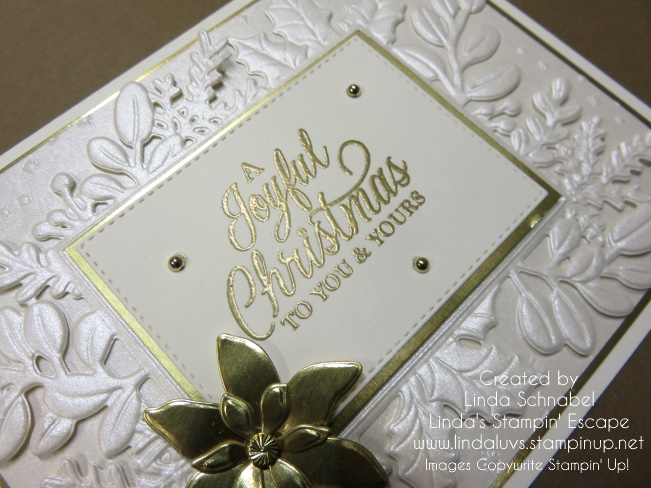
The Pearlescent card front is embossed, and then another layer is embossed and die cut to add a beautiful layer to the card.

On top of the die cut foliage is another layer of Gold Foil and then I embossed the greeting onto the card. A poinsettia was die cut for added texture and design. To complete my card, I added some of the gold “Festive Pearls.

With just some basic cuts and some die cutting, then embossing your greeting … this stunning card is ready to send to your friends and family.

Now I have some news for you about Stampin’ Up!s Last Chance list and more …

CLICK HERE TO DOWNLOAD RETIRING LIST PDF

Also on December 1st, Stampin’ Up! will be adding new items to the Clearance rack, including dies offered during the Perfect Partners Promotion! With discounts up to 60% off, you can get the die sets that coordinate with the still-available stamp sets at a great price. This is an amazing opportunity … Hurry and check it out the Perfect Partners dies and Clearance Rack products (available while supplies lasts)—don’t forget the coordinating stamps 🙂

Thank you so much for stopping by today. If you’re interested in the Merriest Moments for your craft room, click on the link I provided above to check out the discounts.

Have a great day ~

Twelve Days of Christmas: Day 1 / Kindest Gnomes

Hello Stampin’ Friends ~

I am going to start out with a BANG!!! I am sharing several cards featuring the Kindest Gnomes Bundle. I love this entire suite!! Gnomes are so “hot” right now and if you’re like me and you’ve hopped on their bandwagon, you will enjoy this parade of cards.

I did “NOT” create these cards, they were done by our Global Artisan Team members, so I will “recognize” them by including their names along with their creations.

Created by our global Artisan Design Team member Berdien Weideveld ….

Created by our global Artisan Design Team member Martin Stone ….

Created by our global Artisan Design Team member Karine Lison ….

Created by our global Artisan Design Team member Vicki Boucher ….

Created by our global Artisan Design Team member Tami Hewlett ….

The Gnome Dies (item number 159625) WILL carry over and be available during the January–April 2023 Mini Catalog sales period. The dies will officially be retiring on 1 May 2023, unless they sell out before then; they will not be restocked. However, all the other products in the Storybook Gnomes suite will retire this December and are on the Last Chance List.

I hope you enjoyed the first product share of my Twelve Days of Christmas series… Kindest Gnomes.

Thanks for spending your time with me today!

As promised, Here is the Last Chance List …. CLICK HERE TO DOWNLOAD