Merry Christmas Wishes Card

Hello Stampin’ Friends ~

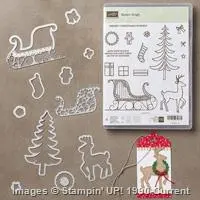
Today I have a quick post for you that showcases one of the cards that we did at my Holiday Catalog Launch party. Head over to page 24 of the catalog and hop in Santa’s Sleigh to follow along on the journey.
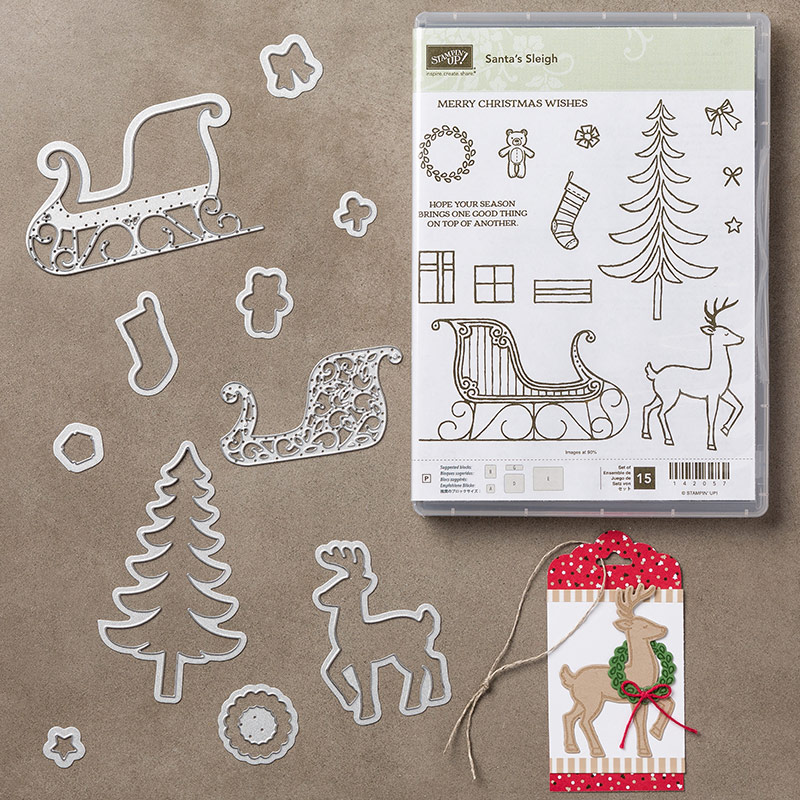
The card was cased from a fellow demonstrator … I fell in love with the simplicity yet beauty of the card.

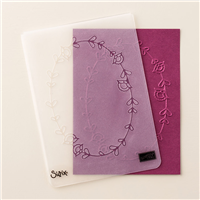
We begin with the  Pretty Paisleys Textured Embossing Folder on page 47, and will emboss it on Very Vanilla cardstock. I love the way the embossed image frames our entire card.

000_3639

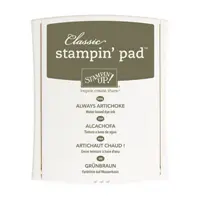
Our next step was to stamp the tree image inside the oval in Always Artichoke. I also used Always Artichoke to mat the embossed piece for a little extra pop of color.

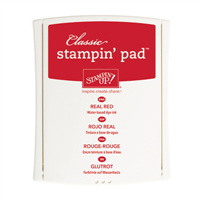
You will need to stamp the deer in Soft Suede onto Soft Suede cardstock … Do same with the bow and gift package (Real Red ink onto Real Red cardstock) Then you will cut them out with the framelits included in your bundle.

000_3643

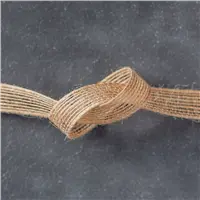
I used the new Burlap Ribbon from the annual catalog, and pulled a string out of it to use as my bow on the present. The gift was mounted with a Stampin’ Dimensional.

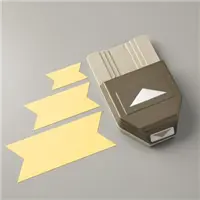
The greeting was stamped on a scrap piece of vanilla cardstock and I simply trimmed the edges by hand. You could also use the Triple Banner punch to make your banner.

We added a some holiday cheer to the inside of our card and a bit of our tree. The tree was also stamped on the envelopes so we had a nice coordinating card to mail.

000_3642

You could purchase the stamp set and framelits separately but it’s much better to save 10% by bundling! Besides, you are going to want the sleigh … I’ll be sure to share samples in the upcoming holiday season.

Hope you enjoyed our card as much as the group at the Holiday Catalog Launch party liked it.

I thank you for spending a bit of your Saturday with me.

Enjoy your weekend, and I’ll be back tomorrow with a little surprise for my Simply Sunday series.

blog-closing-small

TODAY’S STAMPIN’ SUPPLY LIST …

starry-purple-background-vector
000_3639


It’s a Merry Medley …

Hello Stampin’ Friends ~

Woooo … sorry about that! I had a sinus headache turn migraine yesterday and it won! I don’t normally get headaches, especially like that but I’m here today with the card that I promised.

We made 10 cards at the Holiday Reveal party that highlighted a number of the stamp sets. It was truly hard to choose which stamps to use, there are so many awesome sets and bundles this year!!

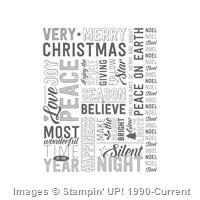
Today I’d like to share the card I created using the “Merry Medley” stamp. This is one background stamp … I choose to purchase the wood when it comes to background stamps because I like the weight of the wood.

000_3633

I flip my stamp “rubber up” then ink it … today we used the Whisper White Craft ink on Basic Black Cardstock. I find this to be the easiest way to use the background stamps … by placing the rubber up and placing the cardstock on top, you have more control over the position and coverage on your card.

After picking my cardstock off of the stamp, I dipped it into White Embossing Powder, tapped off the excess and heat embossed it. I love the “white on white” look because it is more bold than if you use a VersaMark or other emboss pad … even though they work well, this is just my preference.

I teamed up the “Merry Medley” stamp with the “Holly Berry” Bundle. I punched out the Holly leaves and then stamped on them (usually I do it the other way, stamp first then punch) but with the photopolymer stamps, it’s just as easy to punch these out first then stamp.

000_3633-detail

You’ll see a strip of Real Red cardstock wrapped with the Old Olive Bakers twine … I added that to draw your eye to the cluster of holly leaves and it coordinates nicely with the red berries. The berries were created using the Rhinestones and a red Sharpie™. The entire front was matted with Real Red cardstock and mounted onto the Black base of the card.

000_3637

The inside was stamped with Momento Ink and colored in with markers. Simple but colorful … if you don’t like to putz with coloring, just stamp your holly in green!

Hope you enjoyed today’s card … we sure had fun on Monday.  What a great group of stampers … Thanks.

Thank you for stopping by today, I hope your day is a great one.

blog-closing-small

Today’s Stampin’ Supply List …

000_3633


They’re Back ….

Hello Stampin’ Friends ~

I am so excited to announce the new items listed on the Clearance Rack … Oh my gosh, there are 5 pages of items!!

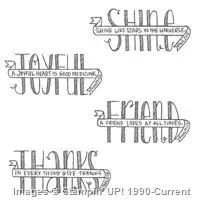
I would love to share some of my favorites, let me begin with “Banner Blessings” …

000_1728

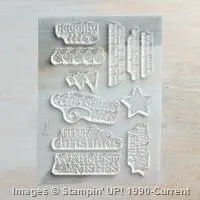
Then we have the very versitile holiday greetings: Christmas Bliss.  Christmas imagery that is perfect for beautiful holiday cards and tags. Recommended clear block sizes are H, C, and G (not included in the set).

000_1722

And let’s not forget the beautiful Holidays Fancy Foil Designer Vellum! These vellum sheets make gorgeous accents, invitations, and overlays.

000_2941 000_2937

OH MY … there are just too many to post!  Take a look CLICK HERE and check it out for yourself. I know some of your favorites will be on there too, including some of those in-color cardstocks we were so sad to see go.

Let me know if you have any questions on any of the products or if you need any help.

Thanks so much for stopping by, and be sure to stop back tomorrow as I will be posting one of the lovely cards that we made at the Holiday Catalog Reveal party.

Have a great day today!

blog-closing-small

Here’s a link to the products I highlighted today from the Clearance Rack …

Simply Sunday: Making Spirits Bright

Hello Stampin’ Friends ~

Before I share my card with you today, I want to take a moment to honor those we lost, those who helped, and those who lost their loved ones on this day 15 years ago.  It changed the face of America, but we became strong and rebuilt as we always do.

remembering911

Terrorism is evil and still rears its ugly head all over the world … let’s stand strong together. We are one people and are more a like than we are different (Our Olympians and stampers are a good example of that). Let’s remember how this tragedy brought us together, neighbor helping neighbor, rebuilding together.

We’ll never forget but we move forward, and we live to honor those we lost.

Today’s card is “Making Spirits Bright” …

Yesterday I shared a video of our new “Cable Knit” embossing folder and promised a cute card using this folder.  It is a lot thicker than the folders you are used to using, this is so we can get the detail …

000_3630

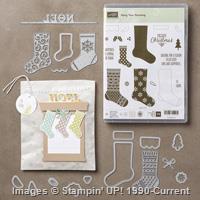
I used the cable knit as my background and with it’s deep emboss, it won’t get lost on the card, it stands up on it’s own. It’s done in Very Vanilla and mounted on Garden Green cardstock. The cute little stocking come from the “Hang Your Stocking” bundle.

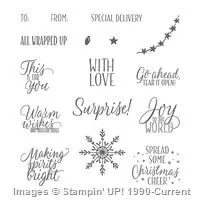
Our “Making Spirits Bright” comes from the stamp set designed to coordinate with the “Tin of Tags” … however, get your moneys worth and use it on all it’s cards – it’s very versatile!

Let me know what you think … I’ve been missing my stocking die, but now we have the really cute bundle 🙂

Thank you for sharing a part of your day with me. Let me know what you think of the card / embossing folder. I’d also like to know what you want to see … I’d love to help 🙂

blog-closing-small

STAMPIN’ SUPPLY LIST ….


Simply Sunday: Christmas Stocking

Hello Stampin’ Friends ~

It appears as if I have been distracted by this beautiful Wisconsin weather today! A perfect day with all the windows in the house open, plus a planning session for my upcoming Holiday Catalog Launch Party and Holiday Retreat! But I’m here now and sharing a simply cute card using one of the bundles that will be featured at these upcoming events!

Our color pallet was based off the “Presents & Pinecones” Designer Series Paper which mats the “focal point” … the stocking and our greeting: Cherry Cobbler, Mint Macaron and Whisper White.

holiday16_p14d-64

Who doesn’t love stockings by the fire at Christmas? This is the perfect bundle … with so many options to create your stockings, you wont’ have to make any two the same! You can stamp any of the 5 designs, you can use the different textures included in the framelits, or you can simply use the basic stocking die to cut out a stocking from any of your favorite designer papers! SO MUCH FUN to play with 🙂

If you haven’t signed up for the Holiday Catalog Launch Party … there is still time, and we would love to have you join us. There are going to be 10 fabulous cards and plenty of fun and surprises! Bring your camera! Contact me at … lindaluvs2stamp@aol.com  RSVP due by Sept.9th for Monday. Sept.12th.

Sharable4_HolidayCatalog with e-mail

The “Holiday Retreat” has already filled to capacity … but there is always Spring of 2017!

Thanks for checking in on me today! I’ll be back tomorrow at my regular time.

Have a wonderful rest of your day ~

blog-closing-small

STAMPIN’ SUPPLY LIST …


Let’s Party …

Hello Stampin’ Friends ~

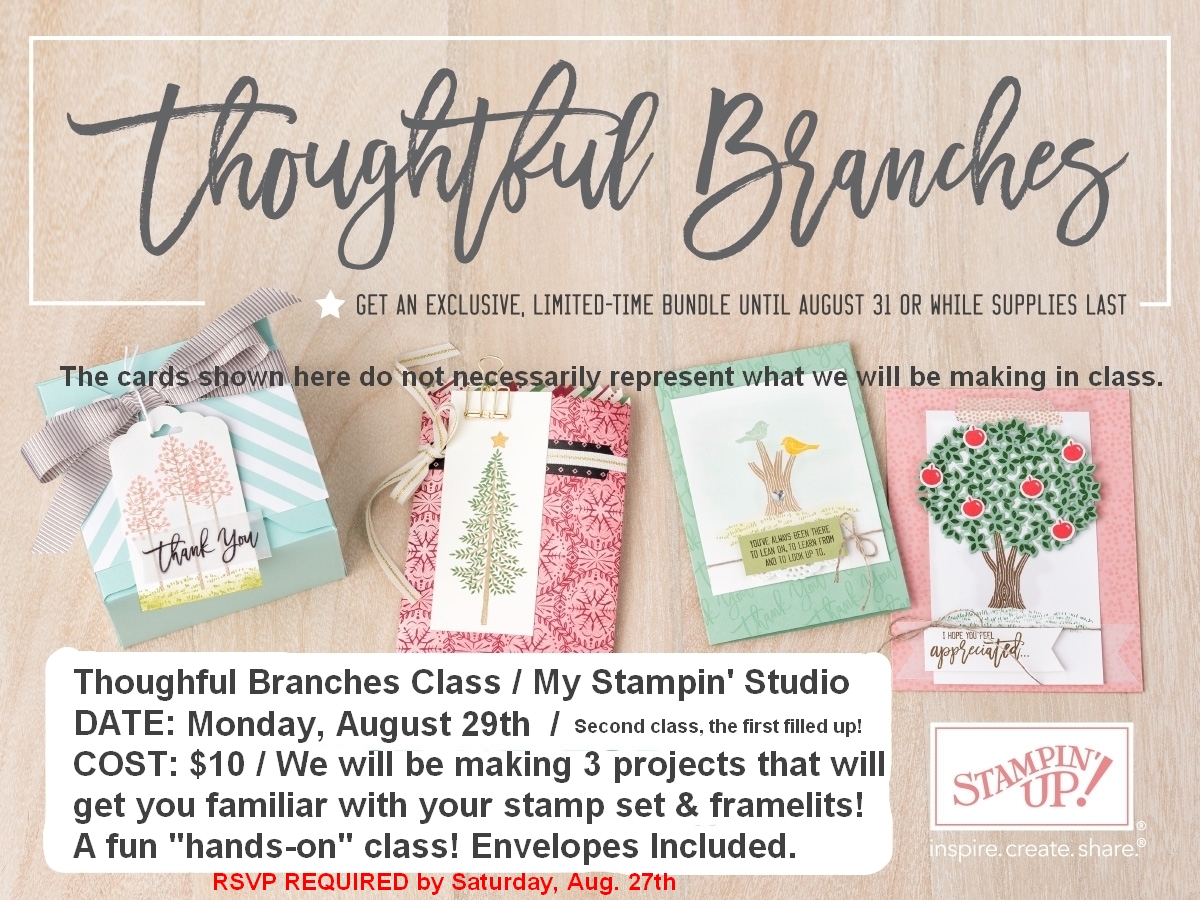
Today I’d like to share a cute card with you and some upcoming stamping events. Let me begin with the “Thoughtful Branches” class … this is my second as the first filled up before I even got to send an e-mail invite! I announced the new date at the “Hostess Appreciation Party” and now ONLY 2 SPOTS are left!

ThoughtfulBranches_2nd CLASS

You will enjoy this class … you will learn “hand-on” different uses of your dies and how nice it coordinates with your stamp set. There will also be fun techniques and tips shared at this class. RSVP by 8/27.

If you are looking forward to getting your hands on the fabulous items in the NEW Holiday Catalog, then join me for a fun filled evening creating 10 cards for only $20 / envelopes included. This class will be much more than Christmas so RSVP and join me for a great evening…

Holiday Launch Party

This cute little card was created by the Stampin’ Up! staff and comes directly out of the catalog (one of the best places to find inspiration) It is also the card that made me want to have this stamp set and framelits in my own stampin’ collection.

holiday16_p14e-62

I hope you can join us, and I thank you for taking time to check it all out.

Have a fabulous day!

blog-closing-small


It’s not a Sneak Peek without a card …

Hello Stampin’ Friends ~

So sorry for the late post today, but I know you understand who sometimes life gets in the way! Besides extra hours at work, I’m busy planning several upcoming events …

  • Thoughtful Branches Class
  • Hostess Appreciation Party
  • Holiday Catalog Launch Party
  • Holiday Retreat

I’m excited to share a brand new stamp set and thinlits that will be in the Holiday Catalog! I’m not sure I could pick a favorite so I decided to start with the big guy … You got it!! SANTA CLAUS!

I’ve teamed up the “Greetings from Santa” stamp set with the “Detailed Santa” Thinlits Die to create this cute card …

000_3544B

The thinlit die makes it super simple to create this card, in fact … it does all the work. The “Merry Christmas” greeting comes from the “Greetings from Santa stamp set, and so does the “Ho! Ho! Ho!

I used Dazzling Diamonds glitter to jazz up Santa’s hat and the surrounding swirls.

000_3545-Front

The inside of the card has Santa’s list stamped in Basic Gray and the question of the season is …”Naughty or Nice” stamped in Real Red. This is complemented with the new “Candy Cane Lane” Washi Tape. I LOVE IT!! and used it on the front of the cards as well.

000_3547

You are going to LOVE the new Holiday Catalog … so many wonderful new items to share with you.

Thanks for checking in on me today! I’ll be back tomorrow with my Simply Sunday series of cards.

Have a wonderful weekend ~

blog-closing-small

000_3544B

Merry Christmas Wishes

Hello Stampin’ Friends ~

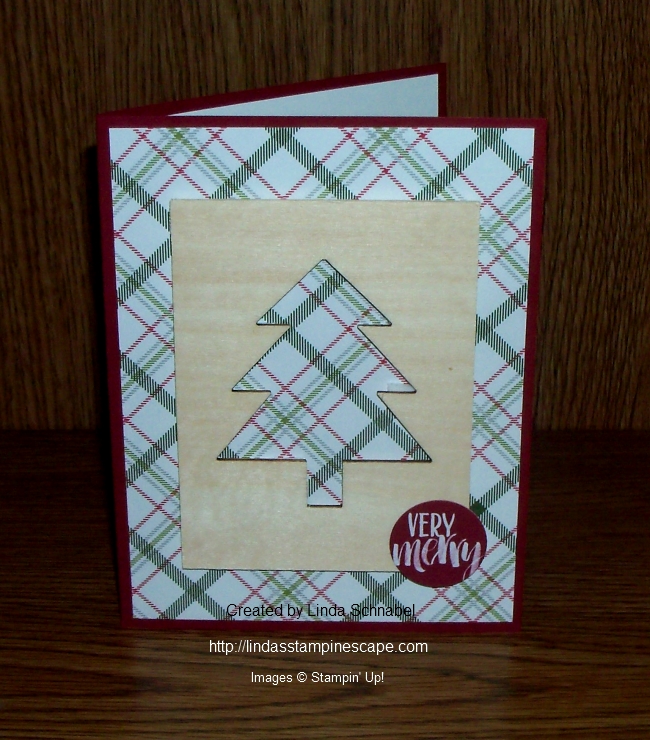
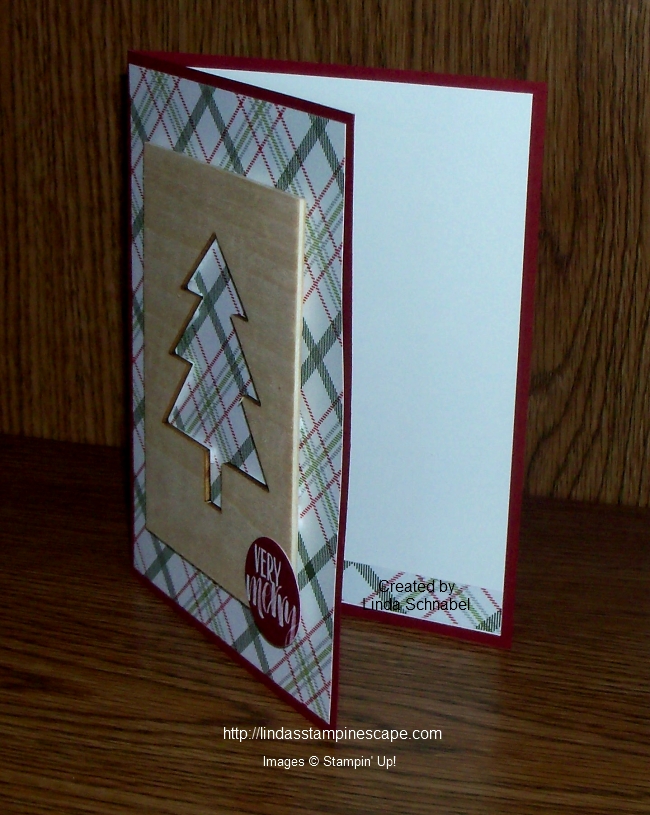
Hope you had a chance to check out my Simply Sunday Christmas tree yesterday, because today I’m going to use the second part of that tree for my card.

This time I dyed the wood piece Old Olive by sponging on the color from the ink pad. It colors nicely and I added a bit of chocolate chip marker to the trunk of my tree.
000_2956

Of course my tree comes from the “Seasonal Snapshot 2015” a Project Life kit as I stated yesterday, there are just so many more pieces that include Halloween, School and Thanksgiving!

I used the “Merry Moments” Designer Series Paper again to give you more ideas for your paper.

Again I mounted the tree onto the front with our Stampin’ Dimensionals.  I also used the cute stickers to create my greeting. My greeting comes from the “Oh What Fun” stamp set!

000_2960

Hope you enjoyed … I’ll be back tomorrow with the Weekly Deals!

Thanks for stopping by my blog.

Have a fabulous Monday ~

blog-closing-small

TODAY’S STAMPIN’ SUPPLY LIST …
 

Simply Sunday: Christmas Tree

Hello Stampin’ Friends ~

I’m back today after a one day break to do some Christmas shopping and to plan an upcoming “Sale-a-Bration” stamp camp!! Oh the new stamps … Oh what fun!!

Today my card comes from the “Seasonal Snapshot 2015” Project Life Accessory Pack.  This kit is fabulous for accenting your Project Life scrapbook pages, but it also works great for quick cards too!

000_2952

I chose the Christmas tree die-cut wood specialty card from the packet and popped out the tree … you see, they die cut the card but you get both pieces!!

I love the “Merry Moments” Designer Series Paper and picked one of the plaid patterns. I used the Cherry Cobbler from the “Merry Moments” Cardstock pack … this is a great way get all the colors you need for your cardmaking.

Then I simply mounted the tree onto the front with our Stampin’ Dimensionals … super simple.  I also found the cute little greeting sticker in my kit, so I added it to complete my card.

000_2953

Hope you enjoyed … Stop back tomorrow and see what I did with the other part of the tree die-cut!

Thanks for spending a part of your day with me.

Have a beautiful Sunday ~

blog-closing-small

TODAY’S STAMPIN’ SUPPLY LIST …
 

Simply Sunday: Holiday Designer Foil Vellum

Hello Stampin’ Friends ~

Today I’m sharing the cards that my clubs made this month … Quick and easy Christmas cards that highlighted the “Holiday’s Fancy Foil Designer Vellum” … it contains 3 sheets each of 3 different patterns. Wonderful news … the fancy foil is NOW on Sale!! Click the link above to view.

The first card also uses the “Home for Christmas Designer Series Paper” . We cut out the little Santa and mounted him to a 2-1/2″ Circle. The banners were created with the “Triple Banner Punch”.

000_2941

Our Ho Ho Ho comes from the “Oh, What Fun” stamp set on page 5 of the Holiday Catalog, the inside greeting I used came from the “Versatile Christmas” stamp set. You would not believe that they did not come from the same set!

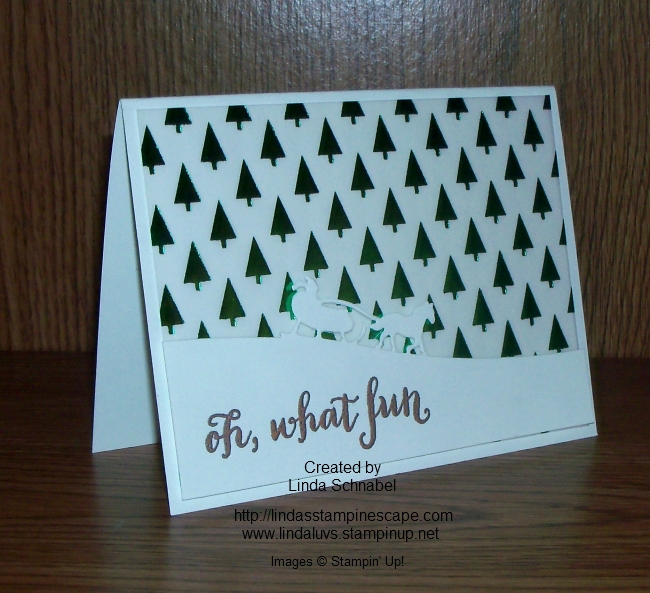
My second card uses the beautiful trees paper, and we used the “Sleigh Ride Edgelits Dies” for the front … Look Closely. Our greeting “Oh What Fun” and our die is a “One horse open sleigh”. Love it!

000_2937

Unfortunately the Sleigh Ride edgelits have been discontinued and no longer available, but I don’t want you to miss out on this beautiful vellum and it’s on sale!!  Don’t miss out on any more! Just click the link below to view the sale items.

See the savings now!

Main_Year-End-Sale_OLO_1210_US

Here is a third card to show you the third designer vellum that is included in the package. Remember, you get 9 sheets of this beautiful vellum paper … 3 each of 3 designs. Click the links to view.

000_2738

Place an order of $35 or more and receive a Thank You card and 5 more cards! You will also get your name entered in a drawing to win a stamp set of your choice.

Snoopy-End of Year Sale

Thank you so much for stopping by today ~

Please let me know if you have any questions or if I can help in any way…   lindaluvs2stamp@aol.com

Have a wonderful day ~

blog-closing-small

Stampin’ Supply List …


Flurry of Christmas Wishes

Hello Stampin’ Friends,

First I’d like to send my respects to all our past and present military … As we remember Pearl Harbor.

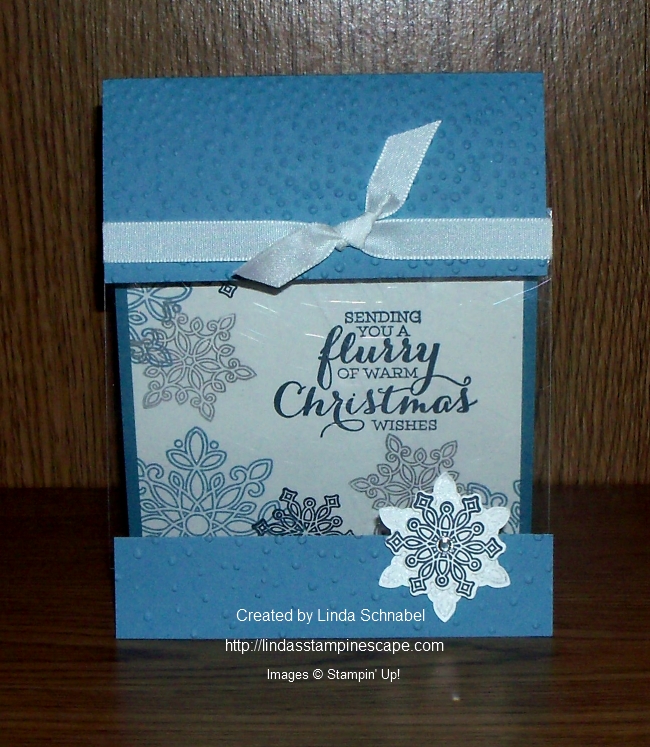
Today I’m going to share one of the two cards that I designed for our November Technique Club. We are focusing on the different techniques and ways to use the “Window Sheets” … part two of our class will be in their January club dates.

This card illustrates the “window” as the front of our card. The majority of the stamping is done on the inside and the window allows you to see it all.

000_2926

I cut the cardstock … Marina Mist to 4-1/4″ x 11″. Then we score at 5-1/2″ … cut at 7-1/2″ and 8-1/2″. You will need that 1″ piece for the bottom of your card. Your window sheet needs to be cut to 4-1/4″ to at least 3-1/2″ or 4″ depending on how much of the window you want to secure to the back.

We used the “Softly Falling” embossing folder to create a nice pattern on the front of the card, then secured the window sheets to the inside front.

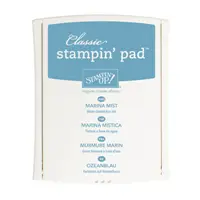
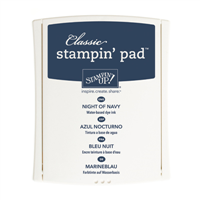
The inside is stamped in Marina Mist, Night of Navy and  Silver Encore ink with the beautiful “Flurry of Wishes” stamp set. I bundled my stamp set with the coordinating punch “Snow Flurry” to receive the 15% discount. We all love a savings a Christmas time.

CHRISTMAS WISHES

We completed our cards with a simple bow using the 1/4 cotton ribbon.

If your in my neighborhood you could join us during our Saturday club session … we have a few spots available.  Check my “CLASSES & EVENTS” Click to View. Club Date is January 9th @ 9am.

Let me know if you have any questions, I’d love to hear from you.   lindaluvs2stamp@aol.com

Thanks for joining me today.

Have a wonderful Monday!

blog-closing-small

TODAY’S STAMPIN’ SUPPLY LIST …
 

Simply Sunday / Guest Stamper: Jenny F

Hello Stampin’ Friends,

Today I’d like to share with you a card I received from my sideline & stampin’ sister, Jenny F.

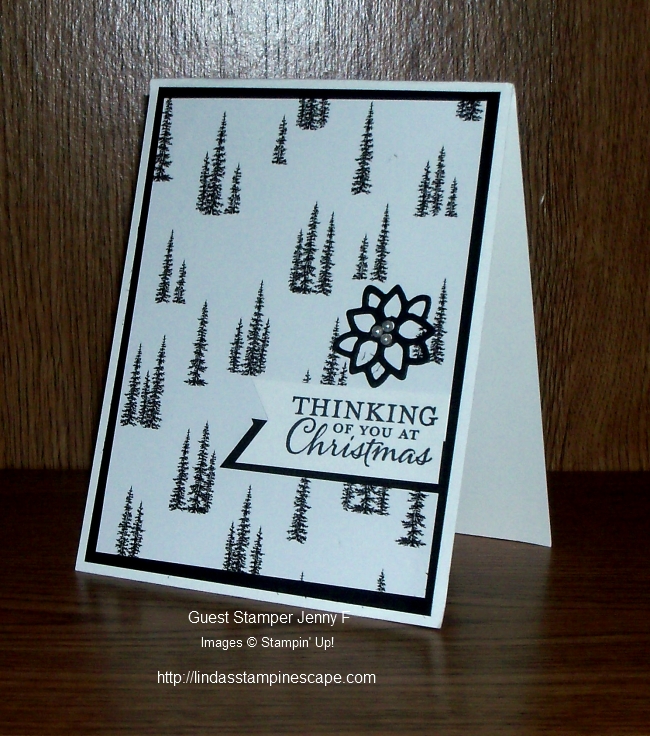
Jenny used the beautiful “Winter Wonderland” Specialty Designer Series and teamed it up with the Elegant Ornaments Bundle.

000_2920

This specialty paper has a sheen to it that also adds to the elegance of the card.

The simplicity of the black and white pallet gives an elegance to the card and works great for a gender neutral card.

Hope you enjoyed it as much as I did.

Hope your Sunday is Simply wonderful ~

blog-closing-small


Thinking of You at Christmas …

Hello Stampin’ Friends ~

Today I would like to share a card that I had designed for our Holiday Stampin’ Retreat. I love making cards for this special event, we have so much fun and we get to know each other so much better.

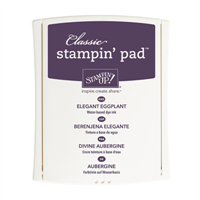
Anyone who knows me, knows that I like to have a few non-traditional colored Christmas cards, however I believe that the Elegant Eggplant is the perfect Christmas color. It’s a rich, warm color that makes me think of a color that one of the three Wise men would have worn.

000_2830

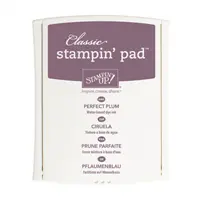
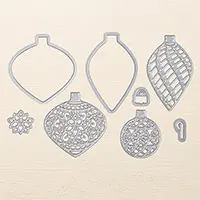
I chose the Delicate Ornaments bundle for my card … I wanted to highlight both the beautiful stamp set and the intricate ornaments. My stamped image was inked in Perfect Plum and then I used the sponge daubers to add a touch of the Elegant Eggplant through the center of the ornament.

I cut out the small round ornament from the Elegant Eggplant using the thinlits from the bundle, and then placed it over the silver glimmer paper that I had punched out of the center of the paper I used as my mat. (I don’t like to waste paper)

000_2835

The ornament tops are also from the thinlit bundle and cut from the Silver Foil paper found in the main Stampin’ Up! catalog. After stamping the greeting onto the card, I assembled the card, popping up the small round ornament and adding a touch of bling with the rhinestones.

Hope you enjoyed today’s card share. Please let me know if you have any questions about the card or placing an order for supplies.  The list of ingredients is below.

Thank you for taking time out of your day to visit my blog.

Have an awesome Friday!!

blog-closing-small

TODAY’S STAMPIN’ SUPPLY LIST …
 

Retreat Swap Card Winner: Cheryl G.

Hello Stampin’ Friends,

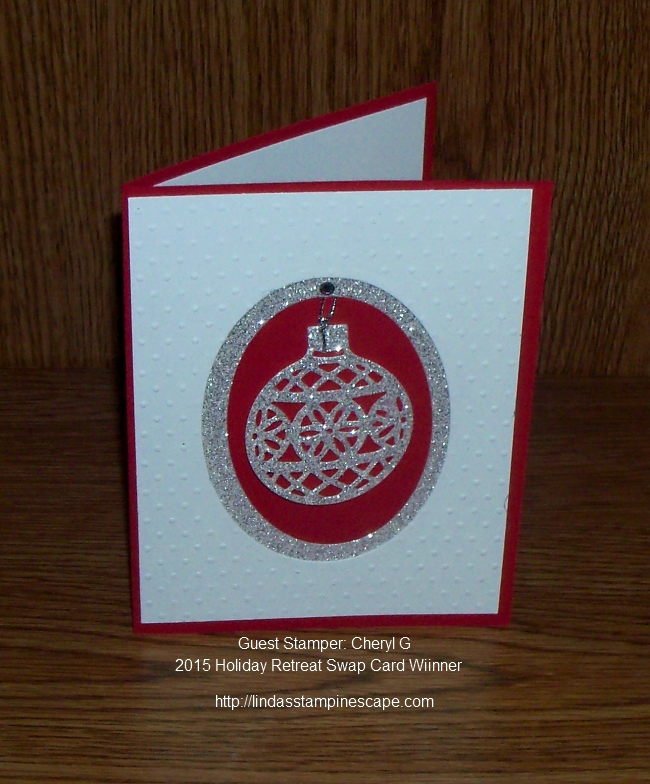
As promised I am sharing the winning card at our Holiday Retreat Swap! Cheryl G. created this stunning card with Real Red, Whisper White and Silver Glimmer paper. Can’t go wrong with that combination …
The white cardstock was embossed with the Perfect Polka Dots folder (retired). If you don’t have this one our current “Softly Falling” embossing folder would work great.

000_2814

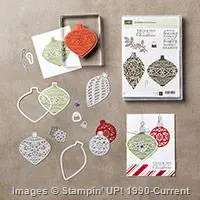
The Real Red and Whisper White were cut out with the Oval Framelits Collection … it makes the perfect frame to showcase the beautiful ornament from the “Delicate Ornament” Thinlet Dies. These can be purchased separately or with the coordinating “Embellished Ornaments” stamp set as a bundle – 140857.
Congratulations to Cheryl … I can’t wait to see what goodies she is going to pick out with her gift certificate.

I will be back tomorrow with another “Simply Sunday”, till then have a wonderful weekend.

Thanks for stopping by ~

blog-closing-small

Today’s Stampin’ Supply List …


Simply Sunday: Softly Falling Snow

Hello Stampin’ Friends ~

Welcome to my Simpy Sunday series … this is one of my favorite days to post. I love being able to show you how beautiful a simple, easy to make card can be.

Today our card begins with the new “Thick” Whisper White cardstock… it’s just a bit sturdier than our regular Whisper White but still easy to use.

000_2776

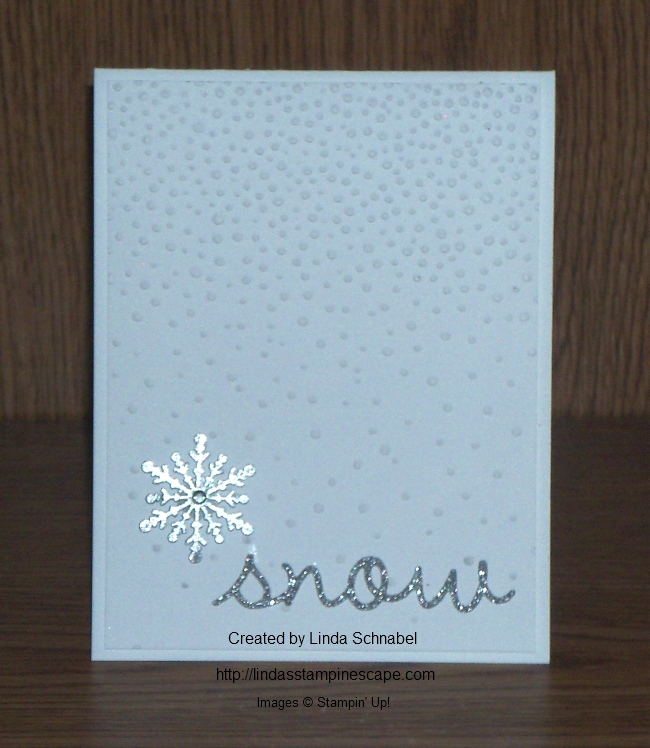
My card front is a embossed with the “Softly Falling” textured embossing folder that can be found on page 24 of the Holiday Catalog. I then popped it up with dimensionals … I like to do that when I make a card with white on white.

000_2771

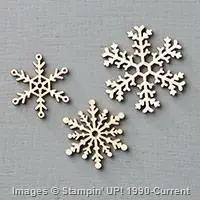
The pretty little snowflake is one of our “Snowflake Elements” embossed with Silver Embossing Powder. On Friday I share that this technique is the one our Technique clubs did this month … so much fun. It was topped off with a Rhinestone.

The title or greeting “snow” comes from the framelit set “Seasonal Frame” and was cut from the beautiful Silver Glimmer paper.

000_2776

I hope you had a nice weekend, and I thank you for sharing part of it with me.

Have a great day ~

blog-closing-small

TODAY’S STAMPIN’ SUPPLY LIST …