Simply Sunday: Retreat Card Parade!

Hello Stampin’ Friends ~

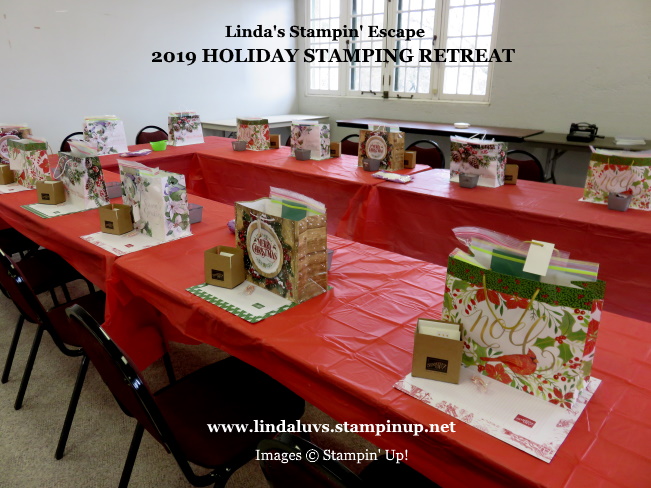
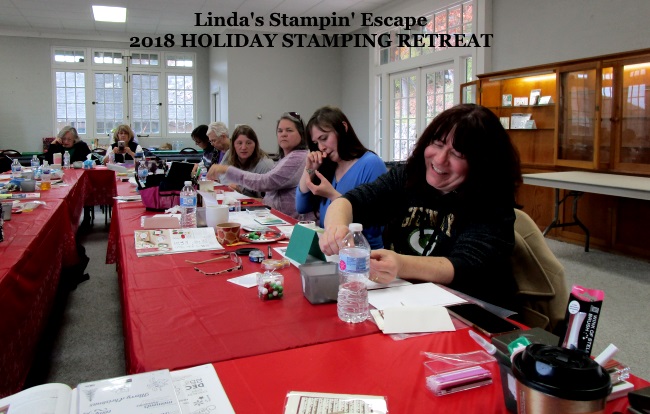
I thought it would be fun to share more cards from our Retreat Attendee Card Swap! My guests are so talented and I love seeing all the different styles.

Enjoy ….

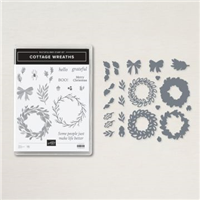
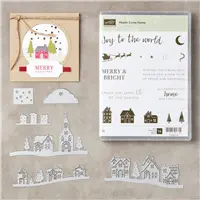
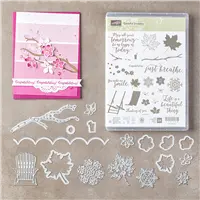
Love this card …. It was made by Carol who used the Cottage Wreath Bundle. This is also a fun fold card … The white piece opens to the right and exposed the greeting.

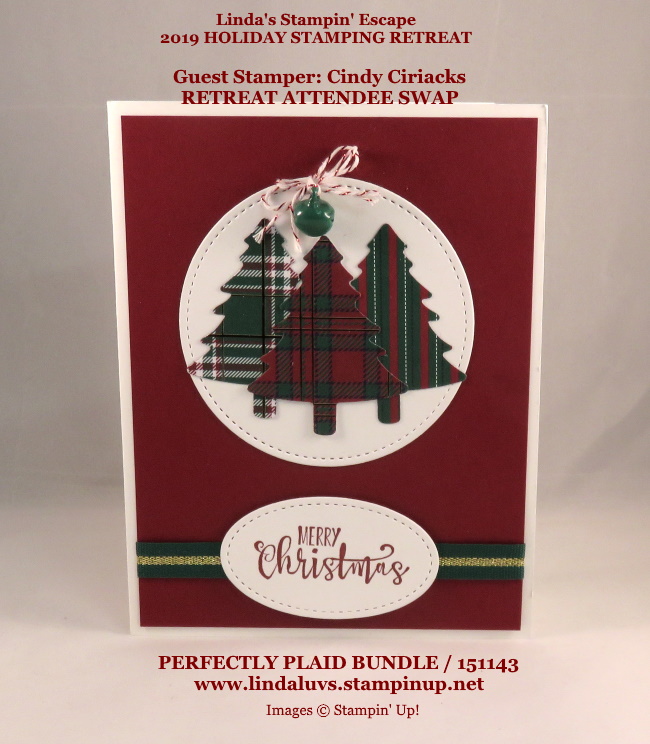
This stunning card was created by Meg … She used the “Timming the Tree” set from the Annual Catalog. Don’t you just love the multiple colors of green she layered on her tree?

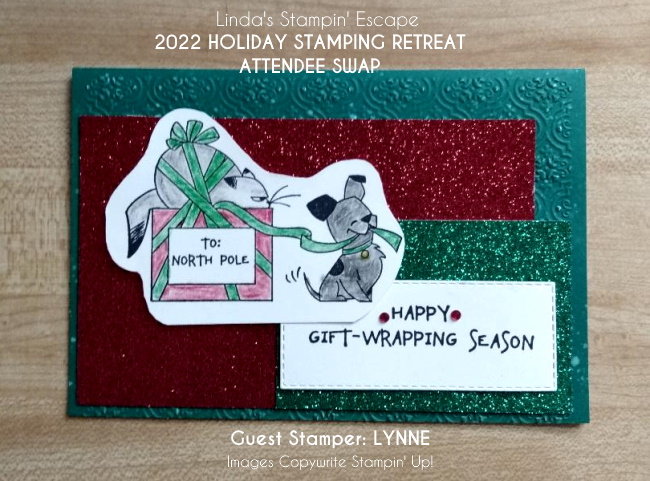
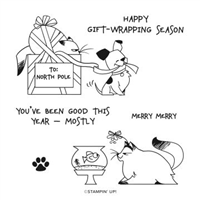
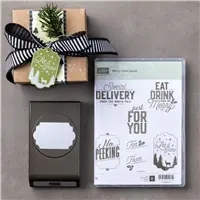
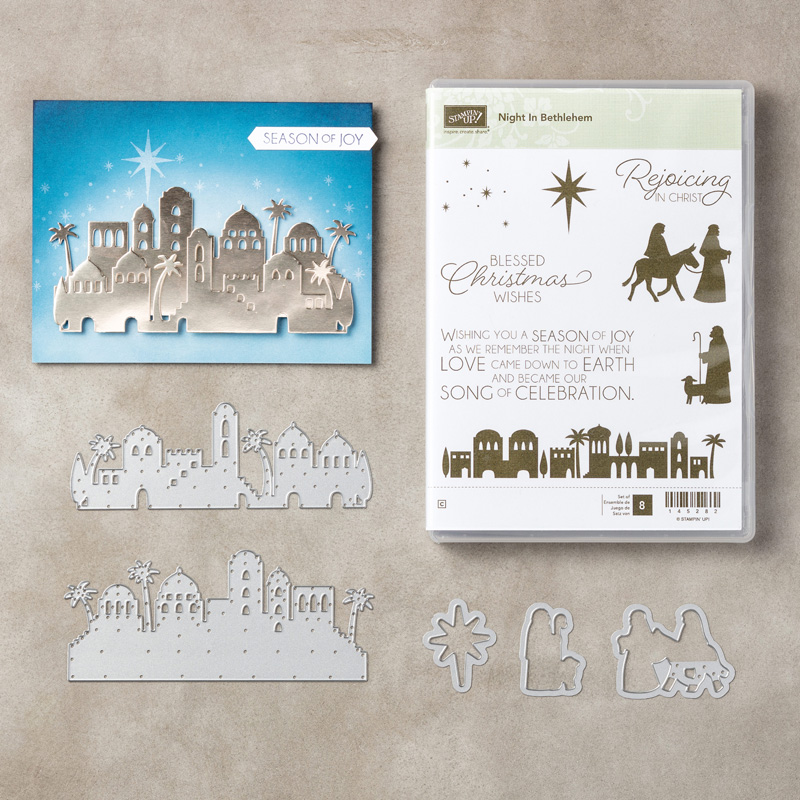
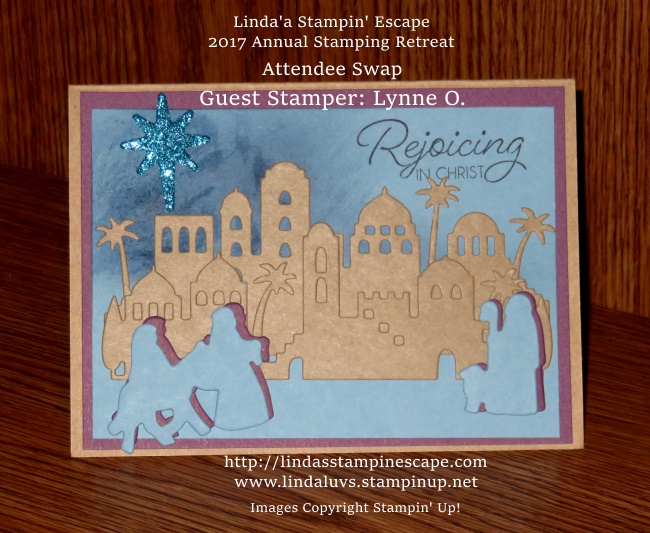
If you are a fan of the more whimsical Christmas Cards, then Lynne’s is right up your ally. This is the “North Pole Mischief” Stamp set found on page 37 of the Mini Catalog.

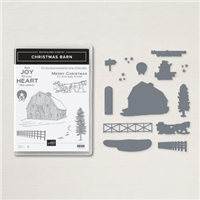
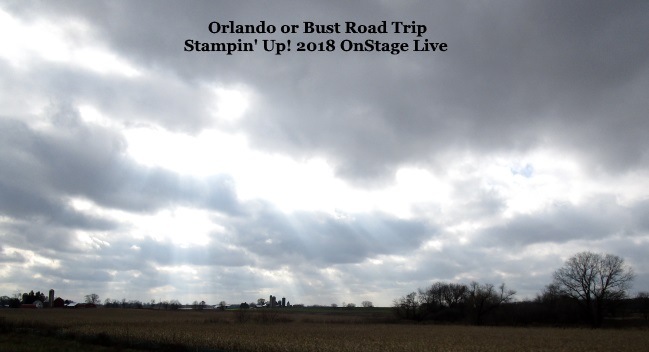
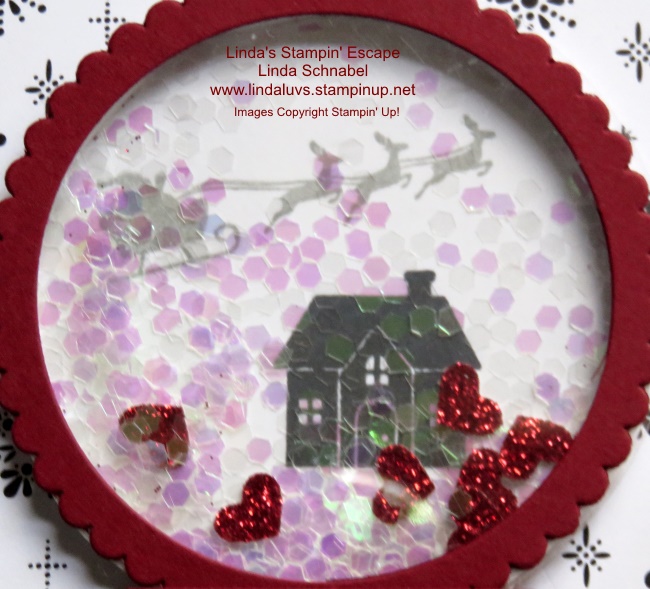
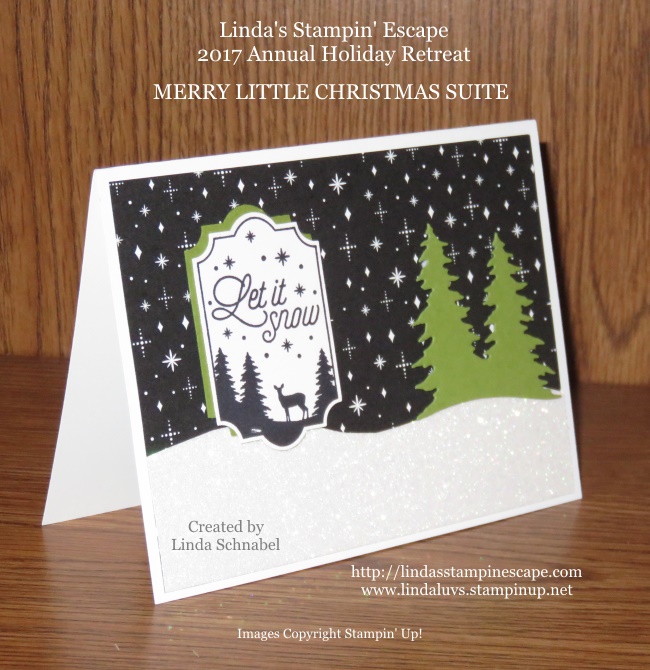
I saved this last card because it brings me memories of my grandparents ….

Although grandpa and grandma did not have a sleigh, memories of being on the farm with my grandparents was priceless. A winter wonderland is how I always pictured Christmas with them. Someday … I’m going on a sleigh ride!!

Thank you for joining me today and I hope you enjoyed the Swap Cards as much as we all did!

Have a great day ~

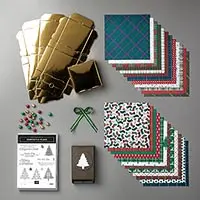
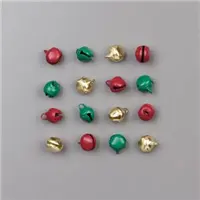
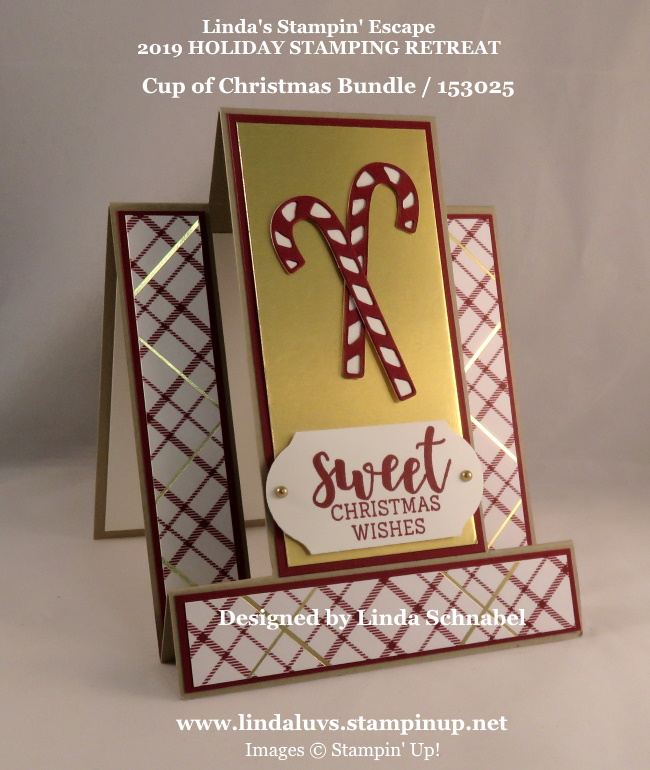
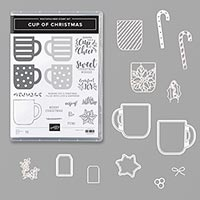
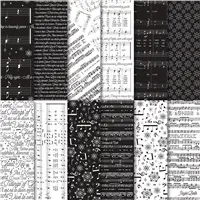
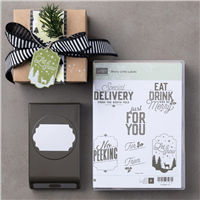
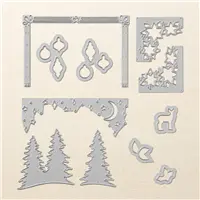
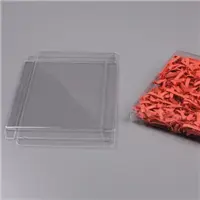
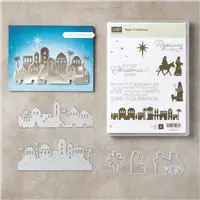
Here are the stamps sets and bundles used on today’s cards ….

Road to the Holiday Stampin’ Retreat …

Hello Stampin’ Friends,

Today as we gather for our Holiday Stamping Retreat, I will be sharing a part of it with you. Follow me for a wonderful trip on the road to our Holiday Retreat. Here is the actual view as your drive up to our retreat house…

10409707_10203171091703724_8630962295075691698_n

Photo was taken by Kris H.

We stay at the beautiful Green Lake Conference Center in Green Lake, WI.  Our house is a 1930 English Manor and nestled beautifully on the lake. This photo was taken during our lunch break at a past retreat … a time set aside so our guests can dine and then explore these beautiful grounds.

63934_740939272609550_6715905335555713241_n

 This is the view (below) that greets our stampin’ friends as they arrive and enter the house. To the right leads to the stairway that leads to the bedrooms, the living room that is warm and inviting as we sit around the fireplace … another room perfect to snuggle up with a book, and then the screened in porch that allows you a perfect view of the lake.

If you go to the left … you’ll walk through the butlers pantry that is usually stocked with treats and goodies, then into the kitchen where all your delicious meals are prepared. There is also two bedrooms for our guest who prefer not to take the stairs.

IMG_20141024_104027

The fireplace is adorned with a touch of Christmas Cheer with a hand crafted gift … Each guest gets to take one home with them. We treat them to many little surprises throughout their retreat stay. These little gifts (pictured) are from a past retreat … I cannot share this years Mantle Gift until I know my “Retreat by Mail” Guests get their packages! I don’t want to spoil their surprise.

IMG_20141024_103758

Once our guests are shown their rooms and settle in, we gather around the table and have our first of 5 meals together. We usually have soups & salads on Friday nights, but you never know …. I like to change things up so my repeat attendee’s don’t get bored! That will never happen!

Then it’s off to the stamp room where all their project are cut and ready for them to stamp & assemble … embellishments and envelopes included. The retreat is designed so you can gather with friends, relax and have fun … No stress, but believe me … the cards are still beautiful!

Our stamp session is full of fun, giggles, catching up, making new friends, snackin’ and of course some amazing stamping projects!

After our stamping session we head back to the house and gather around the fireplace for some Hot Chocolate … and ??? Well, you just never know what I have for you! This little “pillow gift” was from our last Holiday Stampin’ Retreat ….


We’ve been waiting 2 years to gather together and I am so excited to be with an amazing group of ladies again!! I hope you have enjoyed the journey of our Holiday Stamping Retreat. Think about joining us for the Spring 2022 Stamping Retreat!!

Thank you for hanging out with me today … Have a great day!

blog-closing-small

Merry Christmas / Guest Stamper: Sandy B.

Hello Stampin’ Friends ~

Today I’d like to share a beautiful card created by one of my Holiday Stamping Retreat guests for the attendee swap.  Let me say … there was some real talent on that swap board, these girls can stamp! My special guest today is Sandy Becker and her card featuring the Perfectly Plaid Bundle …

Sandy pulled in the holiday colors; Shaded Spruce and Cherry Cobbler from the Wrapped in Plaid designer paper … those two colors really bring the rich color of the holidays to life.  The Cherry Cobbler was embossed with the Hammered Metal embossing folder which gives a lovely texture to the card.

The pretty little tree Sandy made was created with 3 separate punched trees … one I believe had to be punched the reverse way (other side of the designer paper) so all the tree edges would line up.  She then adorned them with the gold pearls which really makes the tree so festive!

The tree was mounted on the piece of Whisper White Cardstock which was cut from the Stitched Nested Labels Dies and then stamped in Cherry Cobbler with the sweet Merry Christmas stamp that is included in the stamp set from our bundle.

I am so glad that I don’t have to vote for the attendee swap … so, so many good ones each and every retreat! I will share more of the swap cards in upcoming posts.

Thank you so much for hanging out with me today, I’ll see you tomorrow!

Enjoy the day … it’s supposed to warm up to 37º!

TODAY’S STAMPIN’ SUPPLY LIST … If you liked the products used in todays card, I have links for you below. Just click on the item you would like more information on, or to begin your shopping. It will take you directly to my website. Thank you


Guest Stamper: Cindy C. / Trio of Trees

Hello Stampin’ Friends ~

How are you enjoying the Perfectly Plaid Bundle? I’ve been sharing several cards showcasing this bundle and today I have another!! It was stamped by one of my retreat attendees, Cindy C.  for the Attendee Swap.

The Wrapped in Plaid Suite gives you a coordinating selection of products with one simple purchase. It includes the stamp set and punch bundle at 10% off, plus more amazing items such as the Wrapped in Plaid 6″ x 6″ Specialty Designer Series Paper, the Shaded Spruce/Gold Striped Ribbon and the Jingle Bells which Cindy used on her card.

Cindy punched a trio of trees and layered them onto a Whisper White circle, cut from the Stitched Shapes Thinlits Dies.  Also from the Stitched Shapes dies, Cindy cut out an oval for her greeting.  The greeting was mounted above the Shaded Spruce with Gold Ribbon.

Cindy completed her card with a cute little “Jingle Bell” tied up sweetly with some bakers twin.

I hope you got as much pleasure from this card as I did, it’s so cute! I thank you for stopping back by my blog today.

Have a warm and wonderful day, I will be back tomorrow with another sample from this amazing product suite.

TODAY’S STAMPIN’ SUPPLY LIST … If you liked the products I used in my cards, I have links for you below. Just click on the item you would like more information on, or to begin your shopping. It will take you directly to my website. Thank you


Holiday “Smiles & Love” Card …

Hello Stampin’ Friends ~

Did you ever have one of those days when you knew excactly how you wanted to make your card … Blackberry Bliss and Silver embossed with the Stylish Scrool embossing folder! Is that what came out of my stamping studio??? NOPE!! lol

But what I did create … I fell in love with! Still using the Perfectly Plaid bundle, I kept the Blackberry Bliss as my base, I added a Whisper White front that I embossed with the Subtle embossing folder, I like that “subtle” touch of texture it adds to the card.

Next I punched out two trees out of the Blackberry Bliss cardstock and tucked them into the lower right-hand corner of my card.  I wanted a different layout for this card (I usually tuck my greetings in the center or the bottom right-hand corner) but I wanted more than just stamping … So, I stamped my “Smiles & Love” greeting from the Greatest Part Of Christmas Host Cling Stamp and cut it our from the Stitched Rectangle dies and added a Blackberry Bliss mat also cut from the Stitched Rectangle dies.

I popped that up with the Stampin’ Dimensionals and new it was time for my “tree” … I stamped the plaid tree and punched it out. This would be the focal point of my trio of trees, and I popped it up with dimensionals as well to bring it up to the greeting.  To top it off and add a little bling, I added the Holiday Rhinestones Basic Jewels on the top of the tree and on each side of my greeting!

The tree stamp is one of the “distinktive” stamps so you have to be sure that your ink pad is not too juicy!  You just need a think layer of ink to really turn it into the perfect tree.

Thank you so very much for stopping by today … tomorrow I will be sharing “Attendee Swap” cards.

Stay warm and have a wonderful day … It’s only 18° here now with a high of 25°!

TODAY’S STAMPIN’ SUPPLY LIST … If you liked the products I used in my cards, I have links for you below. Just click on the item you would like more information on, or to begin your shopping. It will take you directly to my website. Thank you


Christmas Wrapped in Love & Joy Card …

Hello Stampin’ Friends ~

Hope you got a chance to check out my “sweet” Christmas card from the Cup of Christmas bundle that I shared yesterday.  Today I have one of the cards that I created for our Saturday morning stamping session at our Annual Holiday Retreat.

The Wrapped in Plaid Designer paper I’ve been using so far is part of the Wrapped in Plaid Suite… remember seeing the gold boxes on the mantle? I’ll have more information about those in a couple of days …

The Wrapped in Plaid Suite Bundle gives you a coordinating selection of products with one simple purchase. It includes the stamp set and tool bundle at 10% off plus one each of the other items listed…

The Wrapped in Plaid Suite Bundle includes
* Perfectly Plaid Photopolymer Stamp Set (10% off)
* Pine Tree Punch (10% off)
* Wrapped in Plaid 6″ x 6″ Specialty Designer Series Paper
* Shaded Spruce/Gold 3/8″ (1 cm) Striped Ribbon
* Jingle Bells
* Gold Mini Pizza Boxes

Our group of stampers gathered in the morning to kick off our “Perfectly Plaid” session. The Perfectly Plaid Bundle includes the Perfectly Plaid Photopolymer Stamp Set and the Pine Tree Punch.

I started with a Cherry Cobbler base, one of the coordinating colors in the Wrapped in Plaid designer paper. I wanted this card to have a more rustic feel so I used a Crumb Cake front embossed with the Pinewood Planks embossing folder.  I then layered a strip of the Wrapped in Plaid Specialty Designer paper with a Whisper White mat.

The tree was punched out using the Pine Tree punch and was mounted onto a piece of Vellum Cardstock that was cut with the layering circles dies. I could not resist decorating my tree, so I punch out a Shaded Spruce “heart” from the Every Season Punch Pack and then tied a cute little bow out of the Whisper White Bakers Twine.

The greeting was added onto a white banner tying all the white together on my card … and to add the final touches, I added 3 Holiday Rhinestones in the Cherry Cobbler color.

I’ll be back tomorrow with another card showcasing the versitile Wrapped in Plaid Suite/Perfectly Plaid Bundle.

Thanks for spending part of your day with me ~

Wishing your day is a good one!

TODAY’S STAMPING SUPPLY LIST: If you liked the products I used in my cards, I have links for you below. Just click on the item you would like more information on, or to begin your shopping. It will take you directly to my website. Thank you


Holiday Stamping Retreat / Cup of Christmas

Hello Stampin’ Friends ~

Today I would like to invite you into our Friday Night stamping session at our Annual Holiday Stamping Retreat. I host two retreats each year … a spring (All Occasions) and a fall (Holiday) where I invite all my active customers to join me and their fellow stampers for a weekend getaway. Everything is prepared for you so you do not have to drag your entire craft room with you!

As our guests arrive in the stamping room, it is filled with Holiday cheer, Christmas music and a snack table (of course) ….

Each attendee stamping spot includes a bag filled with all their projects, packed up by stamp session so they can find their projects easily and no little pieces are lost.  This year they each received one of the new Stampin’ Up! boxes filled with stampin’ dimensionals and the embellishments they need for their cards /projects.  The boxes are different at each retreat so they never go home with the same hand-crafted item…

Our Friday Night Stamp Session highlighted the Cup Of Christmas Bundle and the Wrapped in Plaid Designer Series paper pack.  It’s easy to spread tidings of comfort and joy and a cup of cheer to all your friends and family this season when using this bundle. The Cup of Christmas Stamp Set is excellent for cards and tags.

The Cup of Christmas Bundle includes the Cup of Christmas Photopolymer Stamp Set and the Cup of Cheer Dies. This is a Reversibles* stamp set; it includes specialized photopolymer stamps that allow you to stamp with both sides of the stamp for greater versatility. *Patent pending.

Our guests got to see how this amazing stamp set performs … knowing you can now stamp a cup for your “left-handed” friends! So the card on the right was designed to show you “how” you can reverse your stamp and have the handle on the right or left side of your cup. Brilliant!

I always design a special card or two for my stamping sessions and for our Cup of Cheer bundle, I highlighted the candy cane dies and teamed it up with the stunning Wrapped in Plaid designer paper … they also used the “Step Card Fold” for this card …

I thought this pattern from the Wrapped in Plaid designer paper went perfectly with my candy canes and the gold foil behind them really shows them off!  Really does make for a “Sweet Christmas” … doesn’t it.

The group loved the cards, and it’s having such an amazing group to stamp with that makes our stamping sessions so much fun at our retreats. We all learn so much from one another as they share their stamping tips throughout the sessions too.

Thanks for joining me today …

I will be back tomorrow with some more samples from our Holiday retreat!

Have a terrific Tuesday!

If you liked the products I used in my cards, I have links for you below.  Just click on the item you would like more information on, or to begin your shopping. It will take you directly to my website.  Thank you


I’m Back with our Holiday Stamping Retreat!

Hello Stampin’ Friends ~

It’s been a week since I last posted … so sorry for that! I was preparing for my Holiday Stamping Retreat that I hosted this past weekend, so today I’d like to show you what I’ve been doing and a look inside my retreats.

I will start with Friday and our guests arriving.  It may have been snowy outside but it was warm and welcoming inside with the smell of soups on the stove and some cute little packages adorning the dining room fireplace …

As our guests arrived, they were guided to their rooms …

Not hard to find when you have these cute little name tags to guide you in.  I used the Cup of Cheer suite … I can’t believe all the compliments on the Wrapped in Plaid designer paper! It is so festive with the gold running through the plaid, and the colors are so rich and beautiful.

To formally welcome our guests, they are gifted some delicious chocolate stars from Madeline Chocolates … YUM!! Oh yes, and a little welcome note to let them know how appreciated I am that they joined us for this special festive stamping event.

After dinner we all gathered in the stamping room to make our first set of cards for the weekend …

I will share our projects with you tomorrow, because tonight I’d like to share a little more of the fun we had on Friday!  After stamping, I asked my guests to go back to thier rooms and open thier Pillow Gifts and then join me in the living room by the fireplace for some treats and hot chocolate …

The tag was created with items from the Perfectly Plaid Suite; the  Tree Punch, Stamp Set & was highlighted with a Shimmery White Doily.

Inside our pretty little gift package you will find …

A pair of holiday socks that they were instructed to put on before the joined us for hot chocolate, a spoon filled with chocolate and marshmallows and some lip gloss just for the fun of it!

We met in front of the fireplace (sorry … I missed a picture of our Hot Chocolate table this time) and enjoyed some hot chocolate, Christmas Cookies, Peanut Brittle and good conversation.  

Before everyone headed off to their rooms for the night … We couldn’t miss sharing a picture of all our new Christmas stockings!  Just taking the  picture was a blast! lol  Flashes coming from the entire circle! Oh what fun we had …

and our friend Cindy … She thought we should all go on the stairs! That would have been an amazing picture as well.

We had a fun evening, and as promised, I will share the stamping with you tomorrow.  I continued the “Cup of Christmas” bundle and Wrapped in Plaid” Designer Paper through to our stamping projects on Friday Night.

Till then, have a good day, and thank you so much for joining me again after my week long absence, but now you know that I was in my stamp room creating a fun weekend for my retreat attendees.

See you tomorrow,

TODAY’S STAMPING SUPPLIES LIST … 


Come Along with Me …

Hello Stampin’ Friends ~

Today I’m sharing a bit of the Holiday Retreat and OnStage.  As many of you know, I’ve headed out on my road trip to Orlando for the Stampin’ Up! 30th Anniversary OnStage event!! I’m so excited to get down there and meet up with my friends from all over, along with 1500 more stampin’ friends!!

The picture is from somewhere in Illinois  … Today we got as far as Kentucky and should be at our Orlando hotel sometime tomorrow evening … the drive back will be a little slower paced! lol (My fault … I got a late start yesterday morning!)  Hmmm … little tired from retreat, but again, my fault … I sat up till 3 am chatting and catching up with friends 🙂

I had a wonderful weekend with my guests! They were greeted with these cute name tags that hung on the door to their rooms.  Their Saturday night Pillow Gift was a sweet memento for them to take home … a travel mug!!  I want to thank them for joining us … and now we can always “travel” together!!

By now you might be seeing a theme running through the decorations and the door tags …  I used the “Making Christmas Bright” Bundle from the Holiday Catalog!! Oh My Gosh … this was so much fun!! Even the little light sockets on the bulbs were quick -n- easy to assemble when I used the new “Pick Me Up” tool.

On our Friday Night stamp session we made 3 cards featuring the “Making Christmas Bright” Bundle, and here is our “Z” Fold card …

I hope you enjoyed hanging out on a part of my road trip today, and at our Holiday Stamping Retreat.  I will be back to share more from both!!

Have yourself a most wonderful day ~


Kickin’ Off the Holiday Stamping Retreat …

Hello Stampin’ Friends ~

A lovely weekend has come to an end and a new adventure begins! We had a wonderful time at our annual Holiday Stamping Retreat this weekend … cute little welcome gifts on their beds when they arrived (chocolates were only part of it) and surprises, great cards and the best companionship all weekend.

I also adorned the mantle with a hand stamped gift for each guest to take home as a “Thank You” for attending. These boxes contain 4 gift tags that they can keep and were created with the Christmas Traditions Punch box located on pages 2 and 3 of the Holiday Catalog

After a hearty dinner of Homemade Sausage & Wild Rice and Vegetable Beef Soups along with bread, salad and more we ready for a little stamping …

The room was all ready for our stamping session and included a sweet little treat! All of their projects are pre-cut and packaged up for easy accessibility.  All they have to do is pull out the packet with that cards projects that’s up next and to stamp …

Plus there is always plenty of time to take a little break and have some fun …

Yes that is me as Santa Claus! Just have a little fun with my Stampin’ Friends Cindy and Sarah Bunkleman.  Those little Holiday props that I picked up at the Dollar Store sure made for some extra fun moments, and new memories!!

I will have more to share with you from our Holiday Stamping Retreat in the coming days; the cards we made and the cards we swapped … Plus, if you hop onto my Facebook page you may find some more fun as I share pictures of our Stampin’ Up! OnStage event with you.

Hope you have a wonderful week ~

On My Way …

Hello Stampin’ Friends ~

Well … on the eve of retreat I was busy bagging, packing, cooking and getting ready to pack up the food in the morning! Looking forward to stamping with a wonderful group of ladies, so I’m not promising regular posts while I’m away, however you can follow the fun on my facebook page …

https://www.facebook.com/Lindas-Stampin-Escape-107404235998347/

I will be sure to share when I get home, but I’ll be off again on Monday to take a road trip to Orlando for the Stampin’ Up! OnStage event!!

You have a good weekend ~

Snow Globe – Shaker Card

Hello Stampin’ Friends ~

Happy Monday! I hope you had a wonderful weekend … Sunday turned out to be a beautiful fall day.

Today I want to share with you another retreat card … a shaker card! Our afternoon session include 3 cards that we created using the “Hearts Come Home” bundle. My mission was to show them how quick and easy you can create a shaker card.

Our background comes from the Merry Music Designer Specialty Paper. Using the Layering Circles Framelits dies, we cut 1 white and 1 window sheet from the same size circle. Then we took the scallop circle and the circle one size smaller that our precut circles, and layered them together before cutting to create our frame.

On the white circle, we stamped our house in Black and then our Santa in Smoky Slate. Our next step was to attach the foam adhesive strips to the outer edge of the white circle. Once applied, you can fill this with whatever you’d like … we used a large glitter and Red Glimmer hearts.

Once you have filled your “well” … remove the top layer off the adhesive strip and drop the window sheet over the top – press to seal. Next, we glued the frame onto the window sheet.

To create a snowglobe … I used the Everyday Label punch!! This is the punch that we used on the Merry Little Christmas Suite cards. Our  greeting was heat embossed in white and then the punch was aligned (1/2 way into the cardstock) to create the base… then punch!

Use the adhesive strip to mount the base onto the front of the card so it’s the same height as the globe.

Everybody loves getting Shake Cards, and now you know how to make a Snowglobe Shaker …. quick -n- easy!

Thank you for sharing a part of your day with me and visiting my blog.

Have yourself a great day!

TODAY’S STAMPIN’ SUPPLY LIST  … Click on the link for more information for to begin your shopping.


Simply Sunday: Special Delivery

Hello Stampin Friends ~

Today I have another card I’d like to share from our Annual Holiday Retreat, and it comes from the Merry Little Christmas Suite like yesterday’s card. We will also be using the Merry Little Labels and Merry Little Christmas Designer Series paper.

It’s fun to see how different your cards can look even when you are using some of the same supplies! The greeting I chose was the “Special Delivery” … I did this in the “Chalkboard” technique … I thought it looked a little Old World Style …

I’m also introducing a touch of Real Red in honor the big man’s suit, and a little sparkle for the holiday. I also embossed with the “Brick” embossing folder … not just to add a touch of texture but to reference the chimneys that Old Saint Nick climbs down each Christmas eve.

I borrowed the snowflake from the Seasonal Layers Thinlets, because I know, many of my stampin’ friends / customers have the Colorful Seasons Bundle so it’s a great way to show how to blend bundles and use your stamping supplies to their full potential.

I hope you have enjoyed today’s card and the reasoning behind some of the choices I made to create this card … the holiday’s are so fun and the perfect time to unleash your creativity!

Thank you for checking in with me today.

I hope you are having a good one ~

Today’s Stampin’ Supply List ….

Merry Little Christmas Suite …

Hello Stampin’ Friends ~

Today I’d like to share with you another one of our retreat cards. This card comes from the Merry Little Christmas Suite!

This masculine style card was quick -n- easy and a big hit at retreat. Our background comes from the Merry Little Christmas Designer Series paper. We then cut a snow bank our of a piece of the Dazzling Diamonds Glimmer paper.

Next, we used the tree dies from the Card Front Builder Thinlits Die and cut them out of Old Olive to give the card a fun pop of color.

The “Let it Snow” was stamped in Memento Ink onto Whisper White cardstock and then punched with the “Everyday Label” punch. A piece of Old Olive was punched to mask the greeting and again, add that nice touch of color.

We created 4 quick -n- easy cards that were tucked into one of the Acetate Card Boxes. This makes a perfect little gift for a teacher or neighbor … or keep them protected for yourself!

Hope you enjoyed today’s peek into our Saturday morning retreat stampin’ session. I’ll be back tomorrow with one more …

Till then, enjoy your weekend!

Thanks for stopping by.

Here is a quick list of the products used for our card today …


Night in Bethlehem / Guest Stamper: Lynne O.

Hello Stampin’ Friends ~

Today I’d like to share with you another beautiful card the we received from the Attendee Swap at the Annual Holiday Retreat. Our stamper is Lynne O. and she used the Night of Bethlehem bundle.

Here is a picture the illustrates the stamps and dies that are included in this bundle. You can create a die-cut Bethlehem scene in record time with Edgelits dies and the Big Shot …

Lynne’s card is beautifully layered to give it a wonderful dimension … the shading in the background also gives you the feel of a wondrous skyline.

It’s easy to send a powerful holiday message of Joy and Love with these beautiful silhouettes. This amazing bundle will make it easy to recreate this Christmas Story so you can proudly send these to your family and friends.

I hope you took some time to look at all the pictures so you can see the versatility of this beautiful stamp set and coordinating framelits dies. Remember … when you purchase a bundle, you save 10%.

Thank you for joining me today ~

Have yourself a wonderful weekend!

Here is a list of the items used …