Hello Stampin’ Friends ~
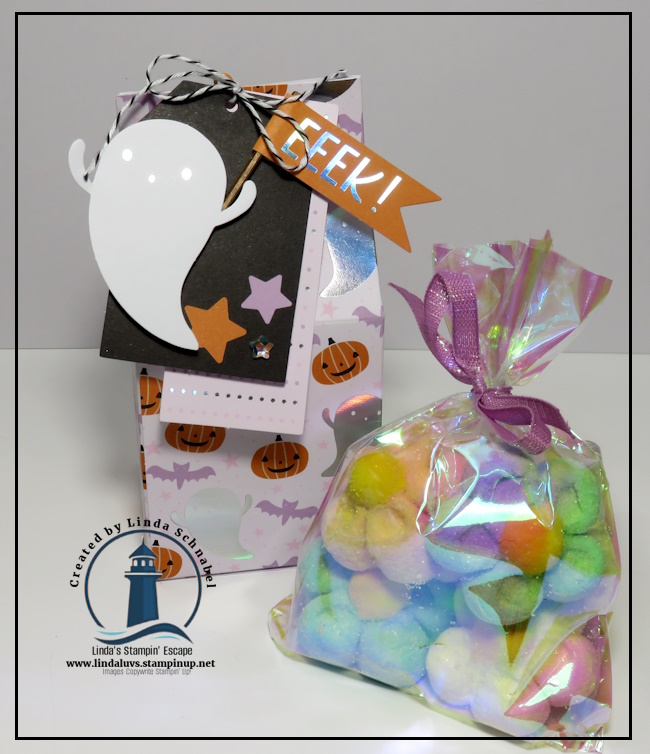
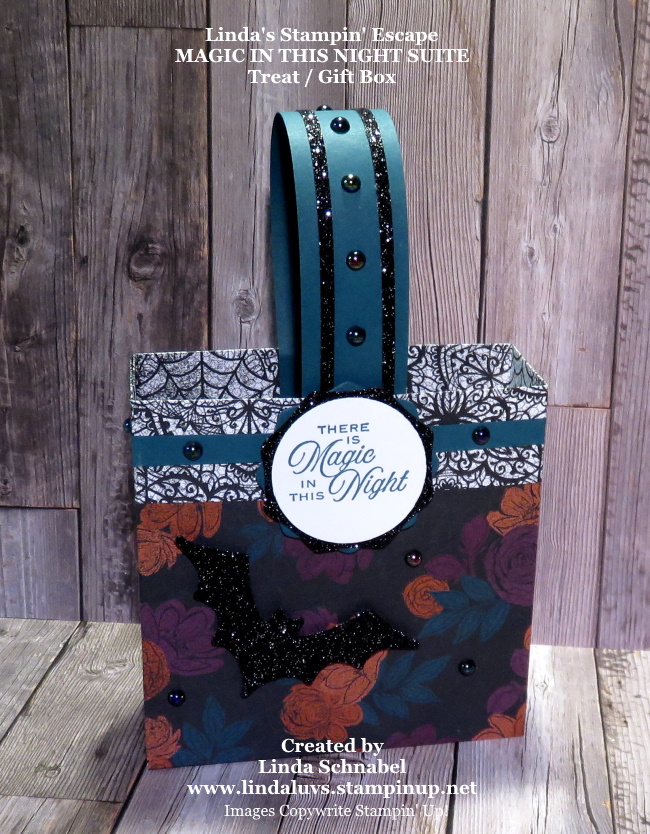
Halloween is creeping closer, and now is the perfect time to get your hands on the Spooky Sweet Suite Collection! Whether you’re a seasoned crafter or just getting started, this suite makes it frightfully fun to create handmade treats, cards, and party favors that your ghouls and goblins will love.
🕸️I’m so excited to announce that this Friday, I will host Halloween Week here on the blog! Each day I’ll be sharing cards, projects, and more to spark your creativity and inspire you to head into your craft room for some spooky fun. 👻From playful ghosts to charming treat holders, you’ll find plenty of ideas to bring a little extra magic to your Halloween crafting. 🎃Here are a few fun ideas to get you started …
🎃 First up: I shared how to dress up a simple jar by using the tag elements from the patterned paper. A little ribbon, a sparkle or two, and voilà — a spooky-sweet gift that’s both cute and quick!

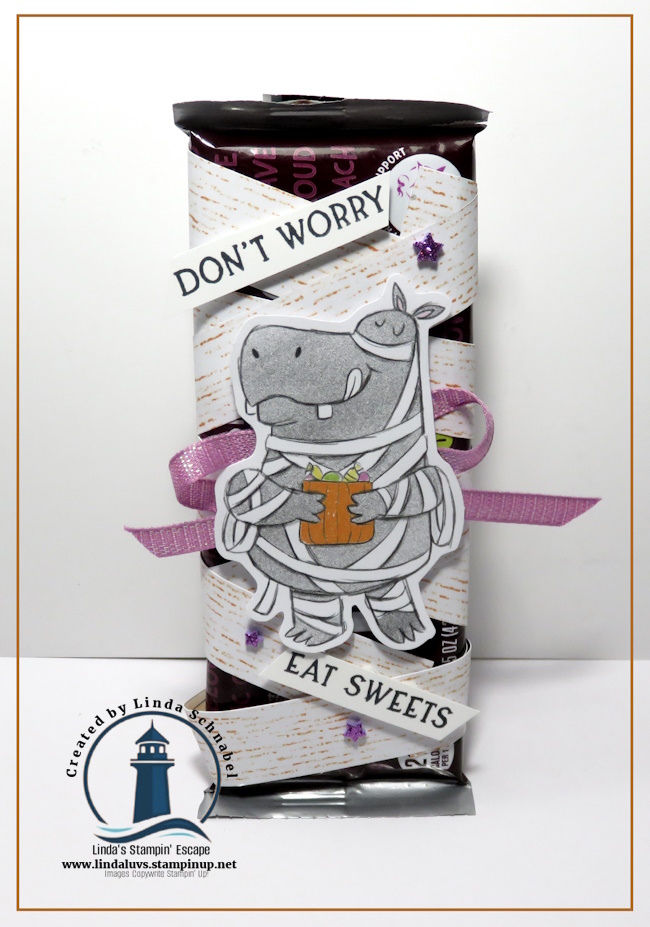
🍫 Next up: We wrapped a classic Hershey bar to look like a mini mummy! Using torn strips of designer paper, we gave it some fun texture, then added a die-cut straight from the paper pack — no stamping required! These treats are perfect for school parties, coworkers, or BOO’ing your neighbors!
💡 Want to see how it’s done step-by-step? You can catch the full video replay CLICK HERE and enjoy the magic along with me!

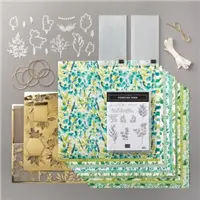
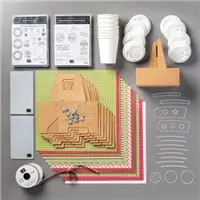
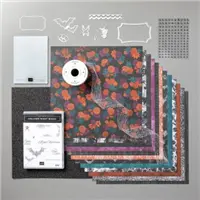
The Spooky Sweet Suite Collection has everything you need to bring your Halloween crafting to life — from costumed critter stamps 🐶🐱 and coordinating dies (yes, there’s a haunted house!) to not-so-spooky patterned paper, treat bags, glittering star embellishments, and shimmery ribbon. It’s designed to mix, match, and make your projects as boo-tiful as they are fun.
🛒 Ready to add this suite to your spooky stash? Trust me, you don’t want to miss it! Head to my online store to grab your bundle or click the links below and start crafting those hauntingly cute treats today.
💀 Until next time… stay sweet and spooky, my friends!
Happy Haunting & Happy Stamping!
— Linda 💜🦇