New Items Added: Delightfully Eclectic Card Parade & Fun Fold Video!

Hello Stampin’ Friends ~

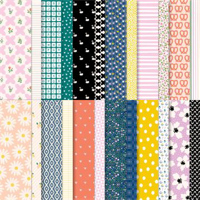
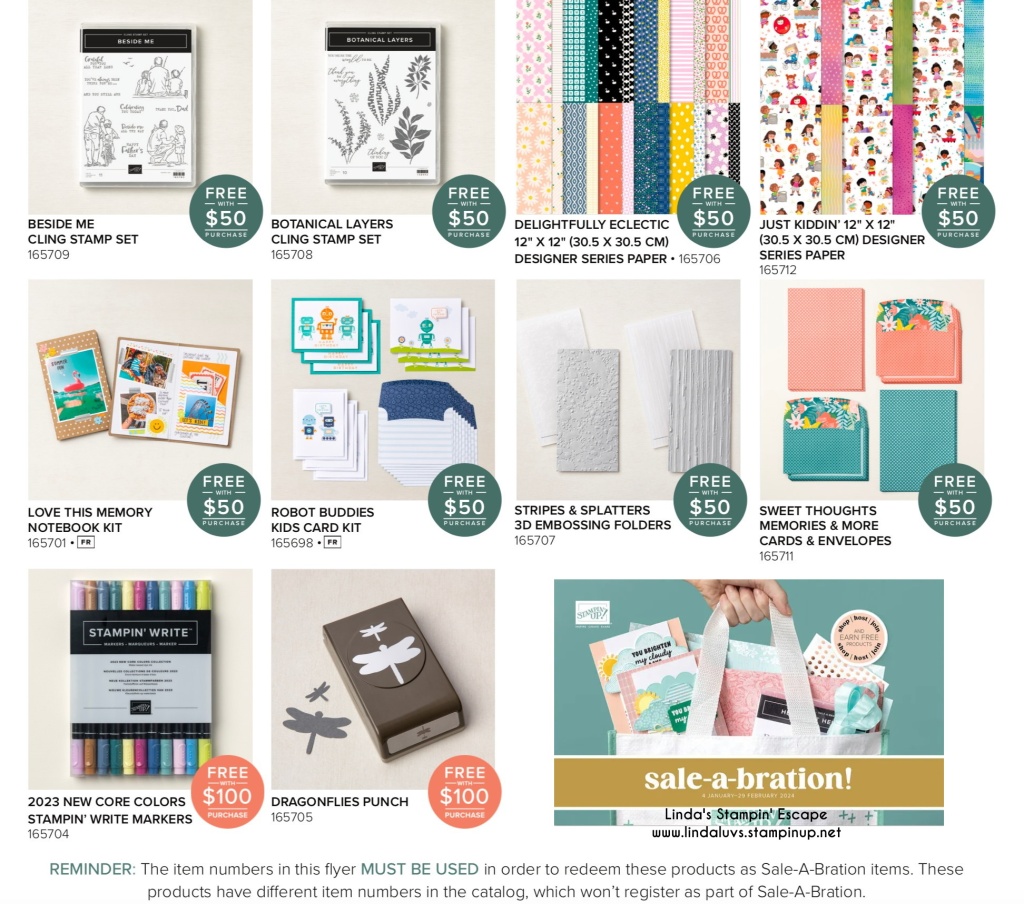
Brace yourselves for a wave of excitement as we unveil the newest additions to our Sale-a-bration promotion. I’m thrilled to share some irresistibly delightful items. Today I’ll be showcasing the enchanting Delightfully Eclectic Designer Series Paper. Get ready to embark on a creative journey that promises a fusion of whimsy and elegance, all while enjoying an exclusive fun fold tutorial with a video that will spark your imagination and set your crafting heart aflutter!

Let’s begin with my Sending Smiles Fun Fold card. Today I will be sharing a video of my replay from a Facebook LIVE. It features the Delightfully Eclectic Designer paper that has just been added to the list of Sale-a-bration items… Wooo Hooo!

Let’s take a look at our video …

DIMENSIONS:

  • Cardbase: 11″ x 4-1/4″ then Scored at 2-1/8″ and 5-1/2″
  • Basic White for (Diamond) Front Flap: 2-3/4″ x 2-3/4″
  • Colored Cardstock or Designer Paper for Front Flap: 2-1/2″ x 2-1/2″
  • Designer Paper for front (3-1/8″) & inside(2-1/4″): You can use 4″ x 5-1/2″ … just make sure your 3-1/8″ piece is on the front, then you can attach the remainder to the inside.

I hope this cutie inspires you to try this fun fold, it is pretty quick and easy to make and doesn’t require a lot of layers or designer paper so have fun! Here’s another with the Delightfully Eclectic Designer Paper.

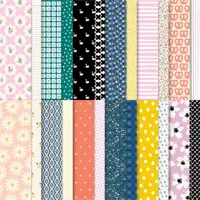
Our latest offering, the Delightfully Eclectic Designer Series Paper, is a celebration of vibrant colors, eclectic patterns, and endless creative possibilities. Imagine a kaleidoscope of hues and designs, ready to breathe life into your paper crafts. Whether you’re a seasoned crafter or a novice looking to infuse some energy into your creations, this paper is a game-changer. 

Let’s see what else I’ve created with this fun paper pack ….

This is the split card technique … you will find step by step directions to create this card by Clicking HERE. 

Now I want to share one of my favorite patterns in this pack ….

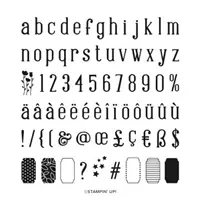
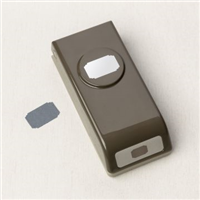
With such a fun and whimsical pattern, I chose the Alphabest stamp set and coordinating Best Label punch. I first stamped the outer design in Tuxedo Black Memento Ink and then stamped my greeting in the Fresh Freesia ink. To learn more CLICK HERE!

Here’s a little cutie that is soooo simple to make!

With patterns ranging from bold geometrics to delicate watercolor florals, the Delightfully Eclectic Designer Series Paper opens the door to a world of versatility. Elevate your projects with this dynamic paper that effortlessly blends contemporary chic with classic charm.

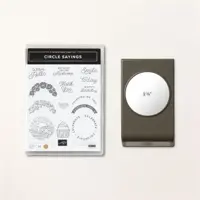
Here’s another cute pattern that I teamed up with the Circle Sayings bundle ….

There is another card and video that go along with this. Check them both out HERE.

Now, let’s talk about why you shouldn’t delay in indulging your creative cravings. Our Sale-a-bration promotion is all about giving back to our amazing crafting community. For every qualifying purchase, you can choose exclusive free items from our Sale-a-bration catalog. And yes, that includes the stunning Delightfully Eclectic Designer Series Paper!

Thanks so much for dropping in today for a visit … Don’t miss out on this crafting fiesta! Head to my online store, explore the wonders of Sale-a-bration, and let the joy of crafting fill your creative space.

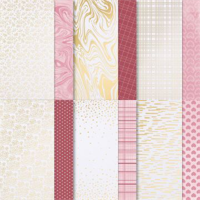
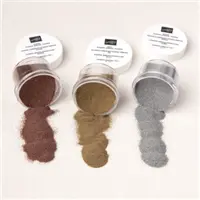
Here is a list of highlighted products from today’s card parade ….

A Handcrafted Masculine Card in Green & Gold

Hello Stampin’ Friends ~

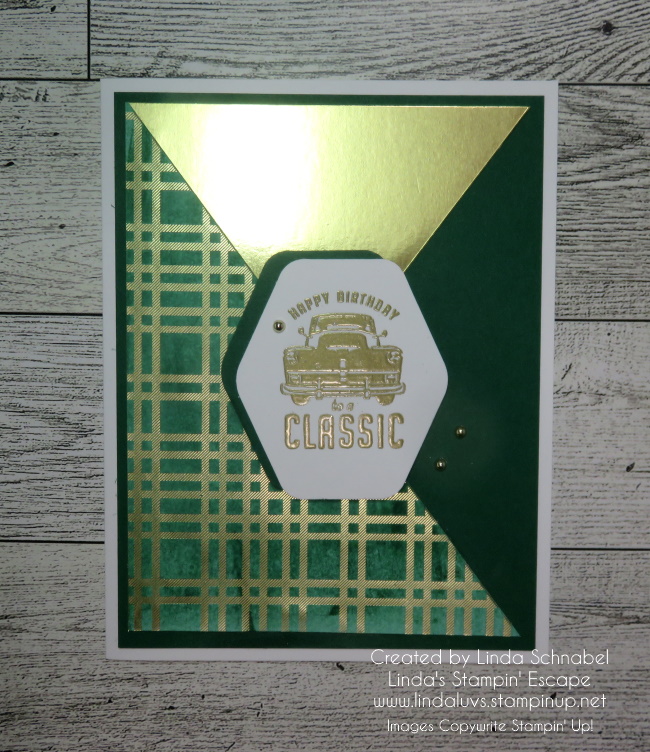
In this blog post, we’ll explore the creation of a stunning card using the Most Adored Specialty paper and incorporating the captivating “Ink Dragging Technique.” The result is a visually striking combination of Shaded Spruce and Gold, enhanced further by the use of Gold Foil sheets and a touch of sentiment from the “He’s All That” stamp set.

To begin, select the Most Adored Specialty Paper as the canvas for your card. To add depth and dimension, employ the Ink Dragging Technique using Shaded Spruce ink. The gentle strokes of color will create a captivating visual effect, giving the paper an alluring quality.

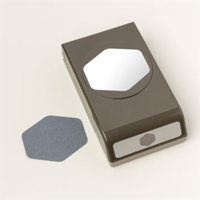
Next, I introduced the Gold Foil Sheet to complement the rich Shaded Spruce tones. Cut and layer the foil strategically / cutting diagonally allowing it to bring out the luxurious gold accents on the card. For a heartfelt touch, use the “He’s All That” stamp set to heat emboss your sentiment in gold. Once embossed, utilize the Heartfelt Hexagon Punch to give the sentiment a distinctive shape, adding a touch of sophistication to the card.

On The Flip Side:

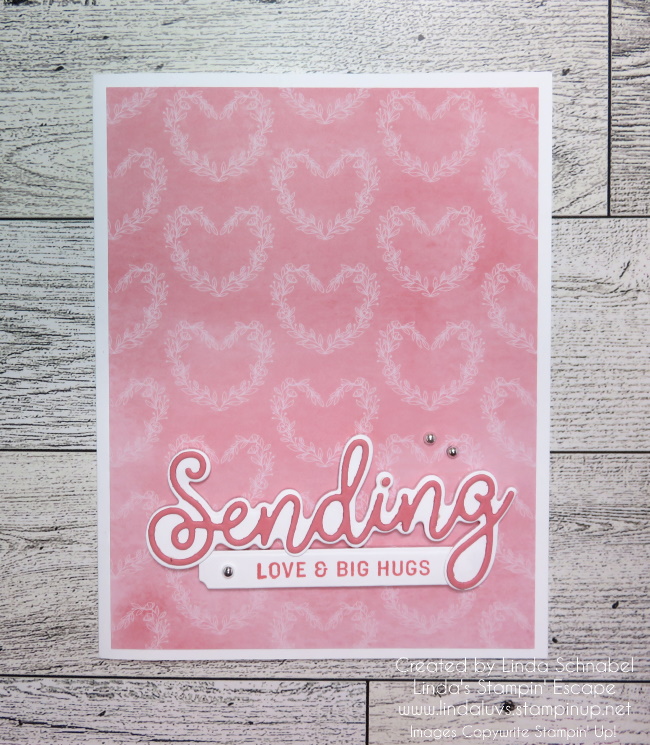
When you turn over the Most Adored gold pattern it reveals a delightful surprise on the flip side. Against a backdrop of flirty flamingo, white floral hearts bloom, creating a charming contrast. This pretty design adds an element of playfulness to our overall card design. 

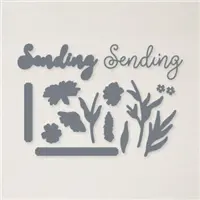
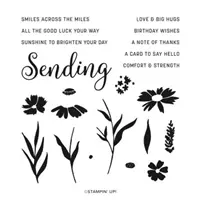
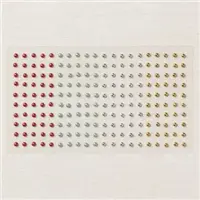
For the greeting, I used the “Sending Smiles” stamp set and coordinating Sending dies. Cut out the delicate elements and arrange them onto your card front. To accentuate the design, embellish with silver pearls from the Festive Pearls package. These pearls add a touch of elegance to our card.

Crafting a handmade greeting card is an art form that allows for the expression of creativity and thoughtfulness. By showcasing the allure of the Most Adored Specialty Paper, either card is sure to leave a lasting impression on its recipient.

Thanks for taking time out of your Sunday to check out my cards today.

A Card to Say Hello …

Hello Stampin’ Friends,

I have been sharing cards created with the Delightfully Eclectic Designer paper so today I picked a pattern I wanted to have a little fun with. I grabbed my Stylish Shapes dies and using the smallest of the square dies, I cut out the floral pieces from the design … you can see how they could be cut both ways.

Once I got them die cut, I tied a pretty bow using the natural Bakers Twine. I then attached the die cuts to the adhesive foam and popped them up. I layered them onto a piece of Garden Green and then used the Bubble Bath cardstock for my card base.

Simple and sweet … A card to say hello. The greeting comes from the Sending Smiles stamp set and die cut with the Sending Dies. I layered that with Garden Green before attaching it to the card front using Mini Dimensionals.

I thought this would be a fun little twist to this designer paper and to add some texture and dimension to my card. Hope you enjoyed.

Thank you for stopping by today.

Sending Smiles FUN FOLD with Delightfully Eclectic Designer paper

Hello Stampin’ Friends ~

Discover how easy it is to create my Sending Smiles Fun Fold card. Today I will be sharing a video of my replay from last nights Facebook LIVE. I’m also featuring the Delightfully Eclectic Designer paper that is currently on sale … Wooo Hooo!

OH… and we have FREE SHIPPING today only! Enjoy Free shipping and 15% off your Designer papers. I love it when we can combine these promotions.

Let’s take a look at our video …

DIMENSIONS:

  • Cardbase: 11″ x 4-1/4″ then Scored at 2-1/8″ and 5-1/2″
  • Basic White for Inside Card: 5-1/4″ x 4″
  • Basic White for (Diamond) Front Flap: 2-3/4″ x 2-3/4″
  • Colored Cardstock or Designer Paper for Front Flap: 2-1/2″ x 2-1/2″
  • Designer Paper for front (3-1/8″) & inside(2-1/4″): You can use 4″ x 5-1/2″ … just make sure your 3-1/8″ piece is on the front, then you can attach the remainder to the inside.

I hope this cutie inspires you to try this fun fold, it is pretty quick and easy to make and doesn’t require a lot of layers or designer paper so have fun!

Thanks so much for dropping in today for a visit … please feel free to leave a comment and let me know how you liked today’s fun fold.

Don’t forget the FREE SHIPPING today …. with qualifying order of $75 or more.
More Smiles with the Delightfully Eclectic Designer paper

Hello Stampin’ Friends ~

Today I will be sharing the second card that I showed in my video it also features the Delightfully Eclectic Designer paper but you can use any designer paper for this fun fold pattern.

DIMENSIONS:

  • Cardbase: 11″ x 4-1/4″ then Scored at 2-1/8″ and 5-1/2″
  • Basic White for Inside Card: 5-1/4″ x 4″
  • Basic White for (Diamond) Front Flap: 2-3/4″ x 2-3/4″
  • Colored Cardstock or Designer Paper for Front Flap: 2-1/2″ x 2-1/2″
  • Designer Paper for front (3-1/8″) & inside(2-1/4″): You can use 4″ x 5-1/2″ … just make sure your 3-1/8″ piece is on the front, then you can attach the remainder to the inside.

So are you ready to try this fun fold?? What designer paper are you going to use?

Thanks for stopping by today … I appreciate your visit.

Don’t forget the FREE SHIPPING today …. with qualifying order of $75 or more.