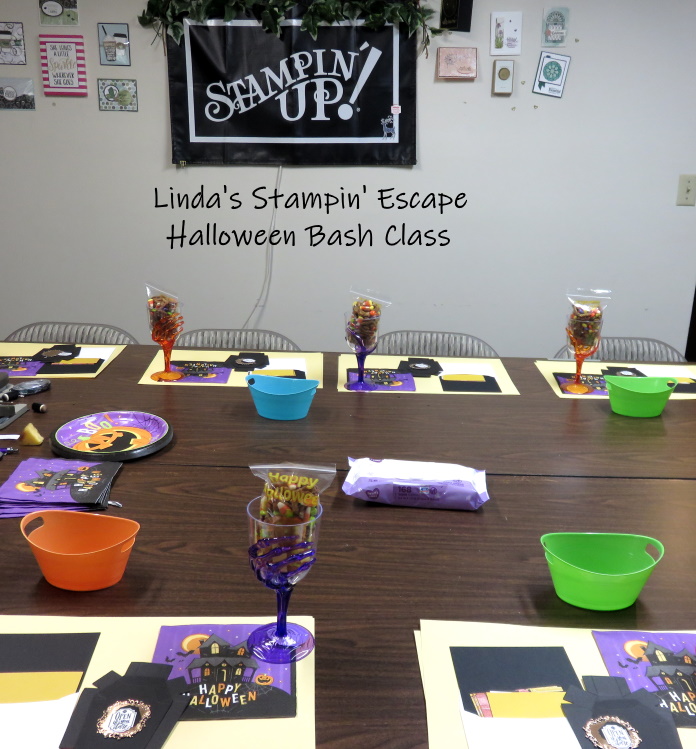
Hello Stampin’ Friends ~
I had a request to share my “Hand Sanitizer” Holder … I did not have time to re-create it, so I hope you don’t mind that I am sharing the original post. It includes tips to make this cute Sanitizer Holder!! Please not that the designer paper and stamp set are no longer available … however, the dies are!!
Let’s begin with the outer wrap. Start with an 11″ x 3″ piece of cardstock. Score the cardstock at 4-7/8″ and 6-1/8″ … these measurements will ensure the insert sits nicely in the wrap. Then punch both ends, this will be used to for your ribbon and to close the top.
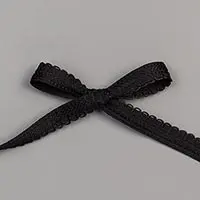
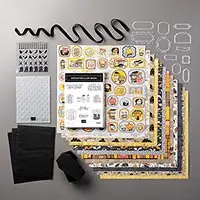
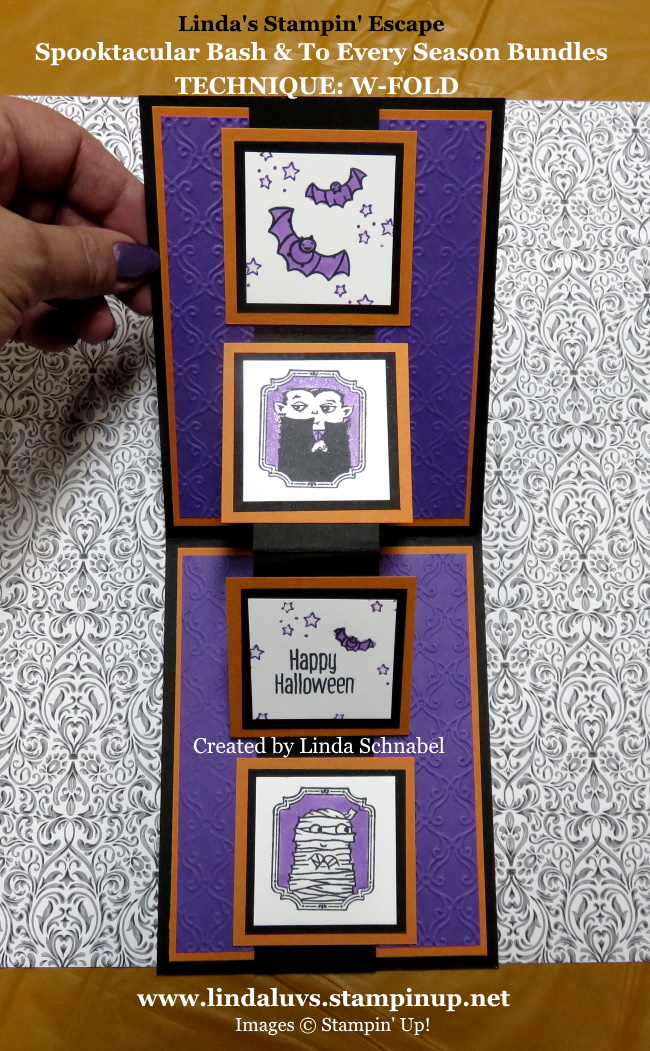
Attach a piece of 2-3/4″ x 3-1/2″ of designer paper… I used Monster Bash. We finished off the top edge of the designer paper by attaching a piece of ribbon over it and trimming off the edges.
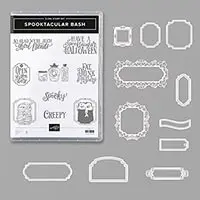
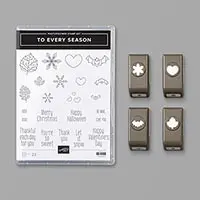
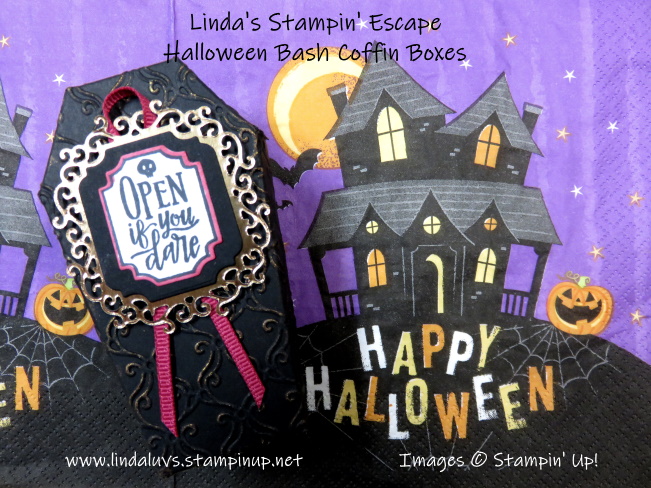
Stamp your greeting and cut out with a favorite die or punch. I used the coordinating die from the Spooktacular Bash Bundle and pop it up with the new black Stampin’ Dimensionals.
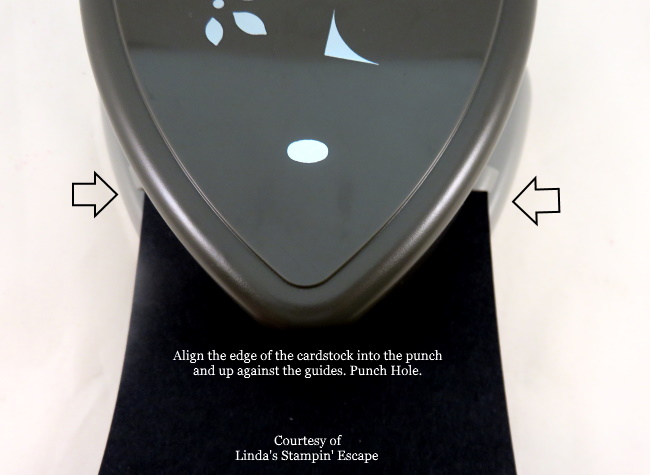
Set your outer wrap aside for now … it’s time to create your inner (inset) piece. Cardstock should measure 4-1/2 x 2-7/8″ … score at 1″ – 2″ – 3″ and 4″. Using the smallest of the scallop ovals, place it between the the two score lines closest to the 1/2″ flap. (See photo below).

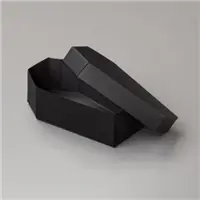
Once the whole is cut out, you will need to glue the 1/2″ flap to the opposite side to create a box. The hole needs to be facing up … add glue to the bottom (opposite side with the hole) and set it into the outer wrap between the score lines. Now you can tuck your Hand Sanitizer into the scallop oval hole. The Bath & Body Works small hand sanitizers fit perfectly into the oval.

This would make a cute teachers gift, thank you gifts, get well ? Any reason … flu season is coming and why not be prepared and be the cool mom on the block! This is also a great way to use up some of that designer paper you’ve been hording … lol.

Have some fun creating these cute Halloween gifts for your ghoul friends and then make some more for just for the fun of it … Christmas is coming too!
Thanks so much for joining me today … Let me know if you liked this project, I’d love to hear what you think … just message below.

I also have a supply list below to make your shopping easy, just click on any image for more information or to begin shopping with me.
Have a great day!