Hello Stampin’ Friends,
There’s something wonderfully simple—and incredibly smart—about taking advantage of a great deal… and that’s exactly what this week’s Simply Sunday is all about! As we look ahead to the excitement of the new catalog arriving in May, now is the perfect time to scoop up some amazing Last Chance products at a discount. These are the hidden gems that deserve one last spotlight before they’re gone—and trust me, you don’t want to miss them!
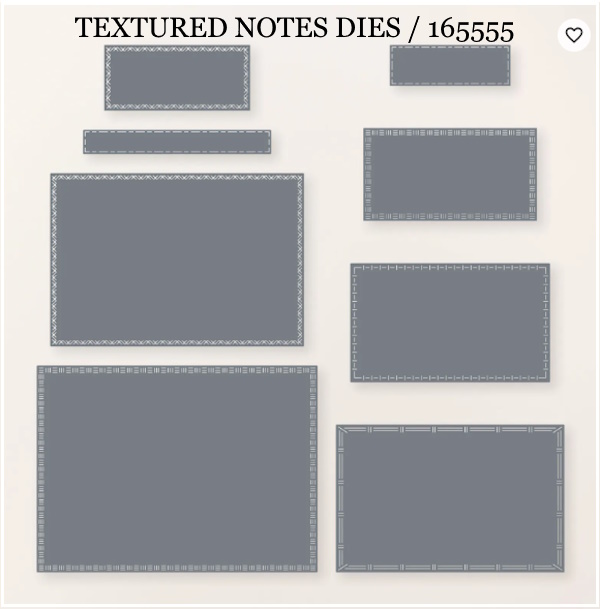
Let’s start with a couple of my absolute favorites. The Textured Notes Dies are a must-have in any craft room. With a variety of rectangle sizes and beautifully detailed die-cut borders, they are perfect for layering on card fronts, creating tags, or even designing stunning scrapbook backgrounds. These are the kinds of dies you’ll reach for again and again!
Right alongside them are the Snowflake Kisses Dies—a versatile collection of snowflakes in multiple sizes that allow you to create everything from delicate accents to bold, layered designs. Think peek-through cards, winter scenes, or simply adding a touch of elegance to any project. And here’s a little tip… the coordinating Snowflake Kisses Stamp Set is also discounted, but purchasing the dies and stamp set separately can actually save you even more than buying them as a bundle—now that’s a savvy shopper move!

Now let’s talk about something that checks all the boxes—the Scrapbook Kits! Whether you’re brand new to scrapbooking or just looking for a quick and easy way to preserve your memories, these kits are a dream. Everything is beautifully coordinated and ready to go, making it simple to sit down and create without the overwhelm. They’re perfect if you:
- Are just getting started with scrapbooking
- Want everything pre-designed and coordinated
- Need a fast and easy way to complete your pages
- Love a great deal (yes… they’re discounted too!)
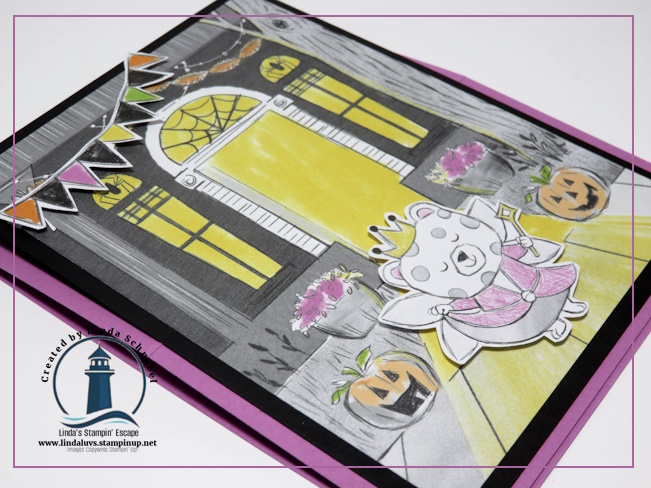
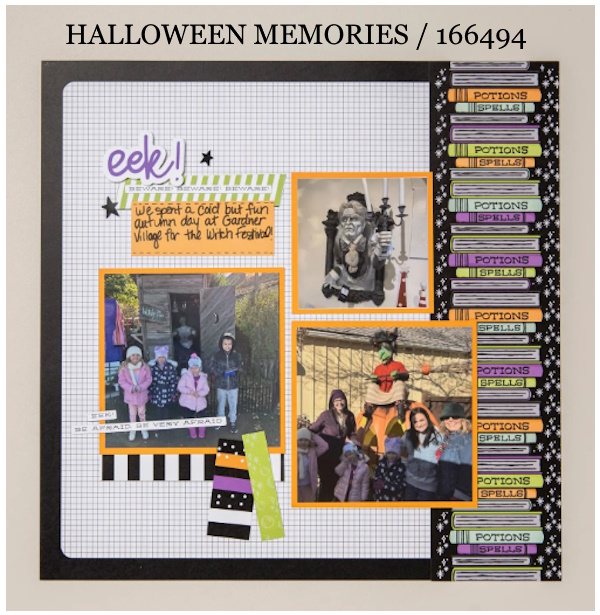
And of course, I have my favorites! If you know me, you know I adore Halloween—so the Halloween Memories Kit is at the top of my list, with the Sweet Halloween Kit coming in as an adorable close second. Imagine having everything ready to go—just add your photos of those sweet little ghouls and goblins on Halloween night!
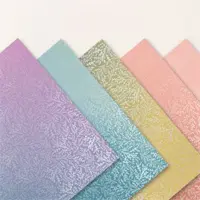
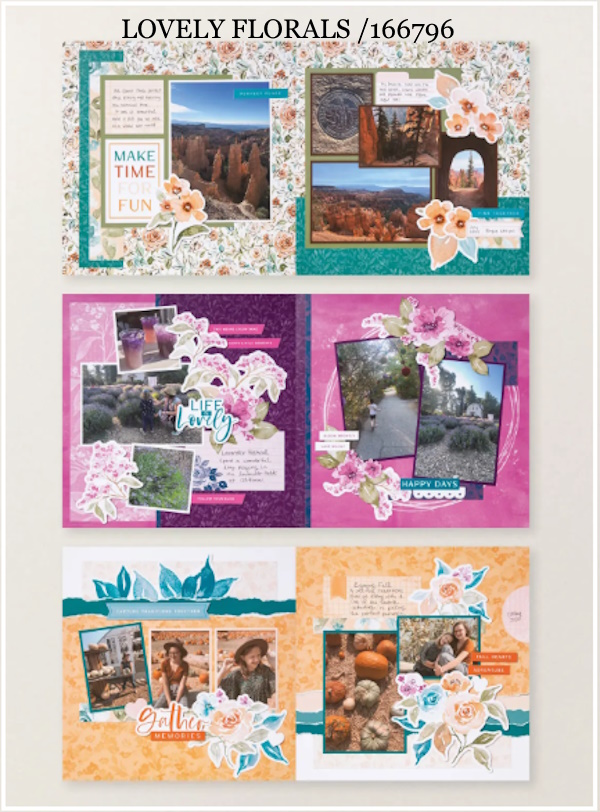
For an option you can enjoy all year long, the Lovely Florals Kit is absolutely beautiful. With gorgeous floral papers, coordinating stickers, and precut elements, it gives you the freedom to create layouts that are as unique as your memories—anytime, anywhere.
This is truly one of the simplest ways to craft smarter—beautiful products, incredible savings, and endless creative possibilities.
✨ Before you go, I invite you to take a few moments to browse through all of the Last Chance products—I’ve gathered them together for you below to make it easy and enjoyable to shop. Whether you’re looking to save on a favorite or discover something new, this is the perfect opportunity to add a few treasures to your collection… at a great price.
Happy shopping, my friend!

LAST CHANCE PRODUCTS ….


Sale: $11.55
Price: $16.50


Sale: $7.00
Price: $10.00