Color Refresh & Retiring Lists

Hello Stampin’ Friends ~

I’m here today to share “COLORS” …. what’s out … what’s in … what’s returning and what’s NEW! Oh my gosh, so exciting! Let’s begin with a video that shows the color changes in a fun way ….

You’ll find some new friends and returning favorites among our Brights, Neutrals, Regals, and Subtles. And you won’t want to miss our new 2023–2025 In Colors. We hope you’re as excited as we are to start crafting with these fresh new colors and returning colors.

I thought I’d share the chart because as cute as the video was, it moved a little to fast for me! lol

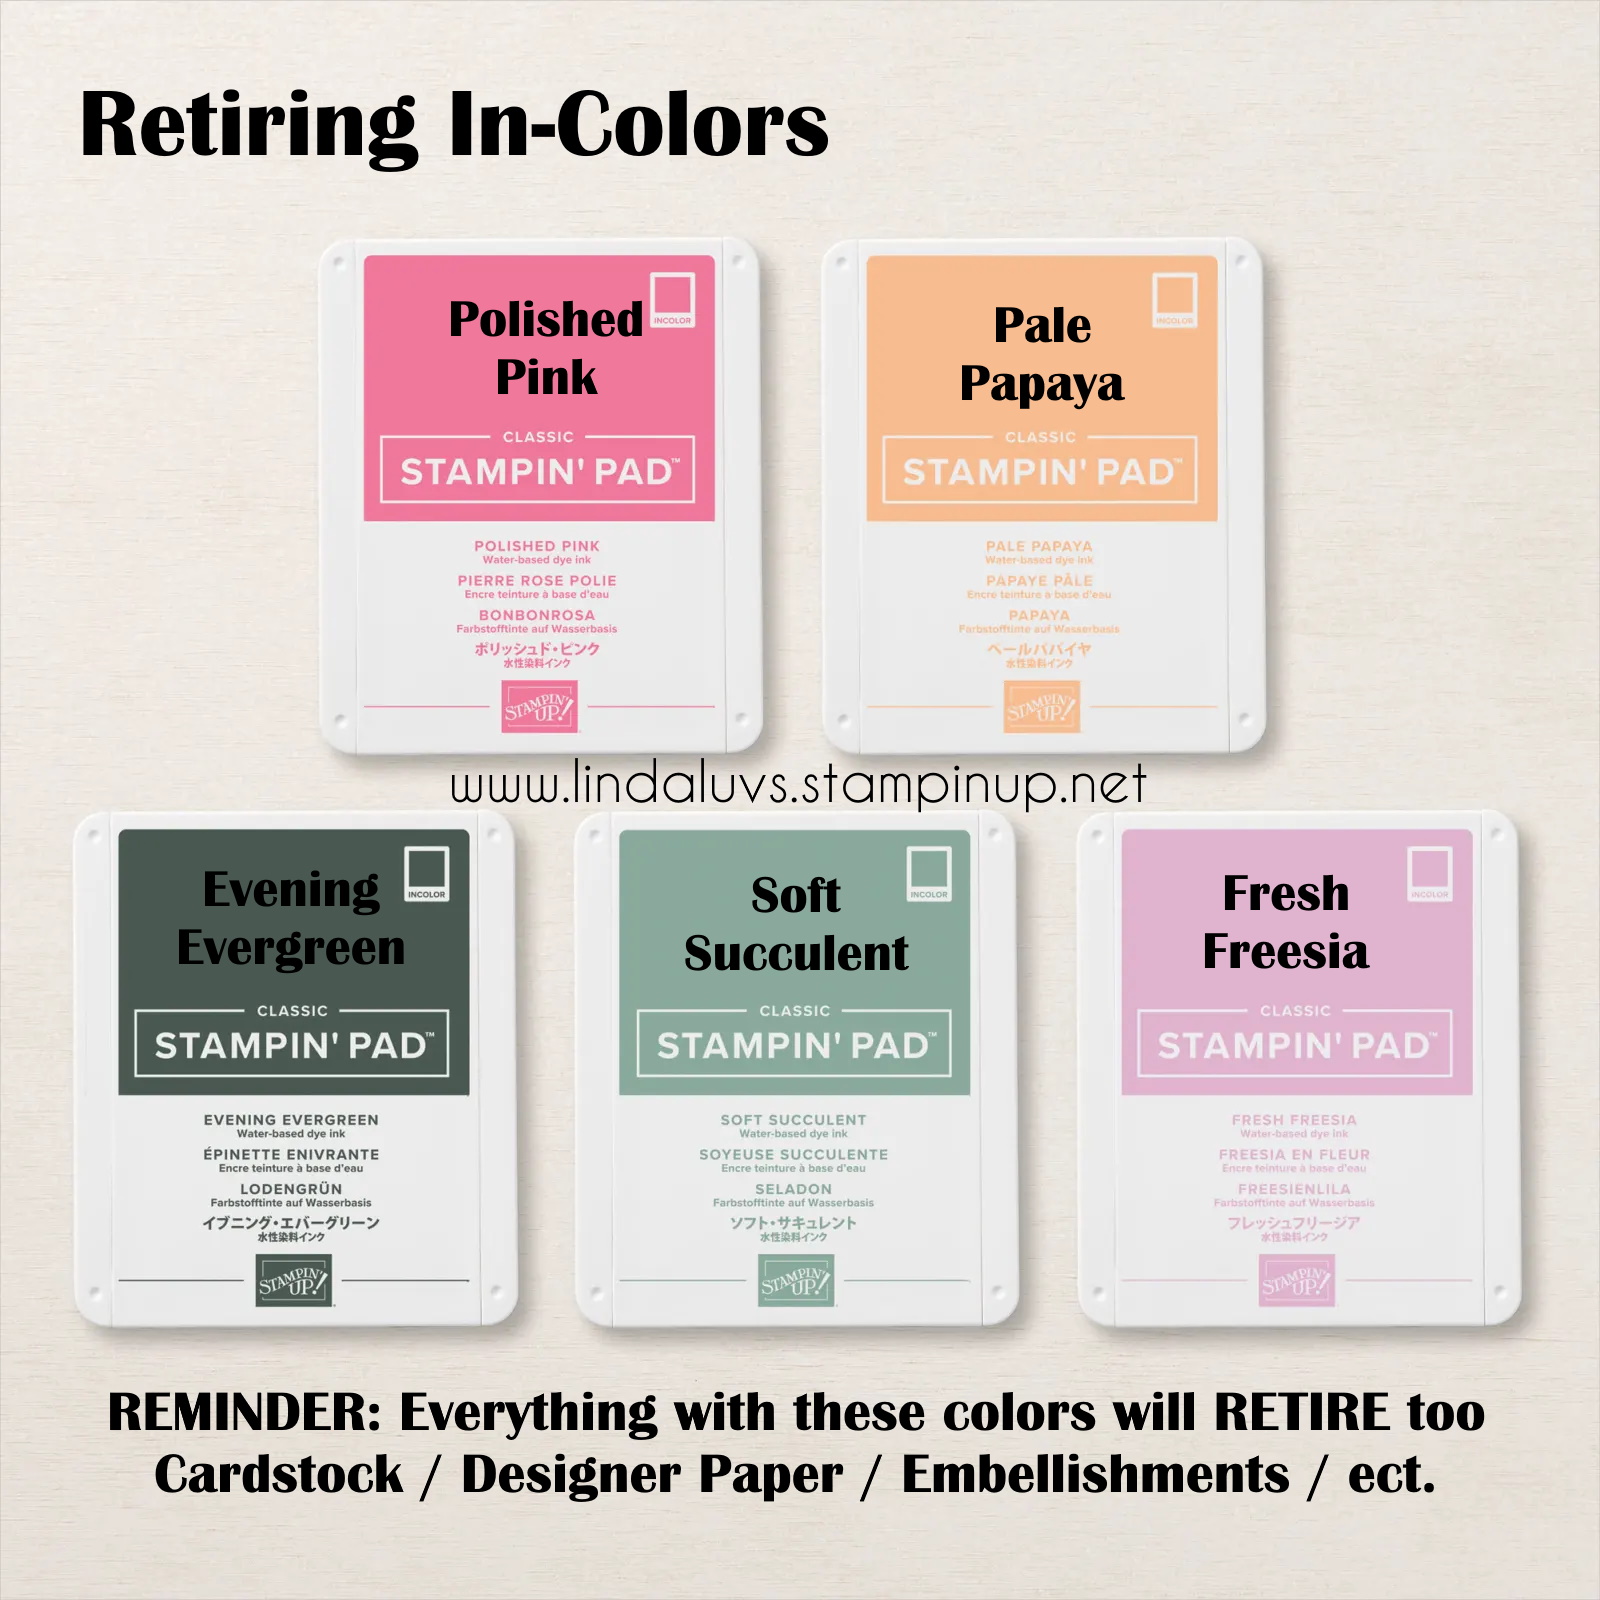
The colors with the “X” will be retiring and when they are gone, they will be gone. I will focus more on the new colors as the time draws closer … We have to wait until May 2nd to order, unless you are a demonstrator … then you can order in April!! Woot woot!

Now I have the RETIRING / LAST CHANCE LISTS for you ….

The January–April 2023 Mini Catalog and the 2022–2023 Annual Catalog will be retiring soon! It’s bittersweet to say goodbye to a Stampin’ Up! catalog, but we’re looking forward to all the new products on their way—and we hope you are, too.

Stock up on your favorite products before they’re gone for good! You can save up to 60% on essential craft supplies. What are you waiting for? Start shopping … After all, this selection of Last Chance Products is only available while supplies last.

Just click on the links below to download your copy.

ANNUAL CATALOG RETIRING / LAST CHANCE LIST

JAN-APRIL MINI CATALOG RETIRING / LAST CHANCE LIST

Here is a SHOPPING LINK for your convenience:  https://www.stampinup.com?hostcode=BAPEANG2

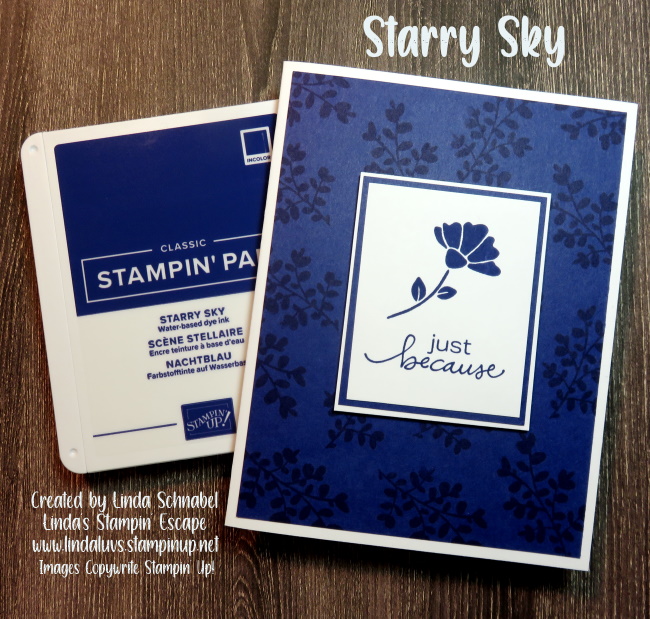
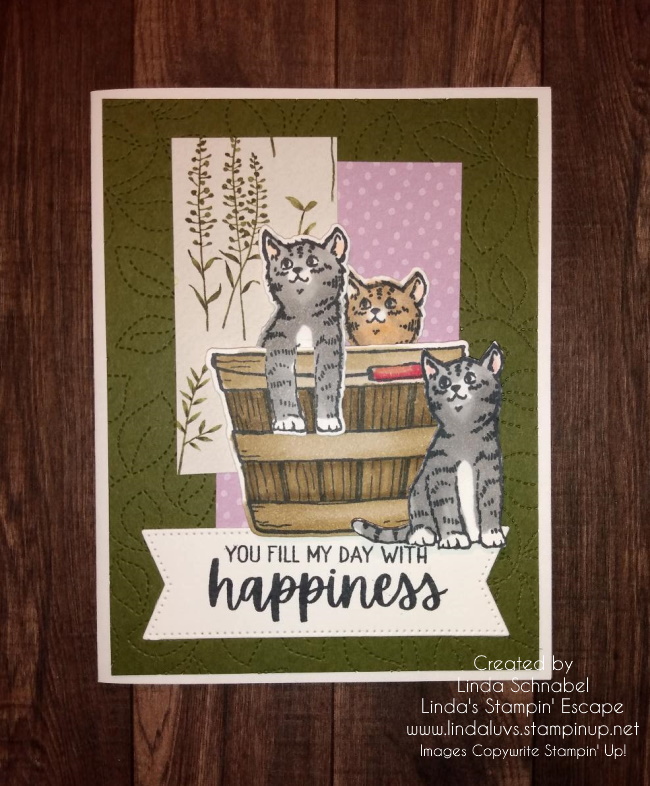
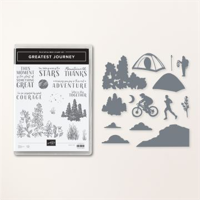
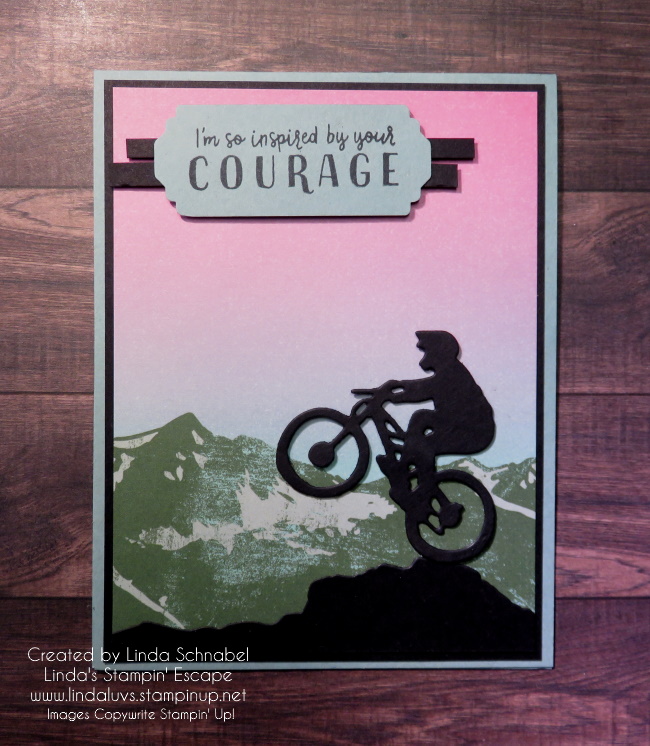
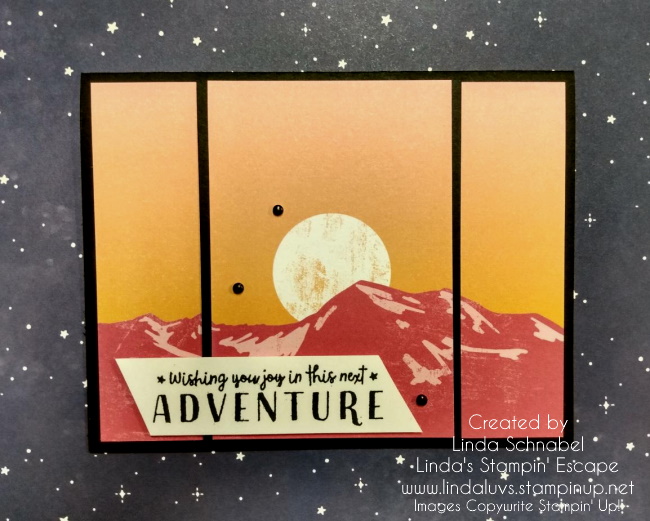
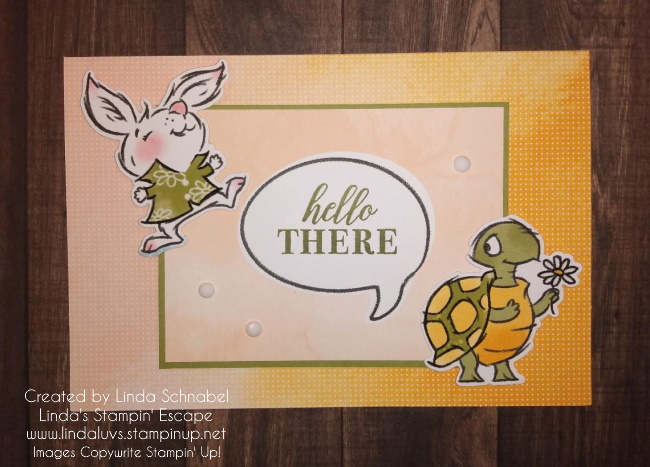
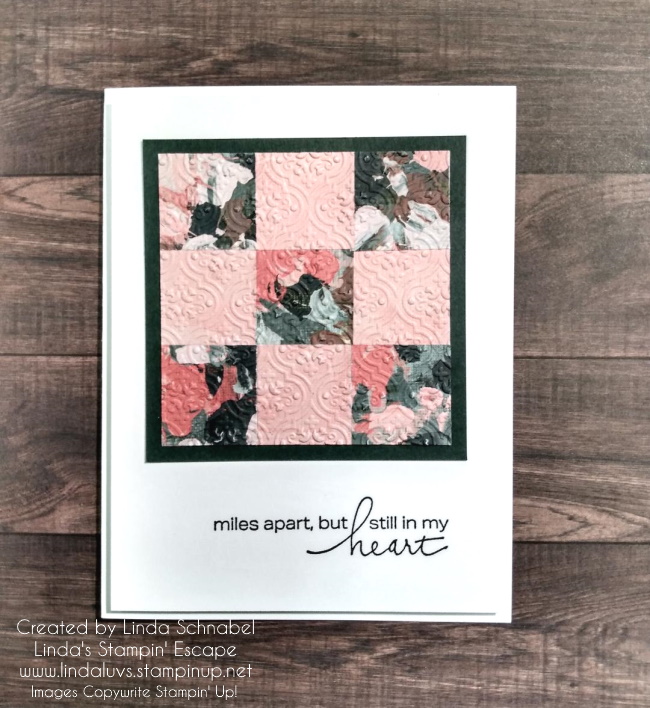
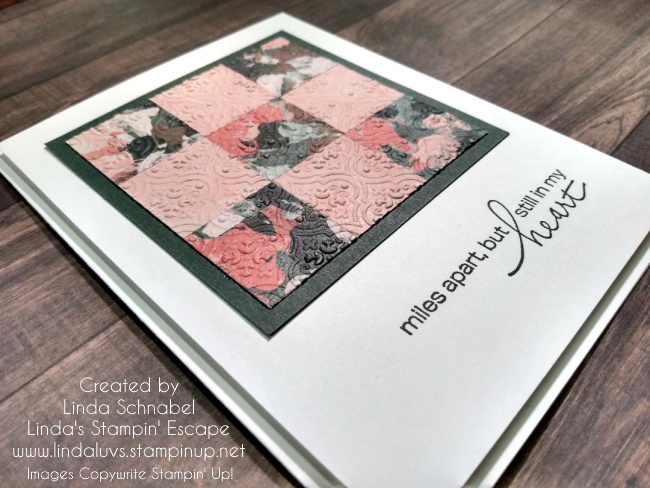
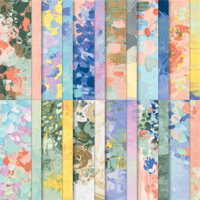
So my friends, for the next few weeks, I will be sharing some of my favorite retiring products with you and the amazing cards they make. I’m excited to share these with you … some you may have already seen and some are brand new.

Thank you for stopping by today. If you have any questions about the retiring products, please message me. I will be happy to help you out.

Big News: Retiring Lists Coming Today

Hello Stampin’ Friends ~

Today is the BIG day!! We will finally get the “Retiring” / Last Chance List a little later this afternoon

I will share it with you as soon as they publish the information. BOTH the Annual Catalog and the Mini Catalog will have products that will be leaving for good. If you find something on the list … grab it quick as they won’t last ESPECIALLY the Ink Pads and Refills … and because we also have a color refresh – there will be several leaving besides the In-Colors that retire.

Watch for a second post today with all the information about the RETIRING PRODUCTS!

See you then, Linda

Greatest Journey Card in Just Jade

Hello Stampin’ Friends ~

I am back … took a little getaway to visit my sister Rita to celebrate her birthday. We all had a great visit and created some wonderful memories.

Today I’d like to share yet another card from the Greatest Journey bundle and Enjoy the Journey Designer Series Paper. It’s easy to recreate but I’ll be sure to share the dimensions and step by step instructions as well.

Measurements

  • Mint Macaron:  4 1/4’” x 11” scored at 5 ½” 
  • Designer Series Paper: 5 ¼” x 4” (rectangle pattern)
  • Designer Series Paper scrap (mountain pattern) for Stitched Rectangle Dies
  • Basic White Scrap for sentiment label with Stitched Rectangle Dies
  • Basic Black Scrap for cyclist using Greatest Journey Dies

Instructions:

  • Cut Basic White label and mountain Designer Paper layer with Stitched Rectangle Dies
  • Stamp sentiment onto label with Shaded Spruce ink
  • Adhere Designer Paper layers Stampin’ Seal to card base
  • Adhere sentiment label with Dimensionals
  • Cut cyclist from Basic Black cardstock using Greatest Journey Dies
  • Adhere cyclist to card with Mini Dimensionals
  • Adhere Enamel Sticker Icon as shown

Such a great card and so easy to make! I want to remind you that designer papers will be retiring soon, so take a good look at all of them and grab your favorites before they are gone. I will be sharing the Retiring List with you as soon as I can, and once it’s out … favorites tend to disappear quickly.

Thank you for joining me today. Hope your day is a good one.

Are you NEW to Paper Crafting?

Hello Stampin’ Friends ~

Are you NEW to stamping and paper crafting but not sure where to start? I can suggest five essential tools from the Stampin’ Up catalog that new crafters or stampers may find helpful:

  1. Stamp Set: A stamp set is the most essential tool for stampers. It typically includes a variety of designs and sentiments that you can use to create beautiful cards, scrapbook pages, or other paper crafts. Choose a versatile set that has multiple sentiments and images for all occasions.
  2. Ink Pad: An ink pad is used to transfer ink to the stamp so that you can make an impression on your paper. Stampin’ Up offers a wide range of ink colors, including classic ink pads, dye-based ink pads, and pigment-based ink pads. My favorite “black” is the Memento Ink.
  3. Cardstock: Cardstock is the foundation for most paper crafts. It is a sturdy paper that comes in a variety of colors and textures, making it perfect for creating card bases, scrapbook pages, and other paper crafts. I suggest starting with white then adding a “multi” colored pack for a wider variety of color.
  4. Adhesive: Adhesive is used to glue your paper and embellishments together. Stampin’ Up offers a variety of adhesives, including tape runners, liquid glue, and dimensionals, which are foam dots that give your projects a 3D effect.
  5. Paper Trimmer: A paper trimmer is a tool that cuts paper to the desired size and shape. It is a must-have tool for any paper crafter. The Stampin’ Up paper trimmer includes a cutting blade, a scoring blade, and a ruler to help you make accurate cuts every time.

These five tools can help you get started on your paper crafting journey. Stampin’ Up also offers many additional tools and supplies, such as punches, dies, and markers, which can be added to your collection as your skills and interests grow.

IF YOU ARE ON A BUDGET …. Starting with just a few basic supplies is a great way to dip your toe into paper crafting without breaking the bank. Here’s a bit more detail on each of the supplies you mentioned:

  1. Notecards and envelopes: Notecards and envelopes are a great choice for beginners because they come pre-cut and scored, making it easy to create a professional-looking card. Stampin’ Up offers a variety of notecards in different sizes and colors, so you can find the perfect base for your project.
  2. Stamp set and ink pad: A stamp set and ink pad are essential tools for papercrafters. The stamp set will give you a variety of designs and sentiments to work with, while the ink pad will allow you to transfer the designs onto your paper. Stampin’ Up offers a wide range of stamp sets and ink colors, so you’re sure to find something that fits your style.
  3. Watercolor pencils: Watercolor pencils are a great way to add a pop of color to your projects without investing in expensive paints or markers. Simply color your design with the pencils, then use a wet brush or Blender Pen to blend and spread the color. Stampin’ Up offers a set of watercolor pencils that coordinate with their ink colors, making it easy to create a cohesive look.

With these three basic supplies, you’ll have everything you need to create beautiful handmade cards and other papercraft projects. As your skills and interests grow, you can always add more supplies to your collection, such as additional stamp sets, embellishments, and tools.

Plus, I’m always here for you to help you with your stamping … you may contact me with your questions, come to a class or join a club! I too have many options for your stamping experience.

Thanks for stopping by and have a great day!

Cheerful Basket: You Have My Heart

Hello Stampin’ Friends ~

If you liked my basket full of kitties yesterday then you are sure to enjoy today’s basket using Stampin’ Up!’s Cheerful Basket Bundle. Send a card that tells someone that they have your heart and “they fill your days with happiness”.

I’ll be sharing easy step by step instructions so you can recreate this sweet and simple card. To highlight the hearts on the card, I used assorted Stampin’ Blends (colors listed below), which are alcohol-based markers that provide a smooth and even color application.

Our card base is Basic Black 8-1/2″ x 5-1/2″ scored and folded at 4-1/4″. The colorful ombre background comes from the beautiful “Enjoy the Journey” designer paper. You can add some texture with the “Whimsy” dies or use a subtle embossing folder if you don’t have the dies. Don’t be afraid to leave it just the way it is … it’s beautiful paper!!

Here are some steps to follow to color the hearts using Stampin’ Blends:

  1. Choose the colors of Stampin’ Blends that you want to use. You can use one color per heart or create a multi-colored effect by blending different shades.
  2. Start coloring the hearts with the lightest shade of the Stampin’ Blend, filling in the entire heart with the color.
  3. Next, use the darker shade of the Stampin’ Blend to add shading and depth to the heart. Start at the base of the heart and work your way towards the top, blending the two colors together as you go.
  4. If you want to create a multi-colored effect, use a third shade of the Stampin’ Blend to add more color and depth to the heart. Again, start at the base of the heart and work your way towards the top, blending the colors together as you go.
  5. Once you have finished coloring the hearts, use a Wink of Stella brush to enhance the color and add shimmer. Simply brush the Wink of Stella over a portion of the heart, being careful not to smudge the ink. I just added it where those little black lines were from the stamped heart.

I also die cut the little white hearts from the Cheerful Basket bundle and covered them with Wink of Stella and then placed them around the basket to really make the colors in the basket pop … it’s make your own embellishments!! The basket, hearts and greeting are all popped up using Stampin’ Dimensionals.

By following these steps, you can create a beautiful and colorful hearts card using the Cheerful Basket Bundle and Stampin’ Blends. Have fun crafting!

Thank you so much for taking time out of your Friday to visit my blog and check out this cute card.

Have a great weekend!!

Basket Full of Kittens with Cheerful Basket

Hello Stampin’ Friends ~

Did you ever see something that made you think … that would make a cute card!? Today I’m going to share such a card. While visiting at my daughters, they have become foster parents to a big batch of kitties …

I told her she needed a basket to keep all them kitties in… and then it dawned on me; I have a basket full of kitties, and more! I pulled out my Cheerful Basket bundle . Oh, I haven’t even played with this one yet, and who knows … it may be on the Retiring List 😦 I hope not!!

So let’s check out our basket of kitties … I stamped my images in Memento Ink and used assorted Stampin’ Blends to color. I just love to smooth look you get when coloring with the Stampin’ Blends. What color do you like your kitties?

I couldn’t resist having my kittens paws hanging outside of the basket … you know them little guys are crawling “everywhere”!!! To do this, you just cut his legs free and slide them over the basket. I used designer paper scraps for a pop of color behind my basket of kitties. You can use what ever you have around your craft room. The background was done with the Stitched Greenery Die … just love this die as it is so very versatile.

Check out the layers on this card ….

This card was just fun to make … especially if you like coloring and building with layers! Almost as fun as a basket full of kitties. I’ll be sending this card to my granddaughter because she fills my day with happiness, and she loves her kitties!!

Thanks so much for the visit. What would YOU fill your basket with? Hearts? Apples? Crafting Supplies? Let me know in the comments below.

Have a great day ~

Creating Motion using Layers & the Greatest Journey Bundle

Hello Stampin’ Friends ~

I can’t wait for you to see this card, I absolutely love the way it turned out!! Today I have a video … the replay of my Facebook LIVE where I shared two cards the featured the Greatest Journey bundle. I will show you how to create “motion” by using several of the same dies and a slight change of color, then you will see a simple card with a fun pop of color made mostly of scraps!

Join me for a bit and watch the video, after which I will share any dimensions needed for our cards…

So … I didn’t actually start my kitchen on fire, but a little fire inside one of my pans, easily taken care of, but not the way one would like to start their day! lol OK … back to our cards. I wanted to create the appearance of motion with my card, and since there is no coordinating stamp, I could not do the dragging technique (which smears the ink and makes it look like it’s moving).

I thought the layering technique worked well ….

The great part of this is you are using up your scraps! Anything big enough to fit your images on. The colors for my layers are: Basic Black, Basic Grey, Smoky Slate, and Basic White … which is amazingly visible on the card. My Basic Black card base is the standard A2 size: 8-1/2″ x 5-1/2″ scored and folded at 4-1/4. The Basic White Front is 5-1/4″ x 4″. Keepin’ it easy.

The next card was just an easy pop of color and was also done mostly with scraps!

While I was preparing my photos for the blog, I realized that instead of die cutting my runners out of black … I could have die cut the image “out of” the color blocks and let the black show through! Another way to create dimension …. WOW! The possibilities never end.

The color blocks are die cut from the Stylish Shapes dies (as is the banner) the black mat behind it measures 3″ x 4-3/4″ and the Starry Sky piece is 3-1/4″ x 5″ … the Basic Black card base is the standard A2 size: 8-1/2″ x 5-1/2″ scored and folded at 4-1/4.

I hope you enjoyed today’s adventure into creating “motion” on your cards and give it a try. If you are interesting in purchasing this bundle, I have the links below.

Thank you. Have an adventurous day ~

Here is the list of supplies used for today’s cards ….

Let’s go on an Adventure …

Hello Stampin’ Friends ~

I have been playing around with the Greatest Journey bundle … for those of you who snagged up the Designer paper in the Sale-a-bration catalog, you should find it easy to create some great cards.

This card simply cuts the cardstock into 3 pieces and then uses a piece of cardstock to “highlight” the center section and create a fun look.

If you are looking for ways to use the stamps and dies without the designer paper, then join me tonight on my Linda’s Stampin’ Escape Facebook page when I go LIVE at 6:30 Central time. I’d love to have you join us!!

Hello There Card … Happy Monday!

Hello Stampin’ Friends,

Today I have a quick & cute card saying Hello There, and our turtle is back with a friend. Today is also International Day of Happiness and this card will surely put a smile on someones face and make them happy!

The core of our card today is created with the Enjoy the Adventure Memories & More Cards & Envelopes which is the base, and the Enjoy the Adventure Memories & More Card Pack … then I stamped my greeting from the Around the Bend stamp set.

The card measures 3″ x 4″ and I added a Old Olive mat measuring 3-1/8″ x 4-1/8″. The card and mat have popped up with the Stampin’ Dimensionals. The turtle and the bunny were die cut from the Rain or Shine Specialty Designer paper. To complete the card I added the Opaque Adhesive-Backed Gems. The layout I used today is similar to yesterday’s layout, just a few changes can change the entire look of the card.

Such a simple and cute card to make to say hello to your friends or family members.

Thank you for joining for this quick card today. I hope you enjoy your Monday!

Simply Sunday: You’re On My Mind Card

Hello Stampin’ Friends ~

Today I have the cutest card to share with you made from left overs!! So what do you do with a left over frame when you used the oval for an Easter Egg? Here is the card I created earlier this week which produced that left over frame ….

To view this blog post just CLICK HERE If you haven’t seen the post, it will show how I cut these.

I also used a sweet little turtle from the Rain or Shine Designer paper (I cut out a whole bunch of little critters) and then I used a daisy that I had punched out for another project, so all those odds and ends were brought together and created this sweet and simple card ….

The greeting works perfectly inside the frame (which is also cut from the Rain or Shine Designer paper). You can find it in the Good Feelings stamp set and I used the Tuxedo Memento Ink. To complete my card I used the Adhesive Backed Milky Dots… love those!!

Thanks for stopping by on this Sunday, hope you have a great day. Relax and Enjoy.

Quilt Card Celebrating International Quilting Day!

Hello Stampin’ Friends ~

Today I’d like to share my Quilt Card to Celebrate International Quilting Day. National Quilting Day recognizes quiltmakers and their quilt-making abilities. The word ‘quilt’ comes from the Latin word ‘culcita,’ which means stuffed sack.

Quilting practices can be found in almost every area of the world and it is celebrated on the third Saturday in March every year. The National Quilting Association started National Quilting Day in 1991 and since then it has grown into a global celebration for all quilt lovers and makers.

A Handmade Quilt card is fun to make and can be just as pretty as a handmade quilt … and both are a pleasure to receive. Here is my latest creation for a “handmade quilt”…..

I began with the beautiful “Fancy Flora” Designer Series paper. I had some 1″ scraps from some cards I was making so I cut them into 1″ square pieces. This would be the pattern for my quilt. I glued the pieces onto a piece of Basic White cardstock approximately 3″ x 3″ … switching patterns. I used the front and back of this designer paper / one side with pattern, the other plain.

Once the adhesive was dry, I embossed it with the Quatrefoil Tile embossing folder. I like the added texture embossing brings to the pattern and to the card itself. This was adhered directly onto a piece of 3-1/4″ x 3-1/4″ piece of Evening Evergreen… this is my “edging” to my quilt.

My greeting comes from the “Lovely You” stamp set … I find it very fitting for a quilt card, because to me, quilts bring comfort and so do our friends. I found a quote which I thought would work perfect inside your card … “Friends are like quilts – A patchwork of warmth and comfort”.

I will always believe that you don’t have to make a 7-layer card to spread warmth to a friend … a simple heartfelt card will share your feelings just as well. The main thing to remember is, make it YOU, your style!

Thank you for joining me in Celebrating International Quilt day with me today. If this doesn’t inspire you to make a quilt card, maybe it will inspire you to reach out to your friend.

Have a beautiful day ~

In Need of a Quick St. Patrick’s Day Card?

Hello Stampin’ Friends,

Are you in need of a quick St. Patrick’s Day card? I have the answer for you … all you need is a Heart Punch or die. I’m using the smaller heart from the Heart Punch Pack and some Shaded Spruce cardstock … punch 3 hearts and score (or fold) in the center to create some texture.

The background was stamped in Shaded Spruce using the “Around the Bend” stamp set … and of course I had to add some “gold” to my card, so I added the Brass Butterflies. Oh my this is cute and oh so quick!

Thanks for stopping by today ….

Magically turn Framed Florets Dies into Easter Egg Cards!

Hello Stampin’ Friends ~

I’m so excited about this fun technique, turning the Floral Dies into Easter Egg Cards. I think the cards turned out so cute / lovely … yes, I have 2 cards for you today along with a video – a replay of my Facebook LIVE from last night.

Let’s take a look at the video …

As promised, I have the dimensions for our Easter Egg card. My cardstock base is Flirty Flamingo and measures 7-1/4″ x 5-1/4″ … Score at 4-1/4″ on the 7-1/4″ length. This will give you a front “flap” and exposes a portion of the inside. You need 2 pieces of Basic White (and one scrap to die cut greeting). Front measures 5-1/4″ x 2-3/4″ … emboss with the “splatter” embossing folder and the inside measures 5-1/4″ x 4″ … add a strip of the designer paper.

The designer paper I’m using on this card is the Rain or Shine Designer paper. The patterns I picked look great as Easter Eggs … the splatter one reminds me of how your dyed eggs always end up with “some” spots! lol The greeting for both cards come from the Charming Sentiments stamp set and die cut from the Stylish Shapes.

Our next card has an easy layout / dimensions and boasts the Floating Element Technique … I love this technique. Let’s begin with your Petal Pink card base measuring 8-1/2″ x 5-1/2″ scored and folded at 4-1/4″.

Trim down the 6″ x 6″ Fancy Flora Designer paper to 5-1/4″ to 4″ and adhere it directly to your card front. I use a 4″ x 3″ piece of Window Sheet to die cut my oval /egg and then I attach the 1″ strips which were embossed with the Quatrefoil Tile Embossing Folder. Don’t you love the elegance of the embossed egg?

The greeting for the card comes from the Charming Sentiments stamp set and die cut from the Stylish Shapes. The butterfly is die cut using the Brilliant Wings Dies … and we finished off with the Opaque Adhesive Backed Gems.

You can used any designer paper to create your Easter Eggs and / or use it as a background like I did on this card. So fun and versatile.

Thank You for hanging out with me today, I hope I inspired you to try this fun technique. You can also do it with circles!!

Have a great day ~

I Have a Sneak Peek for YOU today!

Hello Stampin’ Friends ~

Optimism and Renewal is the theme of the April 2023 All the Little Things Paper Pumpkin kit! This kit includes supplies for making nine cards (three each of three designs) with elegant cherry blossom designs, bright colors, and iridescent foil (a detail that won’t go unnoticed). It also includes a Shaded Spruce ink spot and a stamp set with sentiments that celebrate the simple things and encourage growth and healing.

Anyone who subscribes to this month’s kit will also get a FREE box organizer! This organizer with customizable compartments fits perfectly inside your Paper Pumpkin box and is great for keeping your supplies from past kits organized, so you know right where everything is! Coordinating Stampin’ Up! colors: Balmy Blue, Basic Black, Calypso Coral, Granny Apple Green, Petal Pink, Poppy Parade, Shaded Spruce.


If you are not a Paper Pumpkin subscriber, I invite you to give it a try.  CLICK HERE to sign up by April 10th for this next kit.

Thanks you for joining me today … Hope your day is a good one!

Have YOU seen the Lighting the Way bundle? Check out these two cards …

Hello Stampin’ Friends,

Today I’m sharing a card that highlights the Lighting the Way Bundle and you’ll recognize the background as the Natural Gilded Specialty Designer paper. The Lighting the Way Bundle includes the Lighting the Way Stamp Set and the Lighting the Way Dies.

The firefly is a perennial warm weather companion that radiates positive energy while lighting our way through the darkness. Use this joyful bundle to capture those positive vibes and add them to your next handmade card or gift tag and light up someone’s life!

Tell someone special just how much they mean to you with this Lighting the Way Stamp Set. Use it to create uplifting cards featuring dazzling fireflies that appear to glow. Simply stamp one of the glowing circles in a vibrant yellow, then follow up with a firefly stamp.

Stamp your firefly so it appears to be leaving a trail of light in its wake. Embellish your firefly image with greenery, more fireflies, and a happy sentiment, such as “Thanks for lighting the way,” and you have a handmade card they’re sure to remember!

Thank you for checking out my blog and the Lighting the Way Bundle. Which one of these two cards did you like best? Let me know in the comments below.

Have yourself a great day ~