Hope you have been enjoying your weekend, and our week isn’t the only thing coming to an end … we’re at the end of the month already! Is it just me or is this year just flying by?!
We just got an exciting announcement from Stampin’ Up! To honor world cardmaking day, they have put out some great specials!! What I love and think you will to, are some fun new items and those staples that we use every time we create!!
One of the great items on this list is the “Notes of Kindness” card kit. This kit makes it easy to create and send your heartfelt greetings.
* Makes 20 cards: 5 each of 4 designs
* Folded card size: 3.5″ x 5″ (8.9 x 12.7 cm)
This will allow you to download the list so you can have it at your fingertips. The sale begins October 1st and runs through the 7th. Please let me know if you have any questions.
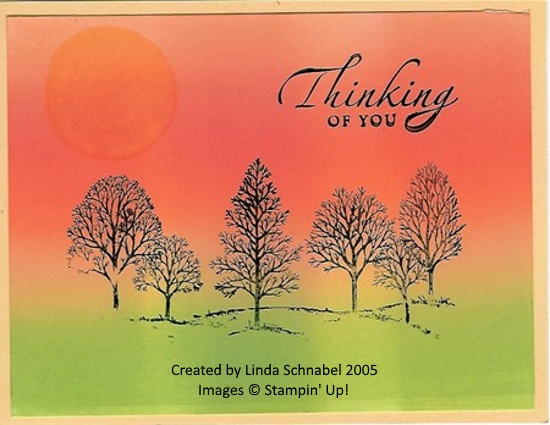
Today I’m going to share two cards that I created in 2005 – 13 years ago… Wow!
My first card is a whoot because even thought it’s been 13 years – Lovely as a Tree … Is still in the catalog, so other than the greeting, this one does not need much updating!! lol
I actually believe that this was done with a brayer and a multi-colored ink pad. This is a great technique that is simple to make but gives you a “wow” factor!
My second card highlights the “Resist” technique, simple to do and looks cool. It’s nice to come back to some of the techniques that we used to do before the BigShot came out!! lol
I’m not even sure what stamp set this was but if I remember correctly … it was a triple stamp! Which stamp set do you think I will use to update this card?
Let’s have some fun and recreate these cards with our current supplies. I will share these with you tomorrow!!
So … stop back tomorrow and I will go through each of these cards, but updated. It’s going to be like “flipping” my cards! Make sure you’re here for the reveal.
I am thrill to share that Stampin’ Up! has announced the release of Stamparatus accessories! You will be able to order beginning October 1st, 2018.
We know that owning a Stamparatus means it was love at first sight and we wanted to give you even more to love about this versatile tool by introducing Stamparatus accessories! The new accessories are: Small Grid Paper, Stamparatus Plates, and Stamparatus Foam Mats. They will continue to offer Stamparatus magnets.
The small grid paper fits perfectly in the Stamparatus.
It will be nice to have a replacement mat, when yours starts to wear (everything does).
The extra plates can be used for quicker stamping of multiple set ups without having to switch stamps out often.
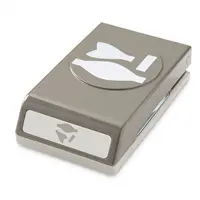
A little birdie told us that there will also be a “carrying case” for our Stamparatus coming in the near future … I will keep you posted!
Today is the last day to register (and PAY) for my Stamperatus Class …
Payment is required for this class as I will be ordering your Stamparatus and supplies. ONLY Payment confirms your registration for this class.
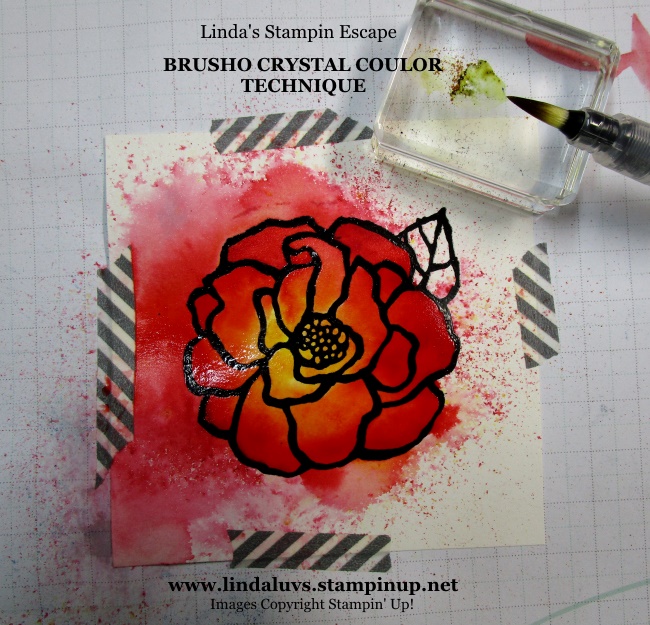
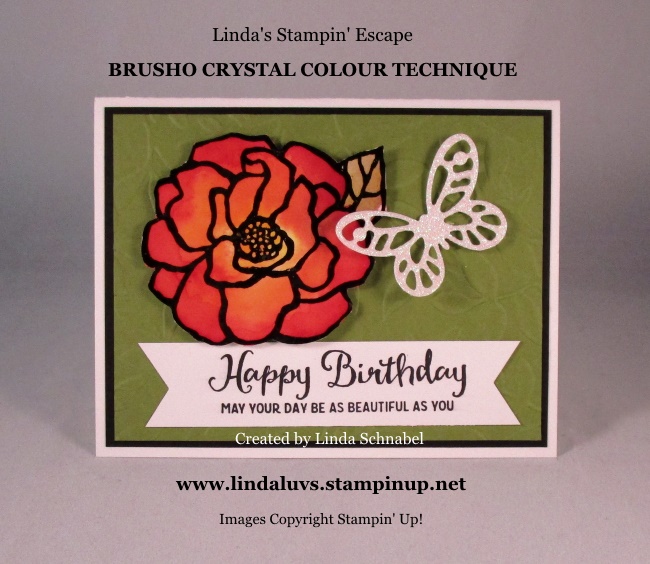
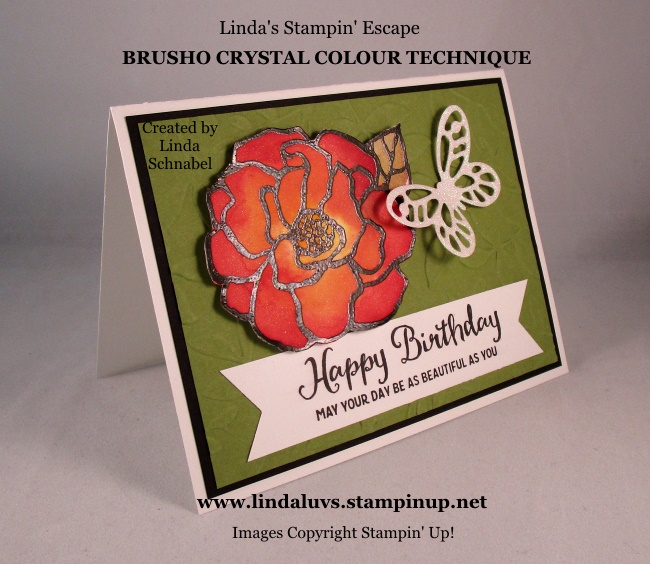
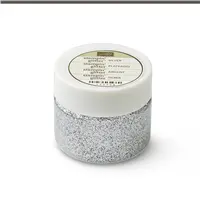
Today I’d like to share a technique that I had posted earlier this year and I card that I did with my Stamp Clubs. They were the first to use the Brusho Crystal Colour technique … an awesome product that was introduced in the Occasions catalog and can now be found in the Annual Catalog on page 202.
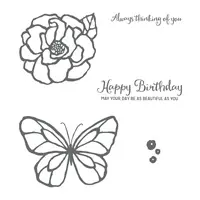
On this card we used the Shimmery White Cardstock and the “Beautiful Day” stamp set. We will be embossing the flower with the black embossing powder.
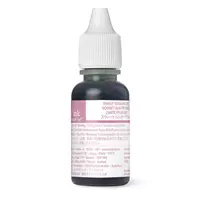
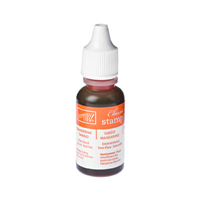
Next thing you want to do is to poke a hole or two in the top of the plastic bottle the Brusho is in. I used my Paper Piercer to poke the hole and then use a push pin to keep it sealed ….
I like to use a little washi tape to hold my sides down … it keep the colors from running together if the paper “rolls up” from the water. Then you will gently tap the Brusho bottom to dispense the powder … Less is More! You can always add more but it’s best to start light, especially if you are new to this technique. It looks a little like peppering your food! lol
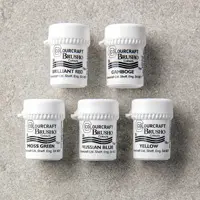
I started with “Yellow” in the center, “Gamboge” around the center, and then the “Brilliant Red” around the outer petals.
Now with your Stampin’ Spritzer … spritz some water onto the image. I stand during this process and I’m at least 8 – 12″ above my cardstock – You don’t have to measure, but if you are too close it might splatter your color.
Notice I kept the Brusho colors I used away from the leaf — also less spritzing, I can always add water with the use of my Aqua Painter… which I will be using to color in the leaf.
With the use of my Aqua Painter, I began to move my color around starting with the yellow. I keep a tissue or paper towel handy to keep my Aqua Painter clean. If you mix your colors too much – you’ll end up with one color or a mess!
Once the color was where I wanted it, I tapped a bit of the Green Brusho onto a block and used my Aqua Painter to pick up the crystals and color in the leaf directly. That is two techniques you’ve now learned with the Brusho!! Once DRY you can cut it out and mount it to your card ….
I used a Whisper White base with a Basic Black mat and my background was embossed with the beautiful “Layered Leaves” Dynamic Textured Embossing Folder. The greeting comes from the stamp set “Beautiful Day” which is found on page 134 of the Annual catalog.
It really is simple to use … Remember, I did this at my Stampin’ Club and each and everyone’s card turned out beautiful yet no two were alike … it was awesome!!
Please let me know if you have any questions about this technique or please leave a comment on what you would like me to share on an upcoming Technique Tuesday.
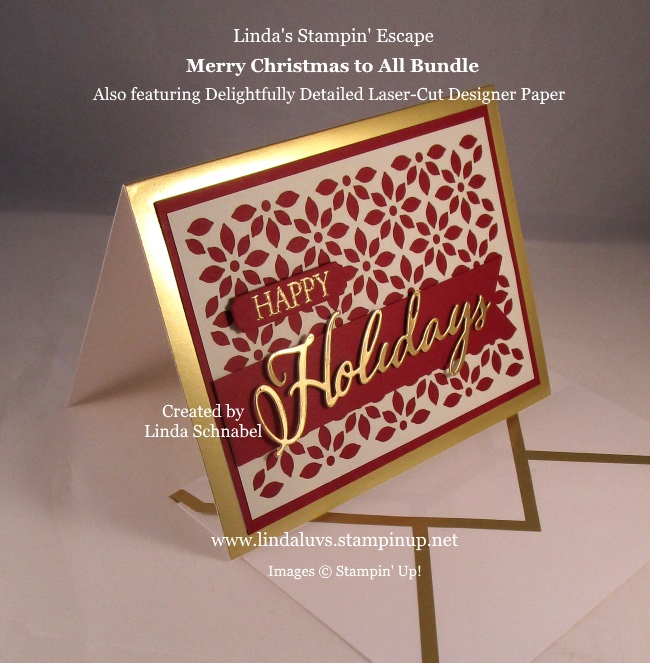
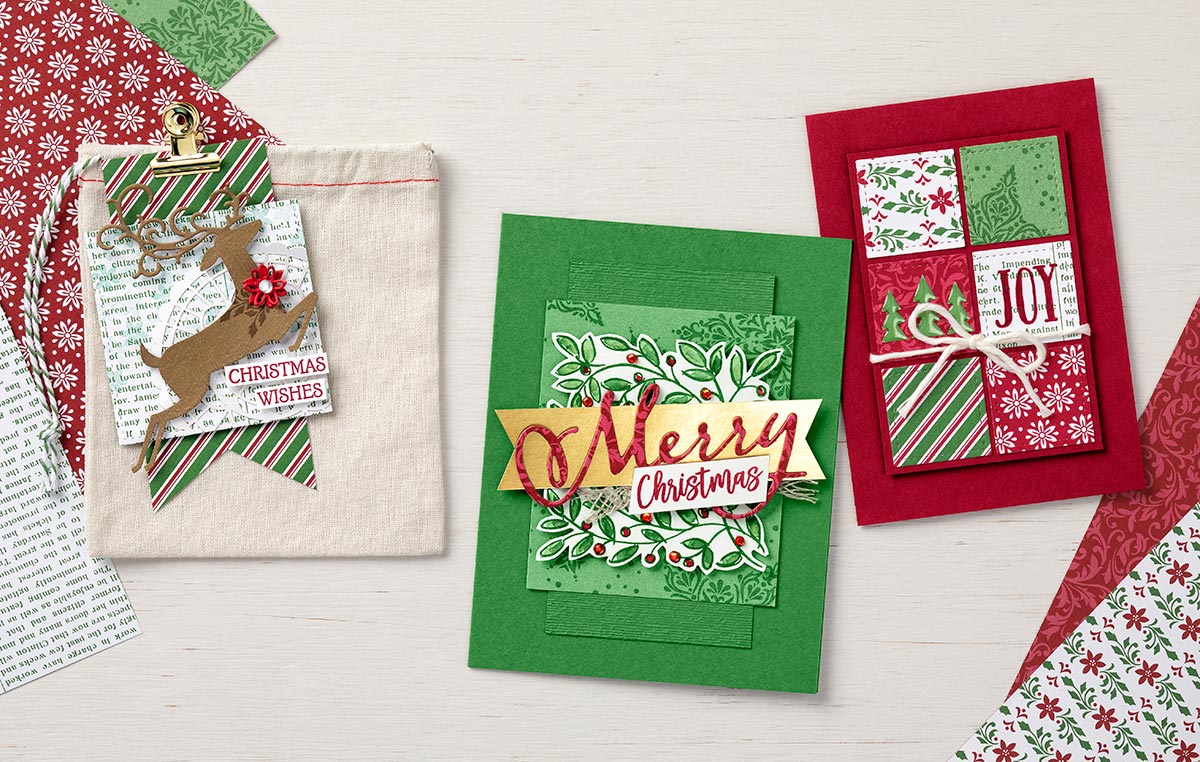
I hope you enjoyed your weekend and my Simply Sunday post … You will notice that todays card has the same basic layout as yesterdays card but by stepping it up by adding an additional product, it will change the entire look of the card. WOW!!
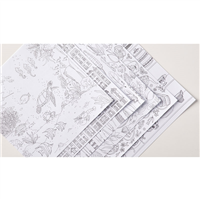
So in they style of keepin’ it simple, I am still using the Gold Foil-Edged cards, envelopes, and the Merry Christmas to All Bundle with the Gold Foil Sheets, BUT instead of the Vanilla cardstock … I’m using Cherry Cobbler cut to the 5″ x 3-3/4″ card front …
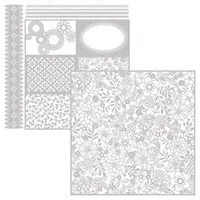
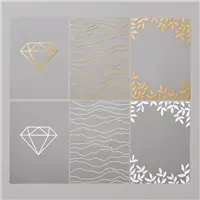
WOW … is what the stunning Delightfully Detailed Laser-Cut Designer paper does to your card when you add it to your card. You know, this would be pretty over the Vanilla paper too! Want to know something else amazing about this designer paper? It’s Whisper White on one side and Very Vanilla on the other … how cool is that!?
This delicately detailed laser-cut sheets can easily be cut apart and used as accents on card fronts. So pretty and so much fun, I know you’ll think of amazing cards with this paper… just switch out colors and switch out your greetings and you’ll be set for any occasion … oh, weddings would be pretty too!
I did put a banner on this card to highlight my greeting so it would “pop”. I used glue dots to attach it but I had to roll them so they would be skinny … that helped hide them and lifted the greeting up to create some dimension. Simple can be stunning!
I thank you for stopping back and I hope your have a wonderful week.
My Saturday Stamparatus Class is SOLD OUT but I have room left in the Thursday Night Class. Payment will have to get to me by this Wednesday so I can purchase your Stamparatus for class.
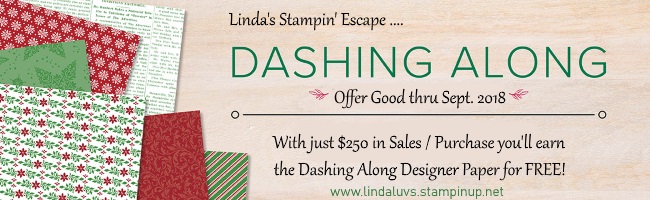
There is still one week remaining in our Dashing Along Promotion …
I hope you are enjoying this beautiful weekend. I had the pleasure of going to my grandsons soccer game yesterday. I had a nice time chatting with my daughter and watching Aiden’s game … and they won!!
We all have to remember to slow down every now and then and enjoy the little things in life, because they are truly the important things. Many of us have very busy lives and find it hard to do all the things we want, our intentions are good!
Lets say you’ve been meaning to make Christmas cards year after year but you just run out of time or you don’t get as many made as you’d like to, let me help … Today my Simply Sunday post is to share a beautiful yet simple card that will be easy for you to get those cards done.
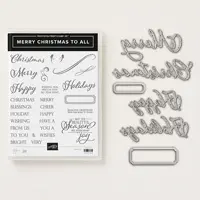
Pretty right!? The base of the card is the Gold Foil Edge Cards & Envelopes!! You can find these on page 11 of the Holiday Catalog and you get 20 of each (card base & envelope). Then I simply cut a front to emboss, you don’t have to … you can go directly to the greetings which are from the “Merry Christmas to All” bundle. It can be that easy!
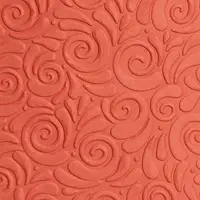
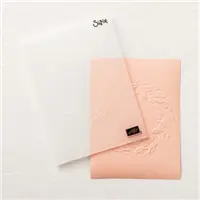
If you do want to step it up and create some texture on the card, the front is 5″ x 3-3/4″ then run it through the BigShot with your favorite embossing folder. I used the “Tufted” but the new “Swirls and Curls” embossing folder that is part of the All is Bright product suite, either would work great! The new Seasonal Wreath would be pretty too!
The “Happy” is heat embossed in gold and the “Holidays” is cut from the Gold Foil paper, again both are from the Merry Christmas to All Bundle from the All is Bright product suite found on pages 4 and 5 of the Holiday Catalog.
So whether you chose the card front to emboss and add texture of just adhere the greeting directly to the front, it will get you on the fast track to your cardmaking this holiday season.
If you would like to see this layout stepped up just a bit more … stop back tomorrow, it’s a beauty!!
I’m so happy and grateful that you’ve taken time out of your Sunday to sit with me a while.
Enjoy the rest of your day, and I’ll see you tomorrow.
Well it seems that the last day of summer has transitioned to a nippy night last night, and oh how I love a crisp fall evening. We all know what comes next, our holiday preparations … are you ready?
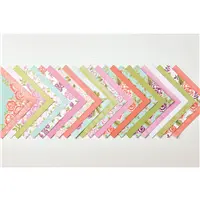
It’s the perfect time of year to gather with friends and family and create! I think this festive sampler will inspire you to get started …
This beautiful paper is our Dashing Along Designer Paper and is combined with some of most popular holiday stamp sets. I would love to help you and your friends get prepared for your holiday cardmaking.
You can get this gorgeous Dashing Along Designer paper for Free with a $250 stamping party. There are so many different ways to host an event; whether you invite your friends and family over to your house for an evening of fun, or invite them to my home for a stamp camp … we can set it up together. You bring the treats, I bring on the stamping.
You let me know what you and your friends would like to see, we’ll design your event around your wants and needs.
Let’s get you that free paper and some extra goodies! Let’s chat!
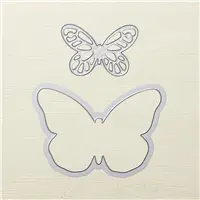
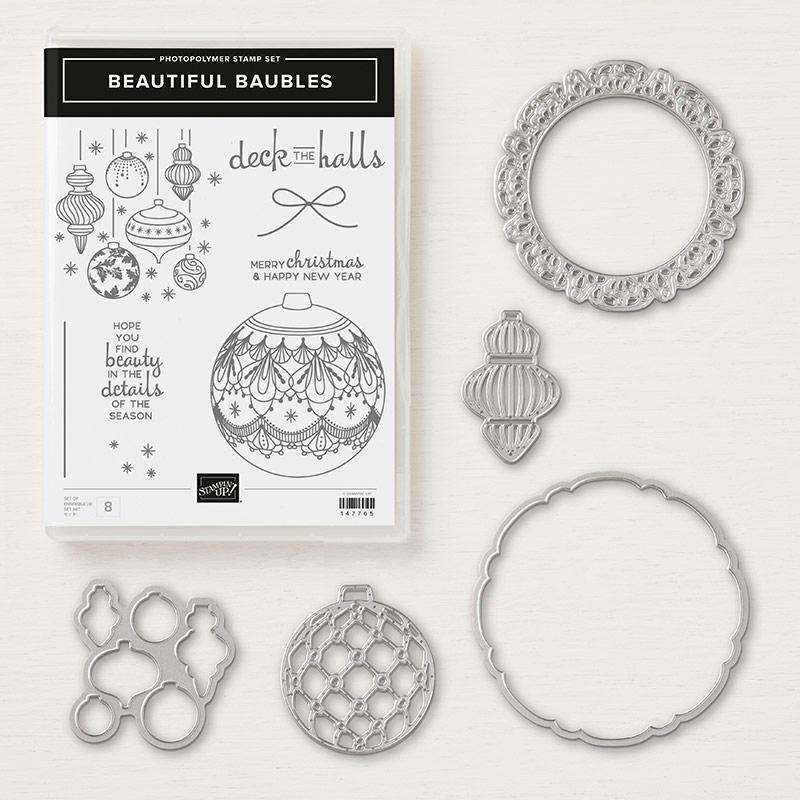
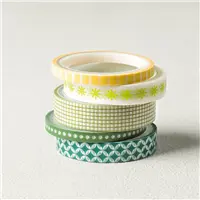
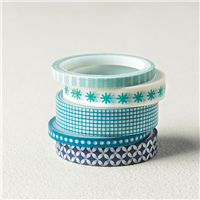
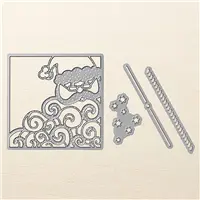
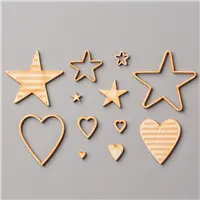
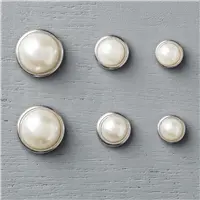
and a happy Friday to you!! I know you are busy so I’ll keep it short today with words but big on beautiful content … multiple card share! These beautiful cards were created by Stampin’ Up! but since I do not have this bundle (yet) I thought I would share Beautiful Baubles with you…
Have you been thinking about your Christmas card making yet? You’ll be able to Deck the halls and everything else with beautiful baubles, bursting with color and delight!
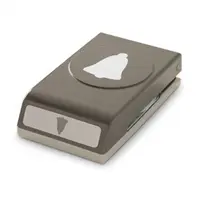
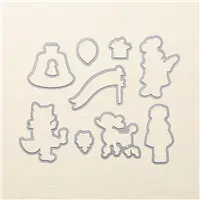
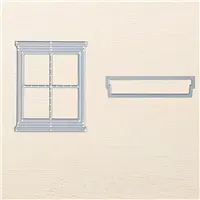
What do you think? Do you think that decorative die at the top could be used as a wreath? How about a doily? Maybe even several of them cut in different colors to create a really cool birthday card. Sometimes it’s fun to think outside of the box!
Are you a traditional card maker sticking with the reds and green … or how about a touch of modern with the wood panel behind your holiday decorations!
Either way, you can see the versatility of this beautiful stamp set and coordinating die set. If I was to pick my favorite of these three … Hmmm, it’s a hard choice but I may pass on the sparkle this time and vote for the elegance of the blue and silver.
They are all pretty and it’s nice to see the different styles. Just like we are all different but a fun craft called stamping brings us all together!
Thank you so much for checking in on me today.
I wish you a great day and a beautiful weekend!
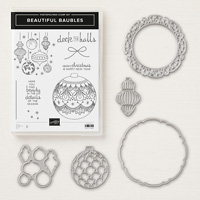
Click on image to learn more about this amazing bundle …
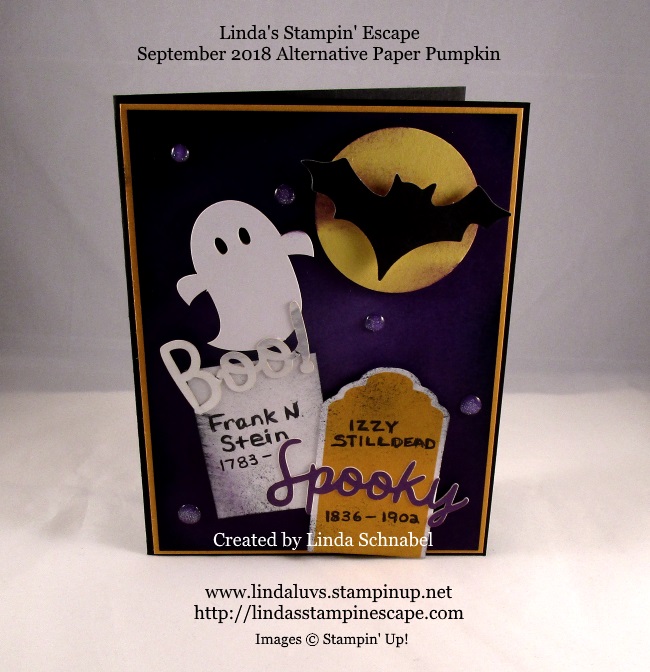
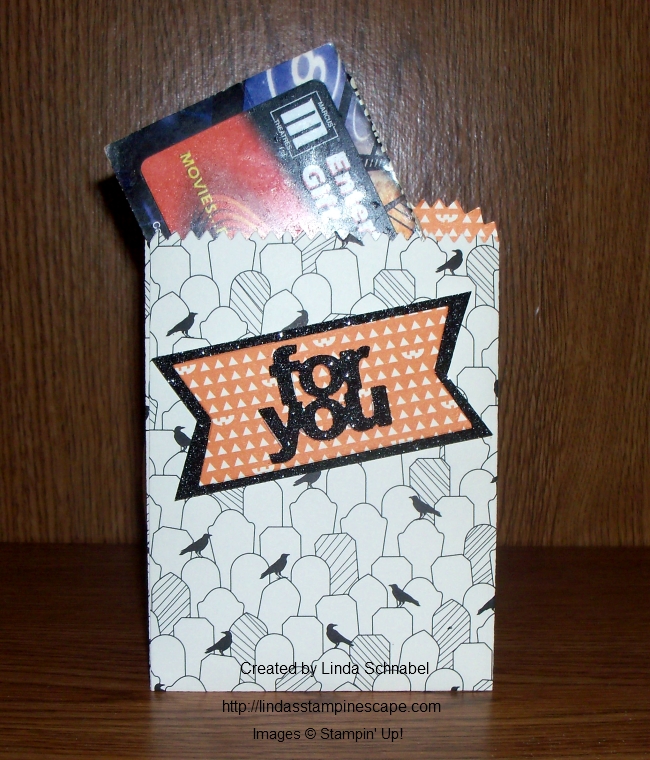
Today I have my alternative Paper Pumpkin project to share with you … I may have gotten a bit carried away with the spooky side of things – lol
So I took the tags and cut them down to turn them into headstones and created a graveyard! The cute little ghost and the bat along with the greetings were all included in the Paper Pumpkin kit …
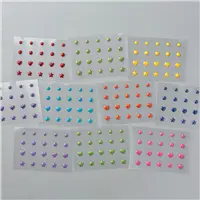
Since I sponged my background, I added a little sponging on my gravestones to age them a bit. Not included in the kit was the moon which I just punched with the 1-1/2″ Circle punch. Oh yes … and I had to add a few orbs in the grave yard … the cute little Glitter Dots really did the trick.
Hope you enjoyed taking a haunted hike with me today through my spooooky graveyard, thanks for joining me.
Nothing is scarier than being without cute treat packaging for Halloween! So we put a lot of thought into brewing up our Frights & Delights September 2018 Paper Pumpkin kit—just for you.
Watch this month’s unboxing video here to find out how to make this creepy kit. It’s not too scary . . . we promise.
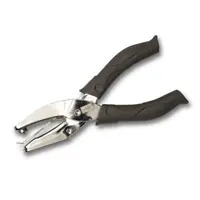
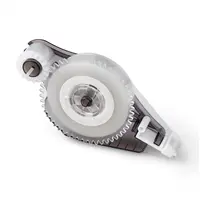
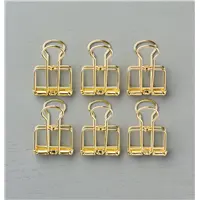
And yes … I have my “Take Your Pick” Tool 🙂
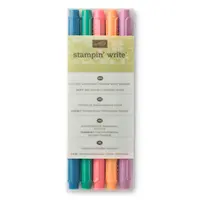
Multipurpose pickup and precision tool simplifies meticulous tasks. Tacky putty end easily picks up sequins, paper accents, and other small objects; twist to dispense more putty. Other end has 2 changeable, double-ended tips with paper piercer, mini spatula, small stylus, and large stylus. * Includes protective end caps.
Take Your pick tool is just too cool … and that Paper Pumpkin is too stinkin’ cute! As a Paper Pumpkin subscriber, you can purchase additional kits or past kits.
And … You’ll want to come back tomorrow to see an Alternative project to the kit.
Also … I want to remind you of all the goodies that are now in the Clearance Rack. I don’t want you to miss out getting some of your retired favorites at a discount.
I have a few spots left in my Stamparatus Class / Choose your date … either Thursday, Oct. 4th or Sat. Oct. 6th
Ask me questions anytime, I’m here to help.
Thanks so much for stopping by today. I will be back tomorrow with my Alternative project.
Have a wonderful Wednesday ~
CLEARANCE RACK ITEMS:Click on any item for more information or to being your shopping experience.
We got through Monday so today is a good day! It’s more than a 2 -4- Tuesday today … I have several card samples to share with you!! Stampin’ Up! has just refreshed their Clearance Rack and they have so many great items,
How lucky are we to get a chance to get these cool items at up to a 60% discount! Here are a few of my favorites …
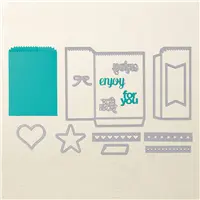
These two sweet treats really rock! So quick -n- simple to create with the Mini Treat Bag Thinlits … don’t let the 60% savings slip through your fingers, this find is only $24 now.
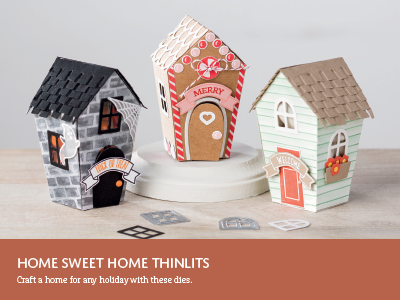
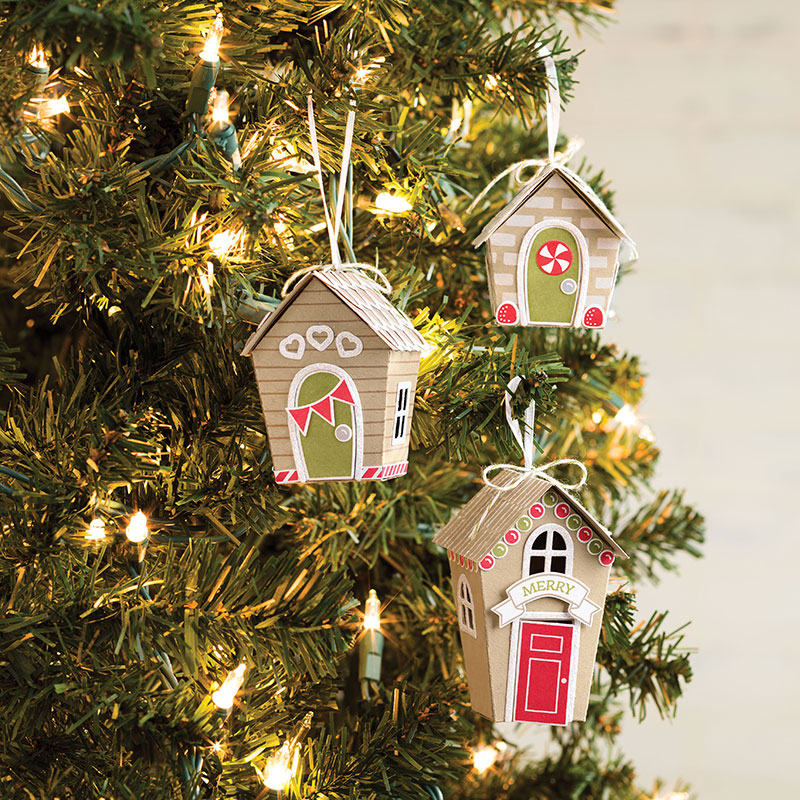
You can snag up this goodie for your Halloween or Christmas or … you decide!! This versatile Home Sweet Home die set was featured at one of my Annual Stampin’ Retreats:
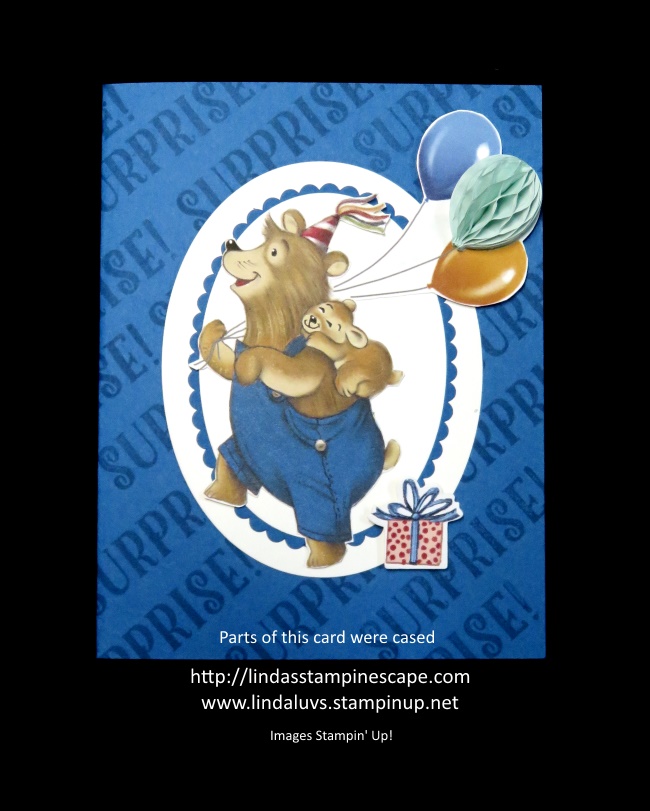
I’ll finish with a fun duo for my Two for Tuesday … This die and designer paper combination is a big hit!! Let’s celebrate the savings with our Birthday Memories Designer Paper and the Birthday Friends Thinlit dies ….
YES … the dies coordinate with some of the designer paper images! How cool is that … super simple!!
There is so much more (and more of my favorites) so check it out HERE.
Please let me know if you have any questions / email me and I’ll get back to you as soon as possible, we don’t want you to miss out on any of these deals.
I also have an awesome class opportunity … It costs you more just to purchase the Stamparatus and have it sent to you than taking the class … just saying!! I have seats available for both dates and will open additional dates if needed.
Thanks so much for taking time out of your day to stop in …
I am excited to announce my Stamparatus Classes!! The Stamparatus is an indispensable positioning tool that allows you perfect placement EVERY time –with a sleek and sturdy design and some WOW new features that rock this tool!
Multi-step stamping? Bring it on! You’ll never waste cardstock trying to line things up again. Multiples of the same card? No problem! Set it up once and stamp as many as you want. Partially-stamp an image? Never fear! You can stamp again in precisely the same spot.
Here’s just a few features of this awesome new workhorse… it’s going to change everything you know about stamping!
Compatible with both red rubber cling-mount and clear photopolymer stamps
Built-in rulers and gridlines for quick measuring and placement
Two (2) open sides so you can stamp on larger paper, but not take up tons of space
Two (2) clear grid reversible hinged plates: a total of 4 surfaces to work with without having to change stamps!
Two (2) strong bar magnets to hold the paper in place
Magnet storage areas built into the bottom of the worksurface–never lose them!
Foam mat to use with photopolymer stamps included, for best impressions
Easily wipes clean with a clean cloth or our shammy
Ready to see more? Watch this short video that covers the basics of what the Stamparatus does, why it has multiple plates, how to use it for regular stamping and making multiples, and storage and cleaning tips. Five Things You Need to Know About the Stamparatus …
I can’t wait to share in this fun, one-of-a-kind class with you. Here is how to sign up and pick your date …
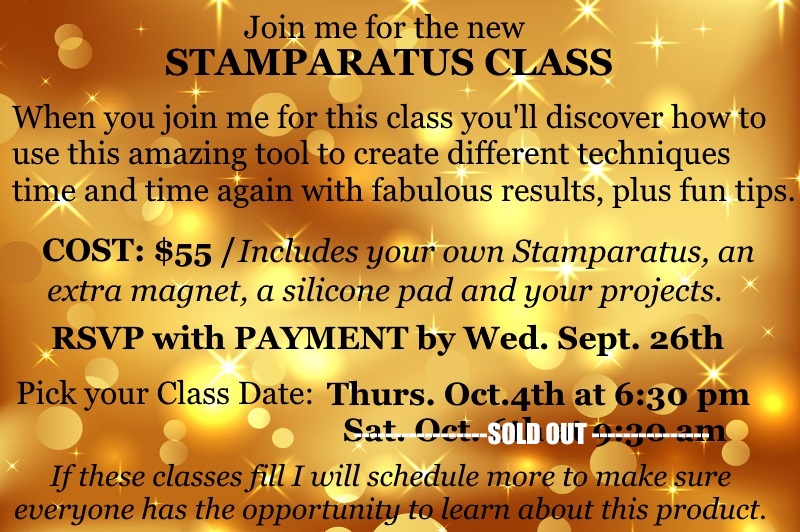
PRE-PAY $55 CLASS: Includes the Stamparatus, a silicone pad, an extra magnet and your projects. (An $75+ value) RSVP and payment are due by Wednesday, September 26th
PICK YOUR CLASS TIME: Thursday, October 4th at 6:30 pm / Saturday, October 6th at 9:30 am / Limit 6 per class If these two dates fill … I will add class times so you can get in on this amazing product and class special.
The Stamparatus is going to be a HUGE game changer in your craft room and on your stamping projects! When you join me for this special Stamparatus Class, you’ll discover how to use this amazing tool to create several different techniques time and time again, so that you can do, and share what you love and get your cards in the mailbox quicker!
I’ve also learned some great tips that I can’t wait to share with you, after this class you will be ready to begin stamping and will have the Stamparatus and all the knowledge you need to begin creating successfully.
Contact me at: lindaluvs2stamp@aol.com or call (262) 334-1009 … Leave me a message as I also work outside of this business. I look forward to seeing you soon.
Today I have a beautiful card I would like to share with you, that I received from one of my stamping friends, Peggy Kahle. Peggy is joining me at my retreat (she is from Oklahoma) and she sent this with her payment … what a treat for me!!
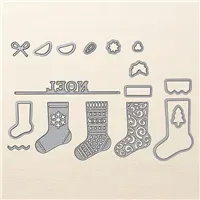
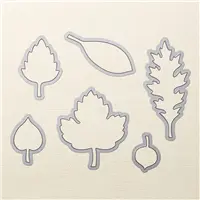
Peggy used the beautiful stamp set Petal Palette and the coordinating die set Petals and More thinlits…
Peggy began by heat embossing the floral piece with white embossing powder … then watercolored the flowers. Such a soft and pretty look. She used the die cut leaves and the petty die embellishment to draw your eye to the flowers.
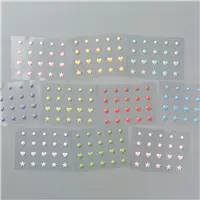
The background she used is now retired but it was one of my favorites … the polka dots. Love ’em!
I hope you enjoyed Peggy’s beautiful card as much as I did. I’ve had it on my shelf and thought it was just to pretty not to share with all of you.
Thanks for checking in with me today. See you tomorrow!
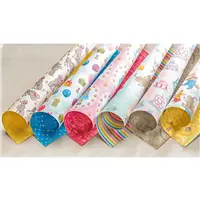
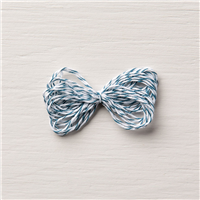
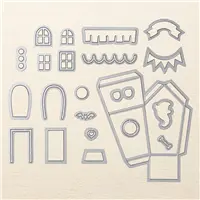
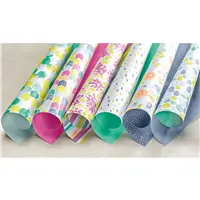
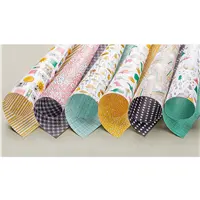
And HELLO Weekend!! Weekends rock and September is rockin’ with the Dashing Along “Host” promotion, in which you can earn a beautiful package (or more!) of the Dashing Along Designer paper … FREE!!
The Dashing Along Designer Series Paper has a mix of old favorites and new patterns to bring you beautiful, traditional Christmas paper. This collection of patterns has an eclectic feel and is perfect for layering, and while the newsprint design isn’t Christmas-themed, we selected it for its versatility and popularity with customers.
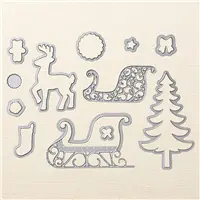
Check out this beautiful card created with the Dashing Along Designer Series paper and the Dashing Deer bundle from the upcoming Holiday Catalog! WOW …
YES … the dies that created the stunning background on this card come in the Dashing Deer Bundle. This baby is on it’s way to my house right now!! I’m so excited with all the amazing stamp sets, bundles, card kits and accessories … Why don’t YOU be the first to host a holiday party in September and get the Dashing Along Designer paper and MORE FREE!!
I think this is an amazing opportunity, and I want to share it with all of you. Besides, parties are fun!! I’ll do the work … you bake the brownies … we’ll all make some cute cards … then you get to pick out your free stuff 🙂 And yes, you can use your Hostess Benefits in the New Holiday Catalog!! AND Don’t forget to use your Rewards Codes.
The paper really is fun and will make your card making a breeze, just add the Dashing Deer Bundle and you be rockin’ this Christmas in style. Keep an eye out for more card shares with this pretty paper.
Until then … Have a good day and thank you for the visit today!!