Kissing Technique Video …

Hello Stampin’ Friends,

(Sorry for the lateness … Don’t know why it did not post!)

Today I have a video for you that shows how easy it is to create using the kissing technique.  It’s really simple but adds some “zing” to your card.

Sit back and enjoy the video …

Now stop back tomorrow to see what I have created using the kissing technique. I’ll also have a great “tip” for you that really makes this technique say “wow”.

I also want to wish my daughter Nichole a very happy birthday today!!

See you tomorrow …

Have a wonderful Friday ~

blog-closing-small

Over the Rainbow …

Hello Stampin’ Friends,

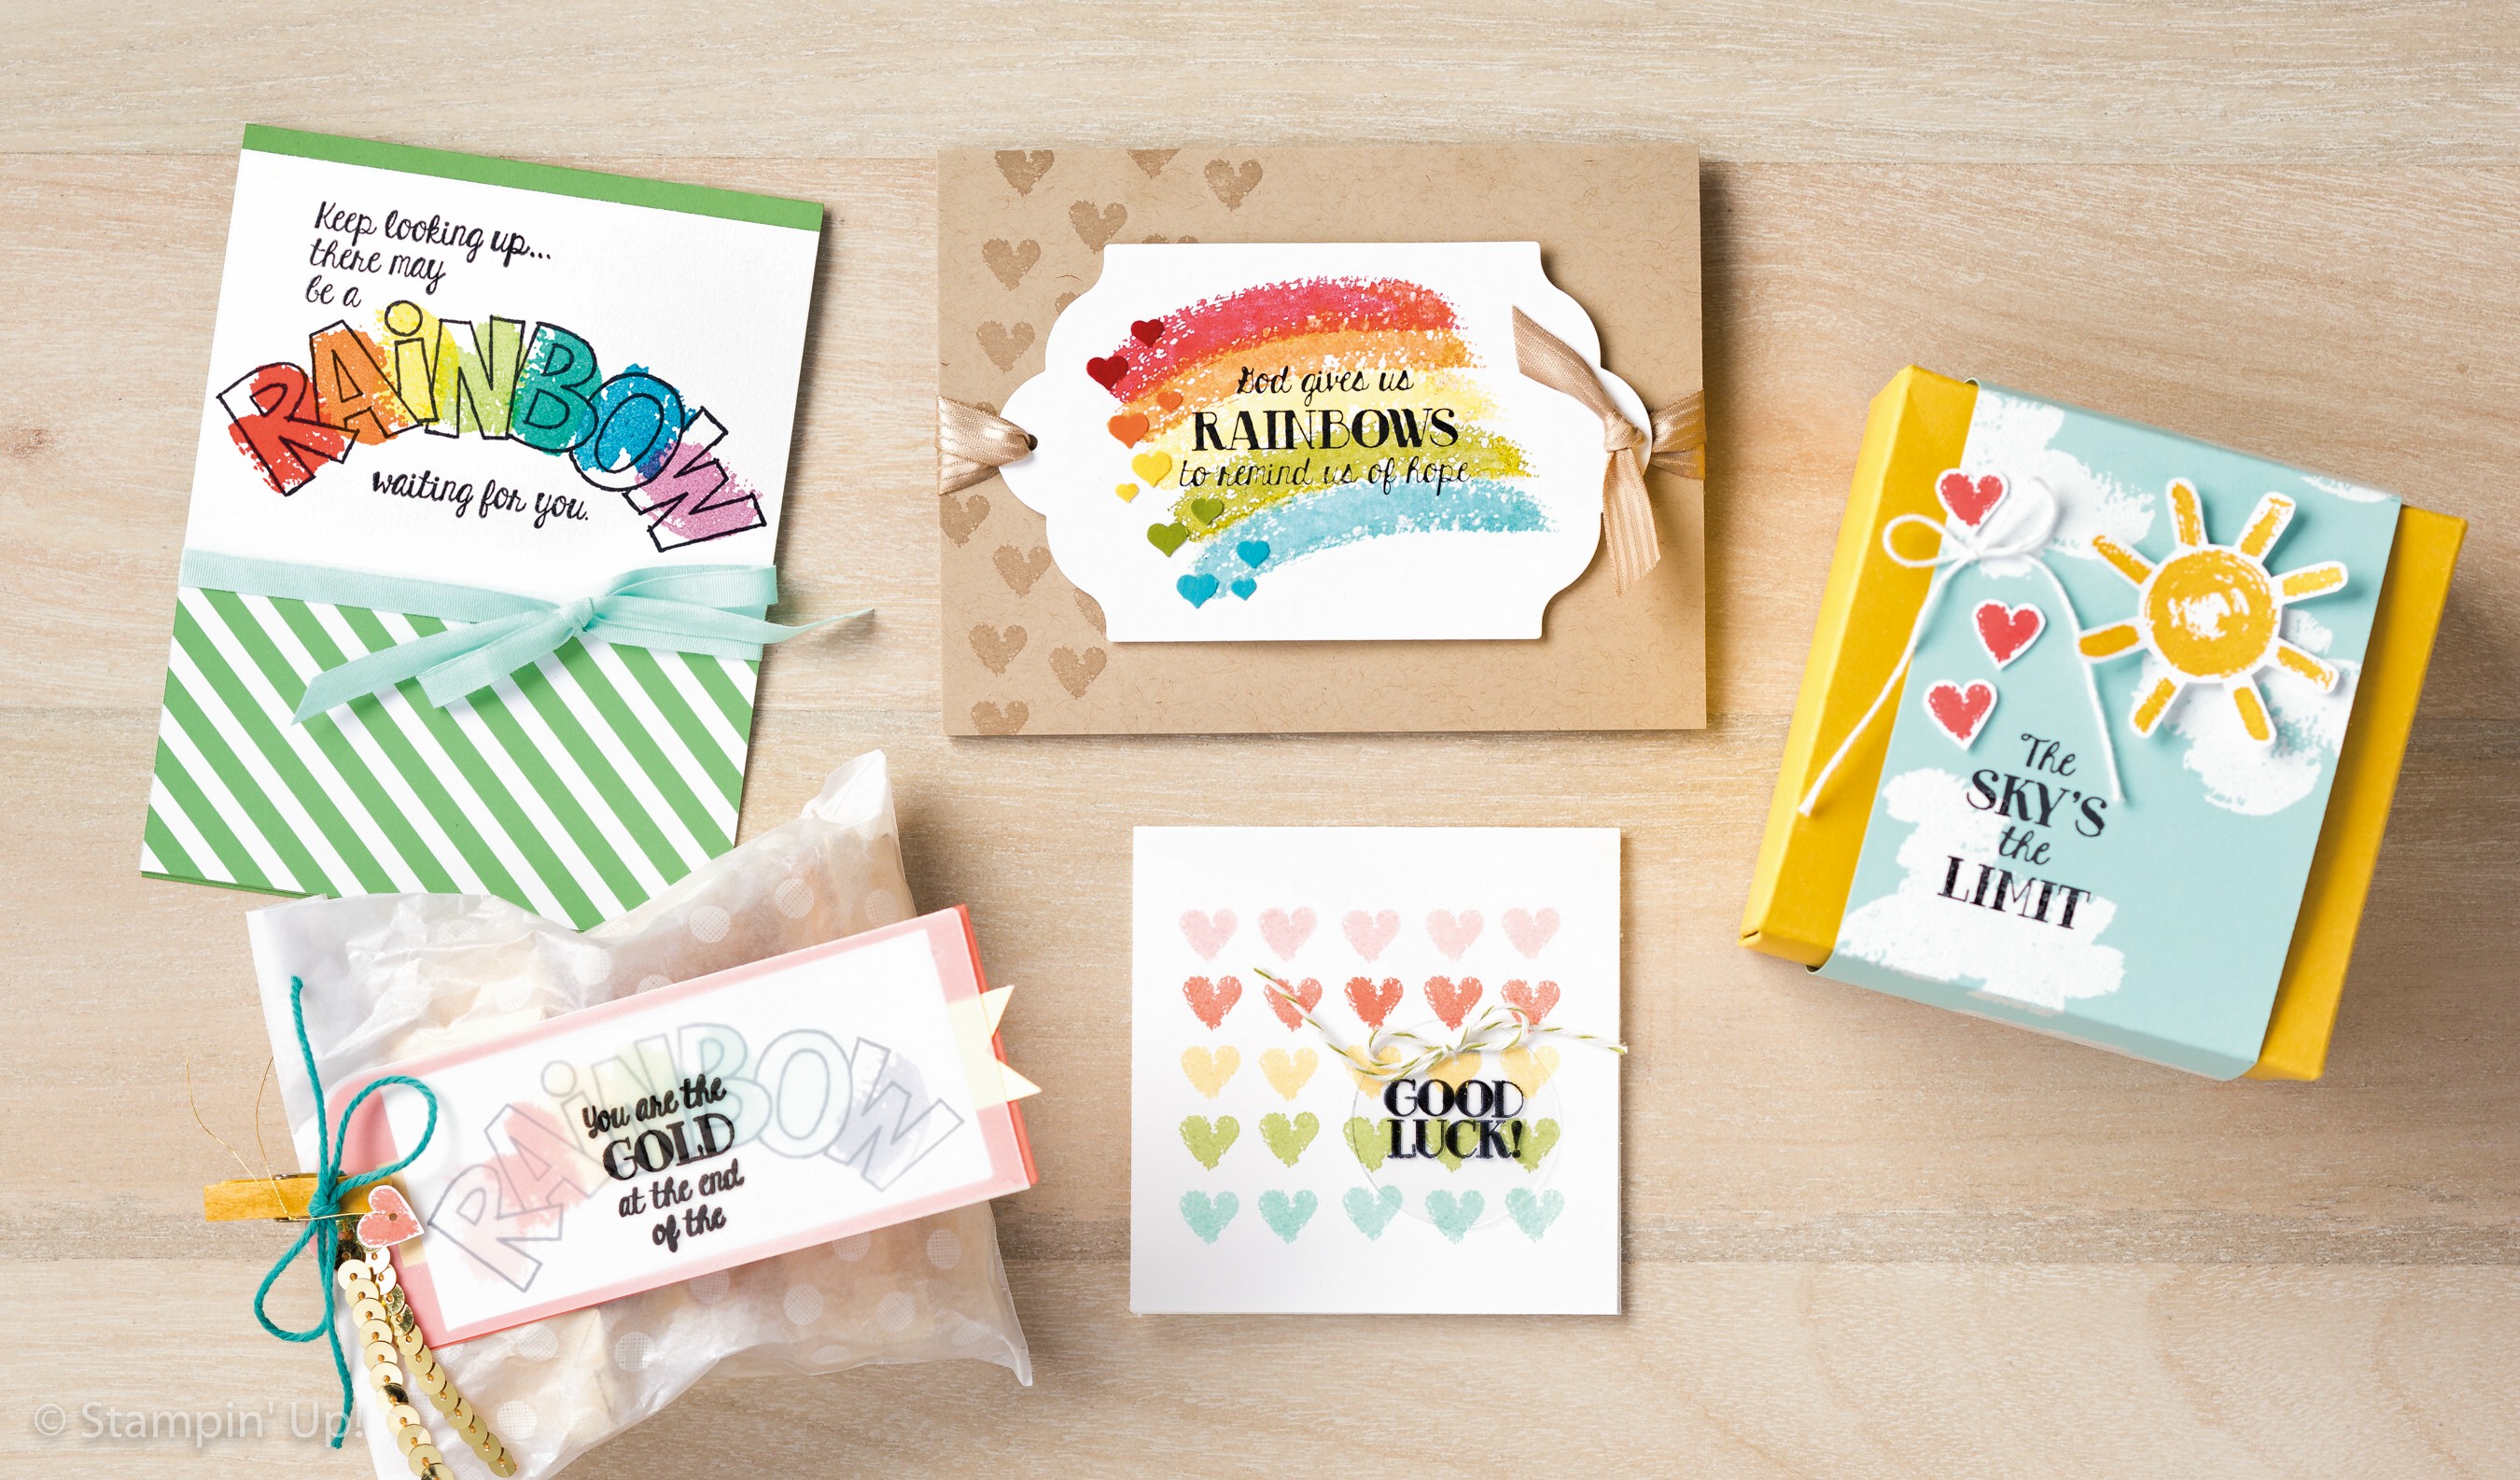
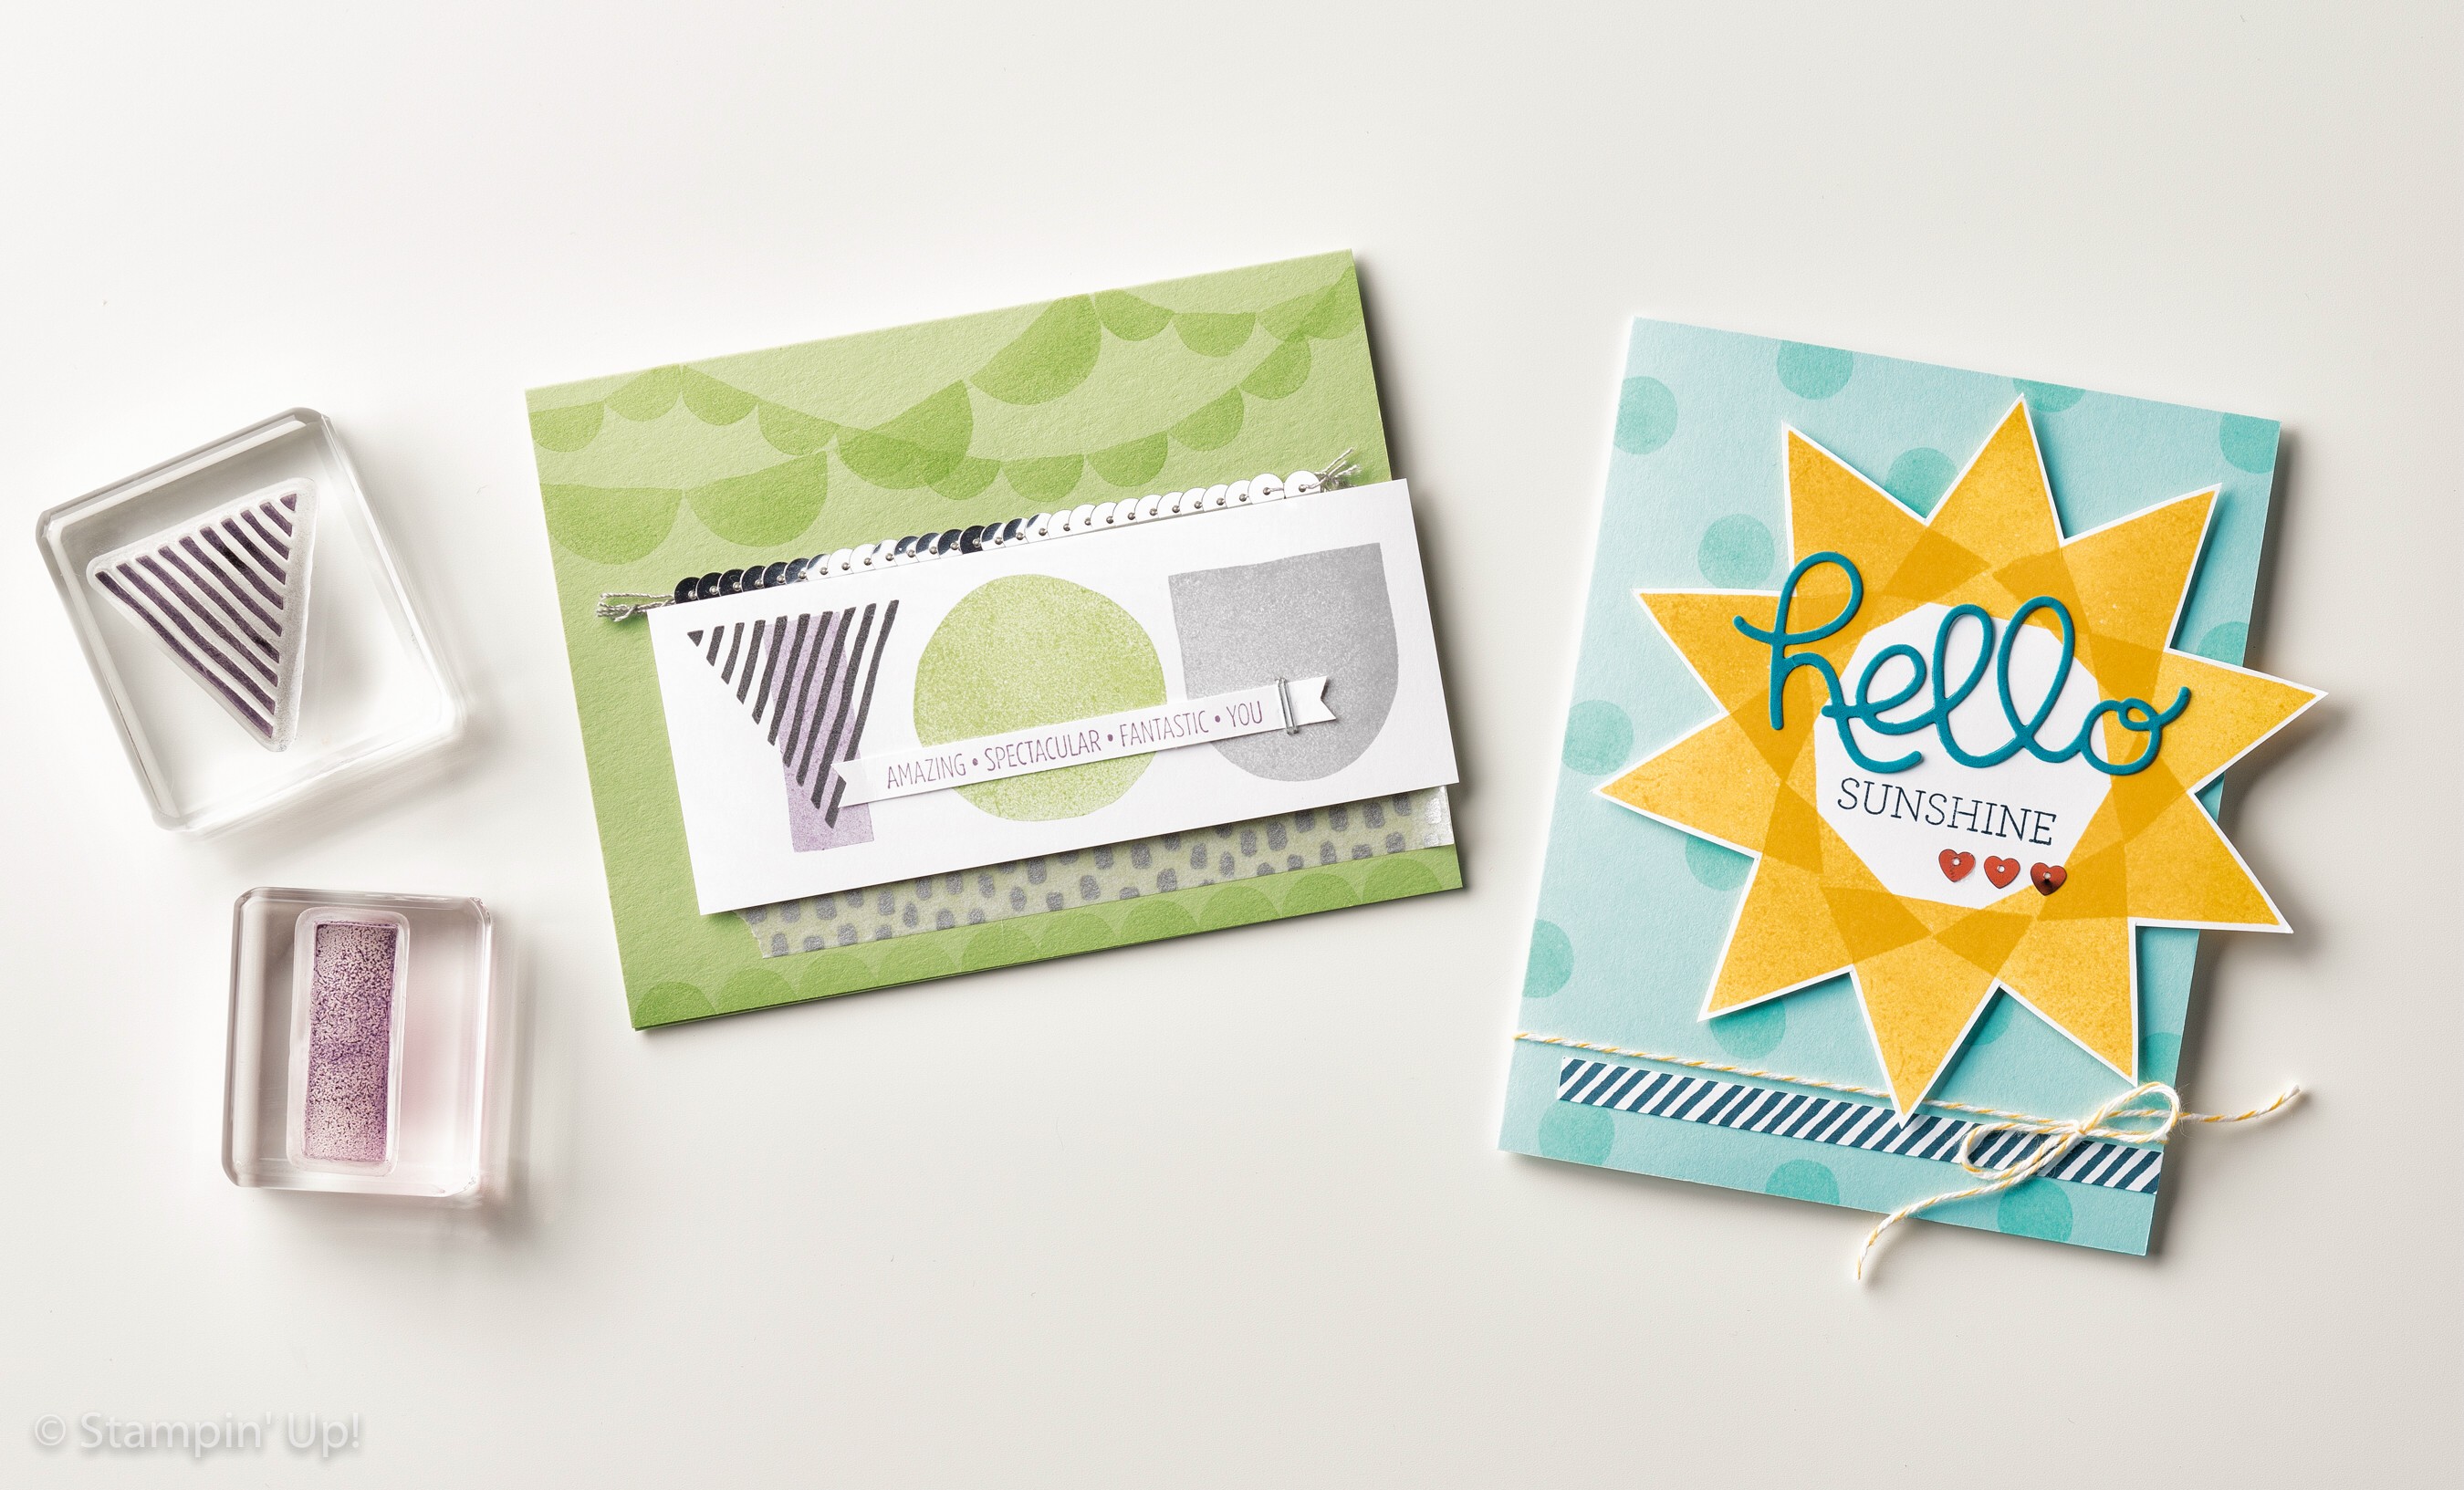
Just a quick post to share with you today, some samples from the “Over the Rainbow” stamp set.

You will find these cute samples on page 21 in the catalog.  I can’t wait to get my set and begin stamping … so much you can do with this stamp set!

Annual15_p021_a_alt

Thanks for stopping by ~

Have a colorful day!

blog-closing-small

Happy Thoughts ….

Hello Stampin’ Friends,

I’m really excited to share my alternative project from the June 2015 Paper Pumpkin kit with you. I really love the way it turned out!!  I used only the items that were in the kit. There are two different styles of cards in this months kit, so I focused on one of the two …

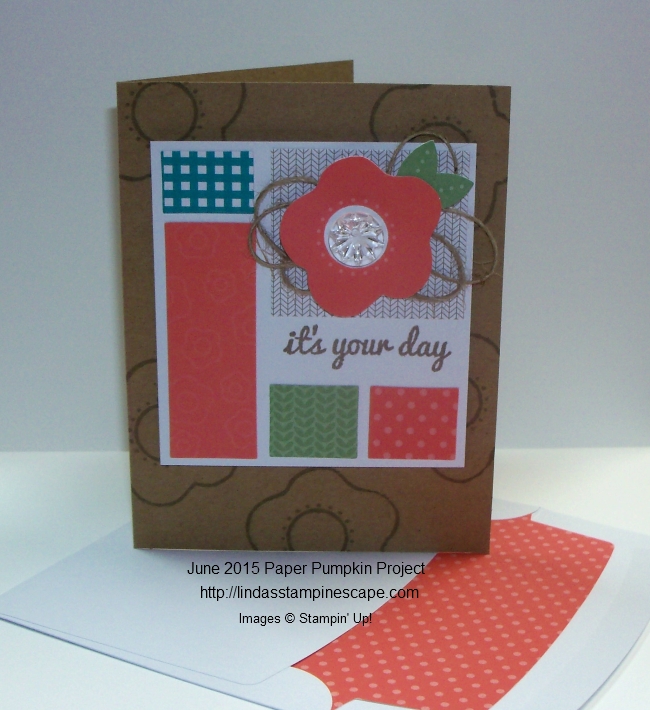
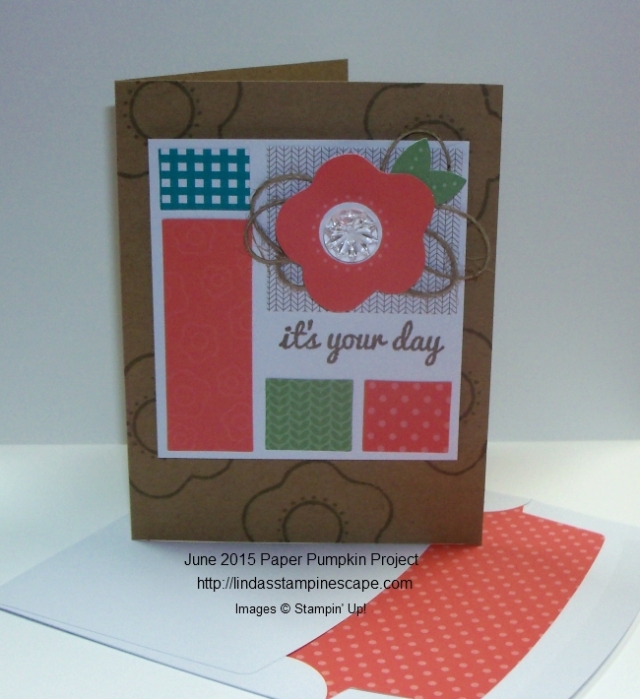
First I wanted to show the card designer per the kit …
000_2309

I have a tip for those of you who have not begun to assemble your kits yet … The white block for this style card is 3-1/2″ wide x 3-3/4″ length, be sure you assemble this way. I started with the largest block in the upper right hand corner, then worked by way around the block.

I love the way the twine is behind the flower … I’m going to have to do this more on my cards! 

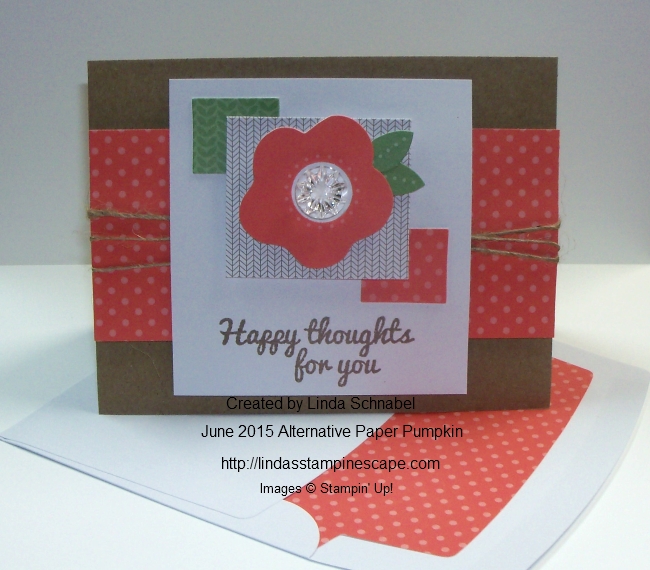
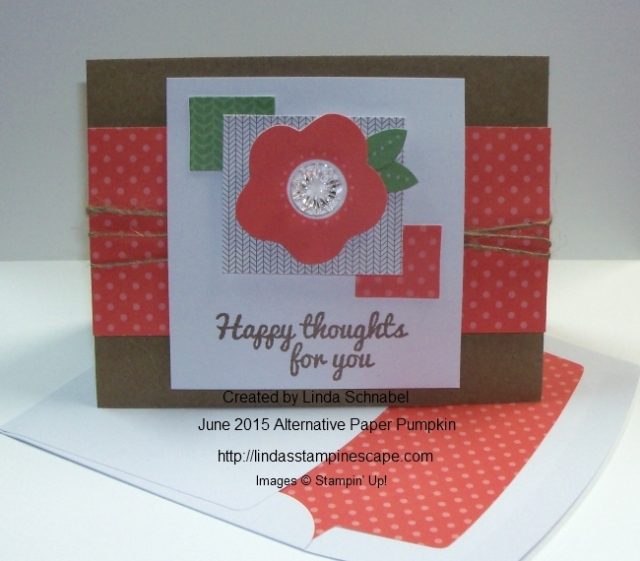
Now it’s time to show you my design …
000_2314


I began by cutting 2-1/2″ off the envelope liner (there’s plenty let to line the visible part of your envelope). This allows me to make my card horizontal vs. the vertical design of the original.

I then wrapped it with the twine. I love the texture it adds to the card and it really does tie the “Tip Top Taupe” color throughout the card.

I hope my card inspires you to challenge the design and have some fun creating! 

Thank you for stopping back to check out my blog.

Happy Thoughts …
blog-closing-small


Weekly Deals …

Hello Stampin’ Friends,

I think you are really going to enjoy this weeks deals … two awesome folders (two of my favorites actually) and Glimmer Paper… Silver and Dazzling Diamonds!  I always stock up on glimmer paper when it’s on sale … it’s a great way to add sparkle without the mess!!

Check out all the other goodies on sale now …

CM1634B

We hope you enjoy this week’s Weekly Deals! Tomorrow I will have an alternate project from the Paper Pumpkin kit you saw yesterday.

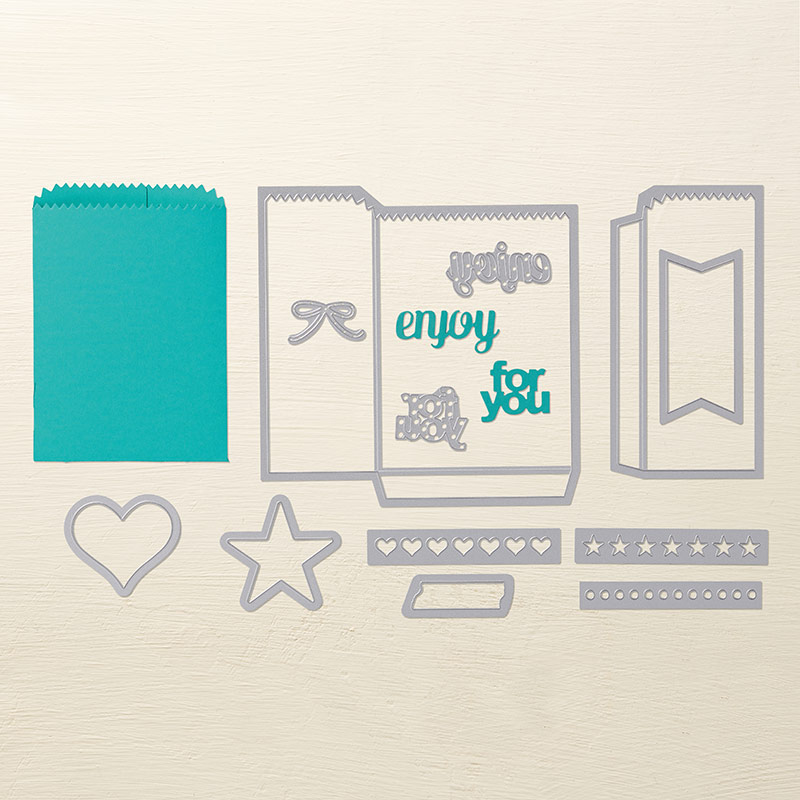
137547G Mini Treat Bag Thinlits Dies Item # 137547
Regular Price: $40.00
Discounted Price: $30.00
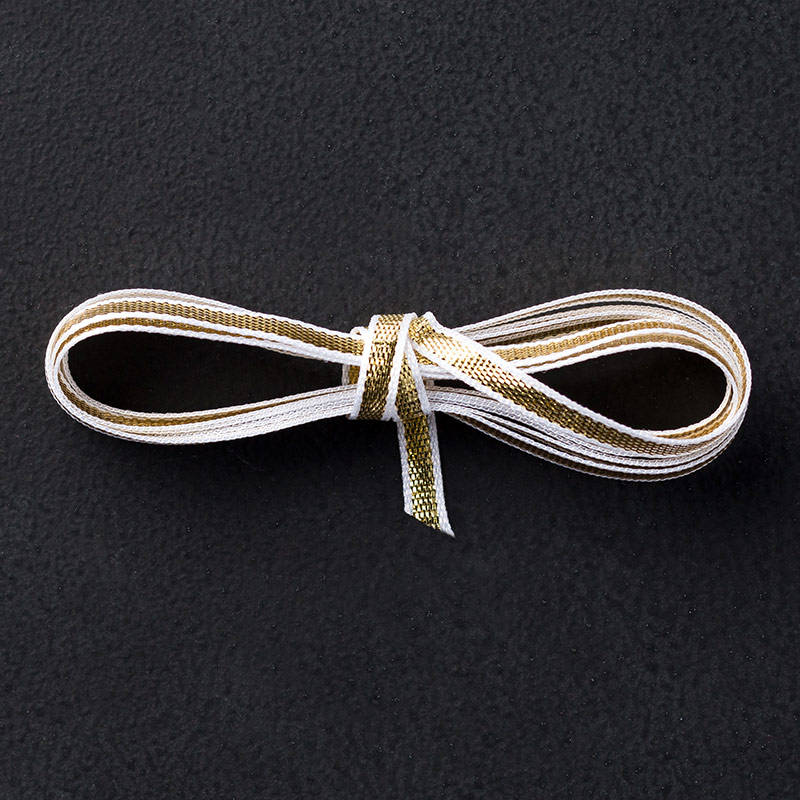
Gold 1/8″ Ribbon Item # 134583
Regular Price: $5.00
Discounted Price: $3.75
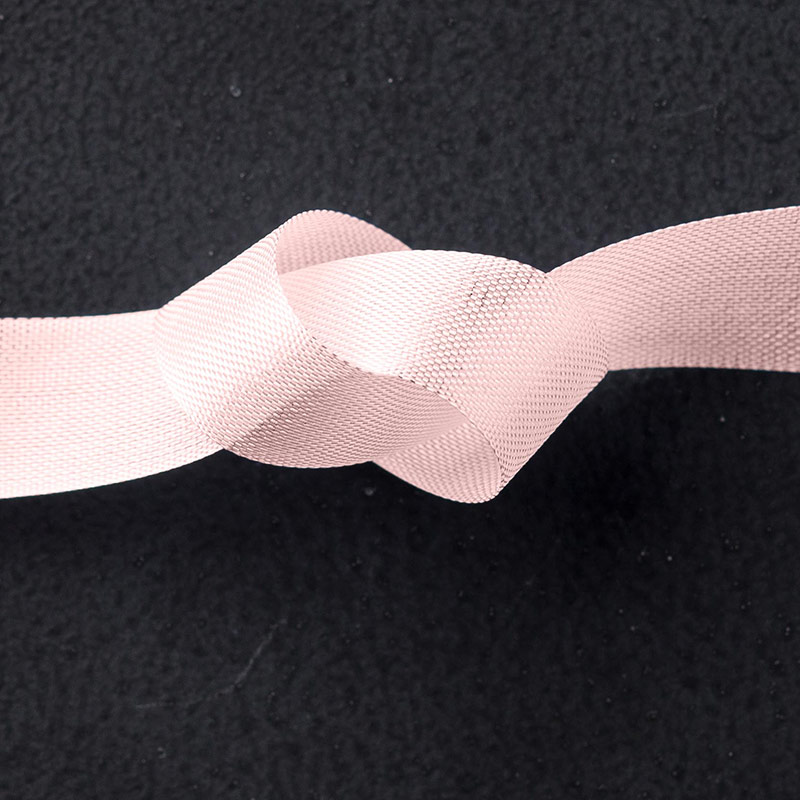
Pink Pirouette 1/2″ Seam Binding Ribbon Item # 134574
Regular Price: $7.00
Discounted Price: $5.25
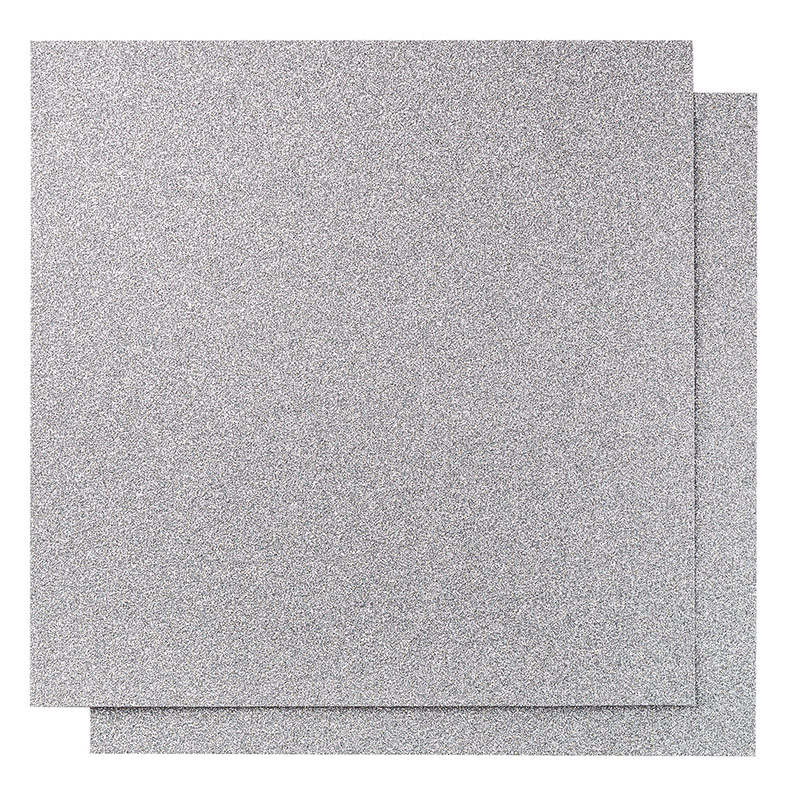
Silver Glimmer Paper Item # 135314Dazzling Diamonds Glimmer Paper #135315
Regular Price: $5.00
Discounted Price: $3.75
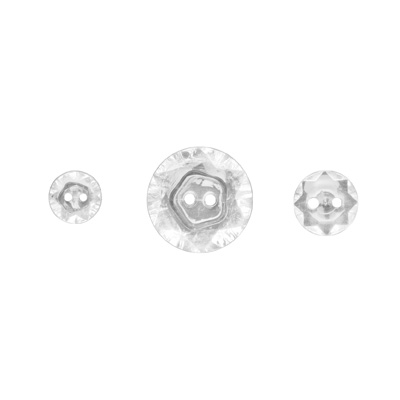
Vintage Faceted Designer Buttons Item # 127555
Regular Price: $6.00
Discounted Price: $4.50
Lucky Stars Textured Impressions Embossing Folders Item # 135817
Regular Price: $7.50
Discounted Price: $5.63
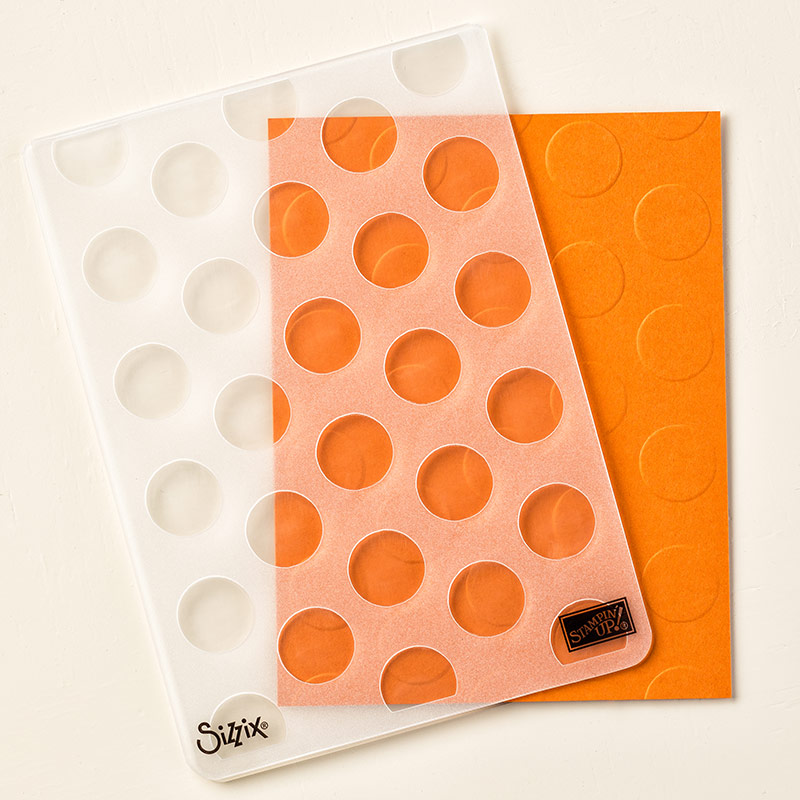
Polka Dot Textured Impressions Embossing Folder Item # 133739
Regular Price: $7.50
Discounted Price: $5.63

June Paper Pumpkin kit

Hello Stampin’ Friends,

Have you seen the June Paper Pumpkin kit yet? I love it!!  Two styles … one is a little more feminine with a flower and the other a bit more masculine or gender neutral.  Lot’s of stickers and fun stuff.  Watch to see how fun and simple this kit is to put together.

Wonder what the surprise will be next month? Don’t miss out … Sign Up Today!

Tomorrow I will have the newest installment of Weekly Deals and Wednesday I will share with you an alternative project from my June Paper Pumpkin Kit!

Happy Monday ~

blog-closing-small

Simply Sunday: You’re My Light

Hello Stampin’ Friends,

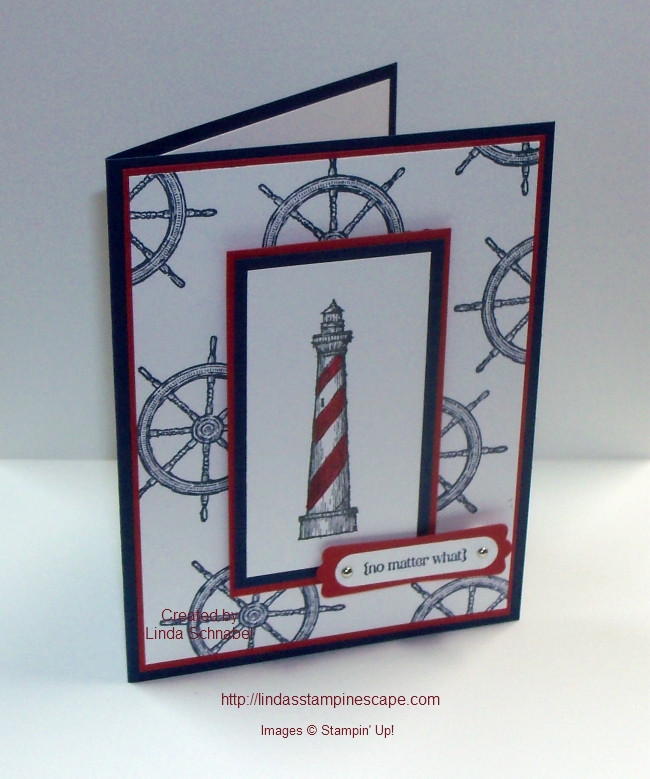
As promised, I am back with a card share from the “From Land to Sea” stamp set. I think this is a very versatile set, but one look at the lighthouse and I knew I had to have it!

My card was created in honor of Father’s Day even though my own Father has long since passed, I think of a good Dad as a “guiding light” for his children. Just like a lighthouse … they are there to guide us through the foggy or difficult times in our life.

000_2305

A simple card … illustrating that you don’t need all of the latest gadgets and tricks to create a nice card. I simply stamped my own background with the wheel, did a bit of layering for a dramatic color scheme, and popped up my lighthouse and greeting with dimensionals for “dimension” and texture.

I stamped my lighthouse with the Momento Ink Pad and then colored it with the Real Red marker. My greeting comes from the “Petite Pairs” stamp set.  I thought the “no matter what” worked perfectly for a Father’s Day card.

One little tip … because I used dimensionals on my lighthouse and greeting, I needed to use 3 of them on the right side of my greeting to even it out! Now that’s dimension!! lol

000_2308

I do have the ingredients for this card listed at the bottom of my post. Just click on any item to learn more about it, or to begin shopping at my on-line store.

Hope you all have a wonderful day, and I wish all you Dad’s out there … the happiest of Father’s Days!

Thanks for sharing a bit of your day with me.

blog-closing-small

TODAY’S STAMPIN’ SUPPLY LIST …


Let’s Get Away …

Hello Stampin’ Friends,

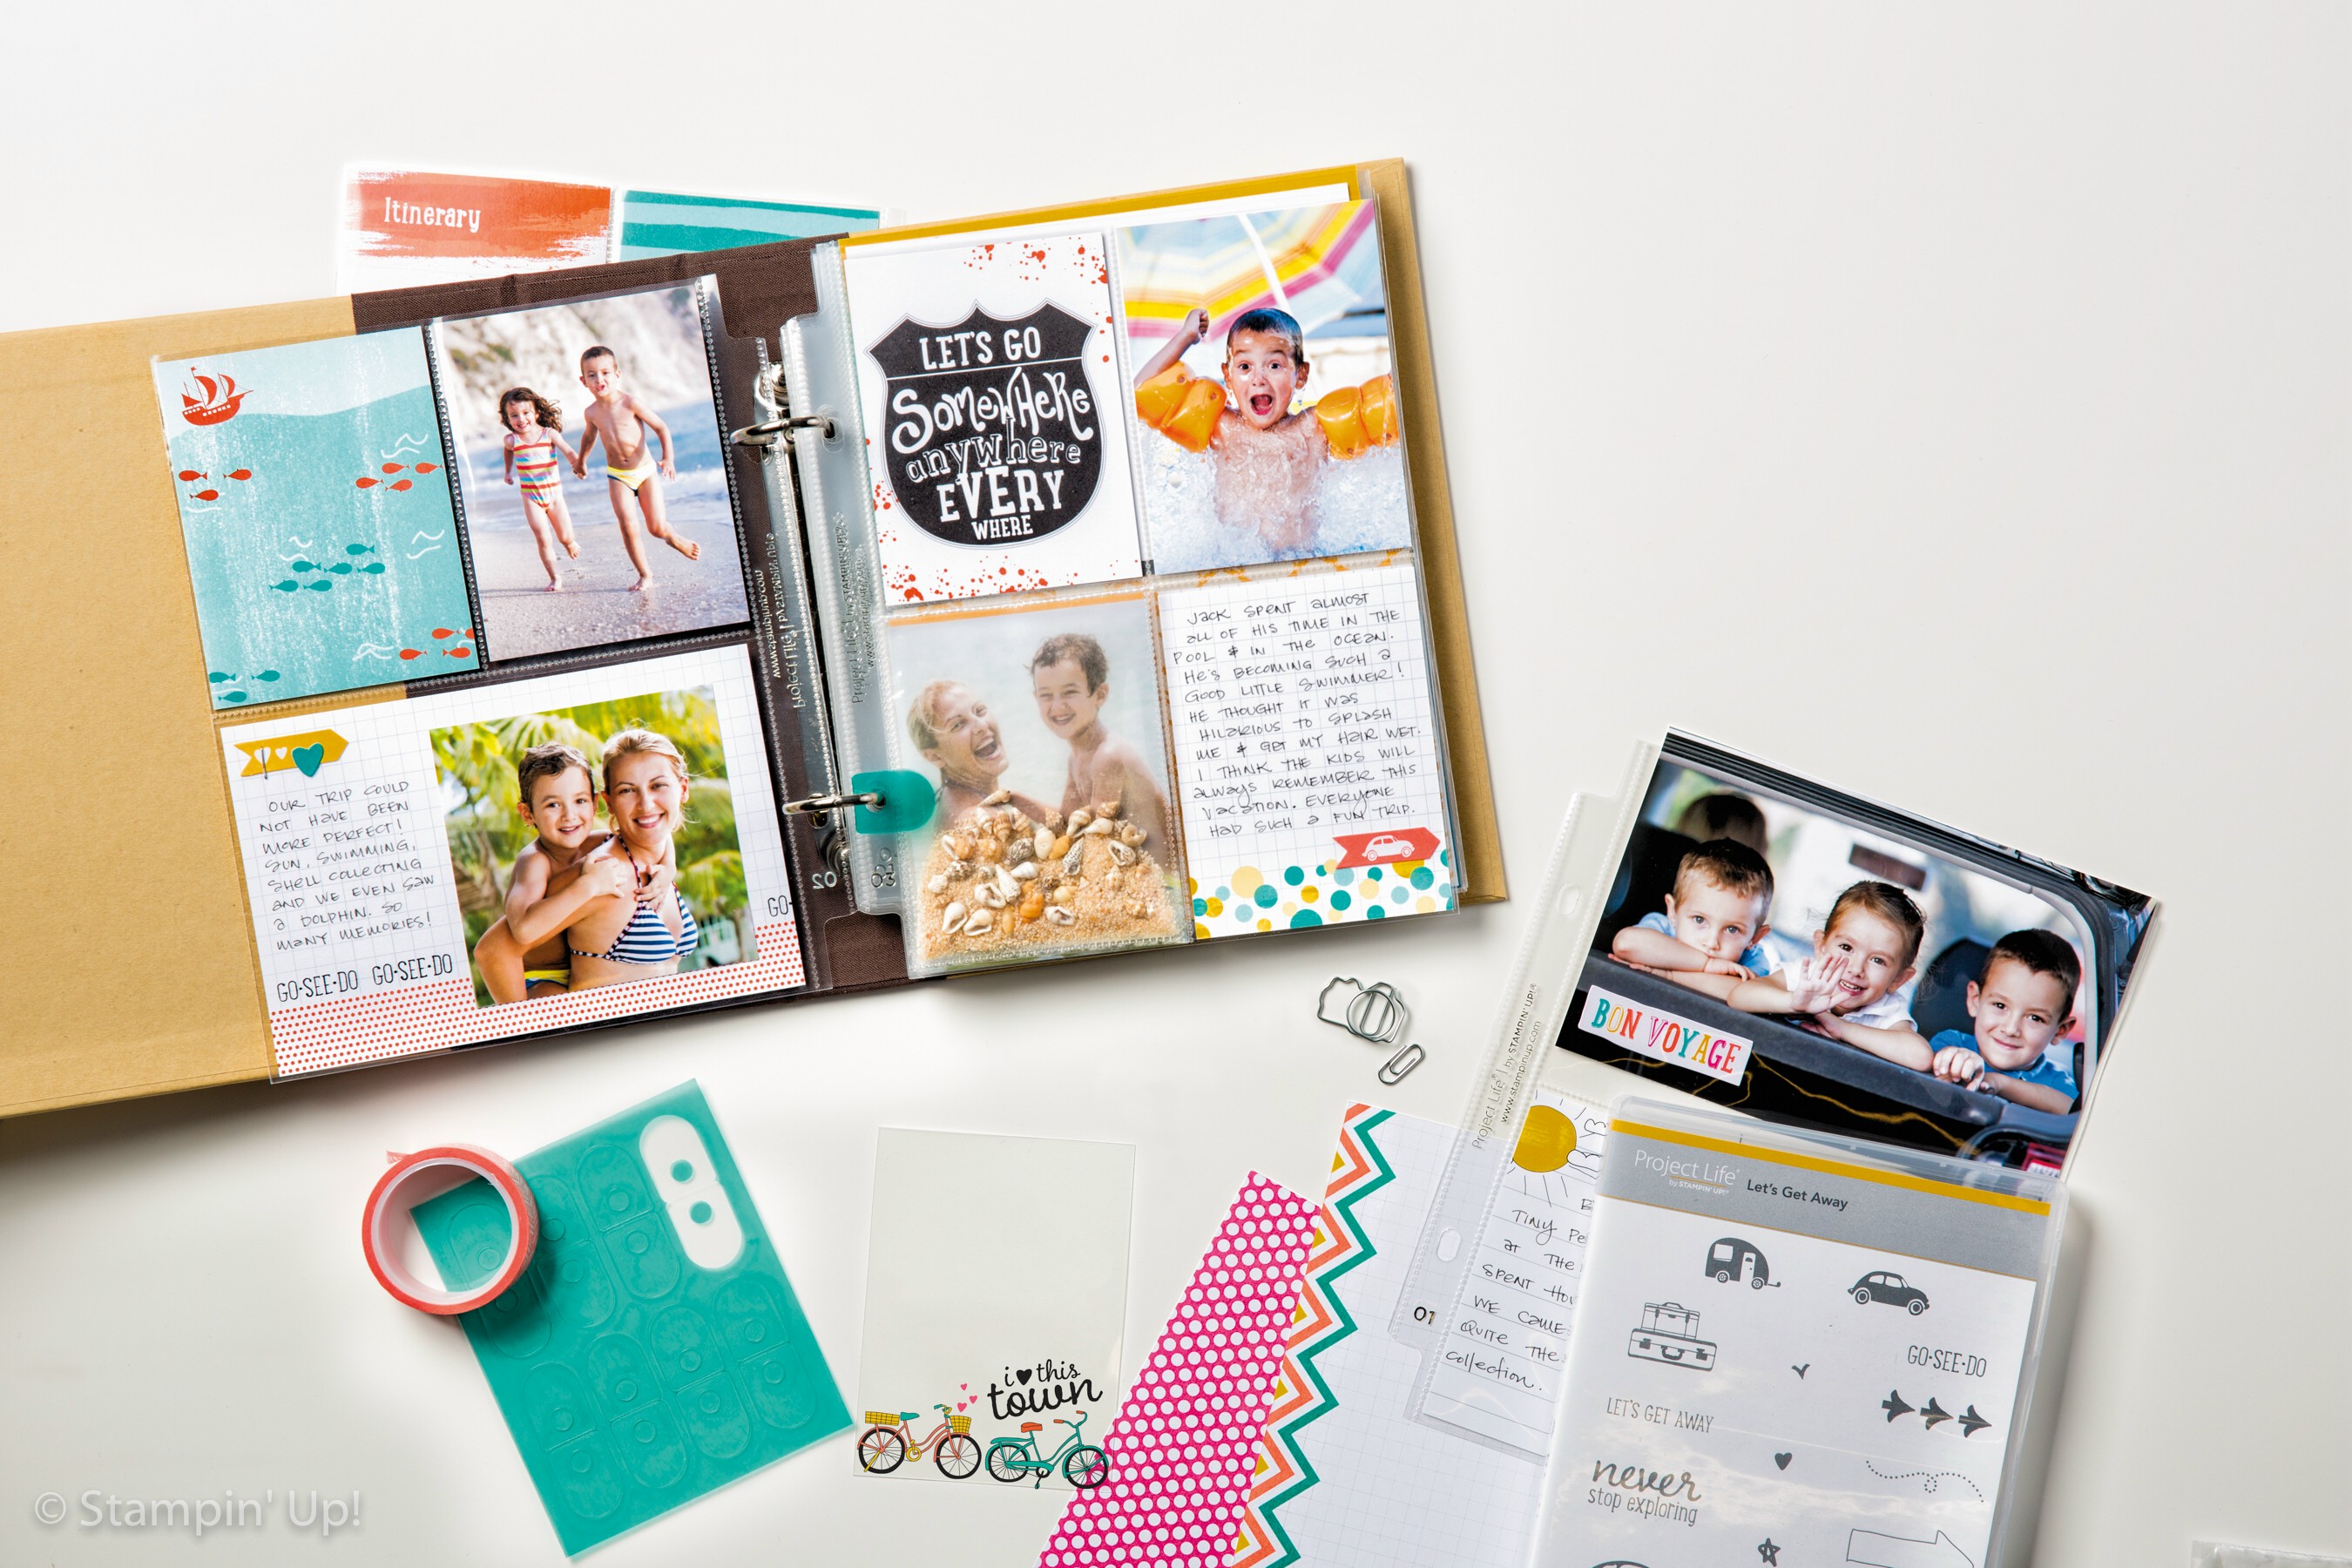
Just a quick post today as I share an easy way to scrapbook … Project Life. We are so excited that we’ve partnered with the amazing Becky Higgins to bring you the real deal—authentic Project Life products, now in exclusive Stampin’ Up! colors and designs.

If you’ve somehow missed the Project Life craze and are wondering what it’s all about, we’ll fill you in: it’s a super simple, totally affordable way to get your photos into albums: you just slip your photos into Photo Pocket Pages and add designed cards. It’s a back-to-basics approach to documenting your life. In a nutshell, it’s all about spending more time making memories and less time scrapbooking them.

Your most important souvenir from any trip is your memory album! Get caught up with your memory keeping and use Project Life® by Stampin’ Up! The Let’s Get Away Card Collection is bright, whimsical and loads of fun. Get yours today… Just click on the links below!

Annual15_p085_a

Easy … Simple … Why not scrapbook your next vacation.  Here’s a tip … bring the cards along on your trip and have your kids write down their experiences that day.  Then you can just slide them into place and add photos!! Done … and Done!

Thank you for stopping by. Tomorrow I will have the card “From Land to Sea” as promised yesterday.

Have a good day ~

blog-closing-small

or purchase separately …

A Gift for Father …

Hello Stampin’ Friends,

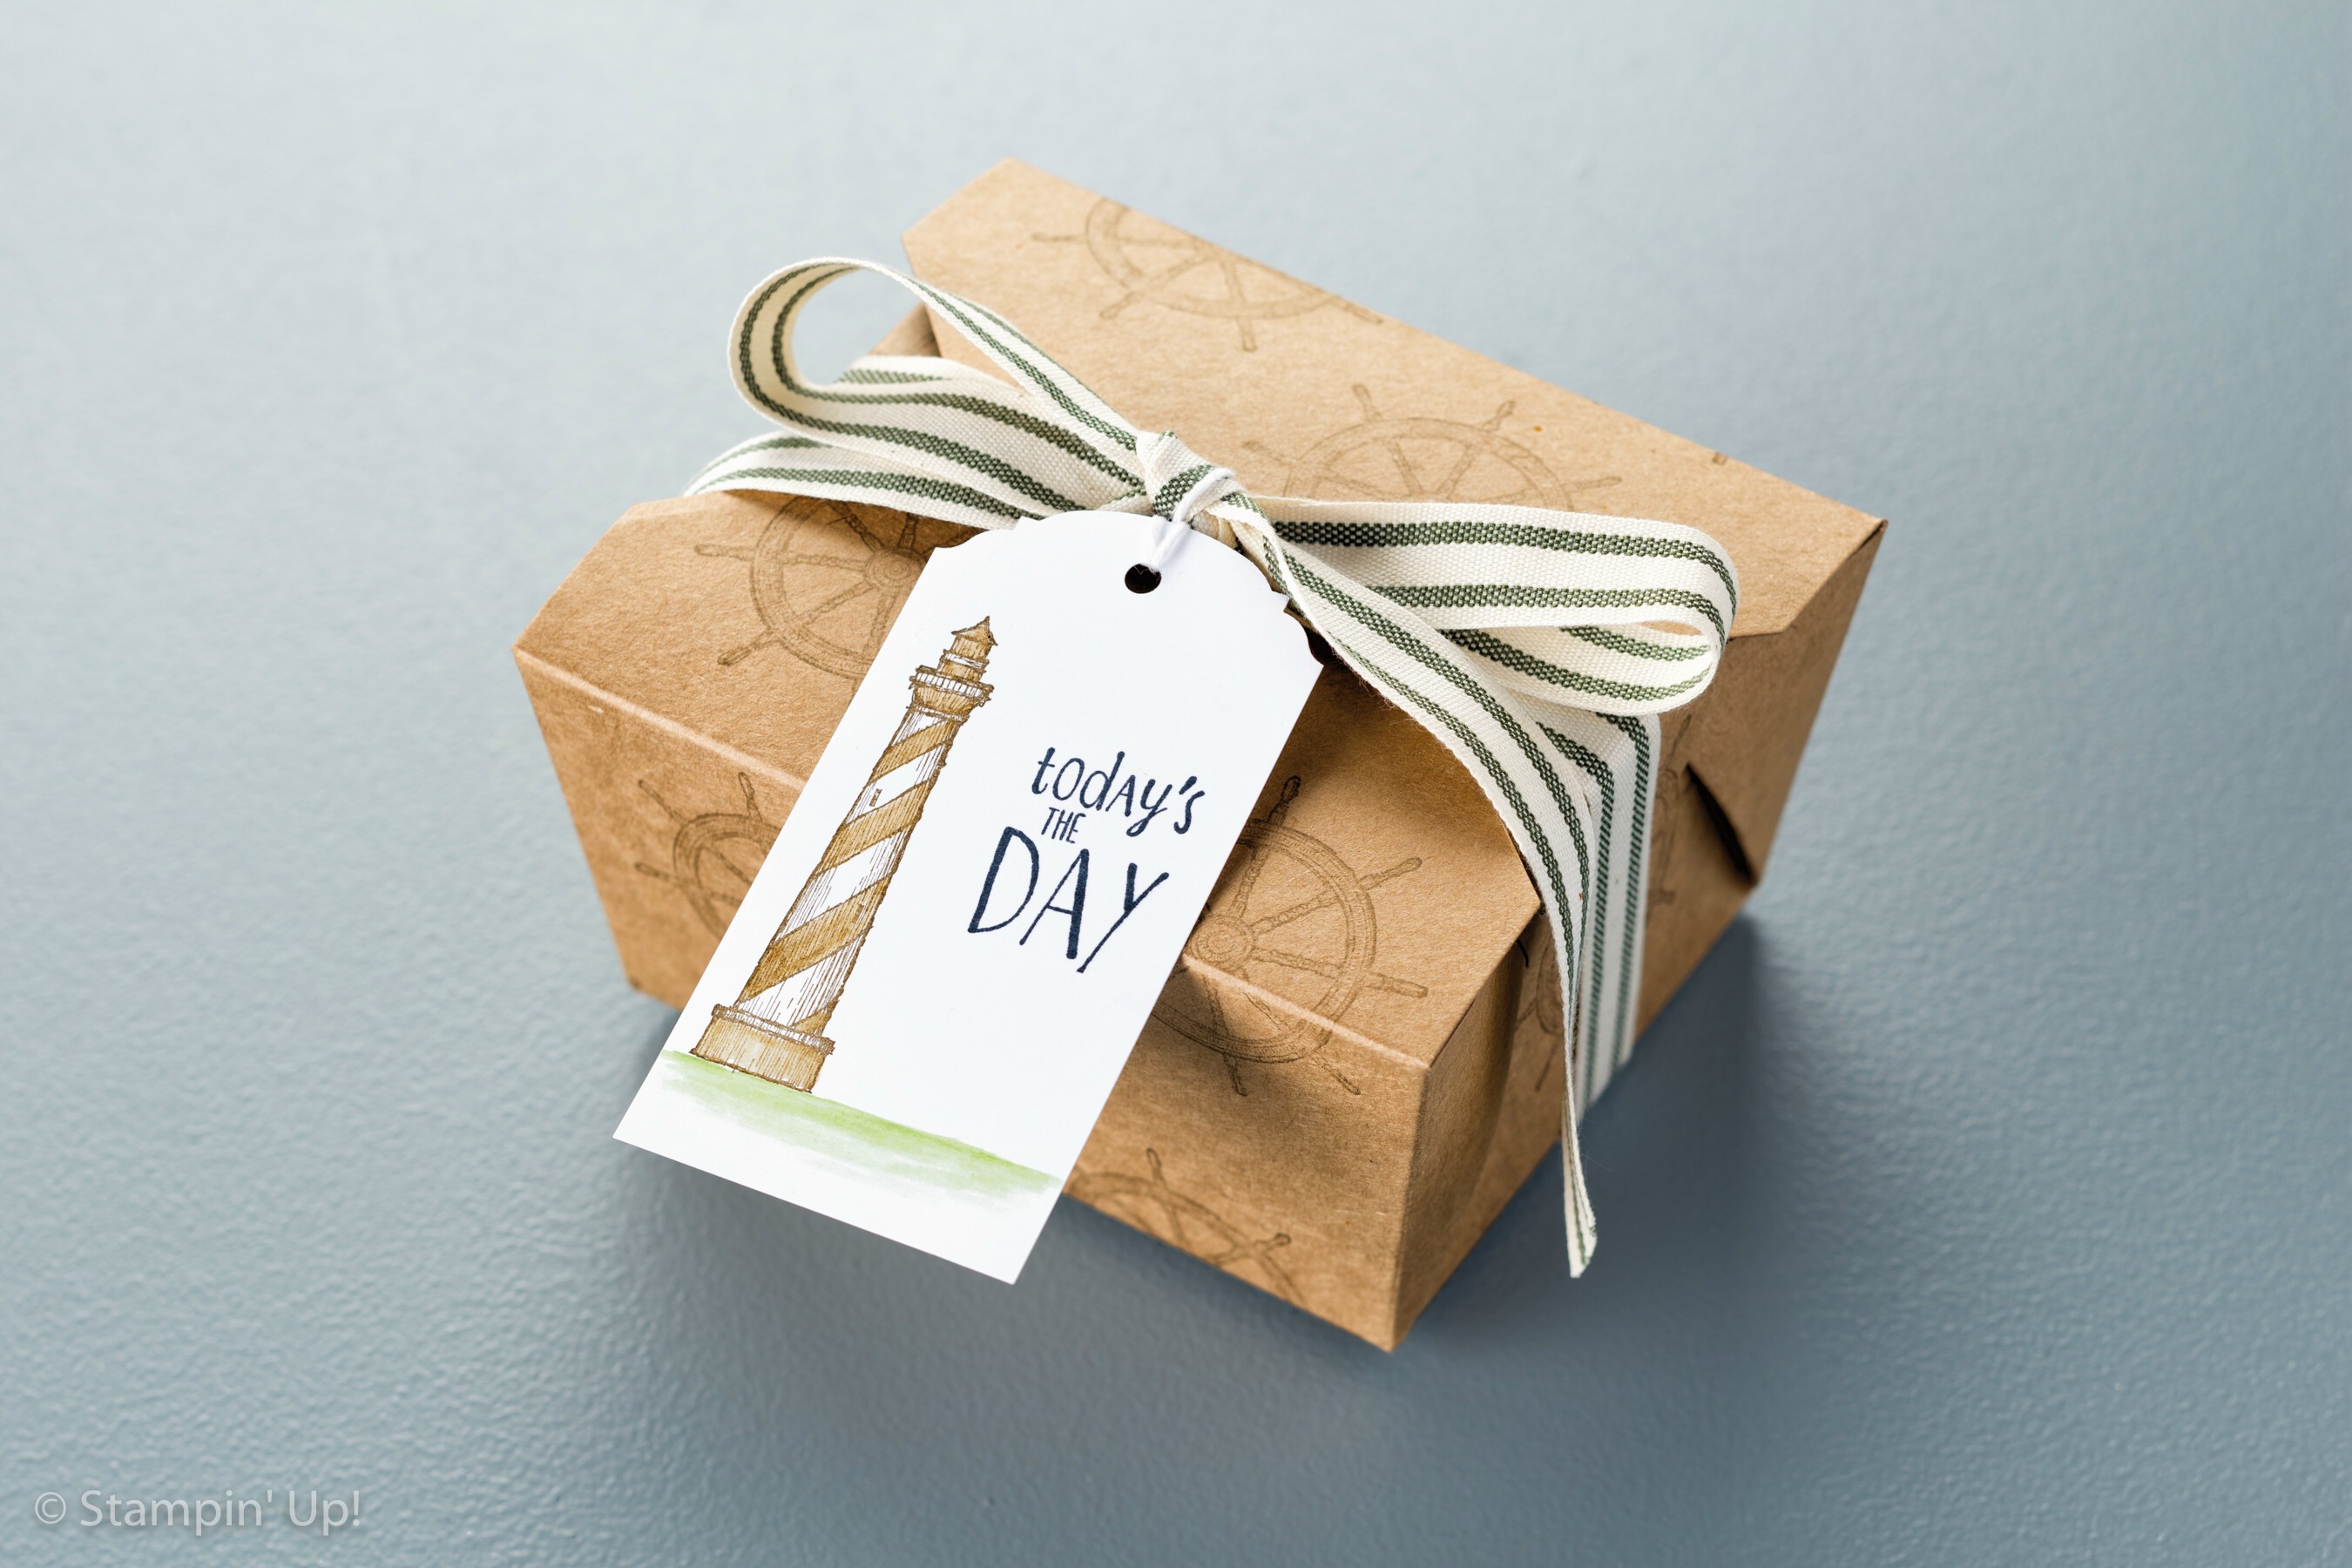
Today’s post is a cute project you can use for Father’s Day or for a special gift for a Dad, Son, or brother! However … I’m sure you know a woman that love’s light houses so she would love this gift box too.

Annual15_p083_full


This cute project was started with the cute little Take Out Boxes (135827) and stamped with the steering wheel (helm) of the ship from our stamp “From Land to Sea”.  I love this stamp set!

What is the steering wheel of a ship called?

The tag was created using the “Ornate Tag Topper” punch and the lighthouse from the “From Land to Sea” stamp set. The greeting comes from the new “Happy Happenings” stamp set which includes 14 fun greetings!

To finish off the project, the new 5/8″ Striped Cotton Ribbon in Mossy Meadow was used to create the bow.  Coordinated perfectly … don’t you think.

Annual15_p083_d

Hope you liked this cute little project as much as I did when I saw it.  Stop back tomorrow and I will share with you a beautiful card I created using the “From Land to Sea” stamp set.

Thanks for stopping by …

Have a happy day!

blog-closing-small

STAMPIN’ SUPPLIES …

Introducing 2 New “FUN” products!!

Hello Stampin’ Friends,

Hope you are enjoying your new catalog. If you are one of my customers and did not get yours yet, contact me so I can get one to you.

Today I thought I would share with you two new products, both create fabulously fun 3-D projects!

First, the Baker’s Box Thinlet dies ...

Make a treat extra sweet by presenting it in a box you make yourself. Cut handles, windows, and accents to dress up the base box, then fill it with goodies. With Thinlits dies and the Big Shot, it’s easy to make multiple boxes in minutes. Watch to see how…


Now … the Cutie Pie Thinlets Dies!

Make die-cut boxes for individual treats, or create a whole cake! Cut out these boxes in record time with Thinlits dies and the Big Shot—we’ll show you how.

Wasn’t that fun!! Wouldn’t these be cute for a Baby or Bridal Shower? Or Birthday Party!!  Just think of the creative ways you an use these for.

Thanks for checking out the videos with me.

Have a wonderful day ~

blog-closing-small

The Rose …

Hello Stampin’ Friends,

Today I am sharing a special card that I created because of the passing of my Aunt. I wanted something simple yet beautiful, and I found that in the “Timeless Elegance” Designer Series Paper. It is so pretty and reminds me of old photographs.

I remembered a technique where they colored on Black & White photos, so I used the Pink Pirouette marker to color only one of the roses. My way of saying she has now entered a most beautiful place, and will be greeted by all our loved ones who journeyed there before her.

000_2299

I used the shading on the paper to make my pink a little deeper, just color over that area several times until you get the desired shade.

The base of my card is Basic Gray and then the Pink Pirouette to pull out the color of the rose. I also layered a pop of Basic Black to really draw the eye to the card.

My greeting (sending sympathy and prayers…) comes from the “Petite Pairs” stamp set and has a sweet sentiment for the inside (to heal your heart).

000_2297

I carried the Pink Pirouette to the inside of the card and then used Very Vanilla, it coordinates with the “Timeless Elegance” designer series paper.

You could color all the flowers in and stamp a Happy Birthday greeting on it.  I think this paper is so pretty and very, very versatile!

I have included a list of ingredients at the bottom so you can view the items separately or go to my on-line store.

Thank you for stopping by my blog today.

Take good care ~

blog-closing-small

Weekly Deals …

Hello Stampin’ Friends,

I have the Weekly Deals for you today … If you don’t have the Circle Card Thinlet Die, now’s a great time to pick it up!  Enjoy.

Weekly Deals Banner

We hope you enjoy this week’s Weekly Deals!

133786G Sweetheart Punch Item # 133786
Regular Price: $16.00
Discounted Price: $12.00
Very Vanilla 5/8″ Satin Ribbon Item # 134550
Regular Price: $7.00
Discounted Price: $5.25
Marina Mist 1/4″ Cotton Ribbon Item # 134561
Regular Price: $6.00
Discounted Price: $4.50
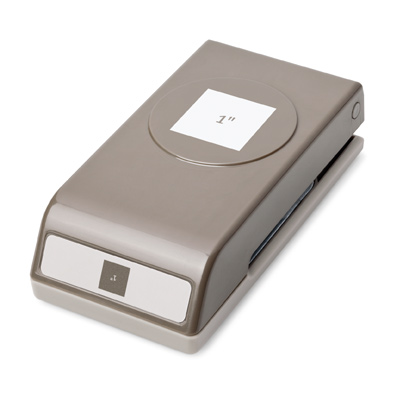
1″ Square Punch Item # 124094
Regular Price: $16.00
Discounted Price: $12.00
Whisper White 1/2″ Seam Binding Ribbon Item # 134573
Regular Price: $7.00
Discounted Price: $5.25
Circle Card Thinlits Dies Item # 133480
Regular Price: $33.00
Discounted Price: $24.75
Gold Stampin’ Glitter Item # 133457
Regular Price: $4.00
Discounted Price: $3.00


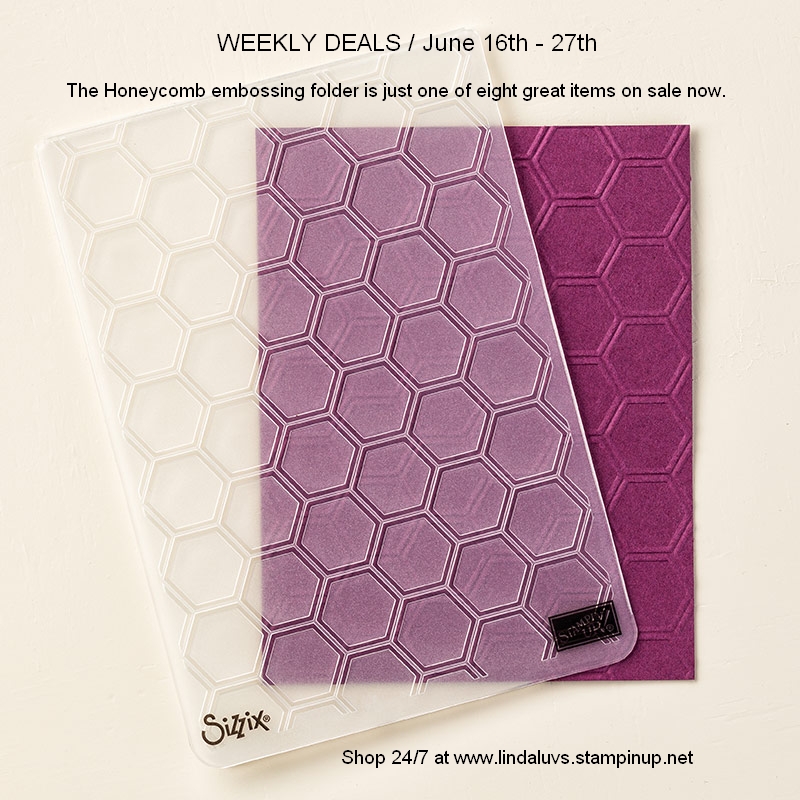
Also ON SALE but not listed is the “Honeycomb” textured embossing folder … Click here to view

129378G

Thanks for stopping by ~

blog-closing-small

Simply Sunday: A Watercolor Technique

Hello Stampin’ Friends,

Today I’m going to share with you a card inspired by the technique that I’m doing with my Technique Clubs this month. A simple technique that really has that “WOW” factor. You will need a clear block, some markers and a stamp set of your choice.

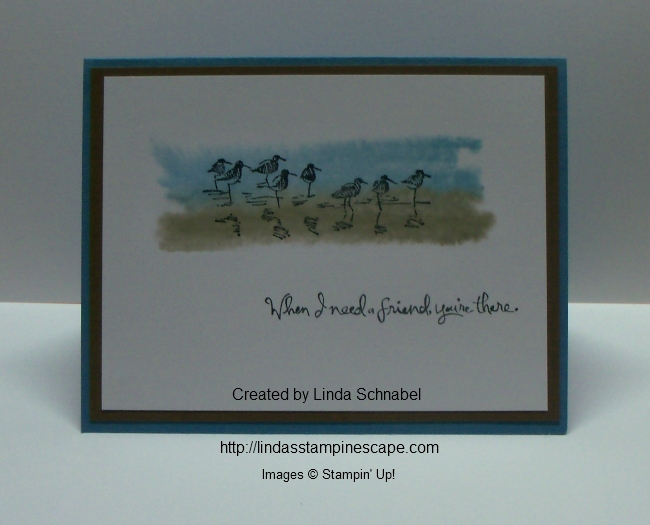
On today’s card, I’m using the stamp set “Wetlands” and the sandpipers from that set, block “H”, the “Marina Mist” marker from the Soft Subtles and “Soft Suede” from the Neutrals Collection of markers. I know my club members are going to enjoy this one!

000_2288

I use the lightest of the two colors first, so the Marina Mist is scribbled onto the top half of the block, then the Soft Suede on the bottom half. Fill your Stampin’ Spritzer with water and simple spritz the block until it begins to bead. Then press it onto your cardstock (we used Whisper White). You will actually see the color pull into the cardstock … Hold it down for a bit till the water is absorbed.

000_2293

Let it dry somewhat and then you can stamp your sandpipers onto your watercolor image. You will never get two to look the same, and that is the beauty of this watercolor technique.

My greeting comes from the stamp set “Choose Happiness”.  I like the way the font compliments the line image of the sandpipers. YES … Sometimes less is more. Adding extra embellishments just because you have them, would take away from the simple message of this card.

I’d love to hear your thoughts about the use of embellishments. Don’t get me wrong … I like my bling too! lol

Thank you for joining me today. I have listed the supplies below, just click on them for details about the product or to begin shopping at my online store.

Have a beautiful Sunday ~

blog-closing-small

000_2291

TODAY’S STAMPIN’ SUPPLY LIST …


Grateful for Stamping Inspiration …

Hello Stampin’ Friends,

Have you ever looked at a stamp set in the catalog and thought, that’s pretty … but you just keep moving on? Well … that has happened to me too. I’m sure we’ve all done that. THEN we see a beautiful card created with that stamp set!

Well that is exactly how I felt about the “For All Things” stamp set …

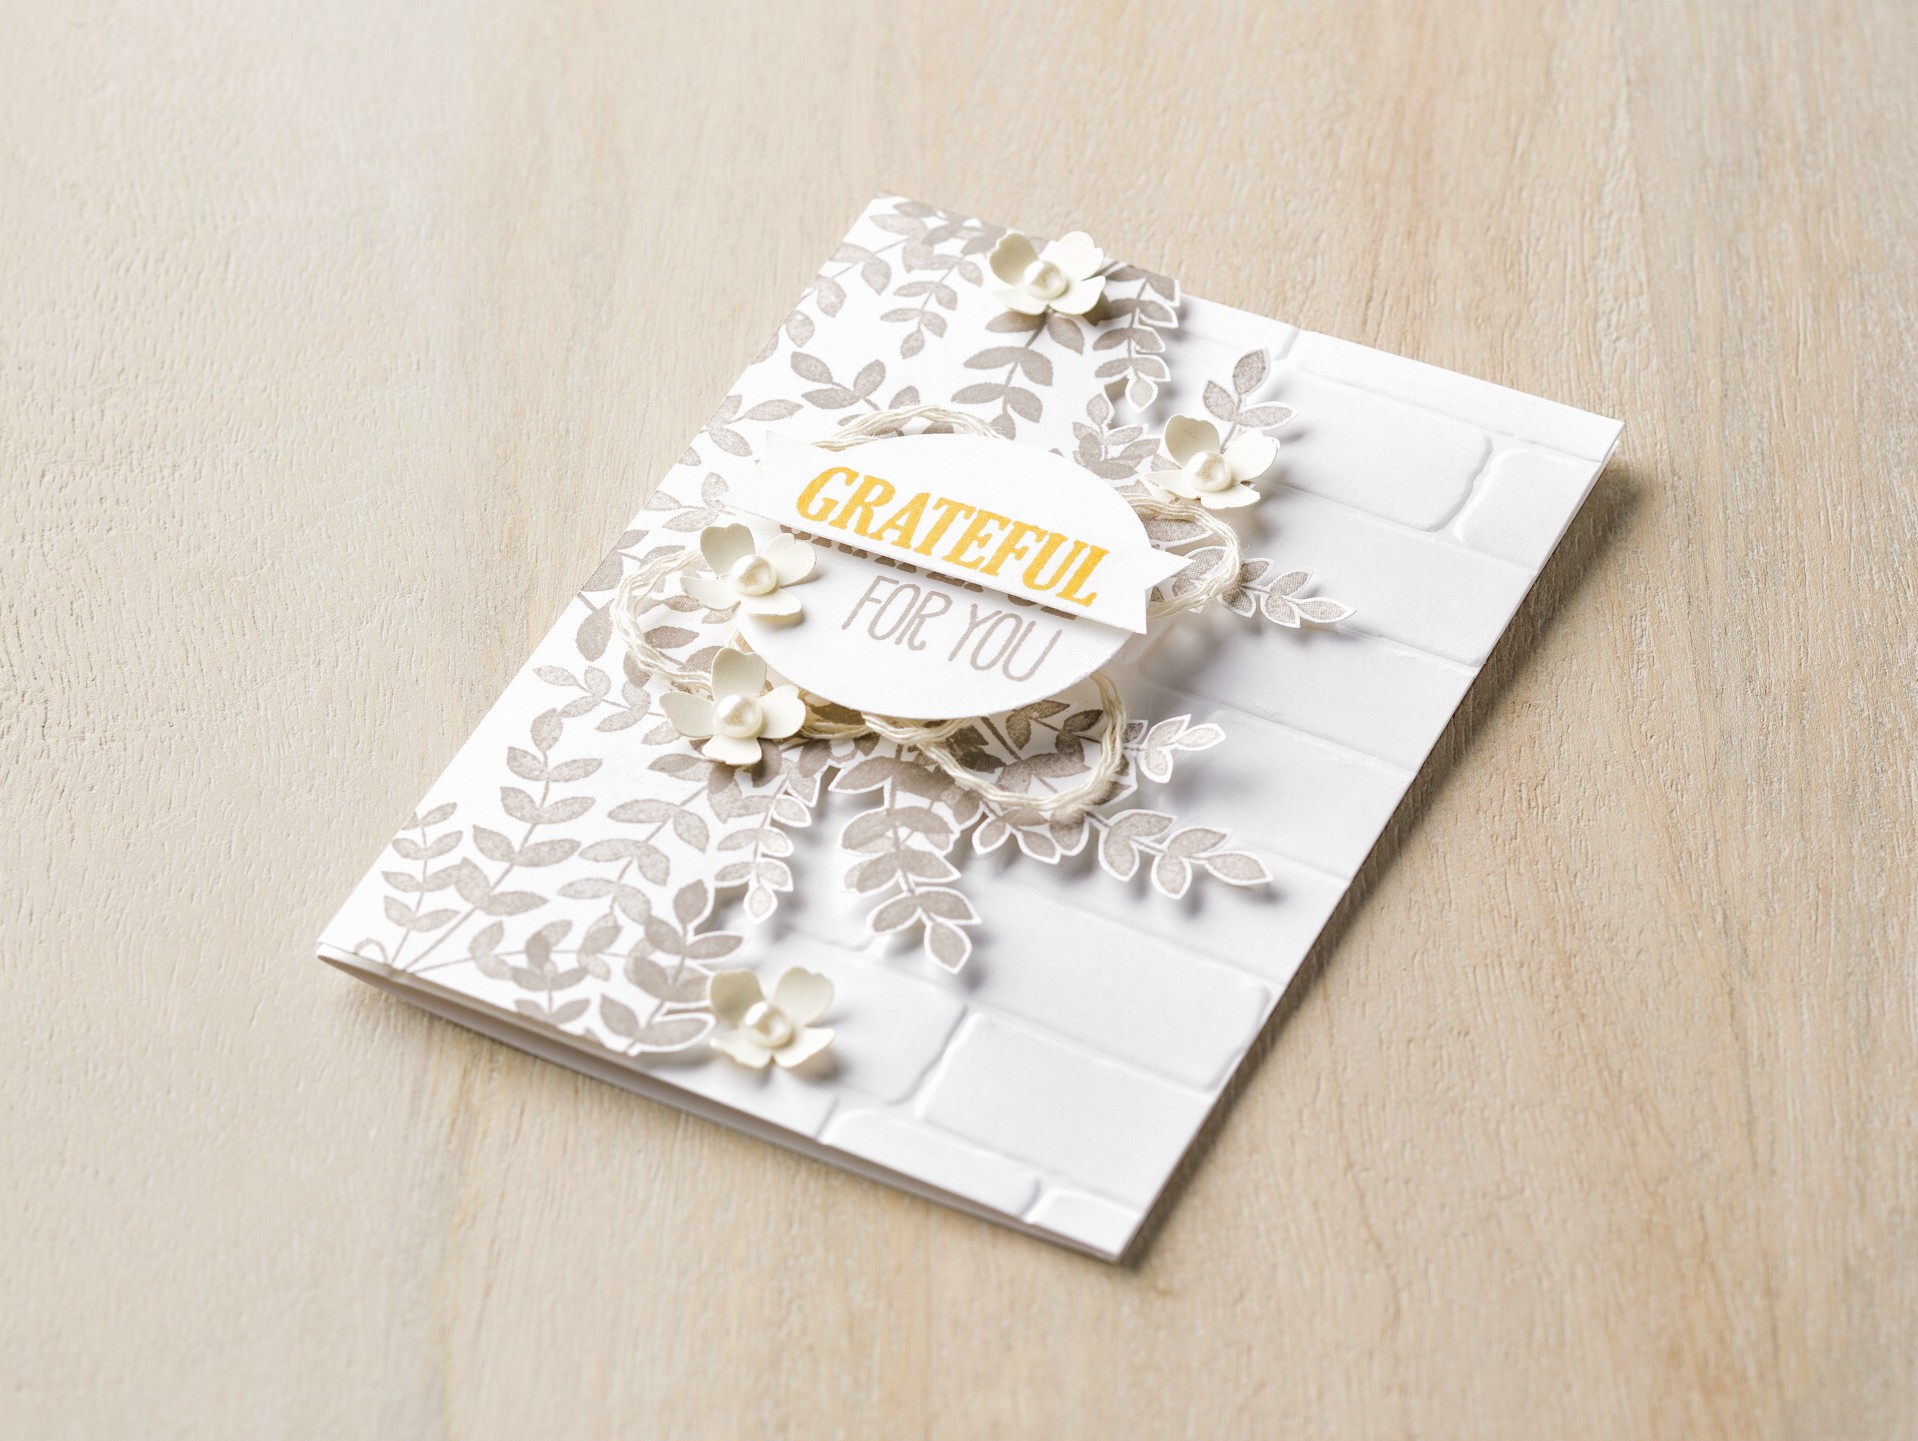
See … pretty, right?! But it just didn’t spark the creativity fire in me. Then I saw the card in the new catalog (turn to page 87) It is beautiful!  I just love this card …

Annual15_p087_c

The neutral color scheme and the simplicity of the card is striking! The new “Brick Wall” embossing folder makes the leaves pop … literally and figuratively.  My guess is that the leaves were cut by hand, but well worth the effort.

I love how they highlighted the word “grateful” and wrapped a bit of bakers twine within the leaves. Then to add the “cherry on top” … they added the little flowers from the “Itty Bitty Accents” punch pack.

My “Brick Wall” embossing folder is on the way, and now … I’ll have to add the “For All Things” stamp set to my wish list. Did you know … the Brick Wall folder is bigger than most? It is 4-1/2″ x 6-3/8″

Two thumbs up for Stampin’ Up! creative team for all the great samples in the new catalog. I’m ready to stamp! I’ll be posting some upcoming stamping events before the end of month.

Thank you for stopping by ~

Have yourself a fabulous day!

blog-closing-small

Supply List …

.

Get Creative with … What’s Your Type?

Hello Stampin’ Friends,

The idea for today’s post comes from comments made at my stamping club last night. The were discussing the “What’s Your Type” stamp set.

Stamping is all about creativity, and this might just be our most creative set yet! This Stampin’ Up! video walks you through the ins and outs of the What’s Your Type set, showing you how to build your own alphabet for amazing personalized greetings.

They are talking about last years (2014-15 Annual Catalog) that displays the alphabet guide. If you are interested in purchasing the stamp set from me, and want a copy of the catalog, let me know, I’m sure I have a few left.

Here are two cute samples created with this stamp set. They give you a good idea of how creative you can get with this stamp set … the sky is the limit!

Annual15_p134_a

I’ve put a list of the key ingredients for you at the bottom of my post … you are going to want the framelits and stamp set used for the awesome sun card.

Thanks for stopping by …

Have a wonderful weekend ~

blog-closing-small

Here’s the key ingredients for the sun card …

You’ve Got This!

Hello Stampin’ Friends,

Hope you are getting ready for a fun weekend ahead! I’ve got a quick post today, but it’s packed full of pretty! I wanted to share a couple samples from the “You’ve Got This” stamp set.

My Stamping Clubs are using this set this month, so I thought they would love to see a few more ideas for this stamp set.

You've Got This_1

I love the way Stampin’ Up! used the large stamp to create they blue background on the first card… it really makes the flower pop.

The simplicity of the card on the right is so pretty, and using such a bold color to stamp the flower really makes it the focal point of the card.

Hope you enjoyed the samples, and I will see you tomorrow with another card share … just not sure which stamp set I’m going to use yet.

Have a fun day ~

blog-closing-small