My cards today are all created with a simple layout and three (3) of our Designer Series papers …
My first card features the Wood Textures Designer Series paper and the Happy Birthday Thinlits dies on page 77 of the Annual Catalog.
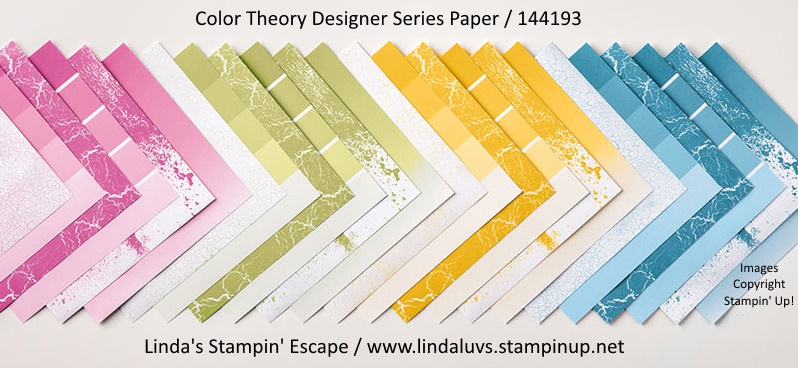
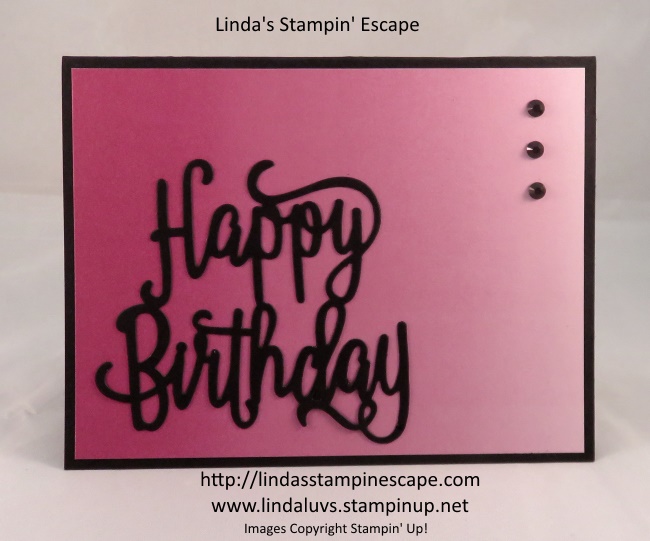
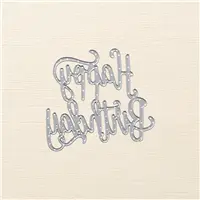
Each card will feature the Happy Birthday Thilits Die… the next card features the Color Theory Designer Series paper and the Black Rhinestones for that touch of bling!
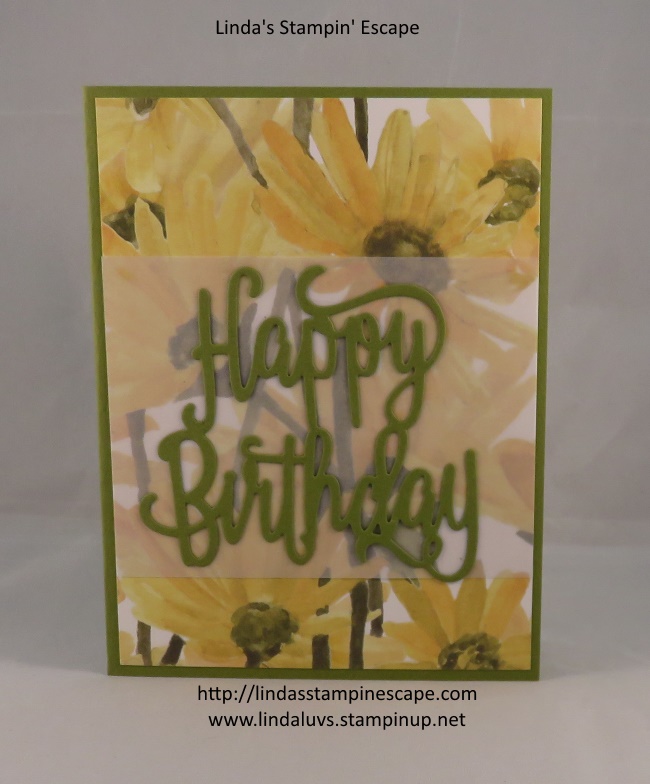
My last card features the Delightful Daisy Designer Series paper and a touch of vellum cardstock that helps to highlight the Happy Birthday Thinlits die.
All 3 cards are quick -n- easy to make and can be created for a special birthdaye just by changing out the designer paper.
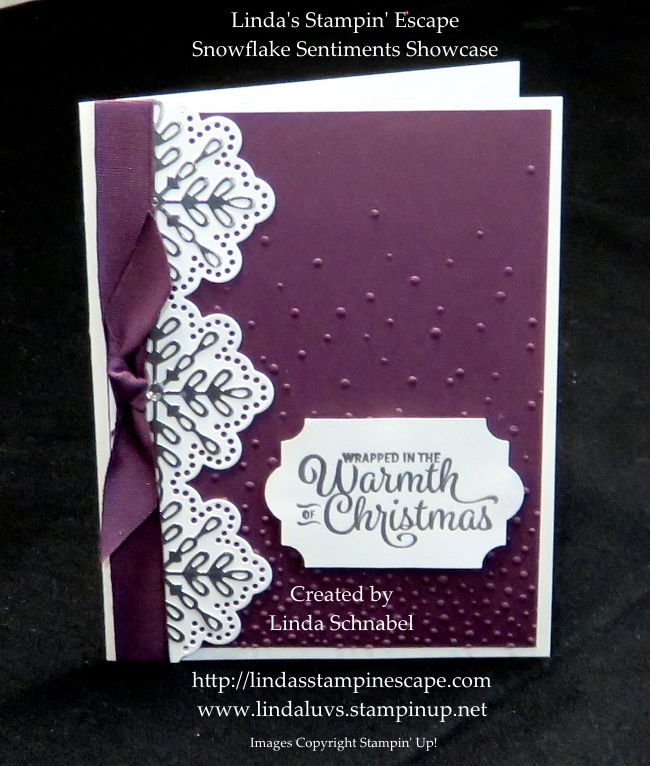
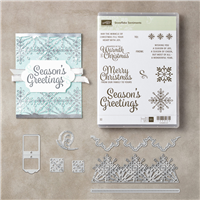
Today I’m going to share the last of my cards from the Snowflake Sentiments Showcase, and it will be a vertical card verses the horizontal layout I have been using.
My color pallet is very simple for this card with Fresh Fig and Whisper White with a touch of Silver … oh so classy! You can see how sweetly the silver snowflakes fit into the die cut edgelit.
The snowflakes were embellished with a pretty bow made from the Fresh Fig 1/2″ Finely Woven Ribbon. Just the sound of Fig reminds me of Christmas, and our greeting “Wrapped in the Warmth of Christmas” brings back memories of Figgy Pudding (well … at least in the movies!) lol
The greeting was heat embossed with Silver emboss powder to coordinate with our Silver Foil paper. To add a touch of texture, I used the “Softly Falling” embossing folder.
Wow … that’s it. A simply elegant style card created with the warm color of fig and a touch of silver glam!
Thank you for taking time out of your day to visit my blog. It’s greatly appreciated. I have listed the ingredients to the card below.
Just got back from Door County … the cute little place we stayed at did not have WiFi (which is a blessing and a curse) A blessing because there were no interruptions, just a nice time to visit and a curse because I needed to post for today but … better late than never!
My cards today are all created with a simple layout and our Designer Series papers that are on sale …
My first card features the Wood Textures Designer Series paper and the Happy Birthday Thinlits dies on page 77 of the Annual Catalog.
Each card will feature the Happy Birthday Thilits Die… the next card features the Color Theory Designer Series paper and the Black Rhinestones for that touch of bling!
My last card features the Delightful Daisy Designer Series paper and a touch of vellum cardstock that helps to highlight the Happy Birthday Thinlits die.
All 3 cards are quick -n- easy to make and can be created for a special birthdaye just by changing out the designer paper.
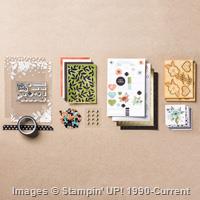
Today I have a fun card to share with you that is full of color and full of layers, yet super simple to put together! Oh yes, and I’m going to tease you again with that pretty Sale-a-bration Glimmer Paper that will be released on the 21st! It’s less than one week away!
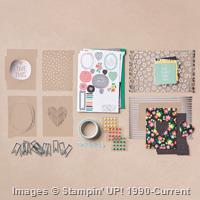
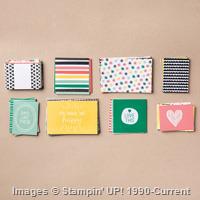
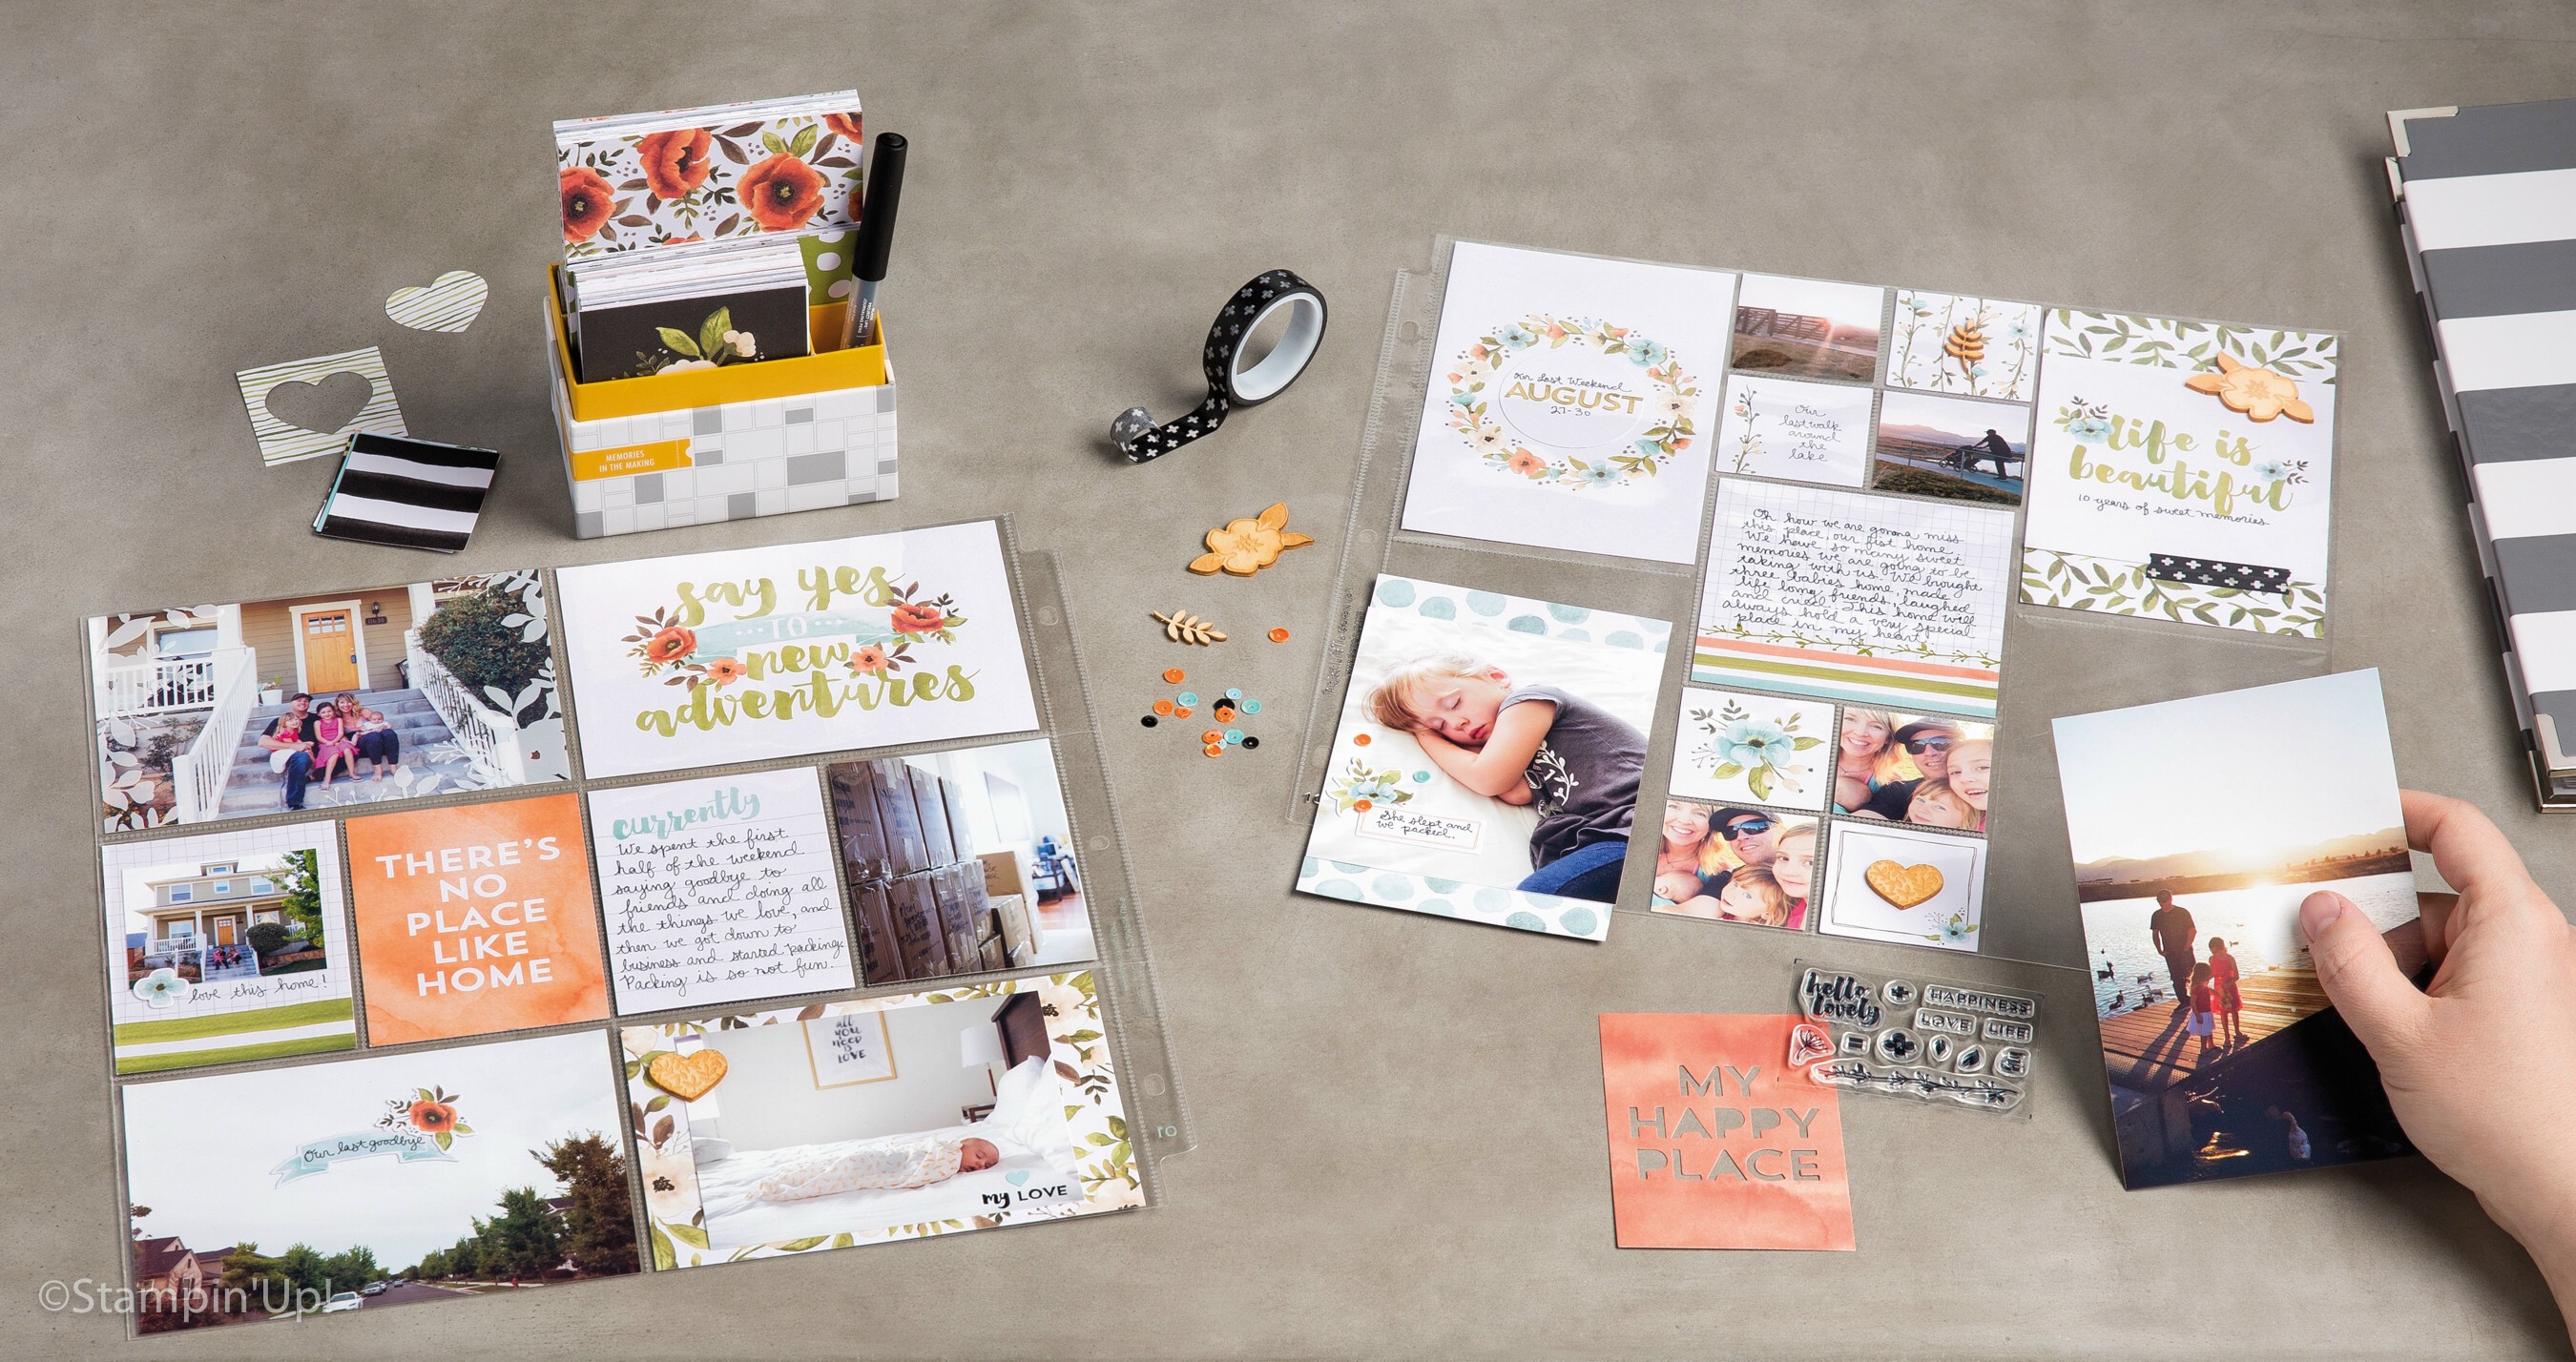
To create this card I pulled out my “Celebrate Every Day” Project Life Card Collection. I don’t just use my Project Life for my scrapbooking … I use it for cards and more. There are so many fun patterns and verses. Both of the “cards” came directly from the kit, no trimming or cutting!
Here’s a short video that shows your everything that you get in the Card Collection and Accessory pack.
Memory keeping has never been so easy! With the Celebrate Every Day Project Life Card Collection and Accessory Pack, you can quickly and easily create photo pages, cards, and more.
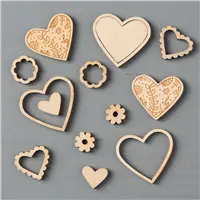
I am somewhat attached to those cute little heart embellishments too, they are from the Sending Love embellishments found on page 15 of the Occasions Catalog. Hearts aren’t just for Valentines. It’s one of the most treasured ways to express your feelings without saying a word ❤
I used the Tombo Glue to adhere the Glimmer Paper to the base, and the flower card to my Glimmer paper and the Heart embellishments to that card. It works really nice without the worry of the card falling apart.
Let me know if you have any questions about the Project Life Card Collections, we have more in the annual catalog! They are fun and easy to play with.
Thank you for checking out my blog …
I hope your day is a good one!
TODAY’S STAMPIN’ SUPPLY LIST/ Click for more information or begin shopping. Thank you for choosing me as your demonstrator. Sale-a-bration rewards you with a FREE item with a $50 purchase and I reward you with Virtual Rewards Points.
Memory keeping has never been so easy! With the Celebrate Every Day Project Life Card Collection and Accessory Pack, you can quickly and easily create photo pages, cards, and more.
See them now in the 2017 occasions (spring/summer) catalog–then contact me or go to www.lindaluvs.stampinup.net to order yours.
I’m waiting for my card collection and accessory pack to come later today. Then stop back tomorrow and check out what I have come up with!
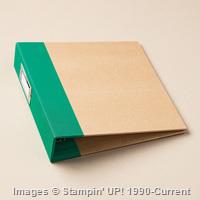
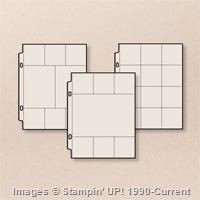
Today I want to share a simple, affordable system for organizing your photos into albums … it’s called Project Life, by Stampin’ Up!
All you need to get started is a few basic products, and then you’ll just slip your photos into project pocket pages … we’ll let me show you!
Here’s a quick video to show you how quick and easy it is to use …
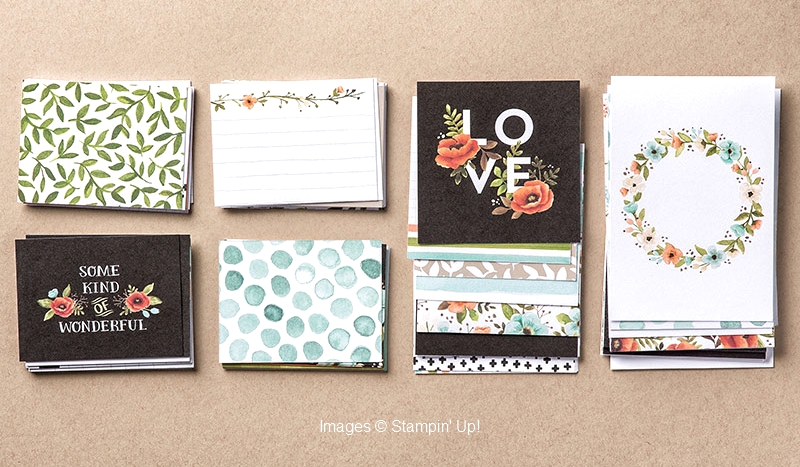
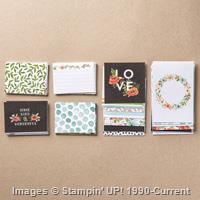
Here is our newest Project Life card collection that I just fell in love with. I not only use my card collections and accessory packs for my scrapbooking … I also use them to make quick and beautiful cards!
See how it helps your Memory keeping super simple and super beautiful with Project Life card collections. Just slip these designed cards into Photo Pocket Pages for instant color, design, and journaling space.
* 100 cards in 3 sizes: 4″ x 6″, 4″ x 4″, 3″ x 4″ (10.2 x 15.2 cm, 10.2 x 10.2 cm, 7.6 x 10.2 cm)
* Double-sided
Coordinating colors: Basic Black, Crumb Cake, Old Olive, Peekaboo Peach, Soft Sky, Soft Suede,
Tangerine Tango, Very Vanilla, white
* * * * * * * *
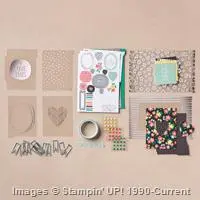
Dress up your Project Life pages with the accessories in this pack. They’re also great for more than just Project Life; use on cards or traditional scrapbook pages too.
Pack includes …
* Exclusive set of 12 photopolymer stamps
* 4 die-cut specialty cards, 3″ x 4″ (7.6 x 10.2 cm)
* 2 acetate specialty cards, 4″ x 6″ (10.2 x 15.2 cm)
* 11 double-sided specialty cards, 2″ x 2″ (5.1 x 5.1 cm)
* 6 single-sided die-cut specialty cards, 2″ x 2″ (5.1 x 5.1 cm)
* 2 alphabet sticker sheets
* 1 element sticker sheet
* 1 acetate sticker sheet
* 12 wood shapes
* 12 enamel stickers
* 150 sequins
* 1 roll washi tape, 5 yards (4.6 m)
Coordinating colors: Basic Black, Crumb Cake, gold, Old Olive, Peekaboo Peach, Soft Sky, Soft Suede,
Tangerine Tango, Very Vanilla, white
It truly is a simple, affordable system for organizing your photos into albums and for your card making!
Hope you enjoyed today’s post, and I thank you for stopping by.
I’m off to our Annual Spring Retreat nestled on the shores of beautiful Green Lake …
I thought I would share this fabulous post by one of our Artisian Team members. This is such a cute idea, I couldn’t help but share. This post is copied from the Stampin’ Up! blog “Get Inspired”. Anyone can follow this blog – check it out!
So here is Rachel Grandin-Torchet / Artisan Design Team 2015–2016 , and her fabulous …
Mini Album in a Box
Lots of my friends are expecting little girls and boys this month, so recently I’ve been involved in a series of “baby projects,” creating little gifts which my friends will be able to use during their first year as moms of newborns. I hope these gifts will allow them to keep memories of this year full of changes and emotions!
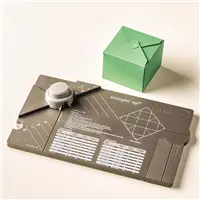
To make this project, I created a box using the Gift Box Punch Board (item 135863); the final box measures 3-1/4″ x 3-1/4″ x 1-3/4″. (Start at line “L” and fold on the “S” diagonal line.)
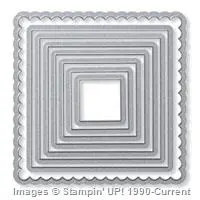
I used the 2-7/16″ square from the Squares Collection Framelits Dies (item 130921) to create a little window at the bottom of the box.
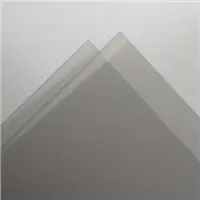
Then I created a mini album by cutting 3″ x 3″ squares from the following: Night of Navy Cardstock (item 100867), Whisper White Cardstock (item 100730), Window Sheets (item 142314), and Vellum Cardstock (item 101856).
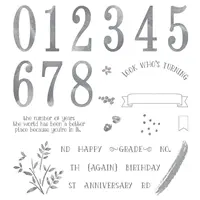
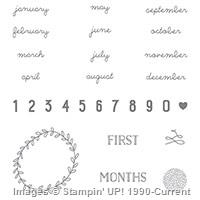
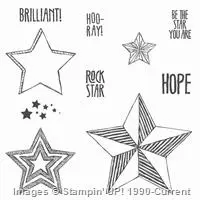
I created one page for each month and decorated them with images from different stamps sets : Number of Years (item 140653), Project Life Hello Baby (item 138672), Made with Love (item 138662), and Be the Star (item 135731). I added supplementary pages so that they can add extra pictures or memories of those unforgettable moments.
Since I’m totally in love with Stampin’ Emboss Powder, I used it a lot in different colors, including Cherry Cobbler (item 122949) and Whisper White (item 109132).
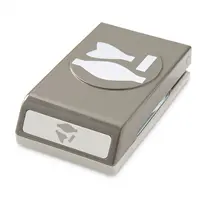
Finally, I decorated the box with a nice little “ribbon” and a perfect bow that I made using the Bow Builder Punch (item 137414).
I really hope that you liked this tutorial and will enjoy this little project. Of course you can adapt it to your liking for any occasion or special event in your life.
Now, it’s your turn to have fun!
Rachel Grandin-Torchet
Artisan Design Team 2015–2016
I replaced the french versions and replaced it with the US / English stamp sets. Isn’t that just the cutest idea!! Hope you enjoyed as much as I did.
Thank you for joining me …
Stop back tomorrow for a sneak peek into our Spring Retreat! You can also follow me on my Linda’s Stampin’ Escape Facebook page to get more updates! Just click on the link on the side bar.
How are you this fine day? I’m hoping for that 64° weather they promised us … and sunshine, lot’s of sunshine!
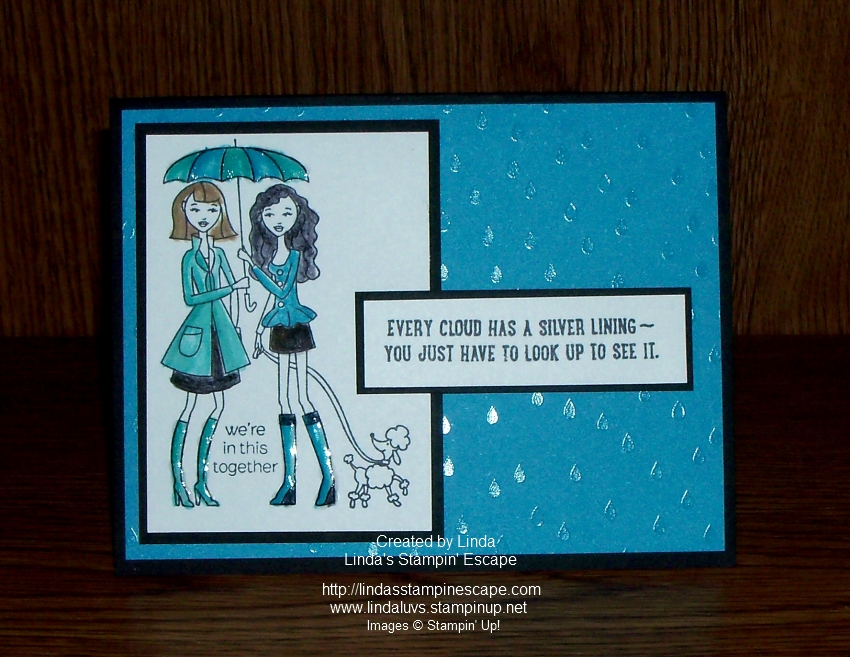
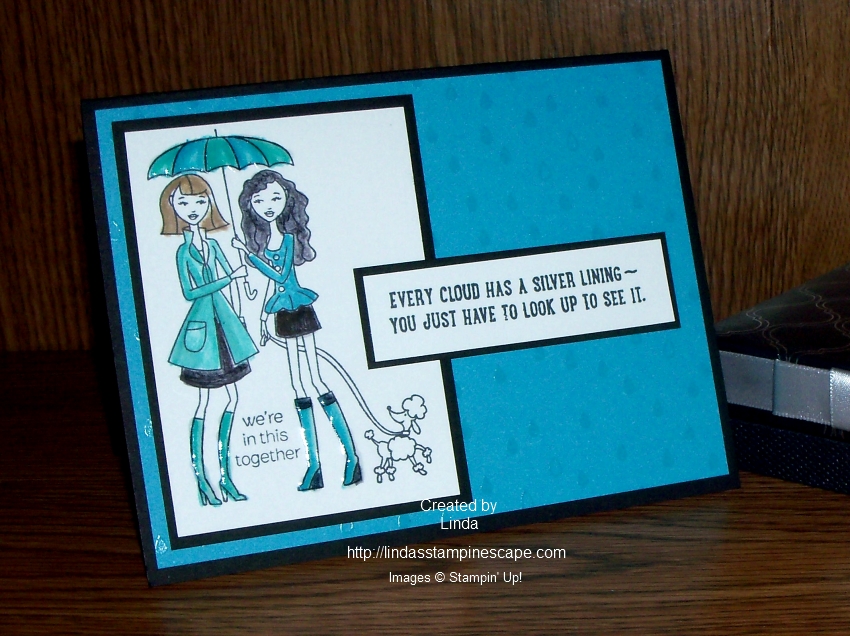
We always talk about how versatile and how well our stamp sets and accessories coordinate, well today I’d like to share a card that I created with a unique combination.
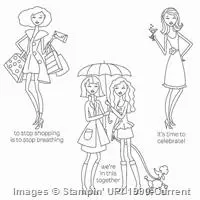
I began with the “In This Together” stamp set which you can find in our main catalog. I like to two friends standing together under the umbrella. I wanted blue tones for my color pallet and picked the Bermuda Bay and Tempting Turquoise colors from the Bold Collection.
It was the umbrella that reminded me of a card in the “Memories in the Making” Project Life Specialty card collection … It’s a FREE Sale-a-bration item! It has “resist” raindrops!
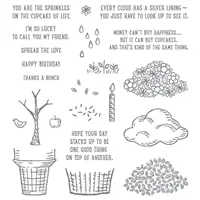
Now … I’ll be totally honest / I left a nice turquoise finger print on my card piece and did not want to start all over so I improvised! I looked through my stamp sets until I found a verse that I thought fit with my card, and yep, I told you our stamps coordinate in unexpected ways … The verse is from “Sprinkles of Life” … amazing! I love the way the theme for this entire card fit together.
One more thing … I used the “Crystal Effects” on the umbrella and boots on my card, which coordinates with the “Memories in the Making” Project Life Specialty card resist … the shine carries all the way through the card.
I’m not sure Stampin’ Up! even knows these three items would coordinate so well. My thought for you … experiment with combining different stamp sets and accessories, you’ll never know what you will come up with!
Thank you for sharing part of your day with me!
I’ll be back tomorrow with another Simply Sunday project.
While I’m away I want to share with you a few videos explaining some of the fabulous new items you will find in the Occasions / Sale-a-bration catalog!
Let’s begin … Wink of Stella Glitter Brush
Add sparkle to your projects without the mess. The Wink of Stella Glitter Brush is perfect for writing and adding subtle controlled glitter to stamped images. Watch this video to learn how you can easily add sparkle to your projects.
This is great for those of you who like the “sparkle” but don’t like the mess of glitter! And it works as easy as our blender pens!!
Next Up … Enjoy the Little Things
Make it, display it! Create an artwork display for each month of the year, then make it part of your home décor. It’s super easy—we’ll show you how.
I have set aside February 19th for our “Enjoy the Little Things” class. You will have to pre-order your supplies through me by February 5th. Contact me if interested … I will also be sending out class announcements soon, and / or you will find in on my calendar page.
Last but not least … Memories in the Making Project Life Specialty Card Collection
Project Life makes memory keeping super simple: just slip your photos and our cards into Photo Pocket Pages, and you’re done. Simple, but beautiful—watch as we show you how the specialty finishes on these cards add extra pizzazz to your scrapbooks and memory albums.
I hope you have enjoyed the preview of just a few of the awesome new products available in the Occasions / Sale-a-bration catalogs. As you can see, there is something for everyone… great stamp sets, accessories, project kits and scrapbooking.
Please let me know if you are interested or have any questions on any of the products shown above. I’d love to help you.
Today I want to share two items that are found on the “Year End Sale” and that I use a lot for quick and easy cards. Yes, they were created for easy scrapbooking but I love the fact that I can use an item for many different purposes.
Make the most of the holiday season, then bundle up your memories in an album that lasts and last.
Memory keeping is super simple and super beautiful with Project Life card collections. Just slip these designed cards into Photo Pocket Pages for instant color, design, and journaling space.
* 100 cards in 3 sizes: 4″ x 6″, 4″ x 4″, 3″ x 4″ | 10.2 x 15.2 cm, 10.2 x 10.2 cm, 7.6 x 10.2 cm
* Double-sided
You can also get the coordinating embellishment kit ….
Dress up your Project Life pages with the accessories in this pack. They’re also great for more than just Project Life; use on cards or traditional scrapbook pages too.
Pack includes
* 5 alphabet sticker sheets
* 20 specialty cards, 2″ x 2″ | 5.1 x 5.1 cm
* 3 element sticker sheets
* 7 wood shapes
* 4 die-cut wood specialty cards
* Epoxy stickers
* Paper clips
* Sequins
* Washi tape, 5 yards | 4.6 m
Coordinating colors: Basic Black, Cherry Cobbler, Crumb Cake, Island Indigo, Kraft, Old Olive, Tangelo Twist, white
Here are some of my quick -n- easy creations using these products …
HALLOWEEN …
CHRISTMAS …
What do you think of these cool products? Are you strictly into cardmaking or scrapbooking or do you dabble in both of these fun activities? I’d really like to know were your passions lie.
Did you ever have one of those days when you needed a card but your creative self was … well, just not that into it?
Well, I’ll share a little secret of how I handle those days. I run for one of my “Project Life” kits! Seriously, they are great for quick and easy scrapbooking, but those cute sheets they have in there are awesome.
Today I’m using the “Seasonal Snapshot 2015” Project Life by Stampin’ Up! It has all sorts of cute designs you can use. I picked the snowflakes just because my brain has been a bit overworked this week.
It was easy to embellish these cute snowflakes … I love the craft cardstock and decided to add red for a pop of color! My greeting is also in Real Red using the “Seasonal Frame” dies.
I thought it needed just a bit more so I used the Real Red Ribbon and created a simple bow…. that did the trick! It came together so easily once I picked out a design from the Project Life kit.
Use this quick and easy layout with any of the designs in kits, why you can even use this simple layout with designer paper! The possibilities are endless.
We are over the hump and heading into the weekend … it’s a good day! I thought it would be fun to share some scrapbook pages that I created many years ago when I first started demonstrating.
Times and embellishments have changed greatly since then, but the photos and memories we save will always touch our hearts. I admit, I prefer the “hands-on” approach to scrapbooking vs. computerized.
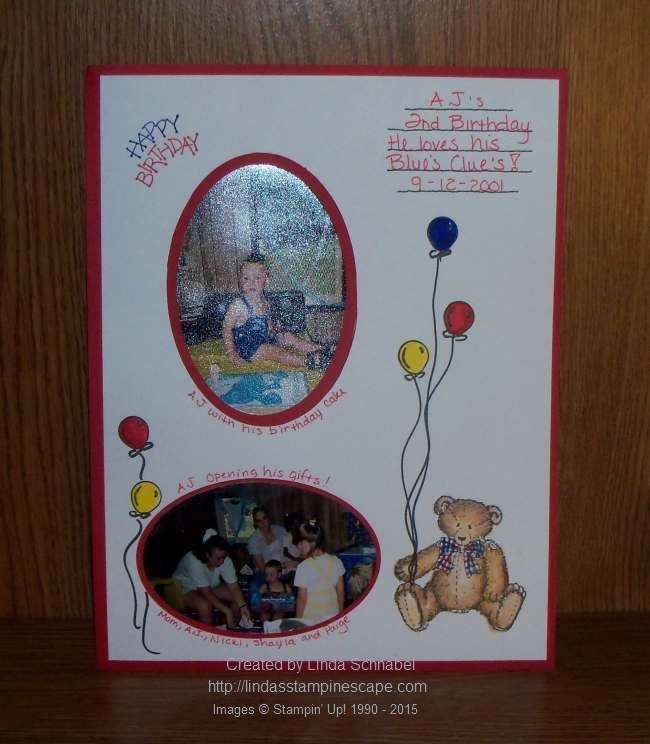
In the spirit of “Throw Back Thursday” … do you remember Button Bear!! Very, very popular when I started stamping. Here he is helping my grandson celebrate his birthday!
Not sure AJ would want me scrapbooking him with Button Bear anymore … he’s more into BMX bikes!
Here is another page done with a camping stamp set. Now I would use the “Project Life: Let’s Get Away”. One of the sayings in that set is “To Live is to Travel” … I think Shayla would agree to that. I think I instilled the love of traveling into her.
I really do miss that swirl stamp for my pages though … I always thought that looked so cool!
My last page is another birthday … Cassie’s first! I haven’t done a monochromatic page in a while, and now most of my pages are done in the 12 x 12 format.
With so many birthday stamp sets to choose from, it wouldn’t be hard to create a page. Two of my favorites are “Birthday Yay” because of the numbers and “Sweet Stack” just because I think it’s so much fun.
I think it’s time to begin sharing a little more scrapbooking here on my blog! It’s not something I’ve done much of. Any of these pages could easily be done on a 12 x 12 layout or the Project Life style (where you just pocket photo’s, cards and embellishments.
You can watch this short video to learn a little more about Project Life …
I’ve shared the links to the products I mentioned in the post with you below. Just click on them for more information.
I definitely need to share some updated scrapbook pages … two of these grandchildren are in high school and the other has graduated to make me a great grandma! How times flies.
Just a quick post today as I share an easy way to scrapbook … Project Life. We are so excited that we’ve partnered with the amazing Becky Higgins to bring you the real deal—authentic Project Life products, now in exclusive Stampin’ Up! colors and designs.
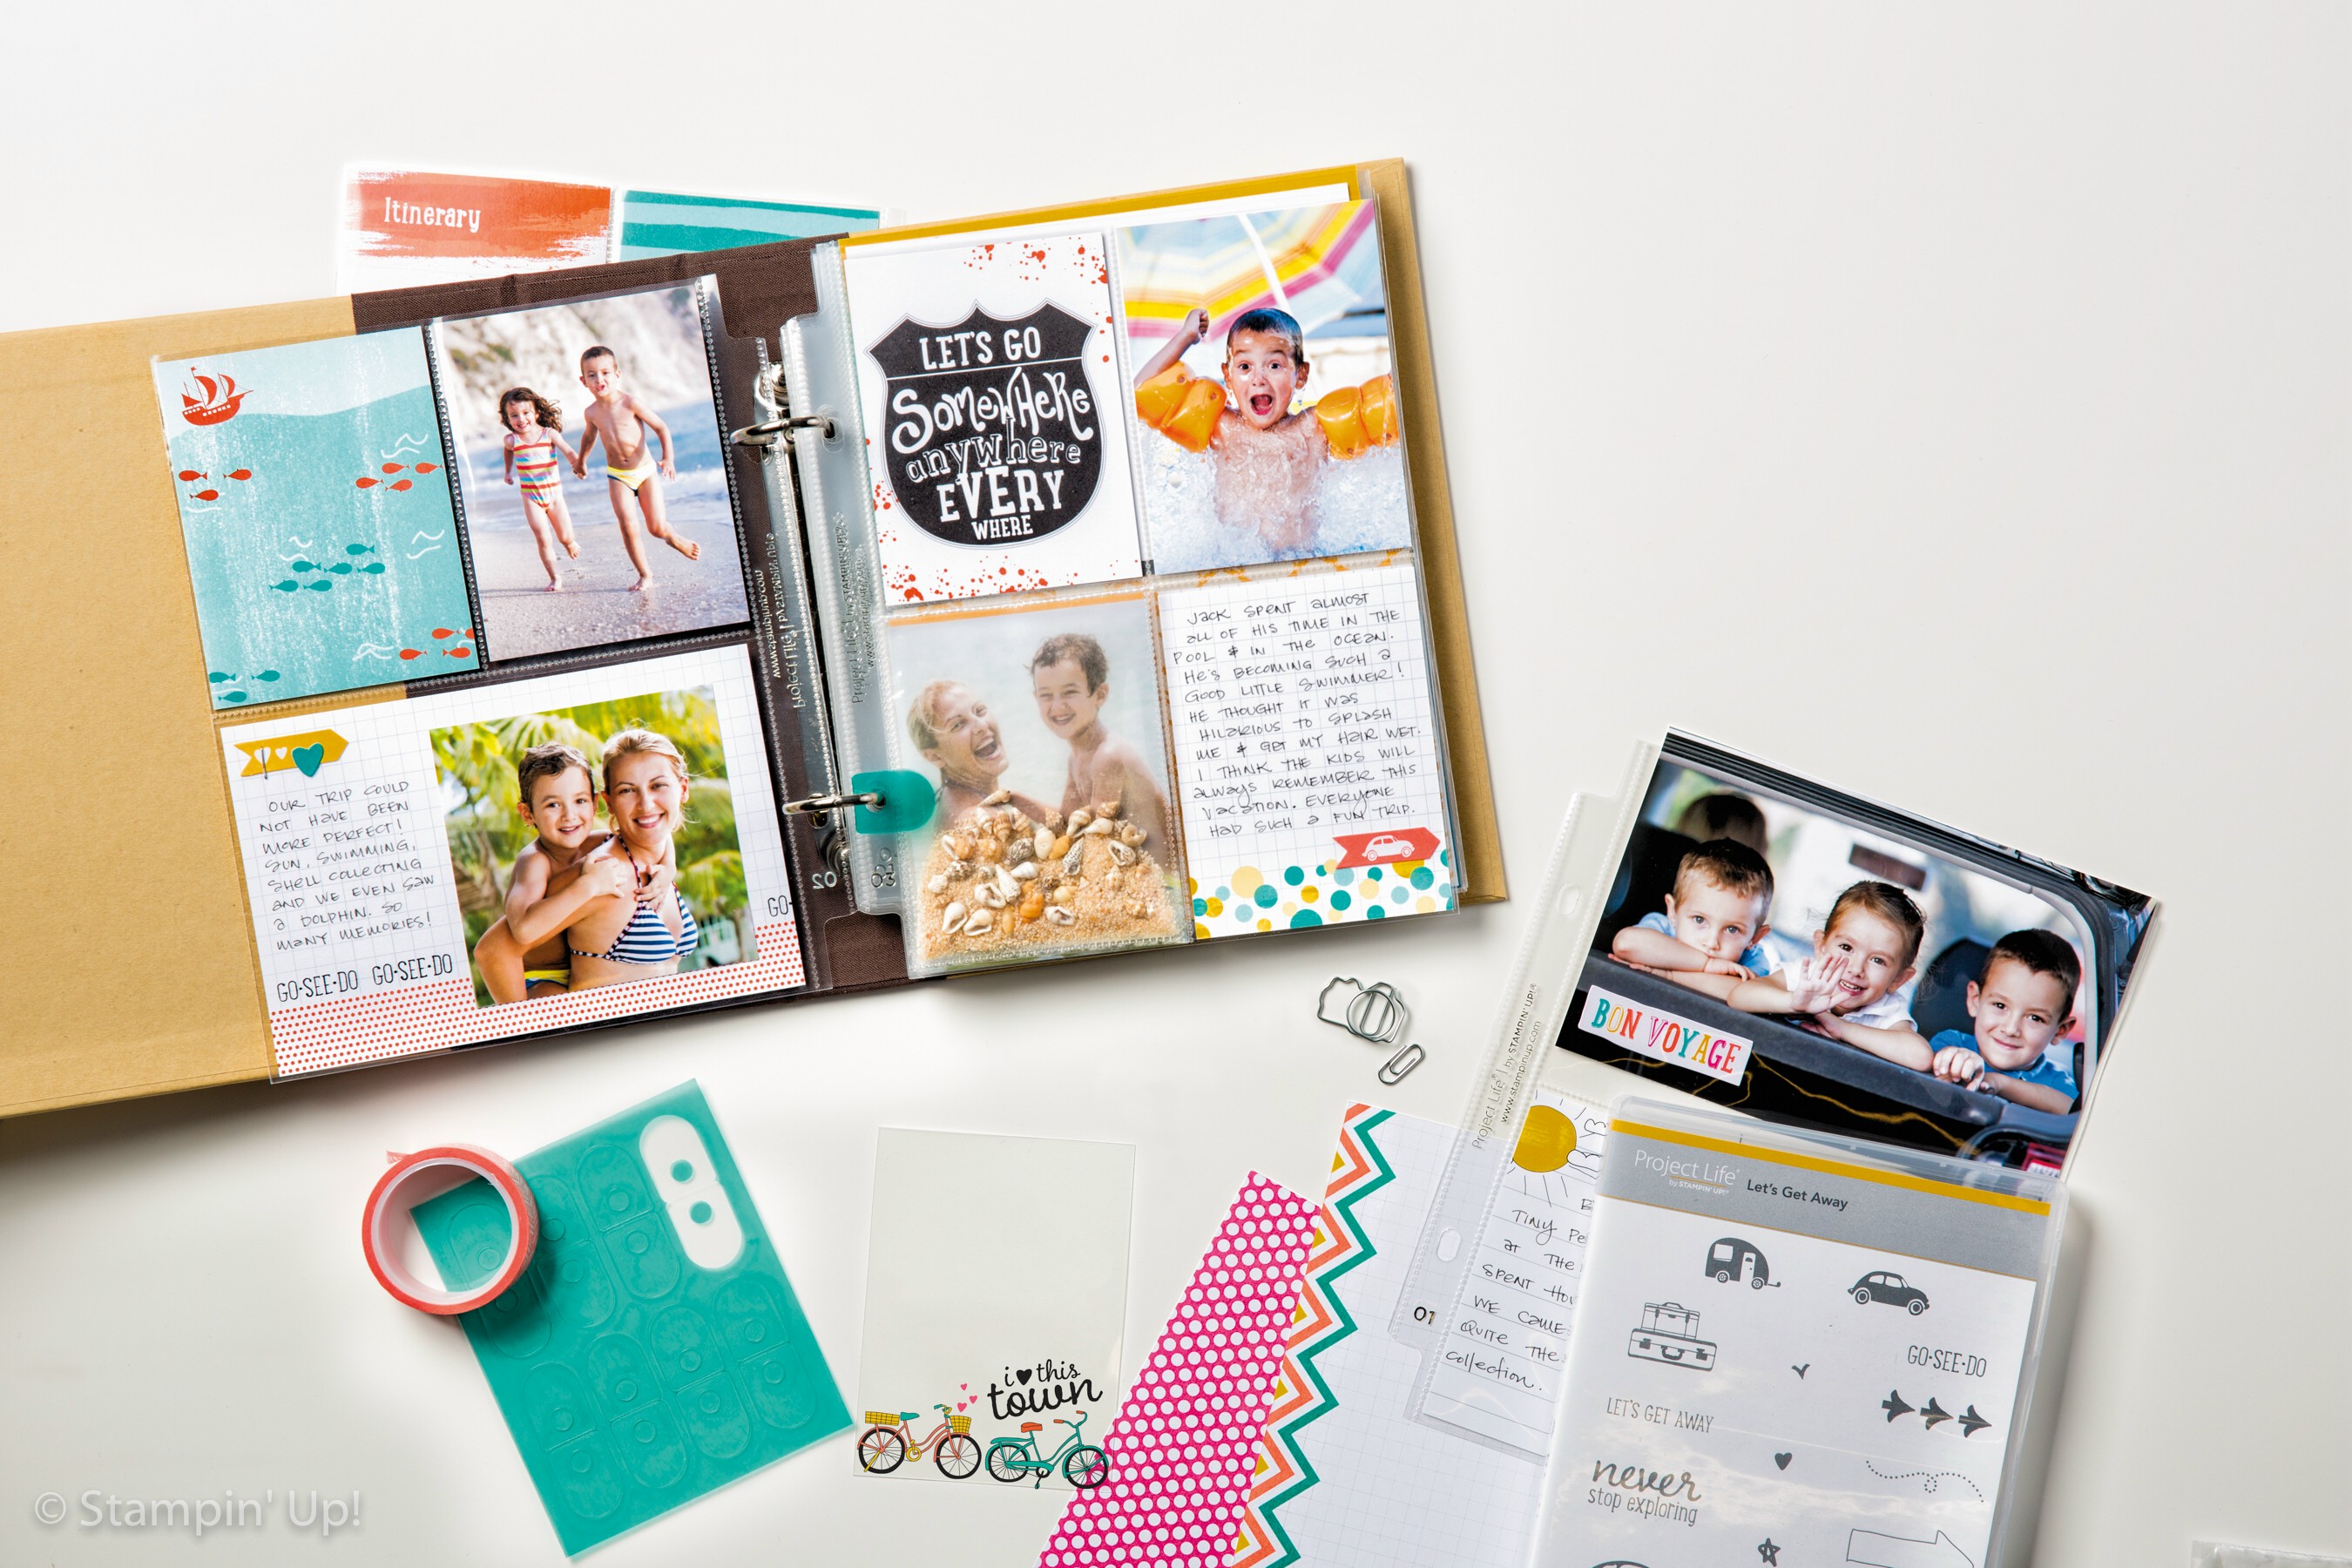
If you’ve somehow missed the Project Life craze and are wondering what it’s all about, we’ll fill you in: it’s a super simple, totally affordable way to get your photos into albums: you just slip your photos into Photo Pocket Pages and add designed cards. It’s a back-to-basics approach to documenting your life. In a nutshell, it’s all about spending more time making memories and less time scrapbooking them.
Your most important souvenir from any trip is your memory album! Get caught up with your memory keeping and use Project Life® by Stampin’ Up! The Let’s Get Away Card Collection is bright, whimsical and loads of fun. Get yours today… Just click on the links below!
Easy … Simple … Why not scrapbook your next vacation. Here’s a tip … bring the cards along on your trip and have your kids write down their experiences that day. Then you can just slide them into place and add photos!! Done … and Done!
Thank you for stopping by. Tomorrow I will have the card “From Land to Sea” as promised yesterday.
What did you think about yesterday’s announcement … 4 more amazing Sale-a-Bration products released just for the month of March! Click on flyer to view …
I have a cute project to share with you today! As promised … I will be using the “This Day” Project Life by Stampin’ Up! Mini Card Collection that you will find in the Sale-a-Bration catalog.
I have teamed it up with 2 great products … First, our February Paper Pumpkin and second, our newest photopolymer stamp set … “Loving Amazing You”.
The results from combining these 3 projects are a bold, fun and simple project to create! Let’s begin with the cute little box that is enclosed in the Paper Pumpkin kit …
I simply trimmed down one of the cards from the Project Life by Stampin’ Up! Mini Card Collection – “This Day”, then stamped the envelope from the “Loving Amazing You” stamp set in Daffodil Delight and topped it off with the greeting done in Pool Party.
It’s my representation on “Sending (the envelope) good wishes your way!
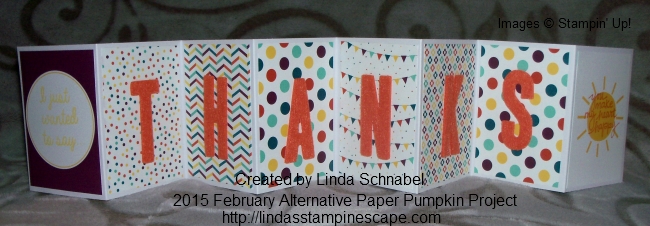
The inside of the card was super simple ….
I trimmed down the cards to 2-1/2″ x 3-1/2″ and used the felt “T-H-A-N-K-S” from the Paper Pumpkin kit. I love the bright colors … it’s just so “FUN!!”. I think it looks like a party 🙂
Ohhhh … what a great thank you card to give to that special person who got you that “just what I wanted” gift.
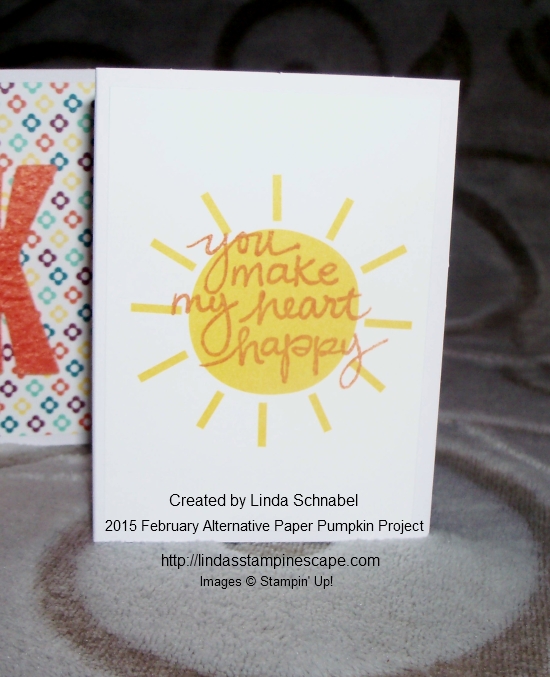
I finished it off by adding a cute little verse to the back … the sun is just another one of the cute cards enclosed in the Card Collection. All the stamps came from the “Loving Amazing You” stamp set.
Hope you enjoyed my cute little project as much as I had fun making it! Quick and Simple, fun and cute!
Thanks much for stopping by today.
Brighten someone’s day … just by saying “THANKS” ~
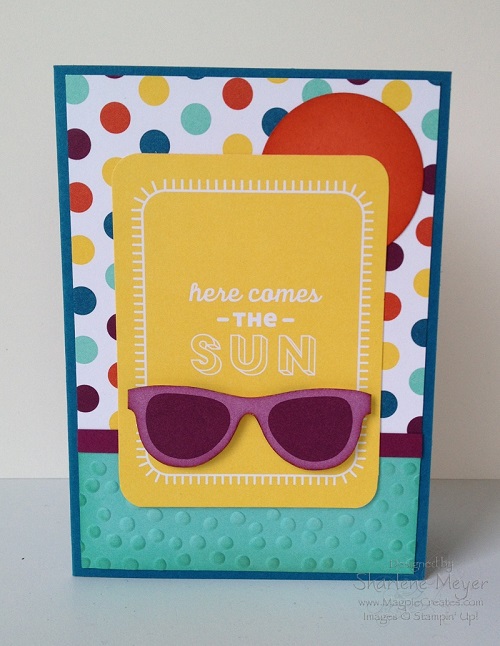
Today I would like to share with you two cards that were created by a fellow demonstrator to showcase this past weeks Sale-a-bration product of the week … the “This Day Project Life Mini Card Collection”.
This Day Project Life Mini Card Collection is a Sale-A-Bration-sized Project Life card collection that will introduce you to Project Life, for customers who already love Project Life, it’s another darling card set they can use in their memory keeping.
Just take a look at these cute cards …
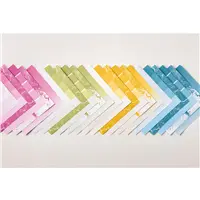
This Day is perfect for capturing the airy essence of summer and includes fresh spring and summer designs, as well as great everyday artwork in Coastal Cabana, Daffodil Delight, Island Indigo, Rich Razzleberry, and Tangerine Tango. The collection includes 30 double-sided cards: 20 3″ x 4″ and 10 4″ x 6″.
With a $50 purchase (before shipping & taxes) you can chose the “This Day Project Life Mini Card Collection” for FREE! CLICK HERE TO SHOP NOW
I want to thank our talented artist, Sharlene Meyer for sharing these cards with Stampin’ Up! and the rest of the stamping community.