Hello Stampin’ Friends ~
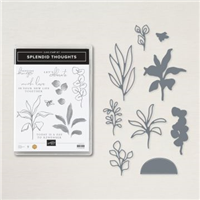
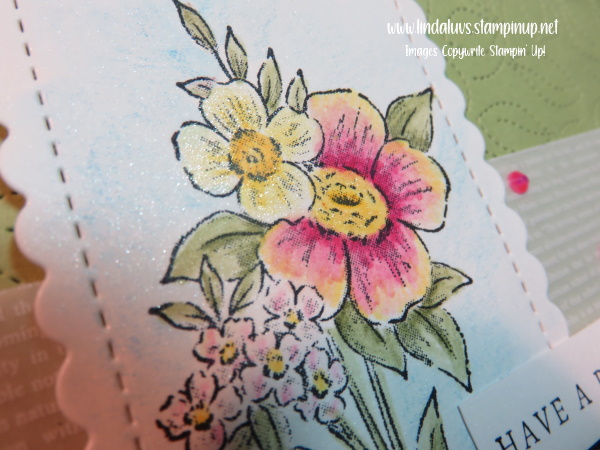
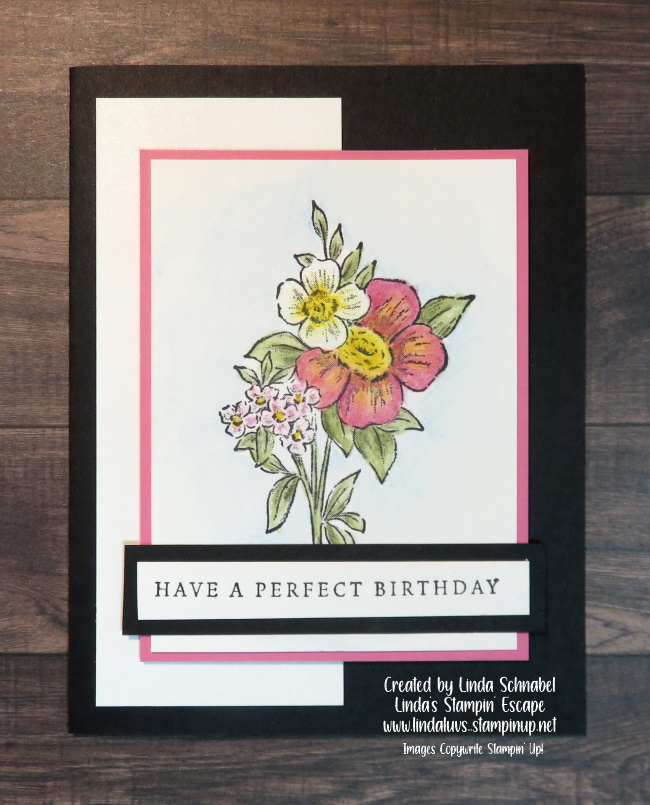
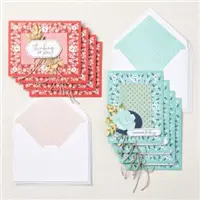
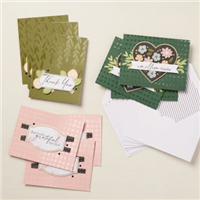
Today I’d like to share one of the cards that we made at my Stamp Club party yesterday. I hosted this gathering to “Thank” my group for their support of me and my business by committing to join for the year. We made cards with the new Splendid Thoughts bundle, ate lunch …. too much dessert, and a little “thank you” gift.
It is a little more involved than what I post for Simply Sunday but there are simple techniques that elevate the card …
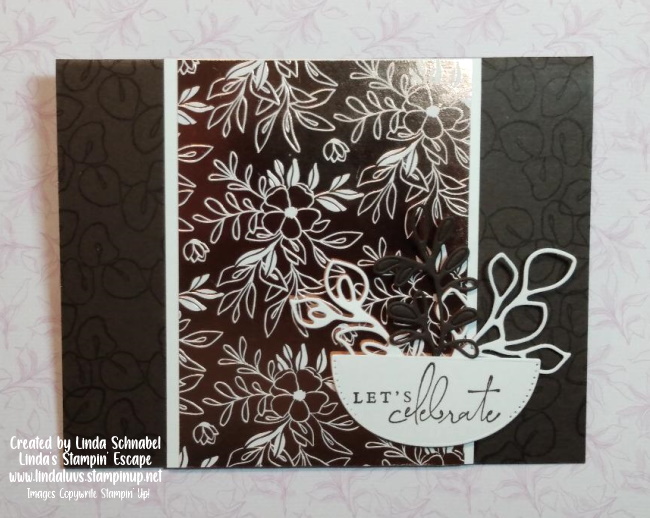
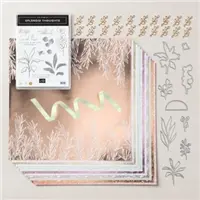
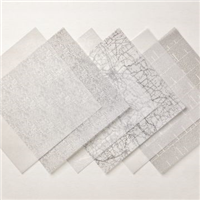
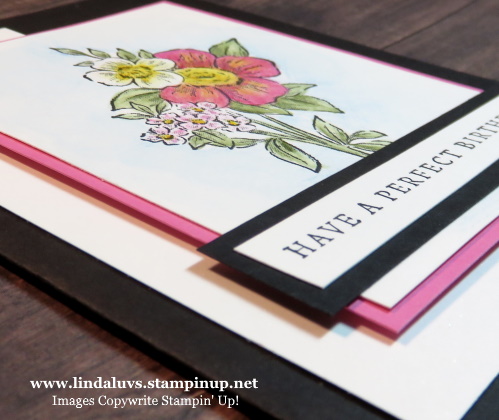
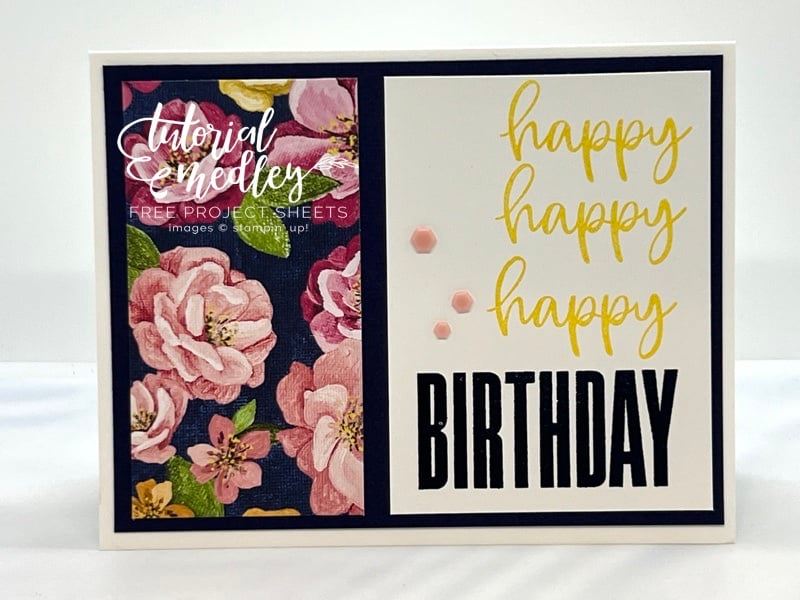
Our basic A2 card base is Early Espresso and was stamped with Early Espresso ink to create dimension to the card. I used the beautiful Copper foil designer paper (4-1/4″ x 3″) and a white mat behind it to bring out the white in the designer paper.
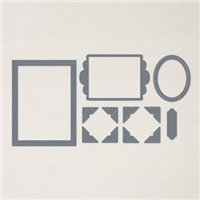
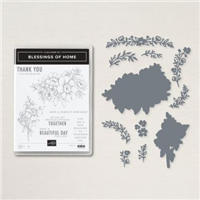
I used Early Espresso ink to stamp the greeting on Basic White and then cut out the detailed leaf dies (one done in Early Espresso). Then we attached the leaves to the back of the die cut greeting and then popped the entire piece up with Stampin’ Dimensionals to create a more dramatic effect.

I left some of the cut areas in the leaf to create an impressive detail that adds more color distinction against the foil. Worked out very nice.
So even though we are using the die cutting tools, I think this card is fairly easy to make, even for my newer stampers. This bundle is so pretty, and the specialty paper … SIMPLY STUNNING!
Thank you for hanging out with me today, I hope you try out some of these stamping technique like the color on color background.
Enjoy your Sunday,

I have a list of the items used to create the card today ….