Hello Stampin’ Friends ~
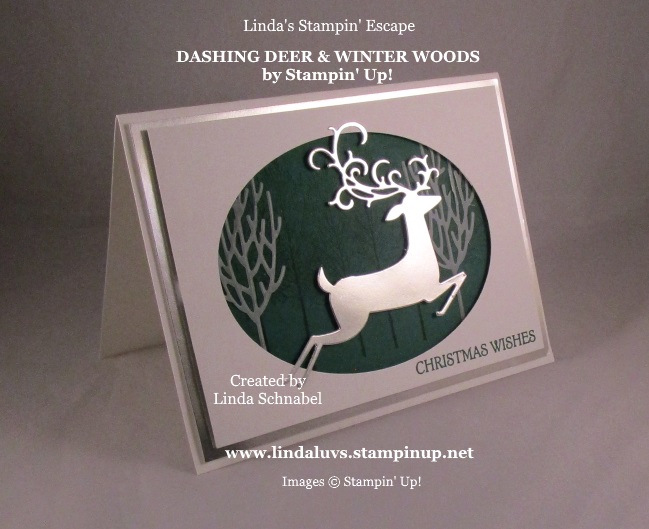
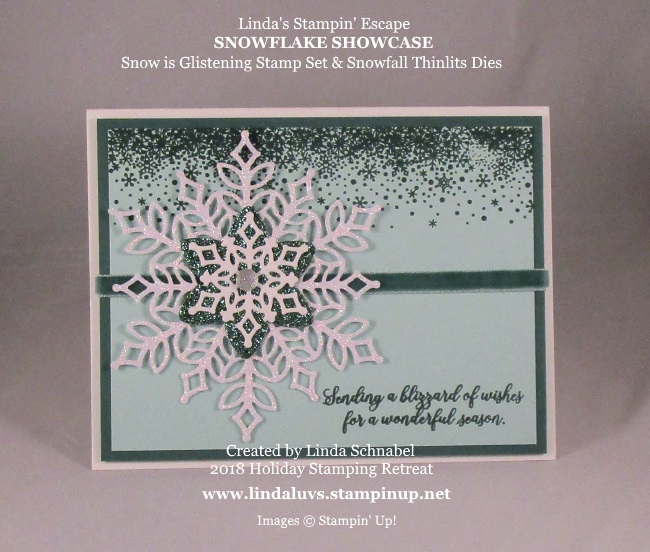
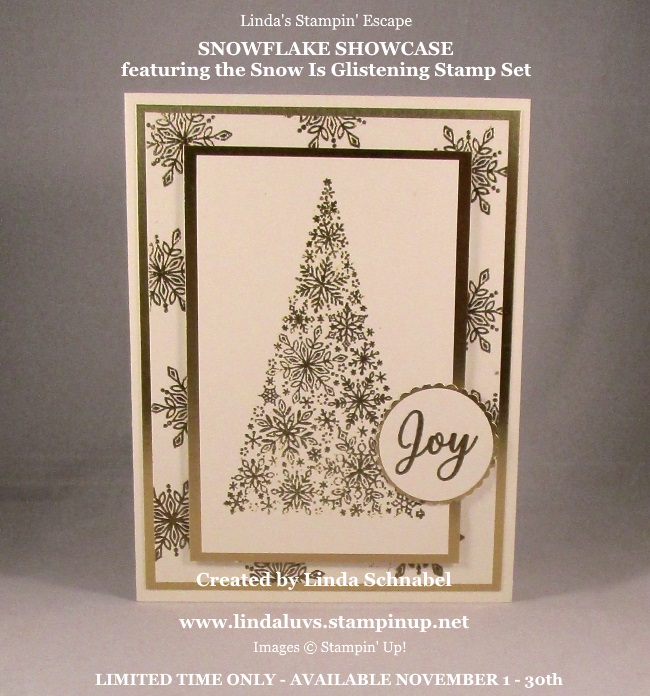
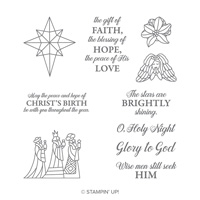
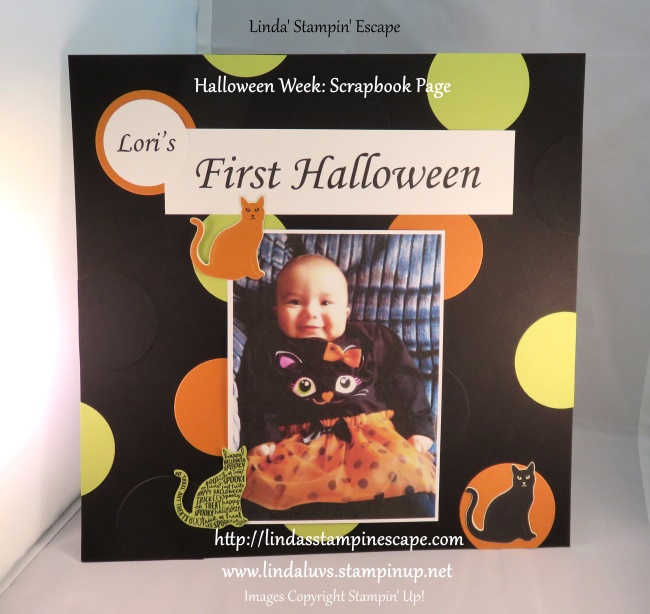
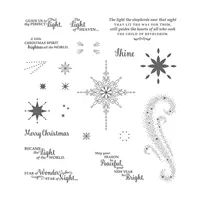
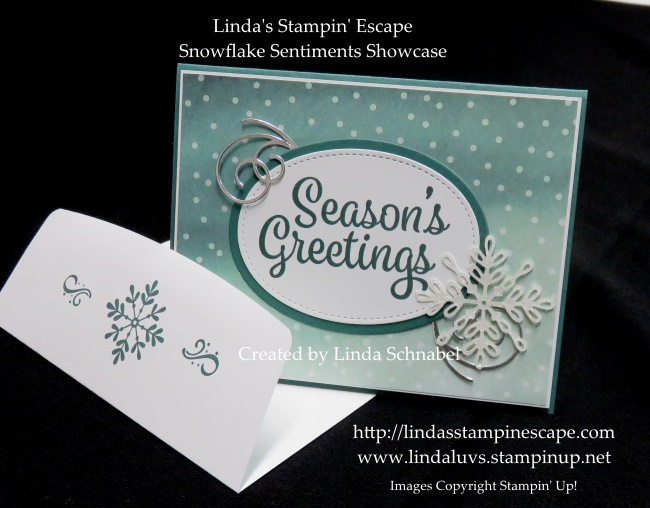
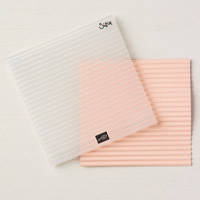
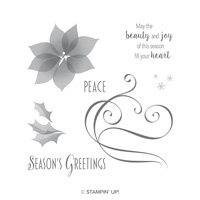
Today I have the details for the Online Extravaganza, plus 2 stunning Christmas Cards I want to share with you!! The cards are a combination of the stamp set “Illuminated Christmas” from the Holiday Catalog and the beautiful Graceful Glass 6″ X 6″ Designer Vellum from our Annual Catalog… the big one!
For savvy shoppers everywhere, this time of year is a dream come true. Some of the biggest sales of the year are happening, which means some of the biggest savings are, too! We hope you are ready to save big, because Stampin’ Up! is throwing a spectacular six-day promotion with exclusive, limited-time deals. Get ready for Online Extravaganza!

Online Extravaganza will run for six days. During this time, we’ll be throwing three, 48-hour sales featuring a selection of products from the 2018–2019 annual catalog—all at 10% off! Each 48-hour sale will feature two product categories (e.g., paper, stamps, ink, etc.). When one sale ends, the next sale begins; this cycle will continue until Online Extravaganza is over. By the end, nearly every item from the annual catalog will have been sale!
November 23–24
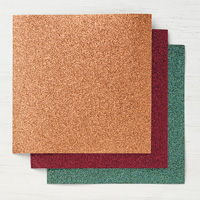
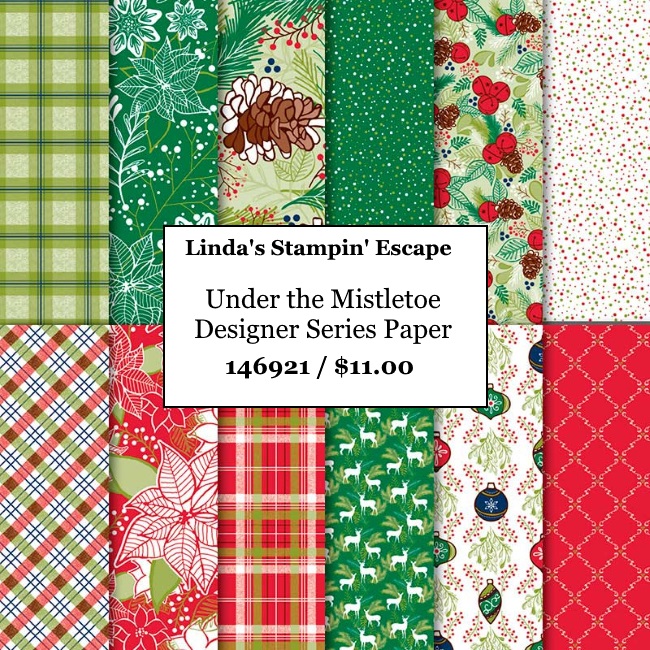
PAPER & EMBELLISHMENTS
* Bags
* Brads and Buttons
* Cards and Envelopes
* Cardstock
* Designer Series Paper
* Embossing material
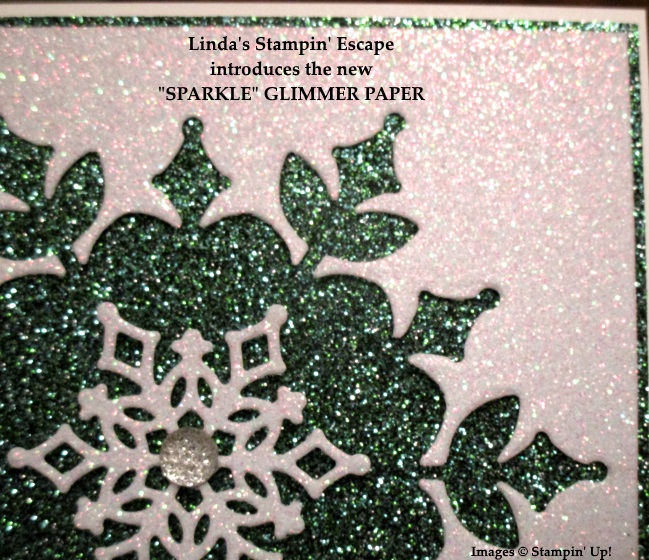
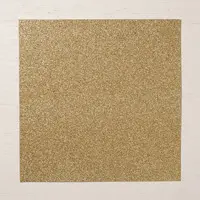
* Glitter
* Ribbons
* Twine
* Specialty Paper
* Tags
* Washi Tape
November 25–26
STAMPS & KITS
* Stamp sets (clear-mount, wood-mount, and photopolymer)
* Project kits
* Card kits
* Kit refills
* Memories & More
* Punch box kits
November 27–28
TOOLS & INK
* Adhesives
* Applicators
* Cleaners
* Cutting tools
* Embossing folders
* Framelits and thinlits
* Ink Pads
* Ink refills
* Markers
* Punches
* Scoring Tools
* Stamp blocks and cases
Please let me know if you have any questions regarding this sale, or if you will need any help placing your order.
As I shared earlier in the post, the cards you are about to see are a combination of the stamp set “Illuminated Christmas” from the Holiday Catalog and the beautiful Graceful Glass 6″ X 6″ Designer Vellum from our Annual Catalog… and the Vellum will be on sale November 23rd and 24th!

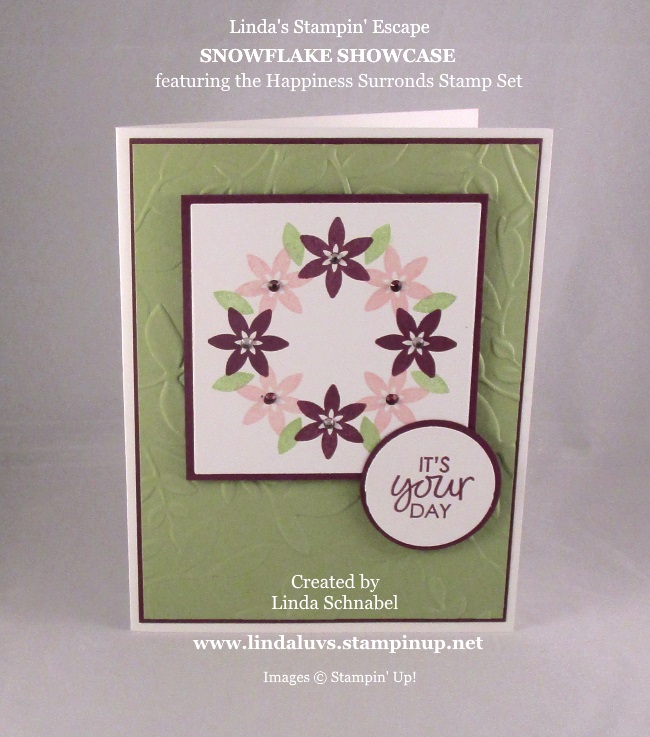
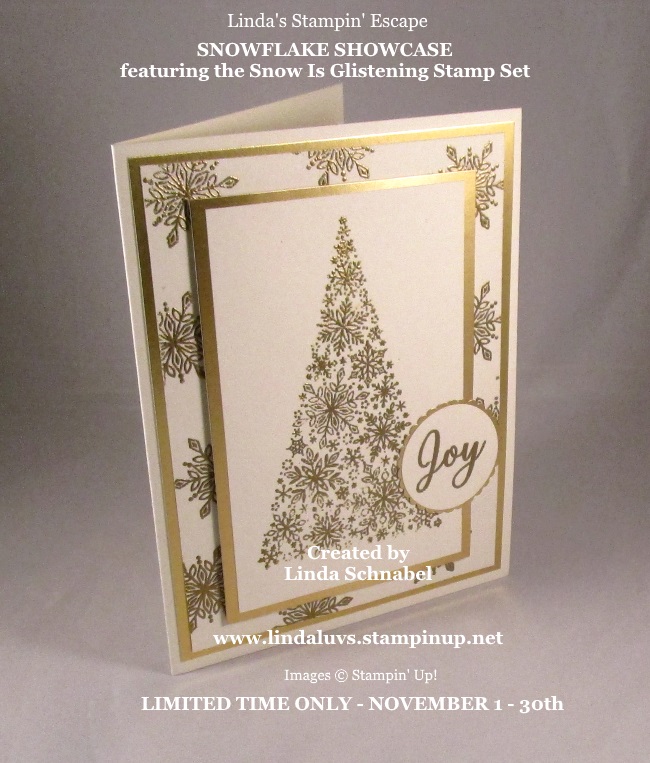
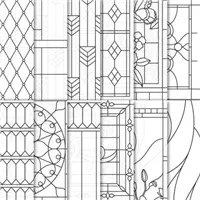
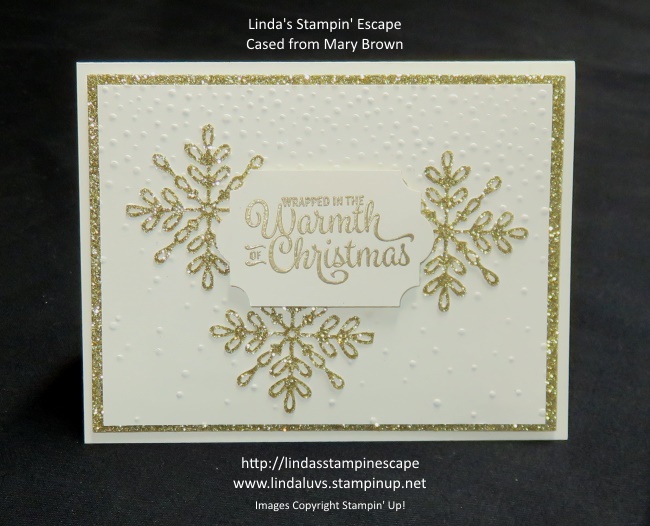
Aren’t these cards just stunning! I love the look of stained glass in combination with the “Illuminated Christmas” from the Holiday Catalog. The O, Holy Night card is my favorite.
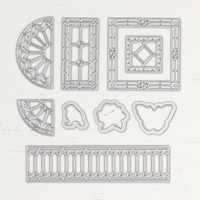
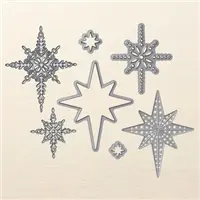
The vellum is subtle and uncolored on this card but it still makes a statement. The beautiful star that draws your eye to the card and then the use of the Stained Glass Thinlits Dies as it highlights the Three Wisemen… I love it!!
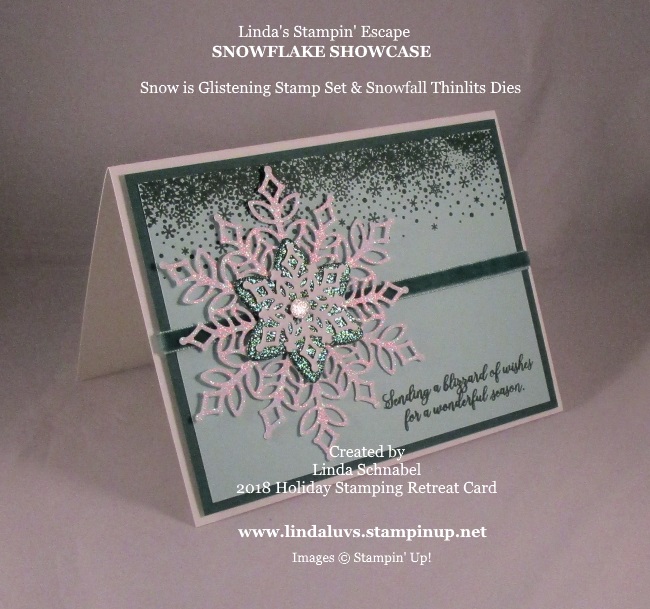
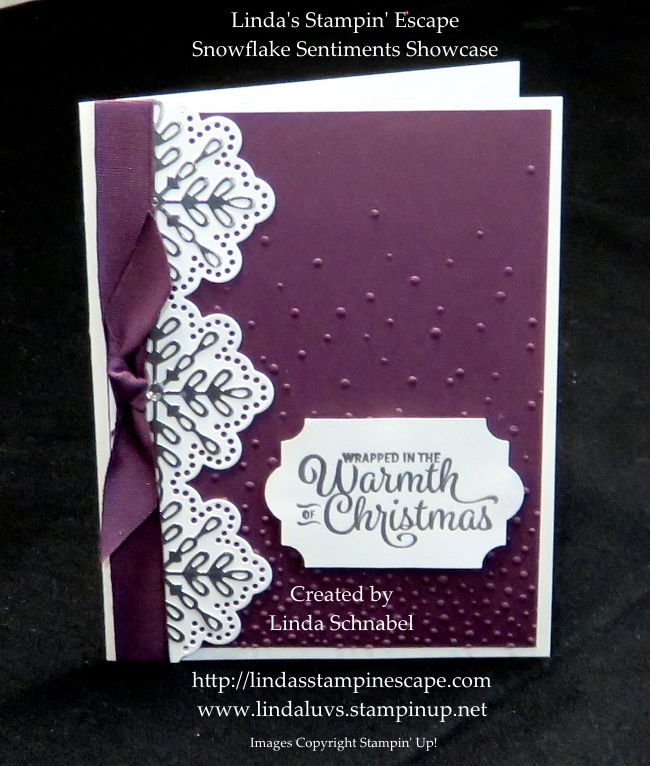
The “Hope” Card is beautiful too with it’s colored vellum. This card also used the Stained Glass Thinlits Dies and the Subtle Dynamic Embossing Folder. What’s neat about this card is, you have a beautiful layout now, and you can transform it just by switching color pallets … the blues would be gorgeous too.
Remember … The dies, folders, and designer papers from the Annual Catalog will be on sale. Save 10% on the majority of the products needed to create these cards.
Let me know if you need any help placing your order, or if you just have a question about it.
Thank you for the visit today,
Hope your day is a good one.
TODAY’S STAMPIN’ SUPPLY LIST …
Please feel free to share or save ...