Oh What Fun!

Hello Stampin’ Friends ~

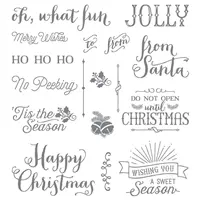
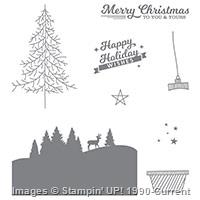
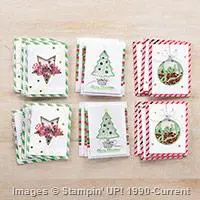
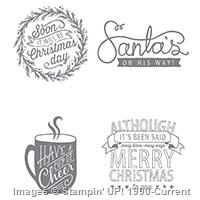
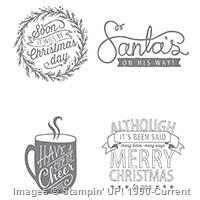
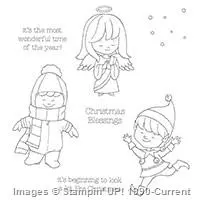
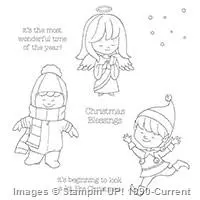
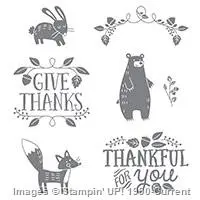
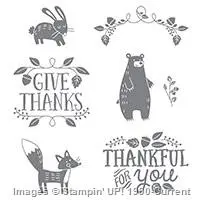
This month I am making Christmas cards with my groups and we are using the “Oh What Fun” stamp set, so today I’d like to share with you the post from Stampin’ Up!s Get Inspired by blog …

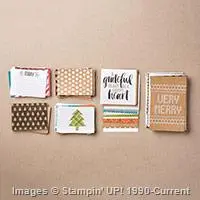
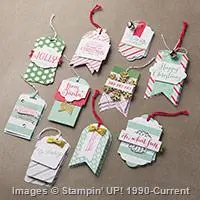
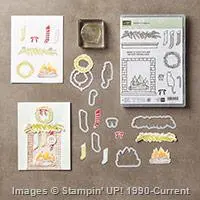
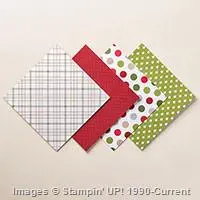
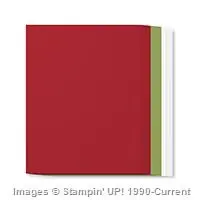
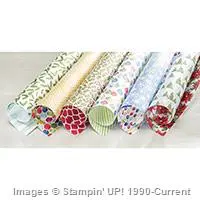
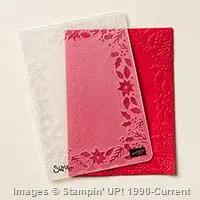
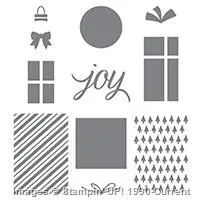
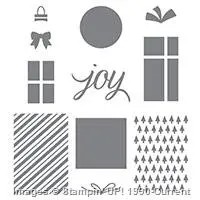
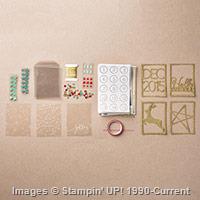
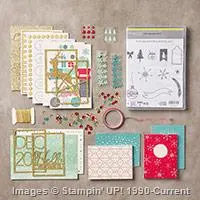
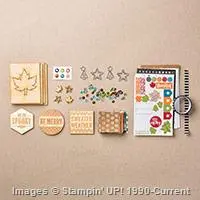
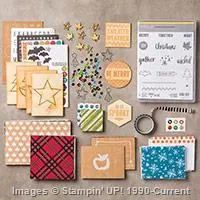
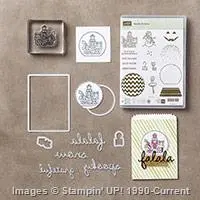
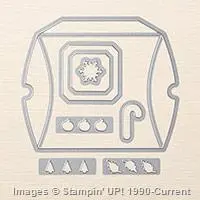
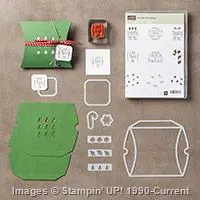
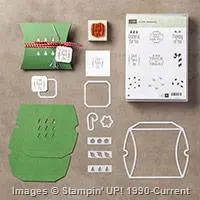
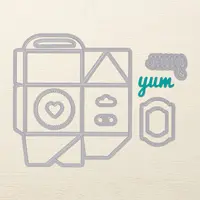
You know when you make a project and you love it SO much you just have to stare at it a lot and show it to everyone and admire it for days? That was me with the Oh What Fun Tag Project Kit (item 139602)!

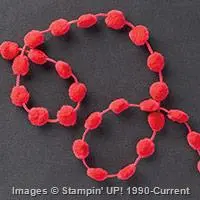
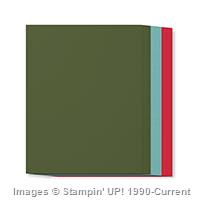
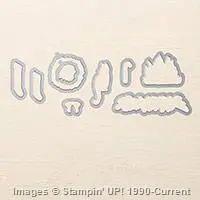
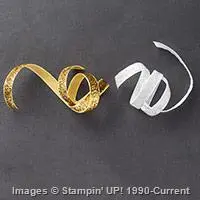
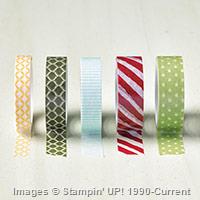
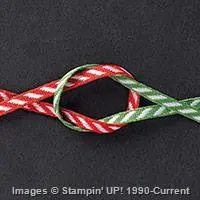
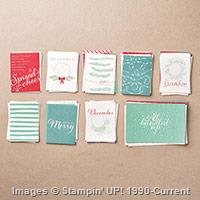
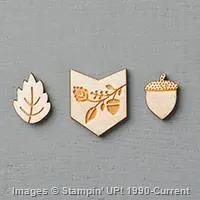
Just last week I cracked open this kit for the first time and fell completely in love. Here’s the thing. I knew that the kit would have all the precut consumables to make 30 tags . . . but what surprised me were all the gorgeous details, how much fun I had, and how I loved them so much that I needed them out on my desk for days.

oh-what-fun-full-kit

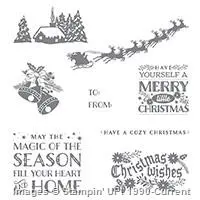
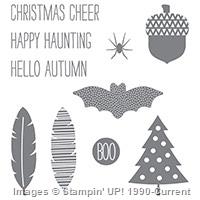
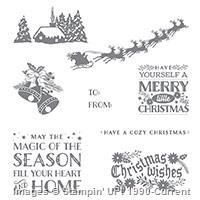
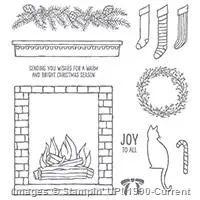
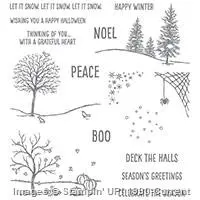
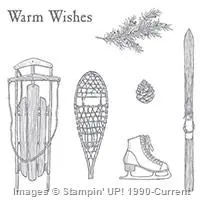
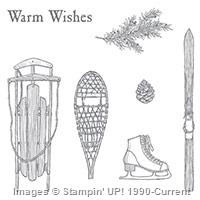
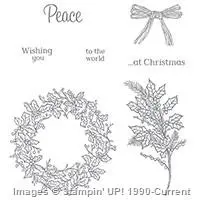
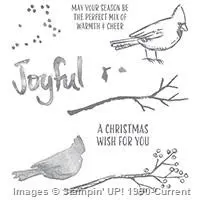
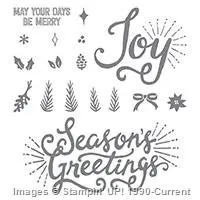
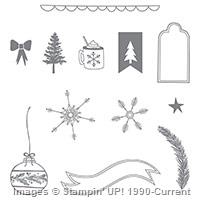
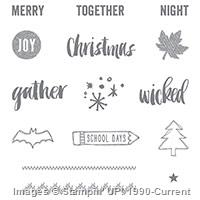
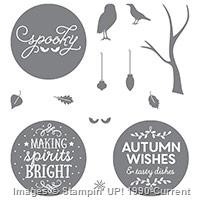
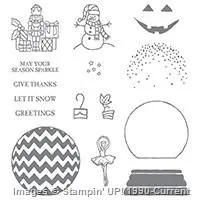
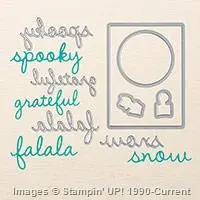
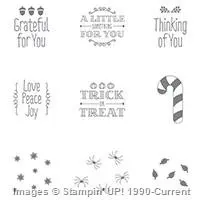
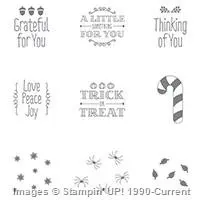
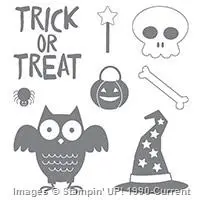
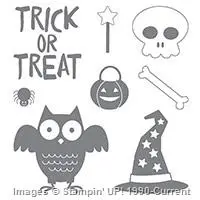
You can put these tags together however you want. I changed up the stamping a little since I wanted most of my tags to say “to/from” on the front. The images in the coordinating Oh What Fun Stamp Set (item 140386) were perfect! I used them on all the tags.

oh-what-fun-1

oh-what-fun-2

oh-what-fun-3

And as if all this cuteness wasn’t enough, this kit is on a great deal too! Grab your own and before you know it you’ll be falling in love with your own set of Oh What Fun handmade tags.

Happy Stamping,
Brandi B. Curriculum Developer & Trainer

I hope you enjoyed these tags as much as I did. Thanks to Brandi for the great samples.

Have an awesome day ~

blog-closing-small


Let’s Be Jolly

Hello Stampin’ Friends ~

Today I’d like to share with you a quick and simple way to whip up a card! One of the easiest way’s to create a quick card is by using one of our “Project Life” Card Collections. My card today was made with the “Seasonal Snapshot 2015” Card Collection.

000_2930

The double sided, color coordinated cards come in 3 sizes, so it’s easy to layer coordinating pieces for your card. Because they are sized for a scrapbook pocket, the larger pieces may need a bit of trimming, but hey … put that piece inside your card!

000_2934B

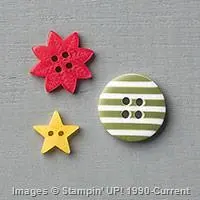
I really thought the “Let’s Be Jolly” was fun and that it looks great against the background card, but I wanted a pop of color … my solution was to add one of the cute holiday buttons from the “Home for Christmas” Designer Buttons and white bakers twine.

Thank you for spending part of your day with me …

Hope you have a “Jolly” kind of day!

blog-closing-small

TODAY’S STAMPIN’ SUPPLY LIST …

000_2934B


Flurry of Christmas Wishes

Hello Stampin’ Friends,

First I’d like to send my respects to all our past and present military … As we remember Pearl Harbor.

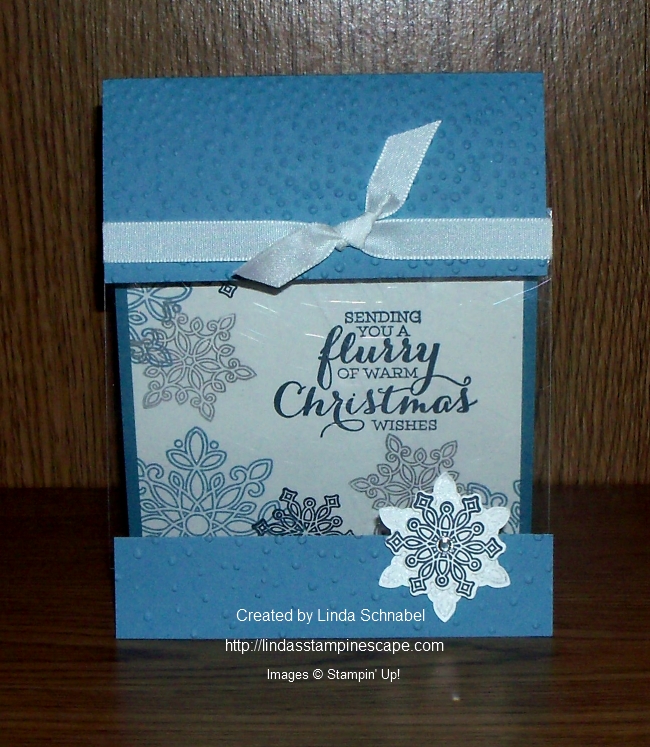
Today I’m going to share one of the two cards that I designed for our November Technique Club. We are focusing on the different techniques and ways to use the “Window Sheets” … part two of our class will be in their January club dates.

This card illustrates the “window” as the front of our card. The majority of the stamping is done on the inside and the window allows you to see it all.

000_2926

I cut the cardstock … Marina Mist to 4-1/4″ x 11″. Then we score at 5-1/2″ … cut at 7-1/2″ and 8-1/2″. You will need that 1″ piece for the bottom of your card. Your window sheet needs to be cut to 4-1/4″ to at least 3-1/2″ or 4″ depending on how much of the window you want to secure to the back.

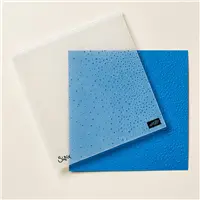
We used the “Softly Falling” embossing folder to create a nice pattern on the front of the card, then secured the window sheets to the inside front.

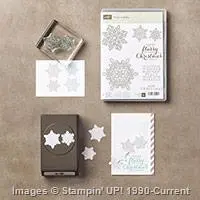
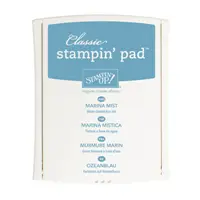
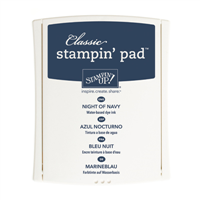
The inside is stamped in Marina Mist, Night of Navy and  Silver Encore ink with the beautiful “Flurry of Wishes” stamp set. I bundled my stamp set with the coordinating punch “Snow Flurry” to receive the 15% discount. We all love a savings a Christmas time.

CHRISTMAS WISHES

We completed our cards with a simple bow using the 1/4 cotton ribbon.

If your in my neighborhood you could join us during our Saturday club session … we have a few spots available.  Check my “CLASSES & EVENTS” Click to View. Club Date is January 9th @ 9am.

Let me know if you have any questions, I’d love to hear from you.   lindaluvs2stamp@aol.com

Thanks for joining me today.

Have a wonderful Monday!

blog-closing-small

TODAY’S STAMPIN’ SUPPLY LIST …


Simply Sunday / Guest Stamper: Jenny F

Hello Stampin’ Friends,

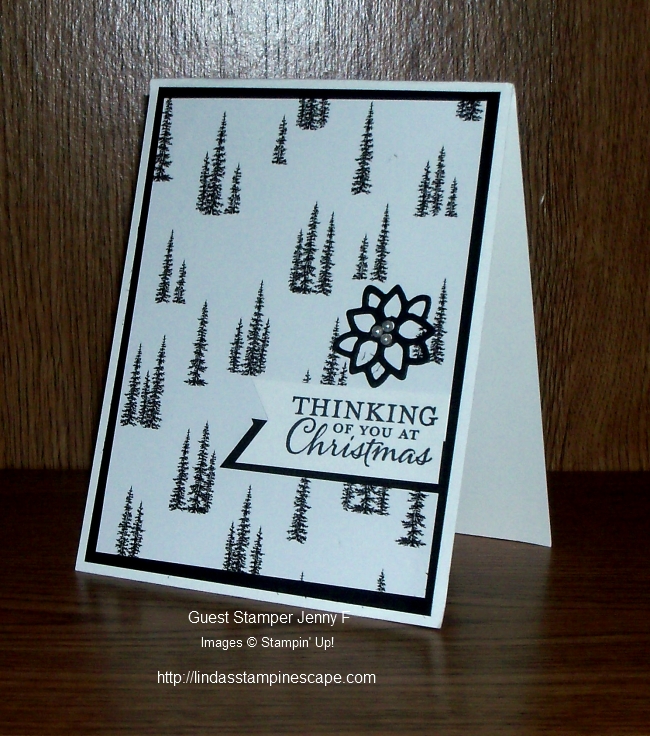
Today I’d like to share with you a card I received from my sideline & stampin’ sister, Jenny F.

Jenny used the beautiful “Winter Wonderland” Specialty Designer Series and teamed it up with the Elegant Ornaments Bundle.

000_2920

This specialty paper has a sheen to it that also adds to the elegance of the card.

The simplicity of the black and white pallet gives an elegance to the card and works great for a gender neutral card.

Hope you enjoyed it as much as I did.

Hope your Sunday is Simply wonderful ~

blog-closing-small


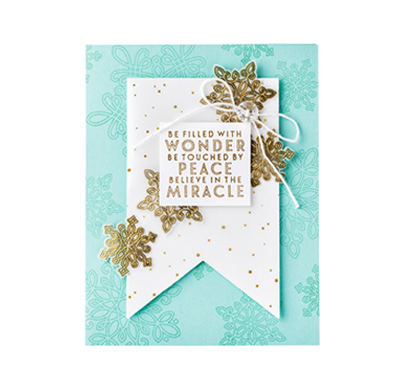
Wonder Peace Miracle Card

Hello Stampin’ Friends ~

Today I have a quick post … it’s a great card I wanted to share with you. This cute little number was created by Stampin’ Up! You can find this card and many other project ideas on my website! www.lindaluvs.stampinup.net (click here)

DBWS_MiracleCard_Gallery_9.2015_NA_SP_EU

Stamps
• Flurry of Wishes Stamp Set

Paper
• Pool Party, Vellum, and Whisper White Cardstock
• Winter Wonderland Designer Vellum Stack

Ink
• Pool Party and Soft Suede Classic Stampin’ Pads®
• VersaMark® Pad

Stampin’ Up! Accessories
• Gold Stampin’ Emboss® Powder
• Whisper White Baker’s Twine
• Vintage Faceted Designer Buttons
• Stampin’ Dimensionals®
• Mini Glue Dots®
• Snow Flurry Punch
• Big Shot™
• Banners Framelits™
• Heat Tool

blog-closing-small


Easy & Elegant Christmas Card …

Hello Stampin’ Friends ~

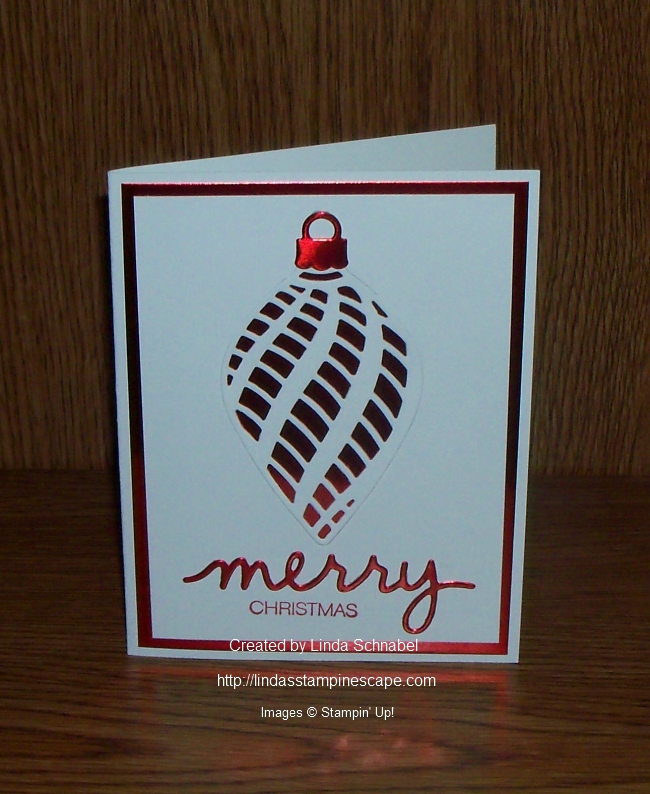
I’m back with one of the cards that we made at our Holiday Stampin’ Retreat. This card is elegant but easy to create! What an awesome combination when making Christmas cards.

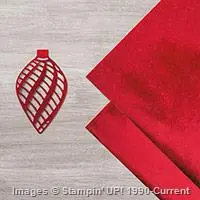
Let’s begin with the “Delicate Ornament” Thinlits Dies … I chose the longer thin one. I really like the soft swirl in the design. Whisper White cardstock was used for my base and the front of my card. Using the BigShot and the Precision Base Plate I cut out the ornament. You will save both pieces as the ornament is laid back into the cut out.

(Note: the Delicate Ornament Dies are bundled with the Embellished Ornament Stamp set ~ A great buy)

000_2913

The Red Foil Sheet is used for the mat and becomes the focal point as it makes the ornament pop! Look closely at my card … you will see that I had enough space to cut my greeting and the ornament top out of the foil before I adhered the card together. Just make sure you are not cutting into the area of the ornament.

My greeting comes from the Holly Jolly Greetings (Christmas) & Christmas Greetings (Merry) Bundle! I love using these two items together … so much you can do with it.

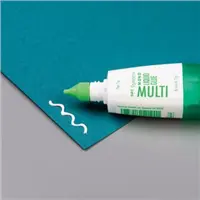
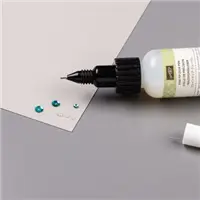
Wow … you’ve just finished the card! Wasn’t that easy … and it’s so pretty. I love the shine of the red foil paper. You can use either the Multipurpose Liquid glue to adhere the ornament and “merry” … however, the new Fine-Tip Glue Pen works slick on the “merry”.

000_2915

As I said, this was one of my Holiday Retreat cards, now with the new Occasions catalog out (for demonstrators now) I’m planning projects for our Spring Stampin’ Retreat. I’ve got an April date planned … make sure you’re on my mailing list to get your invitation!

Thank you so much for stopping by today.

Have a wonderful Friday!

blog-closing-small

TODAY’S STAMPIN’ SUPPLY LIST …


Home for Christmas …

Hello Stampin’ Friends,

Quick post today to share 3 cute projects created with the “Home for Christmas” product suite. “Oh there’s no place like home for the holidays…” says the classic Christmas carol. We’ve captured that nostalgic feeling with our Home for Christmas Suite—including coordinating stamps, paper, and accessories.

SW_HomeForChristmas_Share_112415

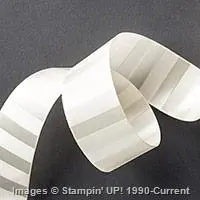
Many of the items used here are now on the retirement list including: Cozy Christmas Stamp Set;  Home for Christmas Designer Series Paper;  Very Vanilla 1-1/4″ Subtle Stripes Satin Ribbon; and Home for Christmas Designer Buttons.

Hope you enjoyed today’s cards ~

Have a wonderful day.

blog-closing-small


Simply Sunday: Santa Baby

Hello Stampin’ Friends ~

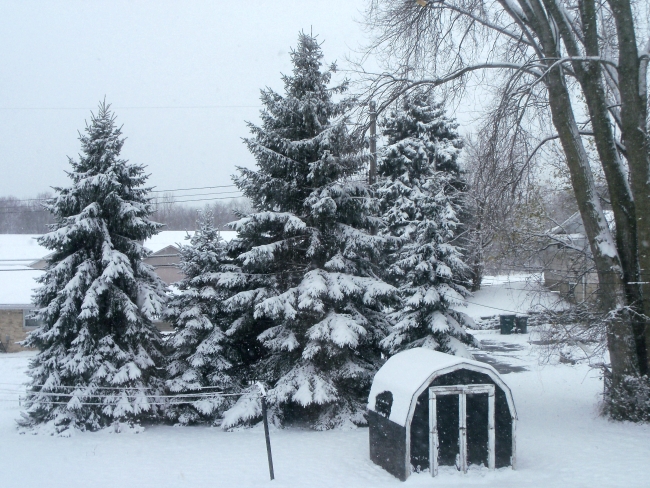
Hope you are having a wonderful weekend. All is calm here as we enjoy the first snowfall of the year. This is a picture of my back yard from my kitchen window …

000_2880

Yes … it was still snowing when I took the picture.  Before we know it, Santa will be on his way!

Speaking of Santa … I have the “Dear Santa” letter for you to pop on your fridge (or someplace your family will find it) so you can get the stampin’ goodies you want for Christmas. I know you’ve been good so there should be no trouble there! lol

Letter to Santa

If you click on the picture, you will get a larger version to print out. Write down the item number and what it is, even a page number will help to ensure you get exactly what you need.

Now is a great time get those items on your wish list… with all the specials currently going on: Retiring Products, Weekly Deals, and tomorrow starts the big Online Extravaganza! How exciting is that!!

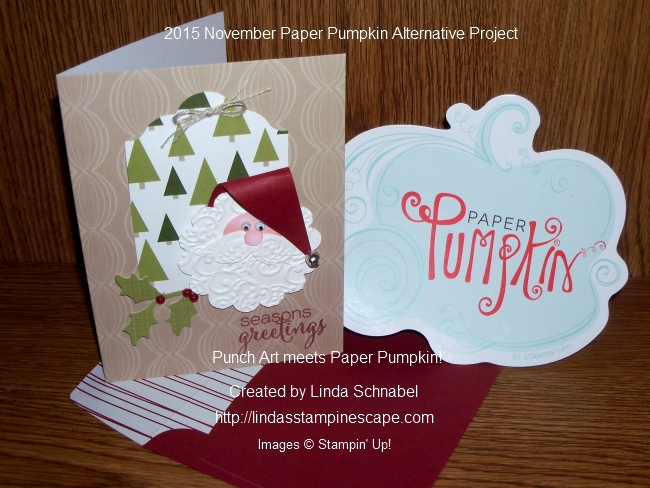
I also have my Simply Sunday card for you … Punch Art meets Paper Pumpkin!

000_2885

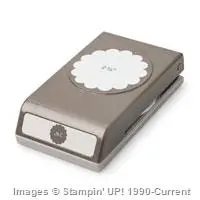
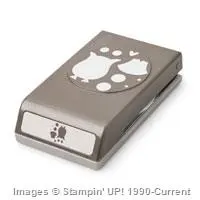
I used the 2-3/8″ scallop circle punch for the base of my Santa.  I did pull out a few of my retired items to embellish Santa … the eyes, jingle bells, small oval punch and embossing folder (all Stampin’ Up! items).

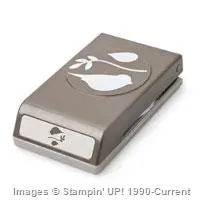
Santa’s mustache are the wings from the bird builder punch and his nose is the medium size circle from the Owl Builder punch. The designer series paper is from the Merry Moments designer paper in the annual catalog. Everything else is from our Paper Pumpkin kit. Nothing simpler than working with your Paper Pumpkin.

Hope you enjoyed the card. Please let me know if you have any questions about my card or Santa’s Wish List… you can leave a comment in the comment box or e-mail me at lindaluvs2stamp@aol.com

Thanks so much for spending a part of your Sunday with me.

Have a wonderful day ~

blog-closing-small

TODAY’S STAMPIN’ SUPPLY LIST …


Merry & Bright …

Hello Stampin’ Friends ~

Yesterday I promised to share a design of my own, created with the new November Paper Pumpkin. This kit is so fun to play with, I can’t wait to show you my card.

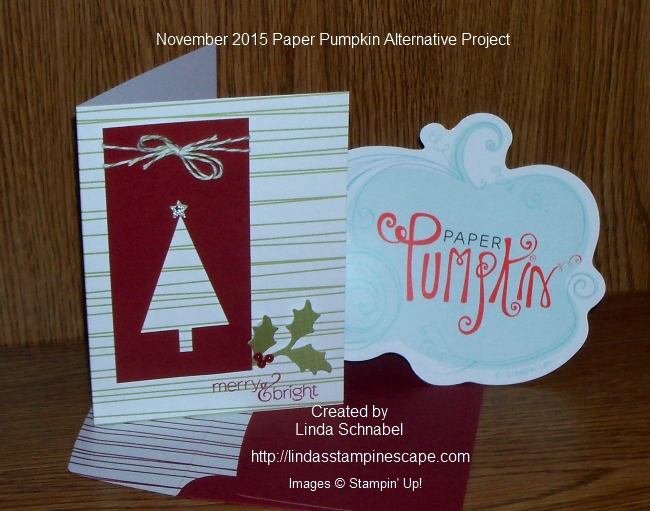
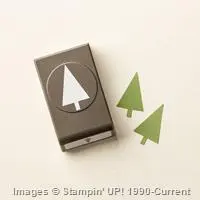
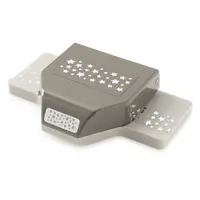
As you know, I try to stay very close to the supplies in the kit … the only outside products I used is the Old Olive Bakers Twine and the Tree Punch (You all have those already … right). Oh yes, and I did use the Star Border Punch as well …

000_2873

I love the way this turned out … it’s so cute!! I can’t wait until the kits go into the “Past Kits” section and I can order the refill kits … I just may use these for my Christmas Cards!

So simple to create, I just punched out the tree out of the Cherry Cobbler Cardstock included in the kit, tied a bow on the top with the bakers twine and popped it up with the dimensionals that are included in the kit.

Why don’t you take a look at Paper Pumpkin  Check it out here.  It’s no hassle and if you want to take a break you just stop your subscription, then start it up again.

000_2876

Of course I had to add the holly … it adds a christmassy (is that a word?) touch to the card, and the font for the “merry & bright” works great with this layout.

I punched the star from the Star Border punch out of the Silver Glimmer Paper and then added a rhinestone to top my tree.

If you’d like to start a paper pumpkin subscription, take a look at these…

Supply List

Built for Free Using: My Stampin Blog

Please let me know if I can help you answer any questions you may have about Paper Pumpkin, or if I an help you with an order.

Thank you so much for stopping by. Stop back tomorrow and I’ll show you an alternative card you can create with this months Paper Pumpkin.

Have a wonderful day ~

blog-closing-small224858_342384982535373_361578790_n

ADDITIONAL SUPPLIES USED TODAY …


November Paper Pumpkin goes Christmas!

Hello Stampin’ Friends ~

I’d like to welcome all of my new blog followers! I’m honored that you have chosen to follow my blog.  Feel free to comment anytime … I’d love to here what you think.

Guess what came in my mailbox yesterday … Oh YES, my Paper Pumpkin kit!  I’m so excited. I love, love, love this kit!! It is for the Christmas Holiday and comes with the stamp set, ink and everything you need to make 10 cards including the envelopes!

Really, the cards alone are worth the $19.95 (includes shipping) Only $2.00 per card, that’s about what you pay at one of my stamping events … PLUS you get the stamp set to use over and over! This is at least a $15 value …

000_2869

Cute, right! You know what else … once you’re a subscriber you can purchase the refill kits for only $8! That’s another 10 cards with envelopes for $8.  Wow … you could get your Christmas cards hand stamped in no time with this kit!! Check it out here.

OK … now let me show you the cards! There are 5 each of 2 different patterns (your 10 cards).

000_2860

000_2865

Don’t you just love them!? They even come with mini dimensionals … they’re so cute!! They go behind the Mistletoe and Holly.

I invite you to sit back and watch the video to see how easy they were to make …

These cards were really easy to make and they are so cute. If you’d like to start a paper pumpkin subscription, take a look at these…

Supply List

Built for Free Using: My Stampin Blog

 Enjoy a prepaid delivery of Stampin’ Up!’s subscription kit program. A fully designed project kit will arrive each month with stamps, ink, and paper–everything ready to go so you can skip to the fun part of crafting. They also make a the perfect gift.

After you order, you’ll receive a code via e-mail to redeem your subscription at PaperPumpkin.com.

Don’t forget to get your name in the drawing for a Free Stamp Set of your choice … just use the Hostess Code below. Do Not use the Hostess Kit if ordering over $150 – Redeem your hostess benefits.

224858_342384982535373_361578790_n

Please let me know if I can help you answer any questions you may have about Paper Pumpkin, or if I an help you with an order.

Thank you so much for stopping by. Stop back tomorrow and I’ll show you an alternative card you can create with this months Paper Pumpkin.

Have a wonderful day ~

blog-closing-small

Hand Painted Christmas …

Hello Stampin’ Friends ~

Today I’m going to share a card I created with a few of the items that will be retiring from the Holiday Catalog. I will also be posting the entire list for you to view … I thought that would make it a little easier.

Let’s start with my card …

000_2857

I used the “Boughs & Berries” Embossing Folder … I colored each of the elements by hand using my ink pads and blender pens. If you like to color, it’s a lot of fun and very relaxing.

My greeting comes from the “Versatile Christmas” stamp set. It’s been too long since we have has such a wonderful sentiment stamp set for the Holidays. This is truly a must have in your stamp collection, but hurry … it’s on the retirement list.

000_2853

To finish off my card, I added some red ribbon in a non-traditional way, but I think it fits the style of my card beautifully.

Now I will display the RETIREMENT LIST.  I have uploaded the images by page from the beginning of the catalog so you can follow along. If you would like to place an order, you may use the hostess code listed below …

224858_342384982535373_361578790_n

So grab your Holiday catalog and follow along …

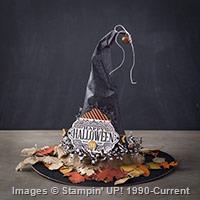
Witching Décor Project Kit – 140969

SOLD OUT

Supply List

Built for Free Using: My Stampin Blog

Just so you know … I did not include the “Hostess” stamp sets although they will be retiring too.  If your order is over $150 – DO NOT Use the Hostess Code / Collect Hostess benefits on your order.

Thanks for joining me today. Please let me know if I can help you in any way.

000_2853

Have a good day !

blog-closing-small

Star’s by Design On Stage!

Hello Stampin’ Friends ~

Yes … I took the day off yesterday. I had a busy week and ended it spending time with some wonderful friends, my downline. On Friday I told you that I was going to the Center Stage event and Saturday the On Stage event hosted by Stampin’ Up!

Five of my downline members were able to attend the event, and it was wonderful spending time with them again. You know me, I love to see my friends face to face, easier to hug!

Stars Team

I’ll start with the bottom left and work my way across the group … First we have Connie (left), Becky (center), and Cheryl (right) … Second row is Debi (left) me (center) and Brenda (right). They look great! Me? I was a bit tired … I drank 3 cups of coffee at dinner the night before (silly me) I was up till 5 am. Only 1-1/2 hours of sleep but I wouldn’t have missed this gathering for the world!!

We’re always looking for more fun lovin’ friends who love to stamp too, to join our group! Be a Star!

Join SU

Wow … lots of fun and so much information was shared. Let me just say … YOU are going to LOVE the new Occasions Catalog! So many fascinating new items … I can barely sit still and will be working on a fabulous presentation for you (as soon as I can).  Right now we are not allowed to show anyone.

000_2848

Until I can share the new Occasions and Sale-a-bration catalogs with you … I will continue to give you great ideas for the awesome products and stamp sets in the Holiday catalog!!

I announced last week that Stampin’ Up! was going to post a retirement list for the Holiday catalog …
ecard_HM-Retiring_dbws_11.23.15_US_CA

We’re saying goodbye to retiring products from the holiday catalog; but before we do, we’re giving everyone an opportunity to order their favorites. Retiring products will only be available until January 4, or while supplies last, so now’s a great time to order them before they’re gone!

CLICK HERE TO BEGIN

Dates: November 16, 2015-January 4, 2016 (or while supplies last)

Holiday  Catalog  Retiring List
These lists are updated daily to show the availability of all retiring products.  To download the PDF for a quick reference click the link on the “Side Bar” and you will always get the updated list. It looks like this …
TH_HM-Retiring_FB_1116_US

OK … that is a lot of news to handle in one day! Please let me know if you have any questions … I’d love to help. If you are interested in any of the products from the Holiday catalog, I would suggest buying early … or they may not be available later.

Thanks for joining me today …

I hope your Monday is a great one!

blog-closing-small

Merry Christmas Box

Hello Stampin’ Friends ~

Today I’m attending the first ever On Stage event hosted by Stampin’ Up! It is the first world wide – simultaneously presented event … Cool Right! Last night the leaders met … we were greeted by the friendly staff, presented our bags (filled with goodies) and then found more goodies at our table! The sit down meal was wonderful and the presentation inspiring! Can’t wait to see what’s in store for us today!

Oh, by the way … Our Milwaukee event (remember they are world wide) has the “MOST” attendee’s in the U.S.!  Way to rock it Milwaukee!!

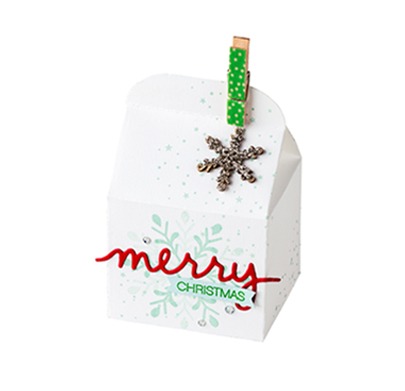
Today … I am sharing a cute 3-D project created by Stampin’ Up! that you can also find on my website in the Ideas section … I too have many projects saved there for you. To see more CLICK HERE

DBWS_MerryXmas_Gallery_9.2015_NA_SP_EU

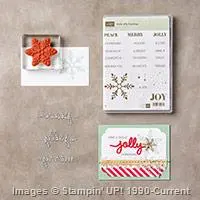
It was created with the “Bakers Box” Thinlets and Whisper White cardstock. The pretty snowflake was stamped in Pool Party and comes from the “Holly Jolly Greetings” stamp set. The “Merry” is created from the “Christmas Greetings” Thinlits Dies which “BUNDLE” with the stamp set. LOVE the Bundles!!

To finish off this cute little box … a Snowflake Element, Silver Stampin’ Glitter, and rhinestones were used to create that just right wintery look!

I thank you for stopping by and I’ll be back tomorrow with a bit more news from our On Stage event and another great project!

Have an awesome day!

blog-closing-small

TODAY’S STAMPIN’ SUPPLY LIST …


Thinking of You at Christmas …

Hello Stampin’ Friends ~

Today I would like to share a card that I had designed for our Holiday Stampin’ Retreat. I love making cards for this special event, we have so much fun and we get to know each other so much better.

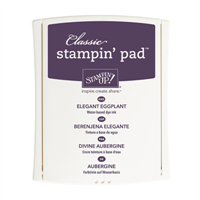
Anyone who knows me, knows that I like to have a few non-traditional colored Christmas cards, however I believe that the Elegant Eggplant is the perfect Christmas color. It’s a rich, warm color that makes me think of a color that one of the three Wise men would have worn.

000_2830

I chose the Delicate Ornaments bundle for my card … I wanted to highlight both the beautiful stamp set and the intricate ornaments. My stamped image was inked in Perfect Plum and then I used the sponge daubers to add a touch of the Elegant Eggplant through the center of the ornament.

I cut out the small round ornament from the Elegant Eggplant using the thinlits from the bundle, and then placed it over the silver glimmer paper that I had punched out of the center of the paper I used as my mat. (I don’t like to waste paper)

000_2835

The ornament tops are also from the thinlit bundle and cut from the Silver Foil paper found in the main Stampin’ Up! catalog. After stamping the greeting onto the card, I assembled the card, popping up the small round ornament and adding a touch of bling with the rhinestones.

Hope you enjoyed today’s card share. Please let me know if you have any questions about the card or placing an order for supplies.  The list of ingredients is below.

Thank you for taking time out of your day to visit my blog.

Have an awesome Friday!!

blog-closing-small

TODAY’S STAMPIN’ SUPPLY LIST …


Updates & Deals …

Hello Stampin’ Friends ~

As we approach the end of the year, Stampin’ Up!s getting ready to retire stamps and accessories from the holiday catalog; but before they do, they’re giving everyone an opportunity to order their favorites.

This is the first time Stampin’ Up! has done this for a seasonal catalog, and they plan to keep doing it. It’s a perfect time to evaluate your wish lists … Check back for more details when the Holiday Retiring List is released on November 16!

I also want to share with you a great video featuring our “Festive Flower” punch ….

Love this punch! And it is also on the “Weekly Deals” so you can save some money. I will say however, that it is still more cost effective to purchase the bundle. Bundle and save! Buy these two coordinating products and save 15%.

140847S

Reason for the Season Photopolymer Stamp Set

Fill your Christmas projects with peace, love, and meaning. Choose the perfect sentiment, then layer the flower images to create the look you want. This is a Two-Step Stampin’ set. Combine individual stamps to build the final image you want in the colors you want.

Please let me know if you have any questions or need any help.

Thanks much ~

blog-closing-small