Christmas Poinsettia in Red Foil …

Hello Stampin’ Friends ~

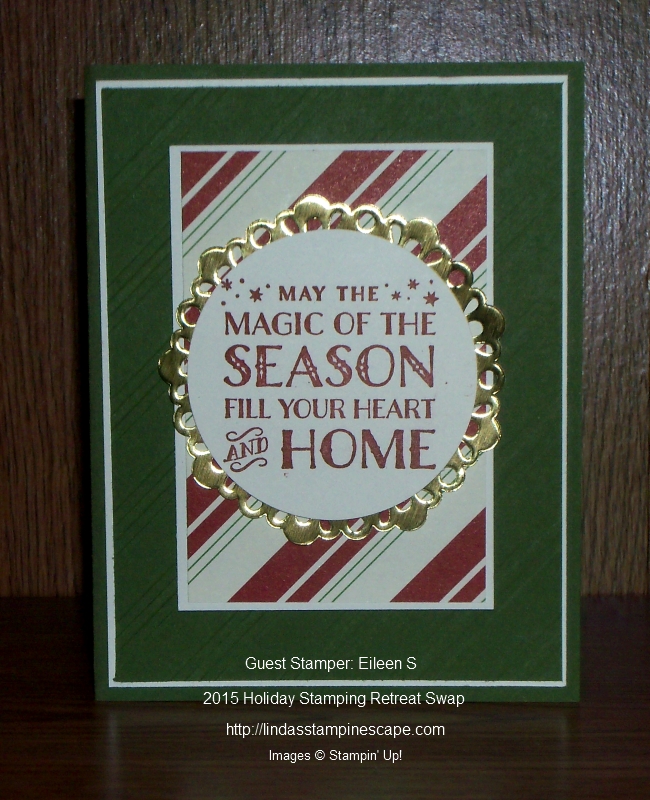
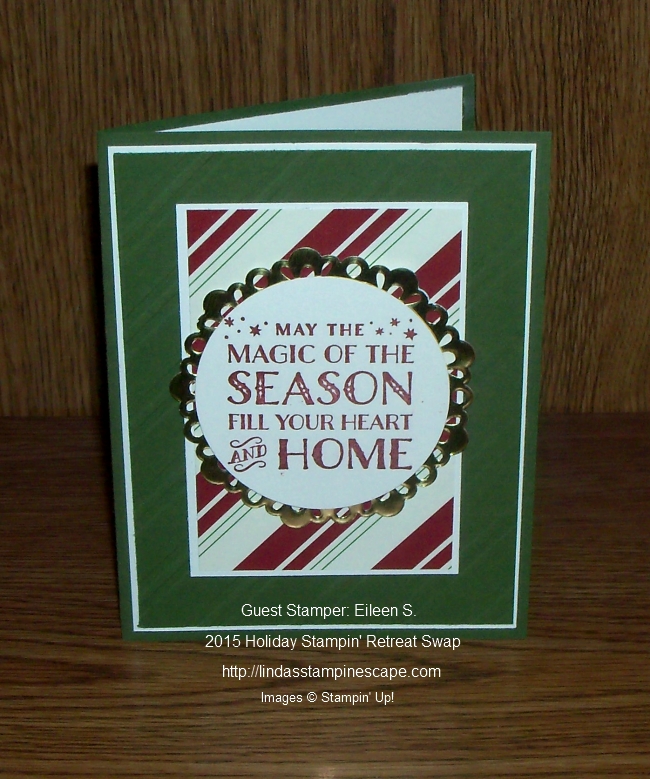
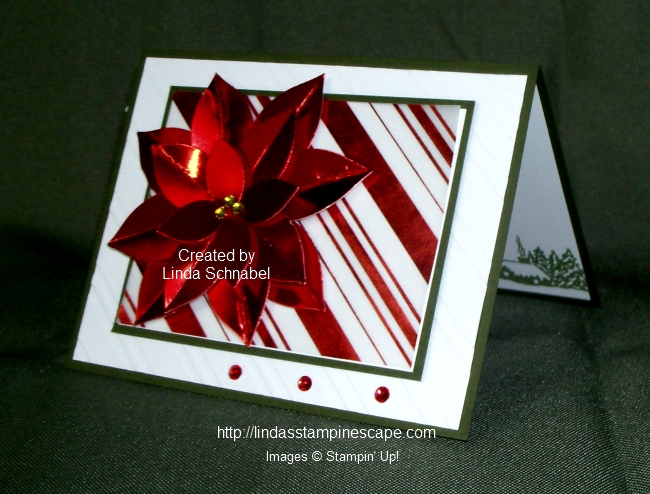
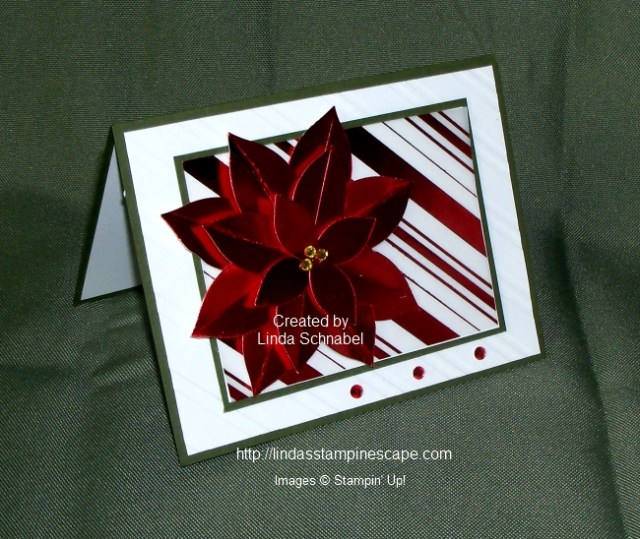
Today I have a lovely card to share with you that I created for our 2015 Holiday Stampin’ Retreat last weekend. Not sure if I could pick a favorite but this one was at the top … I think it’s the beautiful red foil poinsettia.

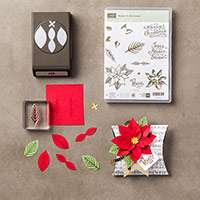
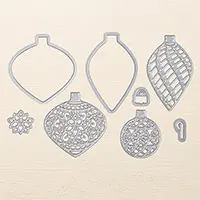
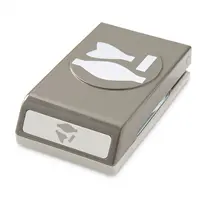
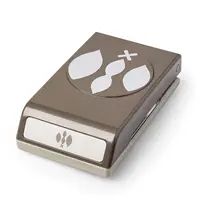
I will take you step by step as I create the poinsettia from our “Festive Flower Builder” punch and used on my card ….
000_2794

First let me begin with the how many pieces I used to create the flower and how I cut my cardstock. I use 1 – 3″ x 6″ piece and 1 – 1-1/2″ x 6′ piece of cardstock. You will punch a full punch on the larger piece twice … then punch 2 more smaller petals and 1 large petal from that piece. On the smaller piece you will be able to easily punch 5 more larger petals for a total of 8.

000_2784

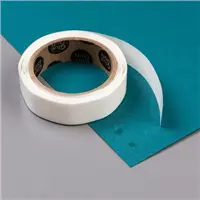
You need 8 – larger petals, 4 – small petals, 2 double petals (which you will get when you fully punch). You will also need a circle punch as a base.  You can see mine is full of the Tear & Tape adhesive.

000_2785

Before I begin assembling … I get a little curl by using my Paper Piercing tool.

000_2787

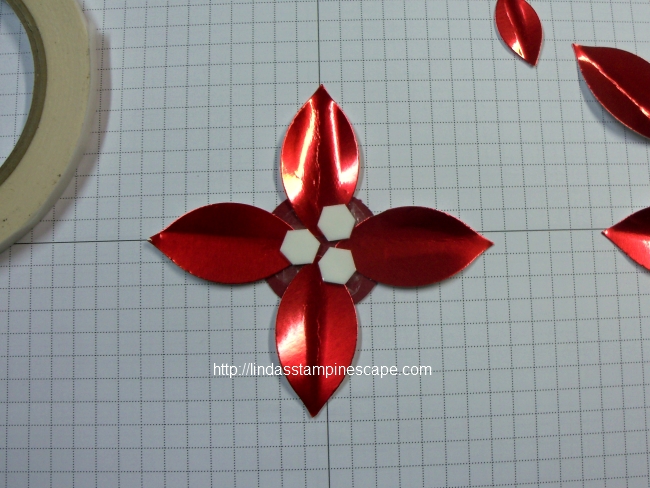
Next I take the circle base and adhere 4 of the large petals directly onto the base. I add 3 dimensionals on top of the petals in the center to create lift and to help hold it together.

000_2789

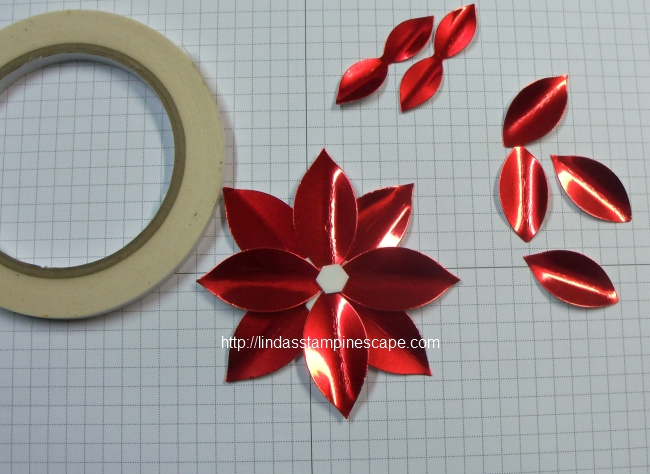
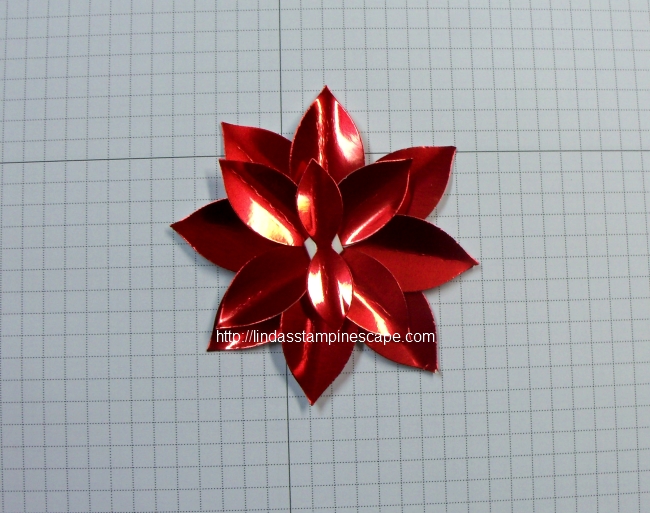
Now layer the next four large petals onto the dimensionals and place them between the first set of petals you placed on your base. I adhere the petals so they almost touch each other in the center. Then I place one dimensional in the center.

000_2790

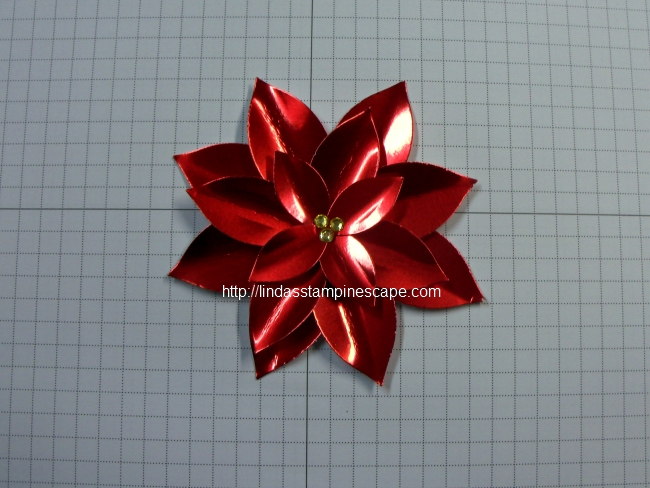
The next step is to place the double petal into the center and between the last layer of petals. Before I place the last double petal onto the stack, I add a glue dot to the center to ensure that it holds together well.

000_2791

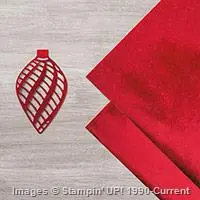
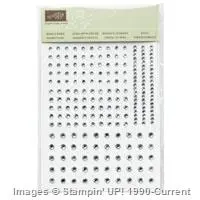
To finish off the poinsettia, I colored the Rhinestones yellow with my Blendabilities but you can easily use a Sharpie. I just figured I would use what I have handy at home. Ohhhh … isn’t it pretty!! We did the poinsettia in the red foil and red glimmer paper!

000_2795

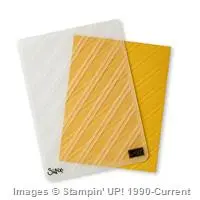
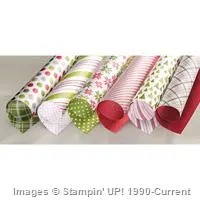
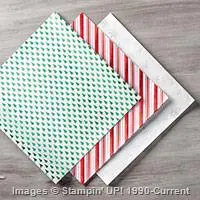
It’s hard to see from this photo but the Whisper White is actually embossed with the “Stylish Stripes” embossing folder and then the center was highlighted the beautiful “Holiday’s Fancy Foil Designer Series Vellum”. I love all 3 of the patterns in the vellum!!

The poinsettia is then attached to the vellum area with dimensionals. I finished off the card with rhinestones that I had colored red.

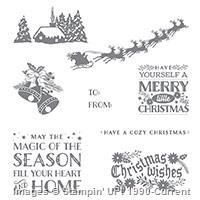
If you take a peek on the inside of my card … you will see the homestead from the “Cozy Christmas” stamp set.

I really love these pretty flowers, and once Christmas is over, you can begin your “spring” garden of flowers! I’ve been making quite a few over the last few days so we can finish off our cards.

Thank you for sharing a part of your day with me!

Have a wonderful day ~

blog-closing-small

TODAY’S STAMPIN’ SUPPLY LIST ….
 

Retreat Share …

Hello Stampin’ Friends ~

I am back from another wonderful Holiday Retreat … it was a great time shared with fabulous ladies once again.  Our retreats are all inclusive, so their accommodations, meals and all their projects are all included.
Saturday was rainy, but we all agreed it was a good day for stamping … and listening to Christmas music. It really puts you in a “cheerful” mood.

1901299_740543995982411_7848053151612984471_n

We also host a “Swap” where each person brings enough cards for all participants and then vote on the one they like best. As always … the swap cards were great! I will be sharing them throughout the next couple of weeks, including a few of the projects that I created for them.

I will start with two cards today …

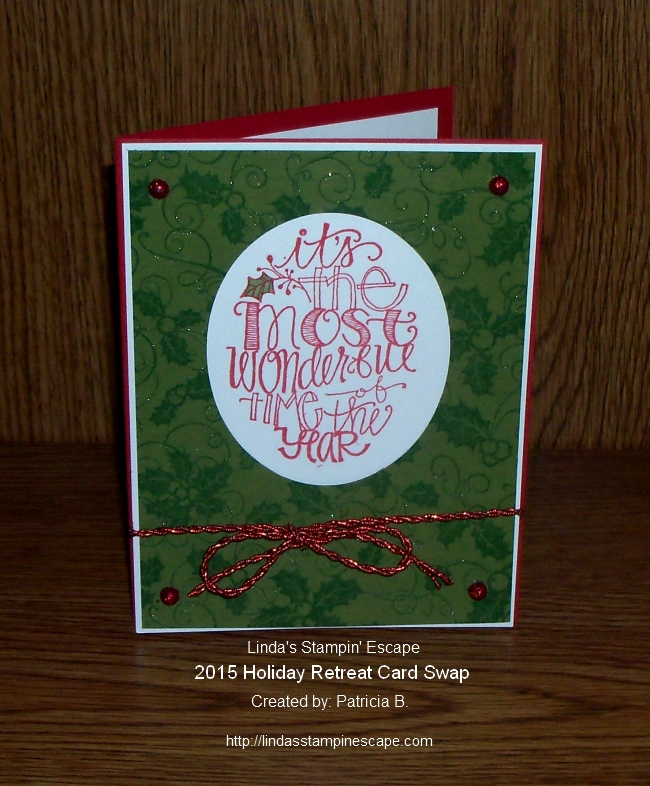
First I will share Patricia’s card. This is Patricia’s second time with us and she comes for the wonderful get-a-way, stamping, and to spend time with her sister.

000_2779

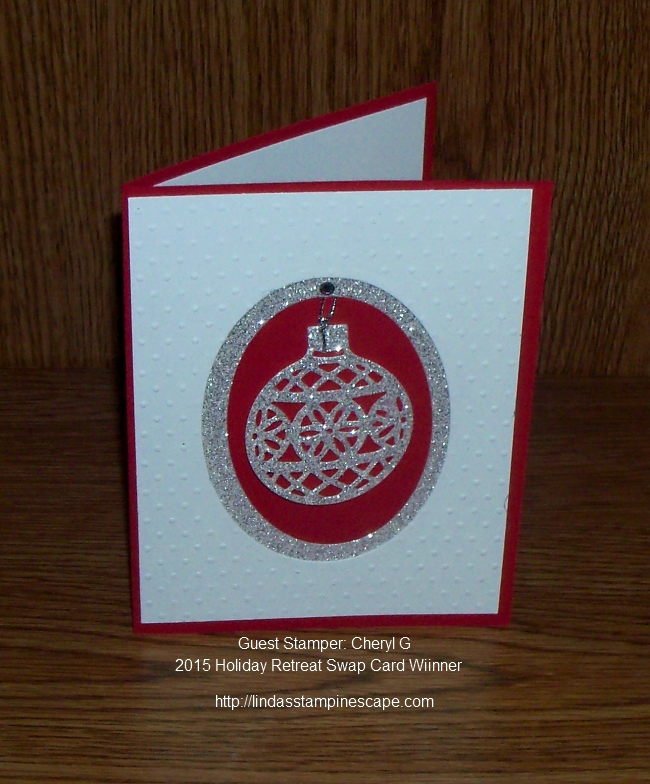
Christmas really is the most wonderful time of year and you really feel that with Patricia’s Red & Green Card. I love the extra little glitter she added to her background stamp to glitz it up for us.

The next card is from Dawn …

000_2781

Dawn hand cut her cute little mittens and then topped them off with the glitter glue and Silver Glimmer paper!! This is just the sweetest little card and I love the added rhinestones colored red. I think our Rhinestones and Sharpies are best friends.

Keep checkin’ in for more swap cards and projects from our Holiday Retreat. In fact … you should think about joining us for our Spring Retreat!! Save the Date … April 22nd, 23rd and 24th.  Make sure you are signed up on my MAILING LIST … You can sign up right from my blog > It’s located in the lower right-hand corner of the Black Banner on the top of this page.

Thank you for dropping by today ~

Hope you day is a great one!!

blog-closing-small


Simply Sunday: Softly Falling Snow

Hello Stampin’ Friends ~

Welcome to my Simpy Sunday series … this is one of my favorite days to post. I love being able to show you how beautiful a simple, easy to make card can be.

Today our card begins with the new “Thick” Whisper White cardstock… it’s just a bit sturdier than our regular Whisper White but still easy to use.

000_2776

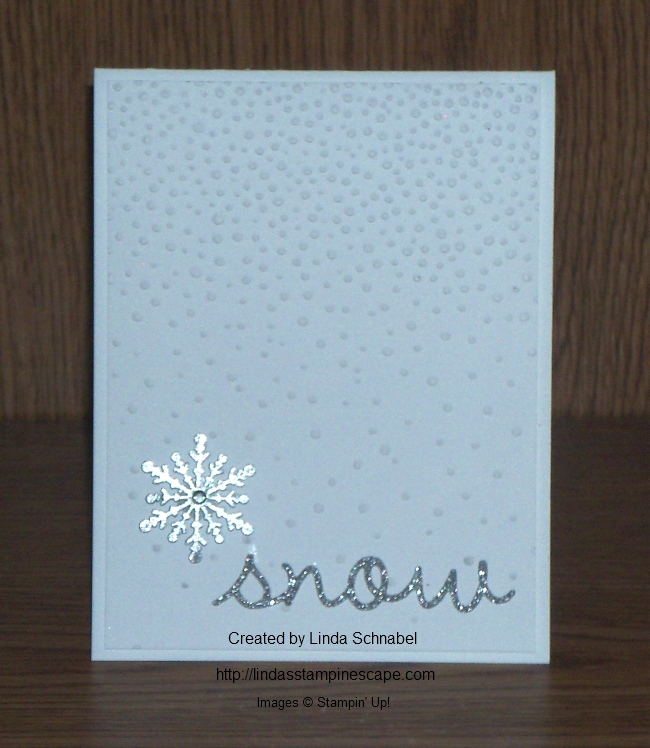
My card front is a embossed with the “Softly Falling” textured embossing folder that can be found on page 24 of the Holiday Catalog. I then popped it up with dimensionals … I like to do that when I make a card with white on white.

000_2771

The pretty little snowflake is one of our “Snowflake Elements” embossed with Silver Embossing Powder. On Friday I share that this technique is the one our Technique clubs did this month … so much fun. It was topped off with a Rhinestone.

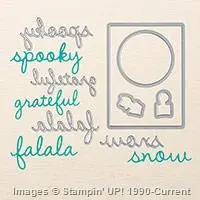
The title or greeting “snow” comes from the framelit set “Seasonal Frame” and was cut from the beautiful Silver Glimmer paper.

000_2776

I hope you had a nice weekend, and I thank you for sharing part of it with me.

Have a great day ~

blog-closing-small

TODAY’S STAMPIN’ SUPPLY LIST …


Pillow Box … Pillow Gifts …

Hello Stampin’ Friends ~

Today I have a cute little 3-D project to share with you. Last night when my Holiday Retreat attendee’s returned to their rooms for the night, they had a little surprise …

000_2747

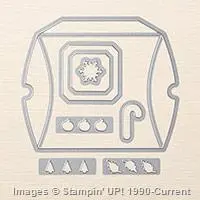
Each guest received this little Pillow Box filled with holiday goodies! I created them with the new Square Pillow Box Thinlits Dies from the Holiday catalog and the “Merry Moments” Designer Series paper from the Annual Catalog.

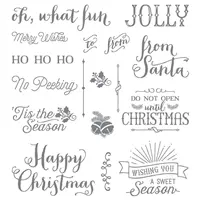
I teamed up this combination with the “Oh, What Fun” stamp set found on page 5 of the Holiday catalog.  This stamp set coordinates with the “Oh What Fun Tag Project Kit” … so you can see how versatile it is.

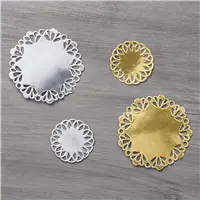
I chose the “Wishing You A Sweet Season” because my Pillow Box was filled with sweet treats. To create the focal point, I cut out the greeting with the Circle Framelits Dies and added a half of a Foil Doily to really draw the eye.

000_2750

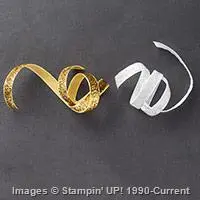
The Real Red cardstock banner also helped to draw your eye to the greeting, but I wanted to tone it down just a bit so I added the beautiful white glitter ribbon from the “Gold and White Glitter Ribbon” found on page 29 of the Holiday Catalog.

The make great office gifts or something cute to tuck a sweet treat into.

Thanks for checking out my blog today.

Have a wonderful Saturday!

blog-closing-small

TODAY’S STAMPIN’ SUPPLIES ….

000_2747

Singin’ in the Pines

Hello Stampin’ Friends ~

Hope you are having a good week so far. Sometimes I think the hardest part about blogging is not coming up with the different projects … but coming up with a title! lol  So today’s Singin’ in the Pines is my way of paying homage to the trees and my greeting … falala.

000_2753

The “pines” are just one of three designs that come in the beautiful Foil Vellum and works well with the Foil sheets. I punched a ring to slide my banner through and then anchored it with the foil doily.

I love, love, love the “Snowflake Elements” and embossed them in silver to coordinate with the rest of the elements on my card.

The cherry on top … Rhinestones! A little bling looks great for the holidays.

Thank you for stopping by today.

Have an awesome day ~

blog-closing-small

TODAY’S STAMPIN’ SUPPLY LIST …


Tag … You’re It!!

Hello Stampin’ Friends ~

I hope you had a wonderful weekend! A bit rainy for us on Saturday, but Sunday turned out to be a pretty nice day. I just love Autumn … all that beautiful color before the cold winds begin to blow and the snow arrives.

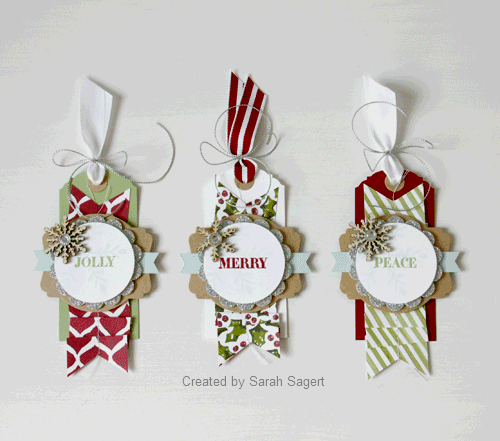
Just a quick post today  …  I have a cute project for you created by Sarah Sagert / 2014–2015 Artisan Design Team member. I couldn’t resist … we all need tags for the holidays and Sarah’s are the cutest.

assortment-cardstock-packs-photo-1

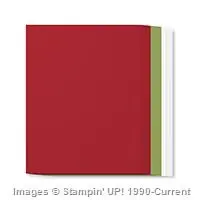
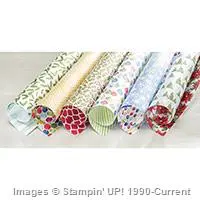
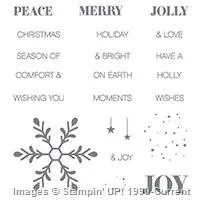
She teamed up the Season of Cheer cardstock and Designer paper with the Holly Jolly Greeting stamp set. She also used the Scallop Circle Punches and the Deco Labels collection Framelits.

I will be back with a cute tag project of my own after I return from retreat … can’t show you now, it would spoil their surprise!!

I’ll be back tomorrow with the Weekly Deals!

Have a marvelous day ~

blog-closing-small

TODAY’S STAMPIN’ SUPPLY LIST …


Simply Sunday: Blessings

Hello Stampin’ Friends ~

Today I will share a simple card layout that can be recreated for any occasion! A simple change of designer paper and a greeting will totally transform the card.

My card today will focus on the blessings of Christmas. I began with the wonderful Hostess stamp set in the Holiday Catalog: Six Sayings, it’s such a wonderfully versatile stamp set.

000_2736

I embossed the greeting in silver and mounted it onto Marina Mist cardstock, which is also the color I used for my base. Something about blue and snowflakes. I created a tag with the Scallop Tag Topper Punch.

The greeting hinted at the designer paper I would use … “snowflakes” was the key! What better way to highlight my greeting than to use the beautiful “Holidays Fancy Foil Designer Vellum” and it’s silver snowflakes!

000_2738

Put these few steps together and you have a cute and simple card.

Thank your for stopping by ~

Have a simply beautiful day.

blog-closing-small

TODAY’S STAMPIN’ SUPPLY LIST …


Let me introduce you …

Hello Stampin’ Friends ~

Yesterday I posted the Weekly Deals which has some really fun items…

Supply List

Built for Free Using: My Stampin Blog

Let me start with the “File Tabs Edgelit Dies”. If your looking for a way to jazz up your workspace … Create your own file folders using Designer Series Paper.

This video shows you how to use your Big Shot and File Tabs Edgelits Dies for a home office just right for you. Check out these really fun ideas …


Next is the Bow Builder Punch … Skip the store and make your own tiny bows with just one punch. Watch this video to learn how easy it is to create custom bows.

Here is a little project I made with the Bow Builder punch.  A simply layout you can use for any type of card… just change out your designer paper and greeting! I love the bow with the tag!

000_2356

Here is a Christmas card I made last year with the Silver Foil Vellum … I’ll be sure to get my next pack on sale (this weeks Weekly Deals) and make more cards this year!

000_1333

I hope you enjoyed learning a little more about some of the products featured in the Weekly Deals and the card samples I shared with you.

Thanks for spending time with me today!

Have a day filled with fun and creativity ~

blog-closing-small

Golden Christmas …

Hello Stampin’ Friends ~

I hope you had a wonderful weekend … they go so fast! I spend most of my weekend in my stampin’ studio finishing up my project for my upcoming holiday retreat, so I was in a bit of a Christmas mood!

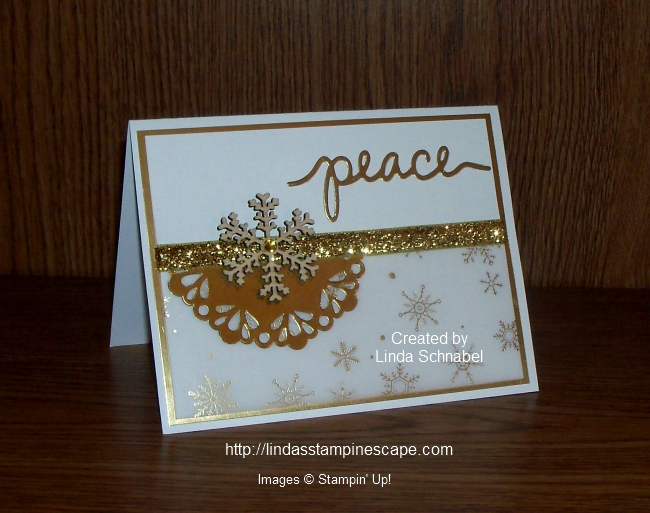
My card for you today is not one of the retreat cards, but it will give you a glimspe of what they attendee’s can expect. I wanted to use all the wonderful “gold” products in our main catalog and holiday catalog.

000_2634

It all began with the “Winter Wonderland Designer Vellum Stack” … and I chose to use the stunning golden snowflakes!! I had the “Metallic Doilies” but have not used them much so decided to pair the two products together.

I needed something to hide my edge of the vellum and decided to use the new gold ribbon from the “Gold and White Glitter” ribbon … oh, it’s so pretty! To create the focal point of my card, I added the “Snowflake Elements” … they add a wonderful dimension to the card.

I knew I had the “Gold Foil Sheets” so I decided to mat my card front with it to tie the whole card together and use it for my greeting. I chose the “peace” from the “Christmas Greetings Thinlits Dies. I’m getting quite hooked on these!

I needed one more touch of bling (really!?) yes, so I added a rhinestone to the snowflake element but colored it gold first. You can use a Sharpie™ marker or if you still have our Blender pens … the yellow work too.

000_2637

I hope you enjoyed today’s card share, and that it inspires you to create your Christmas cards this year. I’d love to hear what you think, so feel free to leave a comment!

Thank you so much for joining me today! I’ll see you tomorrow with another set of Weekly Deals.

Have a “Peaceful” day ~

blog-closing-small

TODAY’S STAMPIN’ SUPPLY LIST … You may click on any item to learn more about it, or to begin shopping for your supplies.

000_2634


Easy Breezy Card Layout …

Hello Stampin’ Friends,

Did you ever have one of those days when you needed a card but your creative self was … well, just not that into it?

Well, I’ll share a little secret of how I handle those days. I run for one of my “Project Life” kits! Seriously, they are great for quick and easy scrapbooking, but those cute sheets they have in there are awesome.

000_2623

Today I’m using the “Seasonal Snapshot 2015” Project Life by Stampin’ Up! It has all sorts of cute designs you can use. I picked the snowflakes just because my brain has been a bit overworked this week.

It was easy to embellish these cute snowflakes … I love the craft cardstock and decided to add red for a pop of color! My greeting is also in Real Red using the “Seasonal Frame” dies.

I thought it needed just a bit more so I used the Real Red Ribbon and created a simple bow…. that did the trick! It came together so easily once I picked out a design from the Project Life kit.

000_2626

Use this quick and easy layout with any of the designs in kits, why you can even use this simple layout with designer paper! The possibilities are endless.

Thanks for spending time with me today ~

I hope your day is a good one!

blog-closing-small

Seasonal Snapshot 2015 Project Life Card Collection by Stampin' Up!
Seasonal Snapshot 2015 Project Life Card Collection 139651
Price: $16.00

Tree Advent Calendar

Hello Stampin’ Friends ~

Sorry I’m a bit late today, I spent some time with my grandson AJ yesterday who turned 17! Wow, they grow up fast. On the other hand, I also spent time with my youngest granddaughter Lori … she’s just 4 months. It was a busy day!

While checking out the “Get Inspired” blog by Stampin’ Up! I ran across the cutest project for Christmas. It was created by Allison Okamitsu 2014–2015 Artisan Design Team. I just had to share this one with you ….

Tree Advent Calendar

Christmas will be here before you know it, my friends, and what better way to celebrate the days leading up to it than an advent calendar?!

1

Tiny Treat Boxes (item #135829) make an adorable advent tree. I’ve covered each of the boxes with patterns from the Home for Christmas Designer Series Paper (item #139592)—what fabulous nostalgic designs it has! And the Hello December 2015 Project Life Accessory Pack (item #139654) has some great stickers numbered 1–25 for each box lid. The boxes are the perfect size to hold a treat, love note, or coupon for each day of December until Christmas day.

2

You’ll want to assemble your tree in layers, with seven boxes on the bottom layer, followed by layers of six, five, four, three, and one. The box on the very top of the tree isn’t meant to be opened, but it sure looks lovely as a topper. Using hot glue, I also adhered a double bow with long, whimsical tails using two yards of Mossy Meadow 5/8″ Striped Cotton Ribbon (item #138419).

3

Whether you’re counting down until Christmas with little children at home, grown children at university, or your spouse, this Tree Advent Calendar will be a lovely addition to your holiday (or dorm room) décor!

Allison Okamitsu  2014–2015 Artisan Design Team

Don’t you think that is the most adorable? What a fun project to make with your kids!

Thank you for stopping by today, I’ll be back tomorrow with fun Halloween card!

Have a wonderful day ~

blog-closing-small

Happy Scenes …

Hello Stampin’ Friends,

Today I’d like to share with you a post from the Stampin’ Up! Get Inspired blog. When their concept artists or staff writers share awesome cards & projects … I just have to share with you. So please note that the following information is from that blog post …

Window cards are trendy, they’re so much fun to make—and we have everything you need to create one yourself using products from our brand new holiday catalog!

1

2

The Happy Scenes Stamp Set (item # 139821) includes 16 photopolymer stamps with autumn/winter landscape images and sayings that are perfect for end-of-the-year holidays. Stamp a little landscape and enclose it in a window frame—which you can make using the Big Shot and our Hearth and Home Thinlits Dies (item # 139666). Instant cuteness! (I borrowed this card idea from p. 11 of the holiday catalog.)

DSCN1613

For the Halloween card I included the cat from the Festive Fireplace Stamp Set (item # 139754). He just seemed to fit!

And here’s some great news: when you purchase the Happy Scenes Stamp Set + Hearth and Home Thinlits as a bundle (item # 140853), you save fifteen percent!

Cindy B.

Sr. Staff Writer

Thank you Cindy for sharing your talents …

and Thank You so much for stopping by, I hope you enjoyed these cards as much as I did!

I will be back tomorrow with a new set of Weekly Deals!

Have a wonderful week ~

blog-closing-small


Simply Sunday: Silent Night

Hello Stampin’ Friends ~

Today I’d like to share with you a simply beautiful card that I did at with my technique clubs this month. We focused on the “Woodland” embossing folder and some fun techniques that you can use with them to create a “WOW” card.

I paired up the Woodland folder with the beautiful “Wonderland” and “Happy Scenes” stamp sets…

000_2568

To create this beautiful card, you simply stamp directly onto the Woodland embossing folder with the pines from the Wonderland stamp set. Be sure you stamp on the “raised” side of the folder (the trees will be recessed on the side you stamp on).

Silent Night is stamped on vellum in Mossy Meadow and tucked behind your embossed front … I also used Mossy Meadow to mat the front and highlight the beautiful color.

000_2571

For the inside of the card, we stamped the trees from “Happy Scenes” into the corner and the verse from “Wonderland” into the center. I love how many of the stamp sets from Stampin’ Up! coordinate together.

Hope you enjoyed my card …

000_2568

 and I hope you have a beautiful day!

Thanks for stopping by ~

blog-closing-small

TODAY’S STAMPIN’ SUPPLY LIST …


Cool Technique with Embossing Folders!!

Hello Stampin’ Friends ~

I am excited that the weekend is here, and today I kick off a new season of my Stampin’ Technique Clubs. Our September technique will focus on different ways you can use your embossing folders… and I chose the new “Woodland” folder.

Today I will show you something fun to do with your folders (they’ll make 2 more!) I can’t show them to you yet because it will spoil their fun. I began my card by embossing the trees using Soft Sky cardstock

000_2528

Using the “White Stampin’ Chalk Marker” – I colored the trees and branches to highlight them even more. Wow … it looks so cool and it’s so easy to do!!

I colored in the indented areas of the tree with my Soft Suede marker to coordinate with the base of my card. Don’t you think it makes the tree more realistic looking? I love White Birch … I think it’s my favorite tree!

000_2530

I added a simple greeting (I think this one got past my purging of discontinued sets) and then added one of the new “Snowflake Elements” to add texture and continue the “woodland” feel of the card.

I didn’t want a lot of glimmer on this card, so I added just a touch with a rhinestone in the center of the wooden snowflake. You could easily add glitter to the branches to create a shimmery snow effect!

000_2525

What a simple way to make an impact (the WOW effect) on your card… just by coloring the embossed area.  Hope you enjoyed today’s technique tip!

Thank you for taking time to visit with me today.

I hope you have a wonderful weekend ~

blog-closing-small

Remembering the anniversary of 9-11-01. We will never forget.

TODAY’S STAMPIN’ SUPPLY LIST …


Season To Season Wreath Project Kit

Hello Stampin’ Friends,

Happy Labor Day!!  Today I have another fun 3-D project to share with you …

It’s a wreath for all seasons. Change the banner from season to season, and create your own for birthdays and holidays using your favorite stamp sets and dies. Makes one wreath with materials for creating three changeable banners: autumn, Halloween, Christmas.

139645O1 139645Sb

Complete the kit using the Cheer All Year Stamp Set (item 139839). Stamps, ink, and adhesive sold separately. Instructions are included.

I have a video for you demonstrating how to make the wreath along with some tips for you.

Below is a wreath that was showcased at Convention! I think it’s perfect for Labor Day… don’t you!

IMG_0281

You can decorate this any way you’d like … Here’s some butterflies for spring! Also a convention photo.

IMG_0279

How would you decorate your wreath?  I’d love to hear from you.

Thank you for stopping by today, hope yours is a great one!

blog-closing-small

TODAY’S STAMPIN’ SUPPLY LIST …