Hello Stampin’ Friends ~
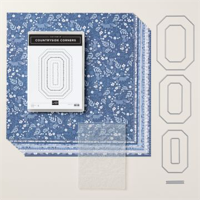
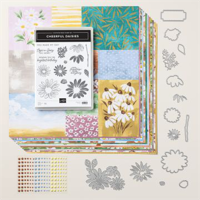
Looking to add a touch of rustic charm to your crafting projects? Look no further than the Countryside Inn Suite Collection from Stampin’ Up!
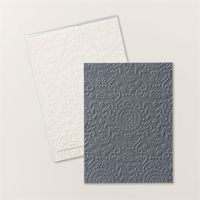
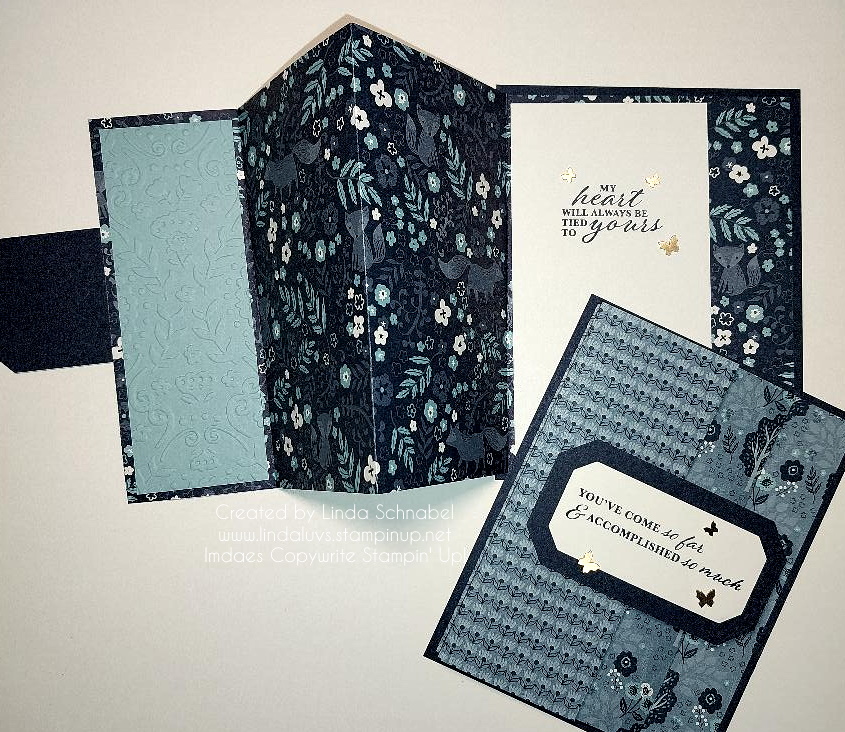
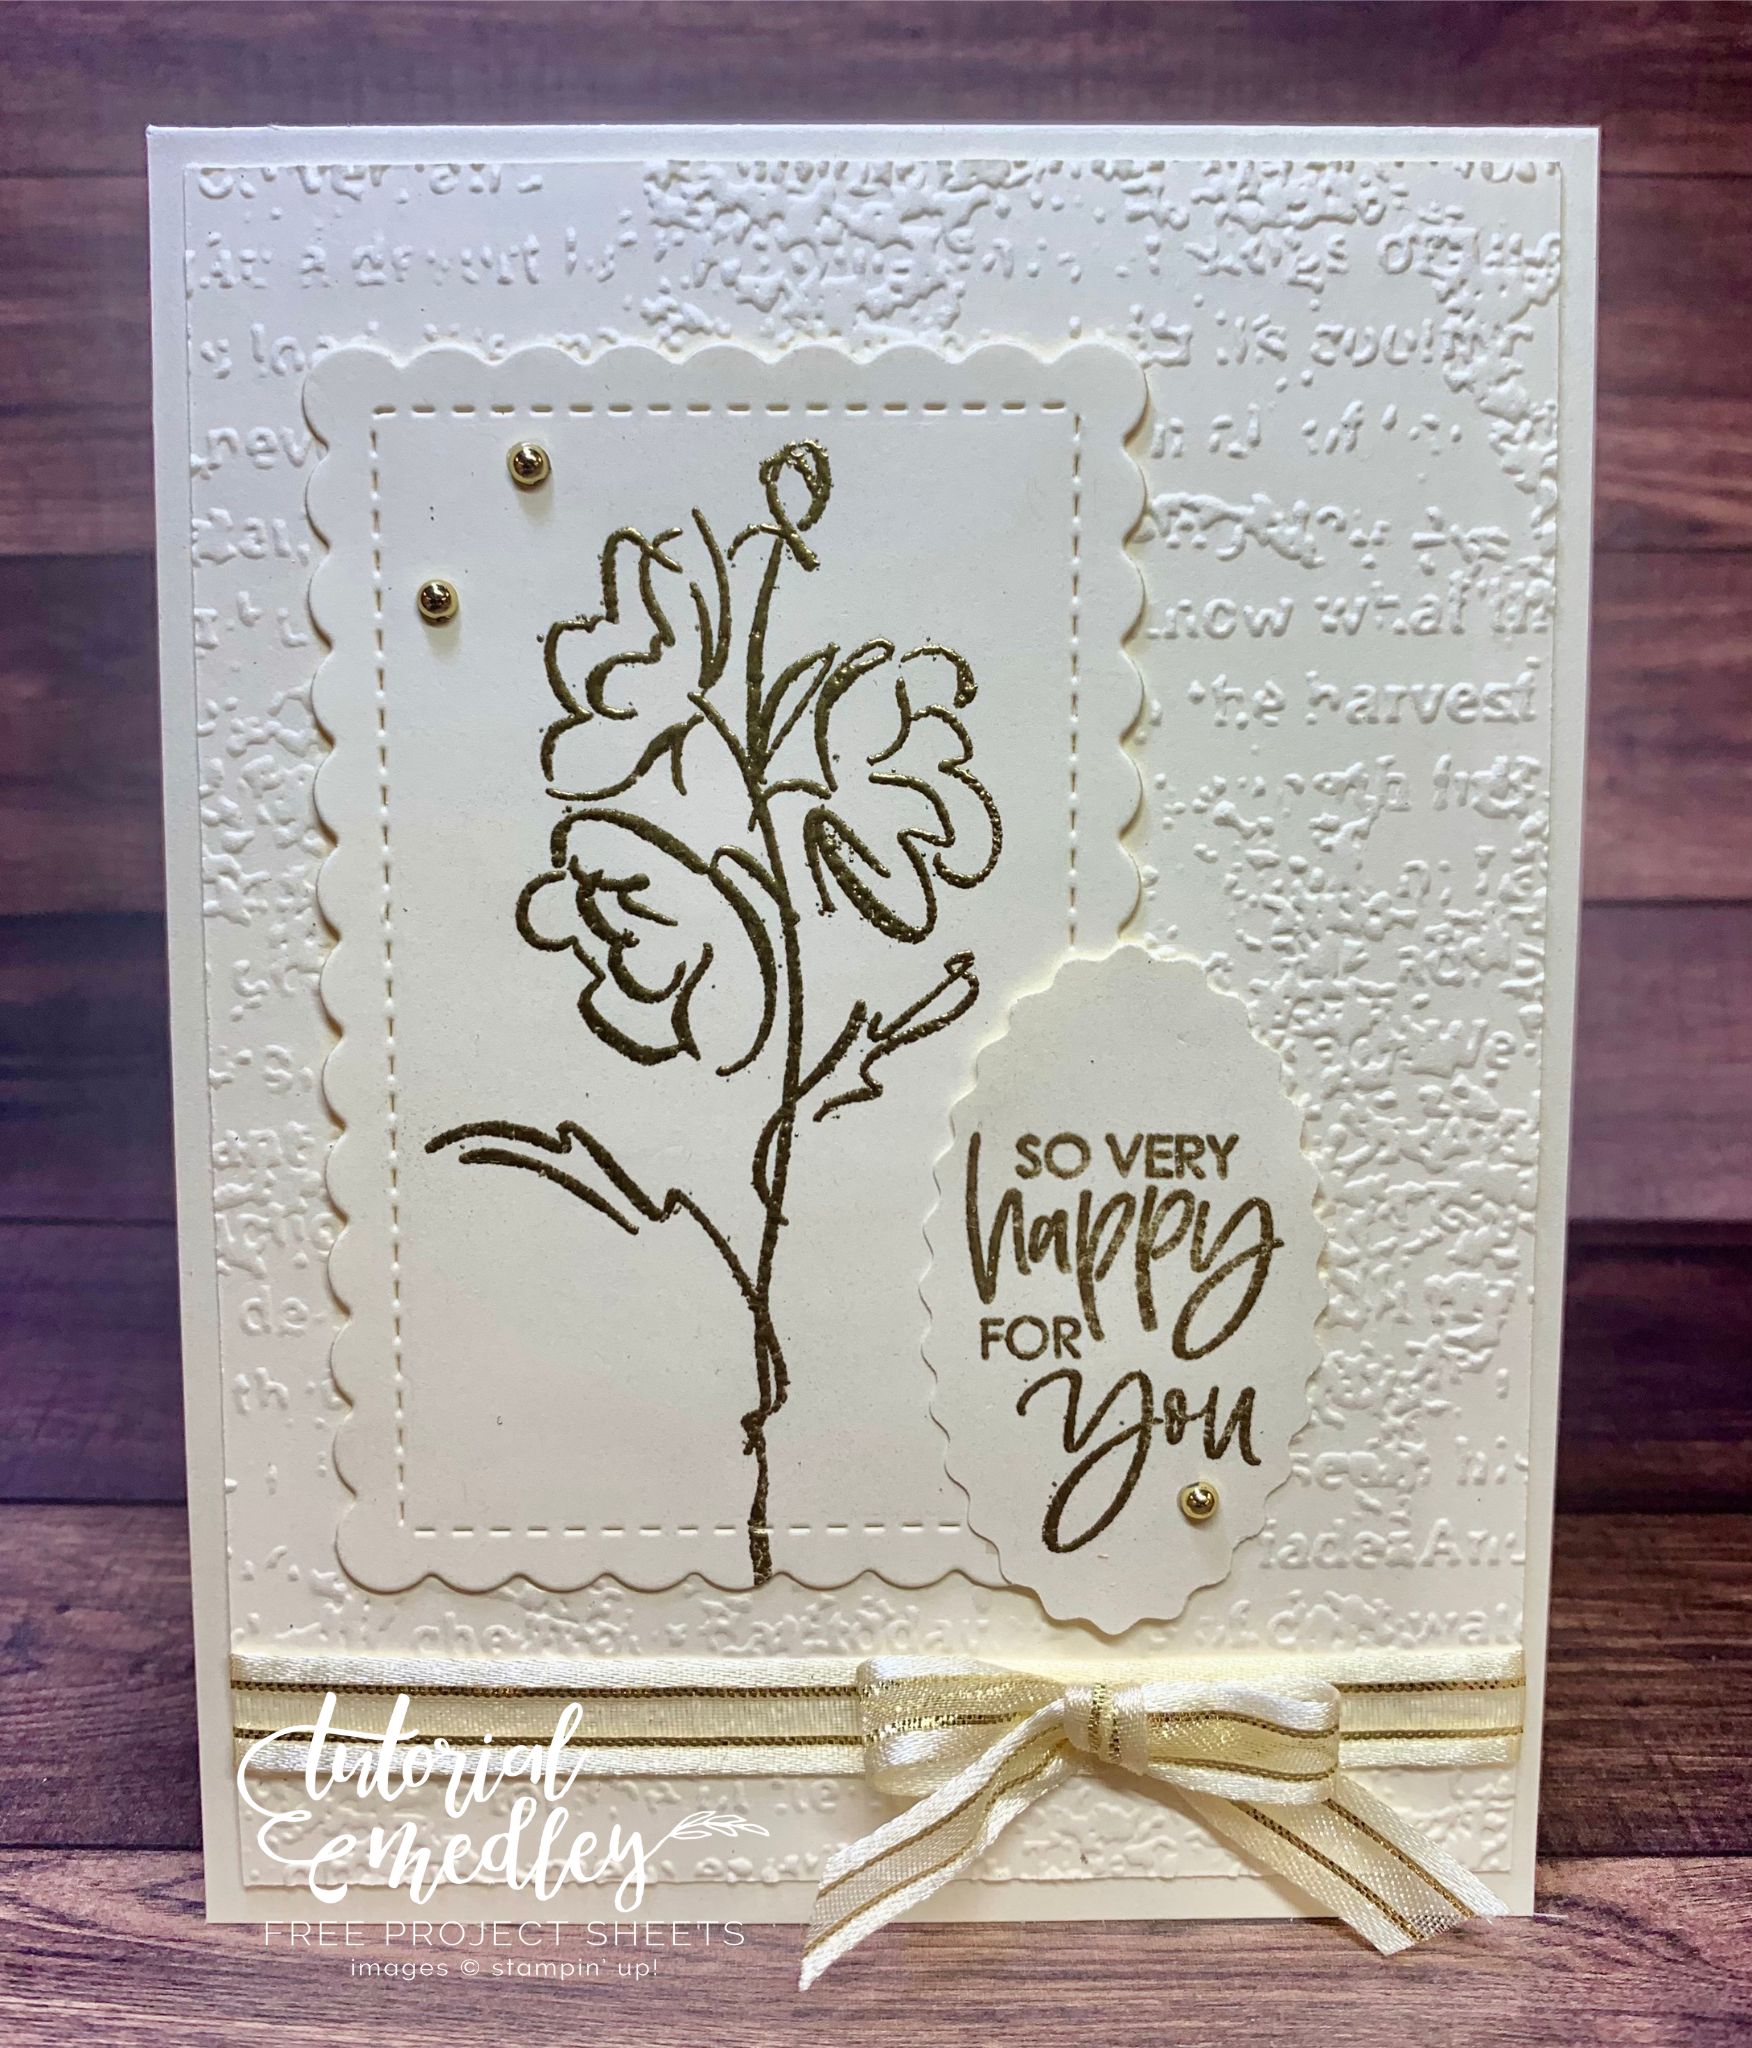
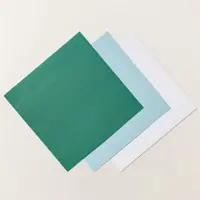
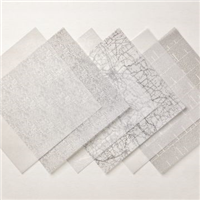
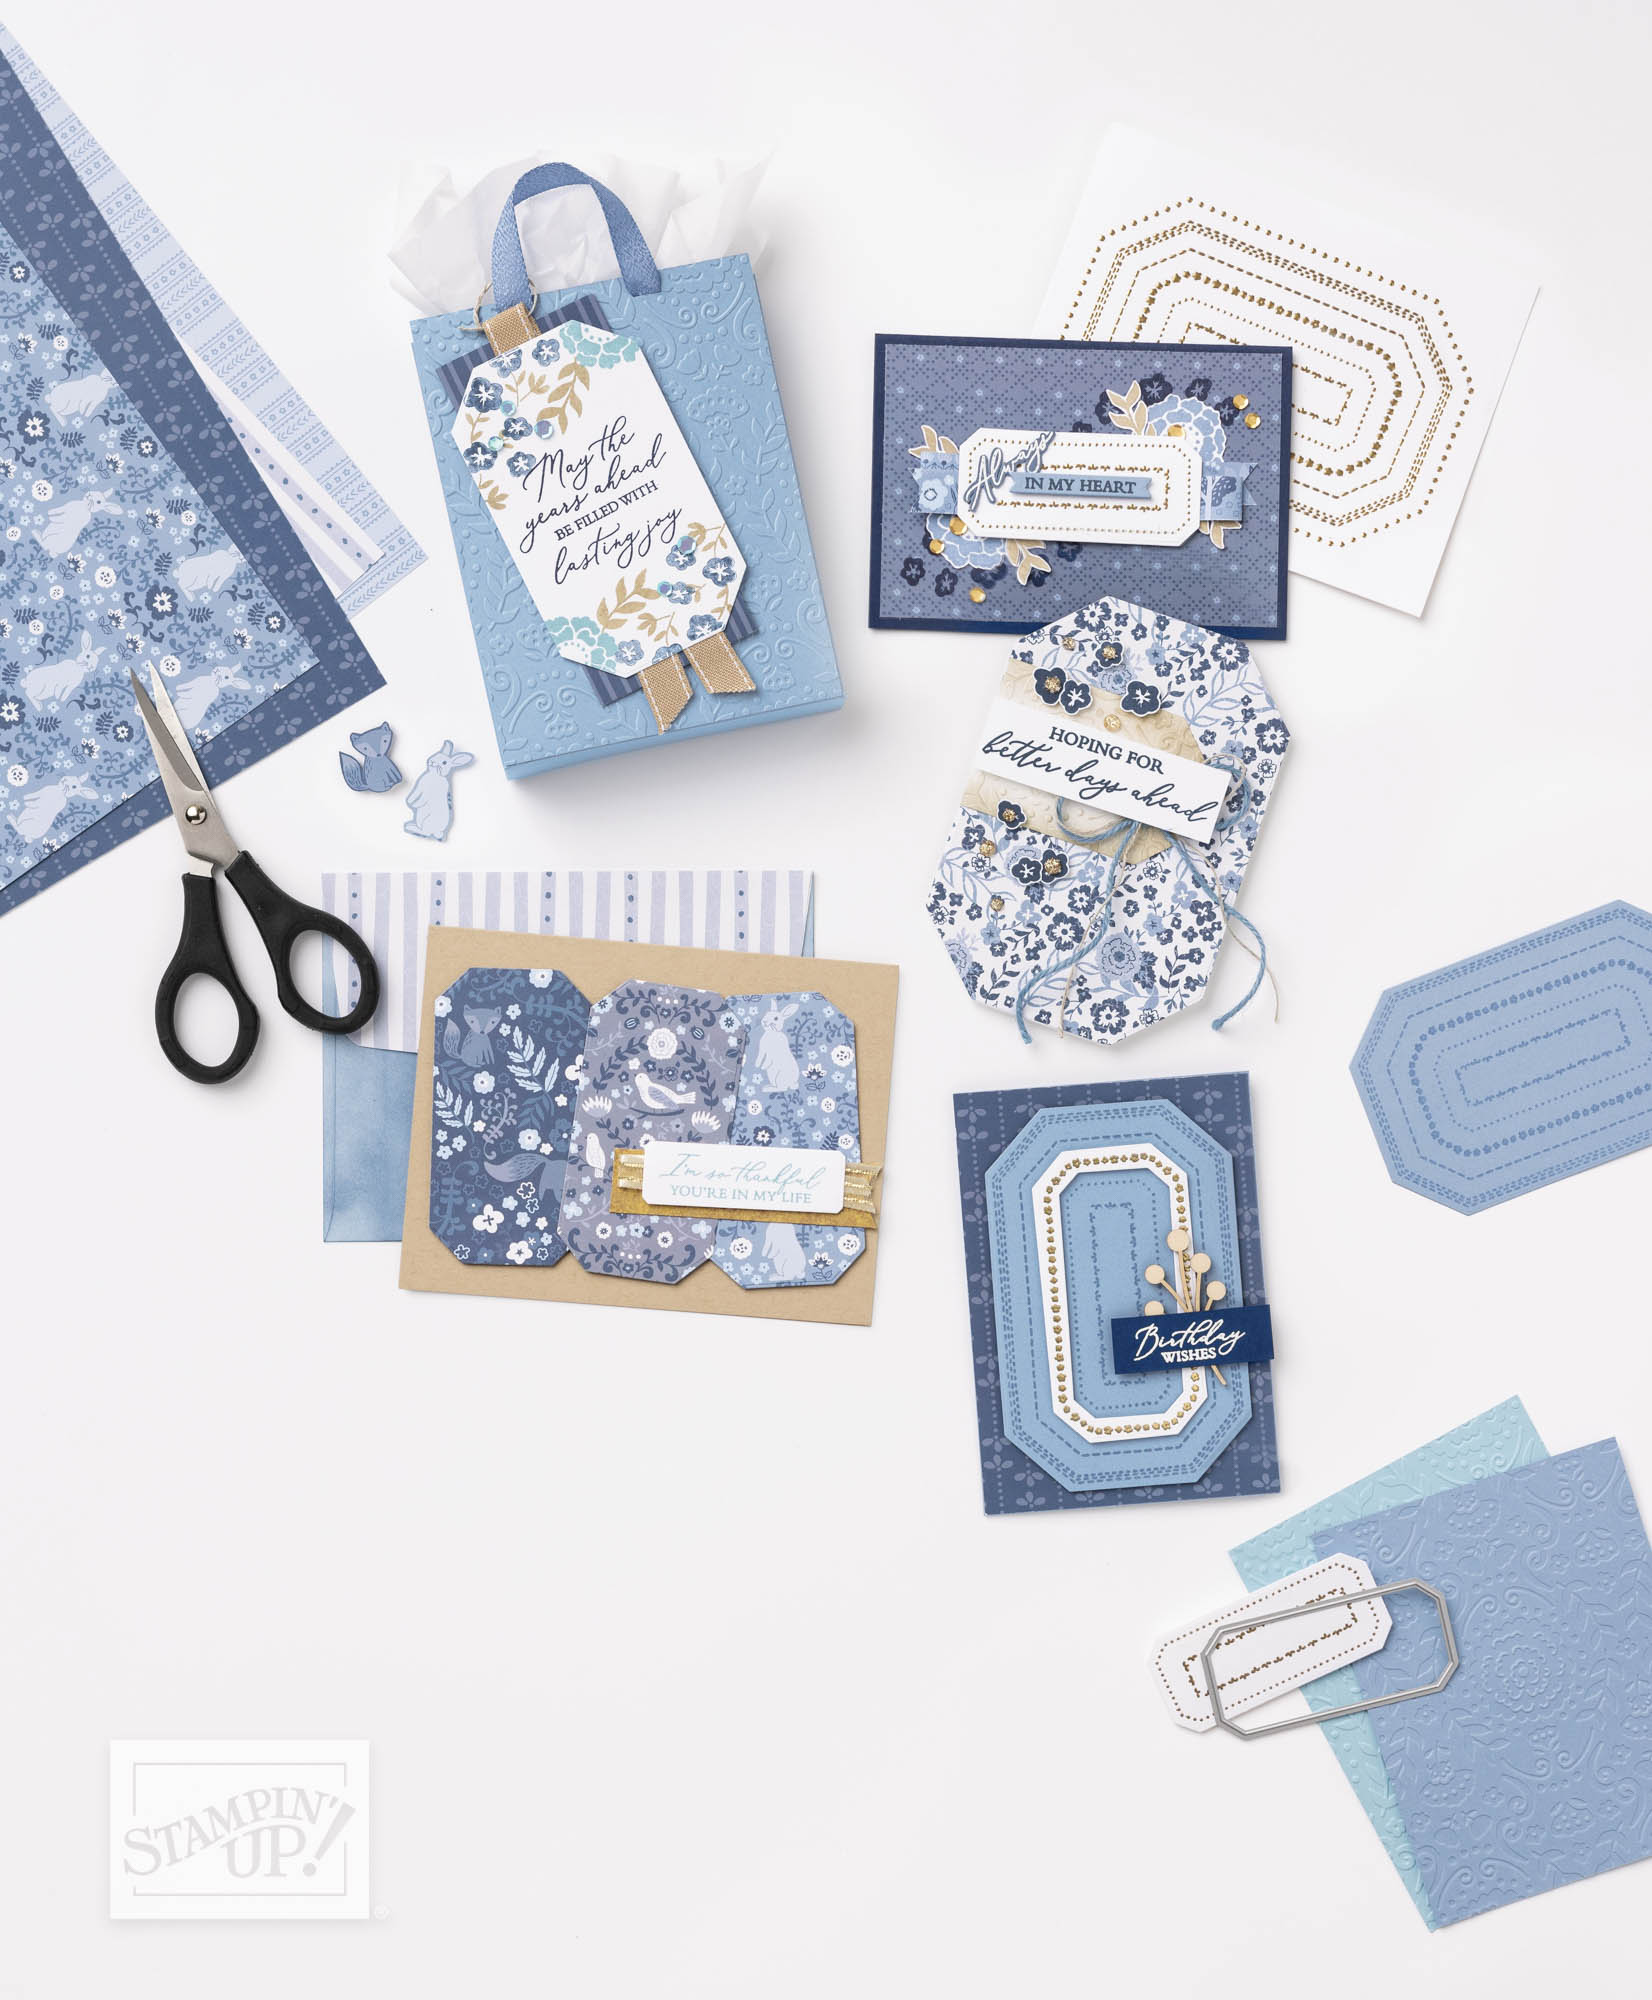
In this video, we’ll take a closer look at this charming suite, which includes a range of coordinating products to help you create beautiful cards, scrapbook pages, and other projects. You’ll learn about the patterned paper designs, which feature rustic woodgrain, vintage florals, and cozy plaids.
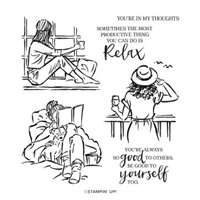
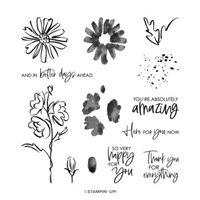
We’ll also take a closer look at the coordinating stamp set, which features a range of charming images and sentiments, perfect for a variety of occasions.
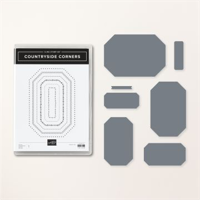
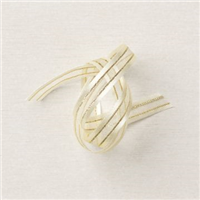
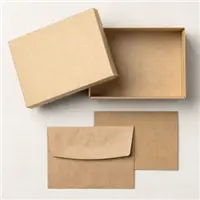
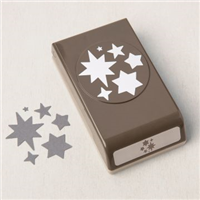
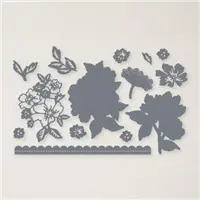
And don’t forget about the coordinating dies and embellishments! With delicate leaves, charming little birdhouses, and a variety of other elements, you’ll have everything you need to create stunning projects with a cozy countryside vibe.
Whether you’re a seasoned crafter or just starting out, the Countryside Inn Suite Collection is a must-have for anyone who loves rustic, cozy style. So grab a cup of tea and join us as we explore this charming suite from Stampin’ Up!
Enjoy your day, and thanks for stopping by.