Simply Sunday: Paper Pumpkin Style

Hello Stampin’ Friends,

Today’s Simply Sunday cards come direct from my 2015 July Paper Pumpkin Kit … what can be simpler than that! It was in my mailbox yesterday and as soon as I opened it and saw the cute stamps, I new it was a winner!

000_2392

I just think the verses are so stinkin’ cute!! You will be able to use these again and again. I’ve got the video for you to view …


Was I right … Cute, Simple, and at your fingertips! Or Mailbox …

000_2380

Click here to learn more about signing up for your Paper Pumpkin subscription. Not only will you receive exclusive stamp sets to use again and again, but you will have access to past kits and refills!

Stop back tomorrow … I’ll have an alternative project for you to see! I will be using “my” favorite greeting in the stamp set!  Can you guess which one it is??

Thanks for sitting down with me this Sunday and checking out my blog.

Have a wonderful day ~

blog-closing-small


The Little Moments …

Hello Stampin’ Friends,

Today I have a sweet little card that showcases two of our designer series paper packs … The Cherry on Top and the Neutrals Collection. I find working with designer papers fun and easy! Makes card making a breeze!

000_2374

I teamed up the little hearts from the “Cherry on Top” with the words from the “Neutrals Collection” … although the brown colors are slightly different, you can’t really tell.

I used the beautiful Cucumber Crush Lace trim to add a pop of color to my card, and it coordinates with the little hearts. The greeting is also stamped in the Cucumber Crush and comes from the stamp set “Watercolor Wings”.

I cut out my greeting with one of the framelits from the “Chalk Talk” set, and then popped it up with Stampin’ Dimensionals. I love the verse “The Little Moments with You Matter a Lot to Me” … and if you look closely at the card you can see “awesome together” and “love your face” on the designer paper. Nice combo … don’t you think!?

000_2375

Thank you for coming by my blog today.

Hope your day is simply awesome!

blog-closing-small

TODAY’S STAMPIN’ SUPPLY LIST …


Simply Sunday: You’re the Friend

Hello Stampin’ Friends,

Today I have another Simply Sunday card share for you. I chose the Friendly Wishes stamp set and paired it with the beautiful English Garden Designer Series Paper. The outcome was a beautiful card that you would be happy to share with a friend …. a friend everyone wishes they had!

000_2371

I used our new “Lot’s of Labels” framelits. It frames the verse beautifully and is matted with Early Espresso. I used Blushing Bride and the flower from the Itty Bitty Accents punch … notice how the four petal flower coordinates with the flowers on the designer paper!

I’m introducing the new Metal Rimmed Pearls on this card, I thought that it was the perfect choice for the top. The “friend” was colored in with the writing tip of the marker (not the brush tip). I stamped the greeting in Early Espresso, and if you used the brush tip, you could smear the two colors.

000_2370

To finish off my card I popped up the greeting and added a scrap piece of the designer paper inside. There really isn’t any scrap … is there!

Thank you for sharing a part of your day with me.

I hope you have a wonderful day … spend it with a friend 🙂

blog-closing-small

TODAY’S STAMPIN’ SUPPLY LIST …


You’re the Best!

Hello Stampin’ Friends,

I am totally excited to share today’s card with you!! As some of you know, Eileen and I have been working on the upcoming Catalog Kick-Off party and this holiday weekend was no exception! But yesterday I came up with the cutest card made with the “Friendly Wishes” stamp set.

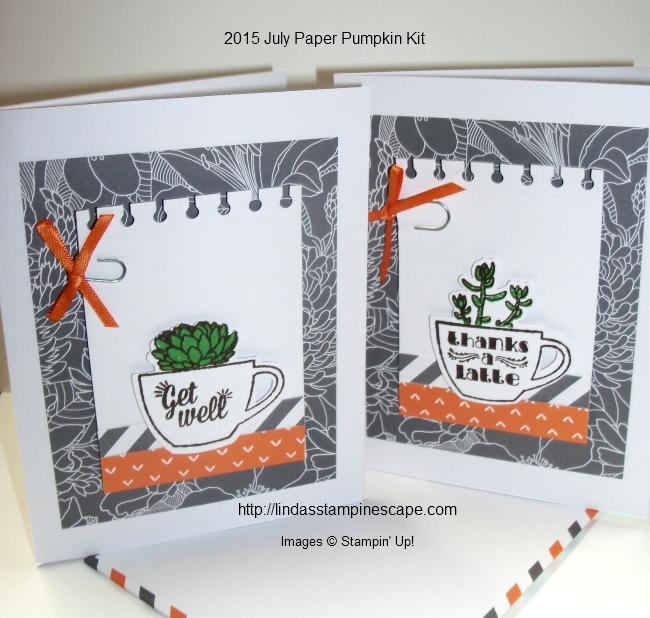
Friendly Wishes is just one of 7 stamp sets that will be featured at the Kick-Off party.  We will also have 7 boards showcasing additional card samples so you get an idea how fun and versatile these stamp sets are… Oh yes, and I raffle these boards off at the end of the night, so seven lucky winners go home with these fabulous cards!!

And here is one of those cards …

000_2356

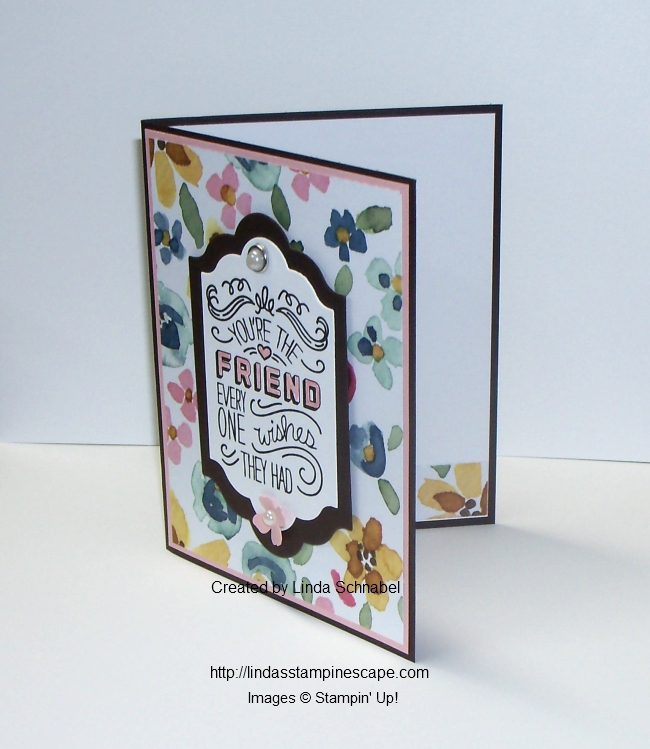
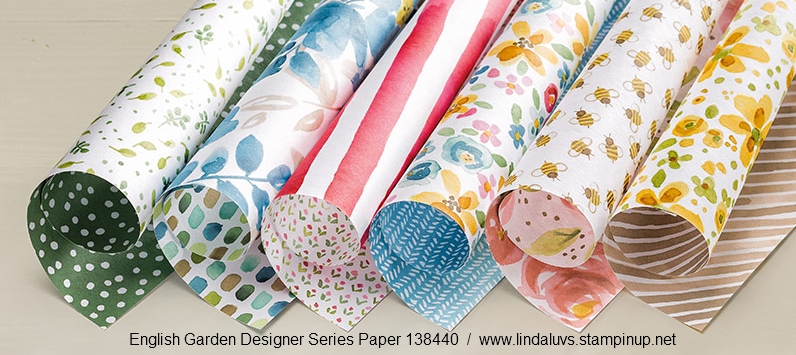
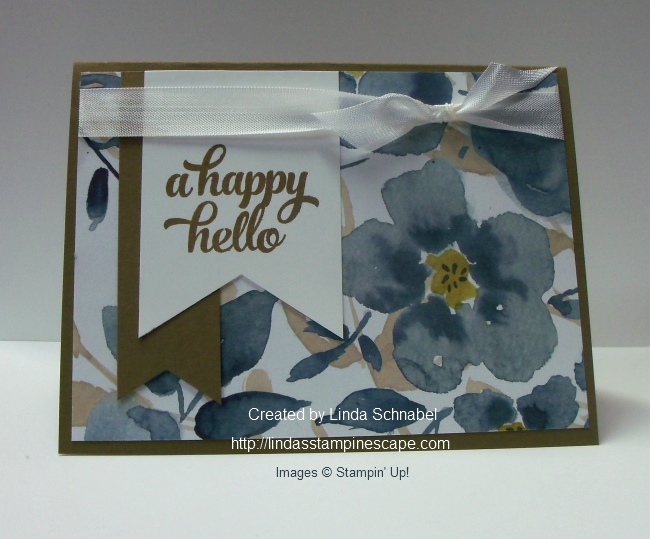
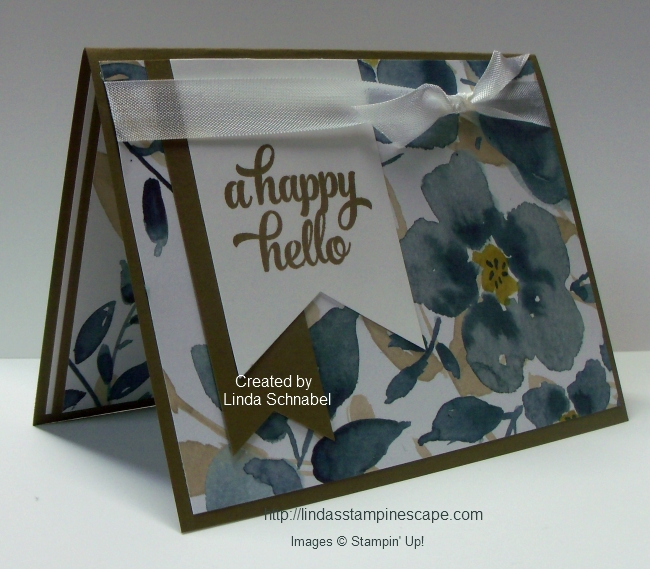
This super cute and easy card was created with the Friendly Wishes stamp set and I teamed it up with the “Pretty Petals” Designer Series Paper Stack. Don’t you just love this pattern! Oh my gosh… I love it!

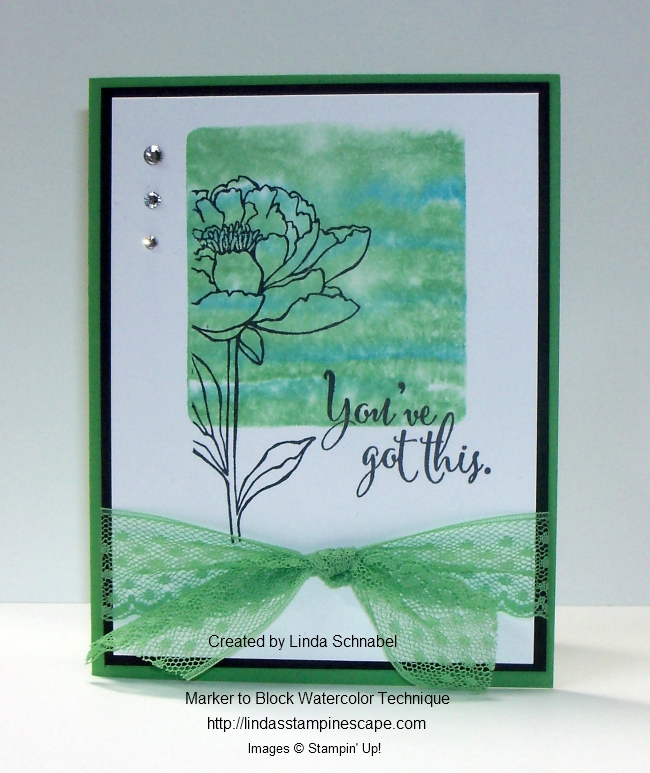
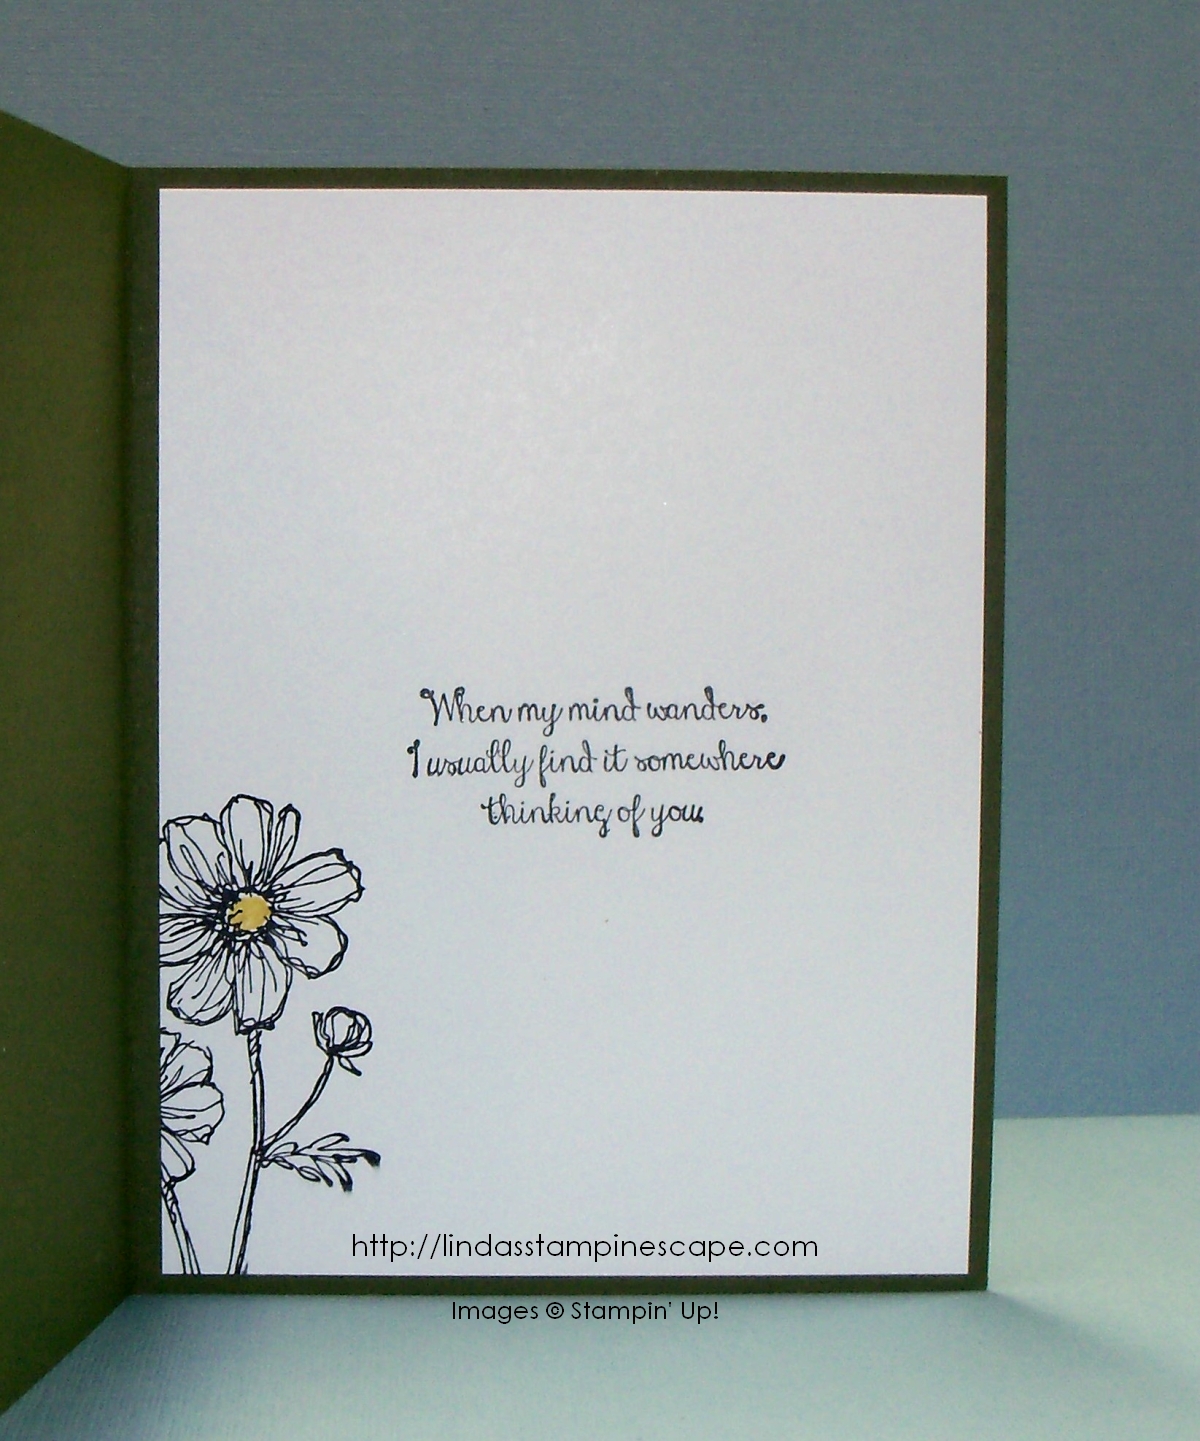
I added a bit of color to the greeting by highlighting the “BEST” with a marker, and stamping the flower.

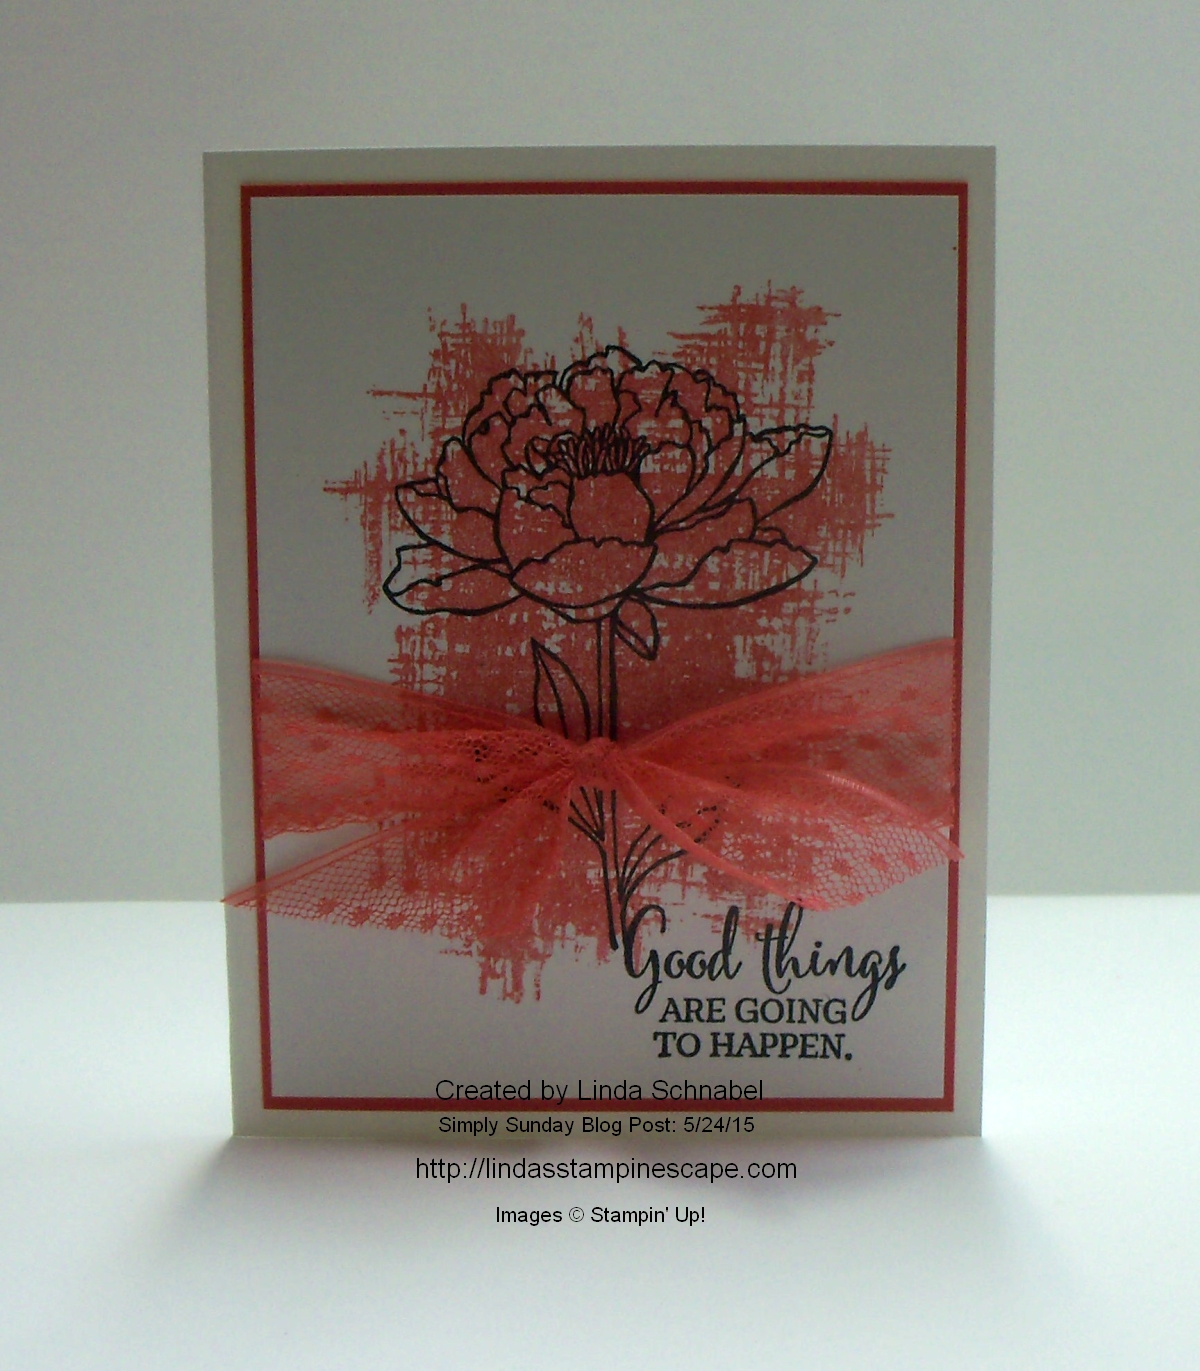
I used the “Chalk Talk” framelits but found that I had no Calypso Coral ribbon, hmmm … what to do? So then it popped into my head … ya, you have a “bow” builder punch! And presto … the card was complete!

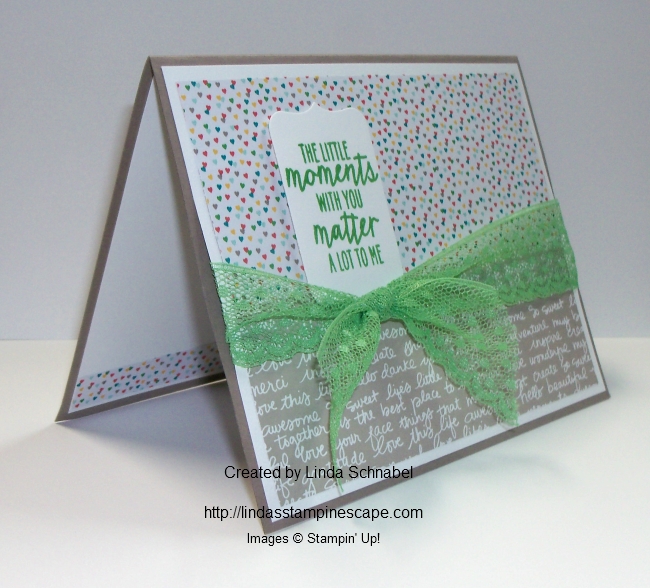
This view shows you how pretty the bow really is, and the great dimension it adds to it.

000_2358

We all love pretty cards, but that doesn’t mean they always have to take 3 hours to make! Use your designer paper … that’s what it’s here for.

We have another 5 cards showcasing this set, but you will have to come to the Kick-Off party to see them all. (A total of 42 card ideas!!) Remember … you must RSVP by this Friday, July 10th. Click Here to view full details and e-mail me at lindaluvs2stamp@aol.com to RSVP.

I also want to give a quick shout out to a second wave of new “Pinterest” followers! Thank You!!

Have a beautiful week … I’ll see you tomorrow with the newest wave of Weekly Deals 🙂

Thanks for stopping by ~

blog-closing-small

Six Sided Sampler hits #1

Hello Stampin’ Friends,

A Happy 4th of July to you! Today I have a twist to my blog post … I’m going to share some card samples and information from my Pinterest page.

I’ve noticed that one of my cards gets “pinned” a lot, so I checked it out and it has over 1000 pins! How exciting! I posted this card onto my Pinterest page quite a while ago …

b0f0227570a97551a5cc5ecf8af1e1b8

I liked the card a lot when I made it but was surprised that it got more pins than some of my others. The next card I’m sharing is also from the Six Sided Sampler set.  It took me longer to create it … it’s hard to see from the photo but I actually created a template to follow so I could recreate the card over and over.

There are areas that are punched out, and others where the punched image is added to the card front. There is a lot of dimension and really looks better in your hand!

f29d76c568cec5bcd8264150fd60660b

So I dug a little further into the analytics of my Pinterest page and here are the 5 top boards on my pinterest page …

1. My Stampin’ Up! Creations (Cards I have made)

2. Stampin’ Up! cards I Like (Some are mine but others are from other stampers that I like!)

3. Paper Pumpkin Creations (I have a board with my alternative projects, and great cards from other subscribers)

4. Masculine cards (You like your man cards!)

5. Quick & Easy Cards (Most are my creations)

If you click on any of the titles … It will take you to that board on my Pinterest page.

I like this … it gives me a good idea of what my stampin’ pinterest followers want to see from me! So if you haven’t already … go to my Pinterest Page and “follow me”. I’m also open for suggestions … feel free to leave me a note in the comments. I’d love to hear from you.

So … let me share just one more card from my Pinterest page that I created using the Six Sided Sampler …

97dd304d5ad14f1fc4ca7851b67221f1

I love this one!! I hope you enjoyed the parade of cards today… again, feel free to leave a comment.

Thanks so much for spending your time with me today!

For my US friends … have a safe & happy 4th of July, and for the rest of my stampin’ friends … have a wonderful weekend.

See you tomorrow ~

blog-closing-small

Watercolor Technique In Color

Hello Stampin’ Friends ~

Well … we are over the hump and one day closer to the weekend, and a Holiday weekend too! A perfect time to celebrate.

Today I’m celebrating our new In Colors!! I have teamed them up with a great technique that I taught my Technique Club this past June. The Marker to Block Watercolor Technique … so simple but it can make a dramatic impact!

000_2340

We took one of the clear blocks and colored it with our markers, you can add a second color to create a bigger WOW effect. Then simple spritz it with water until it starts to bead up … then press it onto your cardstock. We used the Whisper White … no special cardstock needed!

It’s an amazing site when the colors create the beautiful watercolor look. Let it dry a bit and then you are free to stamp. We masked the left side of the card so our image looks like it is captured in the block. The stamp set we used is the new “You’ve Got This” stamp set.

Here is the card done in each of our new In Colors. I marked them for you. Check out how nicely the ribbon, cardstock and inks coordinate!  Love it!!

000_2344

I hope I inspired you to pull out your makers and spritzer and create some wonderful watercolor cards.

Thank you for joining me today …

Hope your day is full of color… Have fun!!

blog-closing-small

TODAY’S STAMPIN’ SUPPLY LIST …


A Happy Hello

Hello Stampin’ Friends,

Happy July!!

Are you looking for pretty cards that are quick and easy to create? Well … I have the answer for you! Join me in the English Garden …

English Garden DSP

English Garden Designer Series paper that is! I don’t know what it is, the watercolor look, the color pallet? I don’t know, but I am drawn to this paper. It is really pretty and will be the focus of today’s card.


000_2335

You can get 6 pretty cards just from the sheet I used here … what’s really cool is, none of them will look alike. I simply cute my designer paper into 4″ x 5-1/4″ pieces, then mount them onto the Soft Suede card stock.

I added banners to this card, however you can use circles, rectangles or any of the fabulous framelits! The greeting comes from the “Tin of Cards” stamp set. I finished off the front of the card with a bow created with the Whisper White Seam Binding.

Inside I used a left over piece of the designer paper and added a touch of the Soft Suede before mounting them onto a piece of Whisper White.

000_2337

The card maybe simple to make but it has an air of sophistication that any one of your friends would love to receive.

This one is for a special friend who is fighting a battle and I just want to let her know that I’m praying for her and think of her all the time. She has always brought a smile to my face when we get together. Stamping truly brings wonderful people into your life … I’m blessed.

Thank you for spending part of your day with me …

I hope yours is a happy one!

blog-closing-small


Kissing Technique Card Share …

Hello Stampin’ Friends,

It appears I ran into some technical problems yesterday and my post didn’t show up when expected. Hopefully everything is back to normal!

Today I have a card to share with you that illustrates the kissing technique. Hope you got the chance to watch the video yesterday (or this morning!). I chose the “I Think You’re Great” stamp set from the new catalog. It has the perfect stamps for the kissing technique.

000_2317

I inked up my cloud in Marina Mist and “kissed” it to the scalloped pattern stamp … It makes the cloud look a bit fluffier! The beautiful sun comes from the “Kinda Eclectic” stamp set and the greeting from our Ronald McDonald House Charities stamp set “Sprinkles of Life”.

I used the new Silver Metallic Thread to create my silver lining behind my cloud. I think it turned out pretty cute.

From this angle you can see that I used Stampin’ Dimensionals to pop us the front of my card…. just a little added dimension.

000_2320

As for the Kissing Technique Tip … If you’re working with a larger solid image in a lighter shade, you can kiss it to a more detailed image inked up in a color that is darker than your solid.  For example … use the solid balloon from “Celebrate Today” and kiss it with “World Map” or “Corner Garden”.  Play with it and have some fun!

Till tomorrow … have a great day.

Thanks for stopping by ~

blog-closing-small


Simply Sunday: A Watercolor Technique

Hello Stampin’ Friends,

Today I’m going to share with you a card inspired by the technique that I’m doing with my Technique Clubs this month. A simple technique that really has that “WOW” factor. You will need a clear block, some markers and a stamp set of your choice.

On today’s card, I’m using the stamp set “Wetlands” and the sandpipers from that set, block “H”, the “Marina Mist” marker from the Soft Subtles and “Soft Suede” from the Neutrals Collection of markers. I know my club members are going to enjoy this one!

000_2288

I use the lightest of the two colors first, so the Marina Mist is scribbled onto the top half of the block, then the Soft Suede on the bottom half. Fill your Stampin’ Spritzer with water and simple spritz the block until it begins to bead. Then press it onto your cardstock (we used Whisper White). You will actually see the color pull into the cardstock … Hold it down for a bit till the water is absorbed.

000_2293

Let it dry somewhat and then you can stamp your sandpipers onto your watercolor image. You will never get two to look the same, and that is the beauty of this watercolor technique.

My greeting comes from the stamp set “Choose Happiness”.  I like the way the font compliments the line image of the sandpipers. YES … Sometimes less is more. Adding extra embellishments just because you have them, would take away from the simple message of this card.

I’d love to hear your thoughts about the use of embellishments. Don’t get me wrong … I like my bling too! lol

Thank you for joining me today. I have listed the supplies below, just click on them for details about the product or to begin shopping at my online store.

Have a beautiful Sunday ~

blog-closing-small

000_2291

TODAY’S STAMPIN’ SUPPLY LIST …


A Wonderful Man … Sneak Peek

Hello Stampin’ Friends,

I have returned home and created a “sneak peek” for you today! I will be introducing you to a new “Hostess” stamp set, designer paper, and one of the new In-colors! 

For those of you in my Stampin’ clubs … the catalogs are in, give me a call and we’ll set up a time for you to get yours!  All club members will receive their copy for FREE. Those of you who have purchased during the past few months with a qualifying order … you will receive yours by mail!!

Anyone else in the U.S. who follows my blog and does not have a current demonstrator, all you need to do is place a $50 order from My Stampin’ Up! On-line Store and I will send one directly you – FREE as a Thank You!

Now … on to the card!

000_2275

Let me begin by introducing you to the new “Hostess” stamp set … “Happy Birthday Everyone”.  The font is gender neutral and “any” age appropriate… how perfect!  It also contains: to an amazing women … to a good friend … to you … love … and to my darling. It comes in wood or clear mount.

I stamped the greeting in Island Indigo and Delightful Dijon (one of the new in-colors) to coordinate with the new Bohemian Designer Series paper.  I had a hard time picking out what pattern I wanted to use, so many great ones to choose from.

000_2273

A little layering of cardstock and your card is complete. I think the rich hue of the Island Indigo works so well with the warm Delightful Dijon. We are going to have a blast with the new colors this year!

Thanks for dropping by today …I hope you enjoyed today’s sneak peek.

Have a warm & wonderful day ~

blog-closing-small


Painted Blooms Designer Series Paper

Hello Stampin’ Friends ~

I am still in Door County (but leaving today) so I’ll be sharing  some of the beautiful cards that I have created with the Painted Blooms Designer Series paper.

The first card is cut from the same 12 x 12 sheet as the last card.  You can actually get 6 awesome cards from just that one sheet, and they will all look a different.  It coordinates with the Painted Petals Stamp Set …. which I used on the inside.

000_1872


000_1871

This pretty little blue pattern is so fun … reminds me of forget-me-nots!  You must check out the pattern with Blackberry Bliss … it is scrumptious!

000_1854

000_1855

Hope you enjoyed this quick review of the Painted Blooms designer paper.  I’ll be back tomorrow with another sneak peek!!

Have yourself a fantastic day ~

blog-closing-small

Remember the Fallen … Memorial Day

Hello Stampin’ Friends,

Today I have a special card I would like to share with you. It’s my way of saying “Thank You” and pay my respects for those who have fought and served our country … but did not make it home.

Today is the day we pay our respect for those who gave all to give us the freedoms we enjoy.

A simple “Thank You” card made with the Pleasant Poppies stamp set…

000_2269

I embossed them in black and colored them in with the new Watermelon Wonder maker… The base card is also in the Watermelon Wonder. I was going to use the Calypso Coral, but this was closer to the color I picture poppies as.

The “Thank You” comes from the “Celebrate Baby” stamp set. I love this set and I’m sorry it is on the discontinued list.  I added a Vintage Brad to give my card a little brass, and to finish it off … I simple spritzed a bit of black to create a more interesting background.

Enjoy your Memorial day … and take a moment to remember those who paid the ultimate price to keep our country free.

Thank you for joining me today.

blog-closing-small

TODAY’S STAMPIN’ SUPPLY LIST …


Simply Sunday: Sneak Peek

Hello Stampin’ Friends,

With the new catalog just around the corner, I wanted to share a sneak peek with you! Today you will get to see the beautiful “You’ve Got This” stamp set!

I will also introduce “Watermelon Wonder” … one of the new 2015-17 In-Colors!  The background stamp is included with this set.  I stamped off so it was a bit lighter … I must say, the new pads are very juicy!

000_2267

I stamped the flower and greeting (also included in the stamp set) with the Momento ink. I love this ink pad (still love my StazOn) but the Momento ink cleans nicely off the stamps.

The beautiful lace ribbon is new and is “Watermelon Wonder”. The ribbon comes in each of the 5 new In-Colors.

If you are looking to create beautiful cards, quickly … here’s the answer.  This pretty little card could be sent out with birthday wishes, get well, thinking of you … even a sympathy card. So very versatile.

000_2267

You will be able to order these items on June 2nd!

Thank you for stopping by my blog today.

Have a beautiful day ~

blog-closing-small

Simply Sunday … Birthday Flowers

Hello Stampin’ Friends,

I would like to wish all the MOM’s out there a very Happy Mother’s Day!  I hope you enjoy your special day.

I also want to say “Thank You” to all who took advantage of the Paper Pumpkin promotion …  You will receive an e-mail from me within the week with your password to my “Paper Pumpkin Pals” link.  There you will find even more ideas for your Paper Pumpkin kits. (This is now available to all my subscribers)

Today I want to share a simple card that can be recreated over and over again … just switch out the stamp set or the designer paper, and you have a new card!

000_2198

I stamped with the beautiful hostess set: Bloom with Hope with the StazOn ink pad. I kept it very simple by only coloring the center of the flower.  Sometimes less is more.

I used the Hello Honey and Mossy Meadow ink pads and blender pen to do the coloring … sometimes we get so caught up in new techniques that it’s nice to revisit old ones. They are tried and true!

000_2199

Both the birthday greeting and the verse on the inside of the card come from the Bloom with Hope stamp set. I layered and popped up the greeting to create some interesting dimension to the card, then tied it all up in a pretty little Mossy Meadow ribbon.

So simple … yet so pretty. Remember you can totally change the look of the card by changing out designer papers!

000_2198

Again, Happy Mother’s Day to all the Mom’s out there … and I hope everyone has a wonderful Sunday.

Thank you for stopping by ~

blog-closing-small

TODAY’S STAMPIN’ SUPPLY LIST …


Simply Sunday … Sending Loving Thoughts

Hello Stampin’ Friends,

I hope this post finds you enjoying a beautiful weekend. After many days of rain, it was so nice to see the sun again.

Today I have a card for you where I have combined two simple techniques to create one beautiful card. I began with masking off a section of my card and sponging Mossy Meadow and Lost Lagoon into that area.

000_2137 

Before peeling up the mask, I added the Bokeh technique … to create the background. Then I peeled off the mask and stamped the Serene Silhouettes over it using the Memento Ink Pad.

To complete my card I added a simple greeting from the Love & Sympathy stamp set.

The techniques of masking (with sponging) and Bokeh are simple to do and together they create a stunning focal point for your card.

000_2138

Thank you so much for stopping by my blog today.  I have posted a list of ingredients below for your shopping convenience … just click on any of the items for details or to start your shopping.

Enjoy the rest of your weekend ~

blog-closing-small

TODAY’S STAMPIN’ SUPPLY LIST …