A Little Hello …

Hello Stampin’ Friends ~

Today I’m going to share with you a cute -n- simple card created with the new “Badges & Banners” stamp set found on page 89 of your annual catalog. It bundles with the coordinating punch which makes it so easy to create these fun cards.

The birdcage was stamped in Smokey Slate, punched with the coordinating “Best Badge” punch and popped up on the background. The background and the base of the card are also Smoky Slate, and the background is embossed with the “Brick Wall” embossing folder.

000_3477

Our greeting also comes in our stamp set and is stamped in “Going Gray” onto the “Marina Mist” which is also used on the background, and is the color marker used to color our little bird.

You don’t have to fussy cut your banner either … there is a coordinating punch “Duet Banner” punch that coordinates perfectly with the banners in this stamp set. This punch can be purchased separately or bundled with the “Thoughtful Banners” stamp set.

000_3477

Hope you enjoyed today’s post, you can click on any of the items listed below for more information or to begin shopping.

Thanks for sharing a piece of your Sunday with me.

Enjoy your day ~

blog-closing-small

TODAY’S STAMPIN’ SUPPLY & SUGGESTED PRODUCT LIST …


Stampin’ Made Easy …

Hello Stampin’ Friends ~

Have you ever wished you had a secret stash of card?  Don’t we all?! We’re always looking for a card for those spur of the moment occasions (or one that just may have slipped your mind) …

Well, I have the perfect solution for you, our Designer Tin of cards ~

Annual16_p160_c-416

What’s better than giving a handmade card? Having a tin of handmade cards ready to give! Make a stack of all-purpose cards using precut, color-coordinated paper and accessories, then store them in a pretty tin until you need them. See for yourself how easy creativity can be!

You may want to get the coordinating stamp set – Designer Tin of Cards. It not only works great with you Tin of Cards but for all your card making projects.

The stamp set contains; Holidays, special occasions, thinking of you—this set has a message for any occasion. With a delightful combination of beautiful script as well as simple fonts, this versatile stamp set will help you create whatever you wish.

They are Photopolymer stamps and …
* Are totally transparent for perfect image placement.
* Have just enough give to create a perfectly stamped image every time.
* Cling like crazy to our clear blocks so you don’t have to worry about slipping.
* Save space—you need only one set of blocks for all your photopolymer stamps (blocks sold separately).
* Come packaged in cases with images on the spine for easy storage and quick reference.

Quantity: 33 photopolymer stamps
Suggested clear blocks (sold separately): c, g, h

Let me know if you and your friends would like to get together and would like my assistance … I’d love to help (In fact, you can use my stamp room!) lindaluvs2stamp@aol.com

Thank you for checking out my blog today, I hope it’s a good one!

blog-closing-small

Tin of Cards & Suggested products ...


Simply Sunday: Congratulations

Hello Stampin’ Friends ~

We have now entered that time of year when “Congratulations” cards are a hot commodity! Graduations, anniversaries, weddings … even job promotions … these are all events that we need cards for so today I’d like to help you out by sharing a simple yet pretty card for such an occasion.

000_3468

I chose Black & Gold because it can be used for any of the occasions I mentioned and it’s super simple to make. I’m using the new “Pop of Pink” Designer Washi Tape and the Flourishing Phrases stamp set.

Words are powerful. This set has the words you need for all occasions: thank you, congratulations, thinking of love, love you. Lift up your friends, send good thoughts to your family. I love this set!!

You will also need Whisper White, Basic Black cardstocks and our Gold Foil Sheets, plus one little scrap piece of vellum for the Bitty Butterfly!

000_3468

I added the new “”Metallic Enamel Shapes” for the body of my butterfly and to finish off the rest of the card. They are cute and really match up nicely with the foil sheets. (Both come in Silver and Gold)

Don’t you think this makes a great “Congratulations” card … and so simple! A little Washi Tape, a little stamping, punch a couple butterflies and your done.

Now … Yesterday I promised to share a few other cards that we have done in our stamping clubs.

000_1081

000_1080

Our clubs meet 1 day a month. Each group has a minimum of 6 and a max of 10 participants.

There is no cost for your projects, however each participant is required to spend a certain amount each month … that amount depends on the amount of people. This is done so each of our participants gets to take a turn “hosting” … this only means “YOU” get the hostess benefits (free stamps and / or accessories). 

101_1208

It is a commitment that you make to participate for the entire “club year” … 10 months. It goes by so fast, it’s kind of sad when we break for summer! So let me know if your thinking about joining us this fall.  Seats fill up fast!

Thank you for sharing a piece of your Sunday with me.

I hope you have a wonderful day ~

blog-closing-small

Today’s “Congratulations Card” Stamping Supply List …


New In Colors & Better Together …

Hello Stampin’ Friends ~

Yesterday I shared some sweet -n- simple cards that you can make with the new 2016-18 Stampin’ Up! In Colors and the Floral Affection Embossing Folder (set of 2), so today I thought I would “step it up” and create another set of cards using the other image in that set!

I also decided to feature the cardstock more on this card and use it for the base!

000_3443

Yesterday’s cards were all made without a greeting, so today I have incorporated the “Better Together” stamp set! 

I love this stamp set because it not only has your greeting but it has verses for the inside as well! On the card below I used the verse that would normally be on the inside and used it at my “greeting” …

000_3444

000_3442

Then, I took the greeting and stamped it on the inside of my card.  There are no rules in stamping so you can do it however you choose!

Now … have you noticed that I have been changing up the ribbon as well? I used it differently on each of the 5 cards!

000_3447

000_3446

Oh yes … all of these greetings come from the same stamp set (and includes the verse for the inside as well). The Sugarplum is the last of my cards … one in each of the new 5 In Colors and each with their own greeting!!

000_3448

I hope you enjoyed today’s showcase of cards and that it inspires you create. If you are looking for quick -n- easy cards to create that have a clean, pretty style, than today’s and yesterdays cards are for you.

I’d love to hear what “YOU” think about our new In Colors!  Just comment below 🙂

Thank you so much for stopping by today.

Have a simply wonderful day!

blog-closing-small

TODAY’S STAMPIN’ SUPPLY LIST …


Simply Sunday: In Color Explosion …

Hello Stampin’ Friends ~

It’s a new Stampin’ Up! year and I’m so excited with the just released 2016-18 In Color selection.

Each year Stampin’ Up! introduces 5 new In-Colors … these colors are what’s hot for the season and it helps keep our Stampin’ Up! colors fresh and fun.  If you walk into your favorite stores you will find these colors in the clothing, towels & bedding and home décor departments!

I’ve created some sweet and simple cards featuring the “Floral Affection” folder and the dots from the Enamel Shapes Brights Collection.

I know you’ll enjoy these cute cards all while getting to know the new In Colors …

000_3436

The Sweet Sugarplum is created with the Shimmery White card stock, all the other cards I used Whisper White card stock.

000_3435

000_3434

000_3433

000_3437

So … What do you think? Are you falling for them yet? I think this group of In Colors are going to be “Hot, Hot, Hot!” The Dapper Denim is a nice rich blue and the Emerald Envy … definitely a jewel tone – so pretty, and they look great together too!

000_3424

These card are quick and easy to recreate and you can add “any” greeting that you need.  Create a bunch of them (The white embossed size = 4-1/4″ x 2-3/4″ & your In Color Size = 4-1/2″ x 3″) then add your greeting as you need them!!

Thank you for spending part of your Sunday with me, much appreciated.

Have a wonderful day ~

blog-closing-small

TODAY’S STAMPIN’ SUPPLY LIST …


Sharing 5 Reasons to say YES!

Hello Stampin’ Friends ~

Today I’d like to share with you 5 fabulous cards, highlighting 3 new stamp sets. You can create cards for all occasions with these fun new stamp sets … and they’re FREE!

Let’s start with the fabulously FUN “Pun Intended” stamp set …

Annual16_p200a-378

You can easily make these fun cards … or we can make them together! These cute cards come from one of our newest Hostess Sets. Stamp sets you can get for FREE with your hostess $$ dollars when you host a qualifying stampin’ party.

One of my favorites is the beautiful “Gift of Love” stamp set … I can’t resist the beautiful flowers and words in this set…

Annual16_p200c-376

So simply done with the water color wash background. This is a two-step stamp set which makes your card making quick -n- easy.

The next two cards in this showcase are from the stamp set “Time of Year” … which simply states you can use this stamp set all year long.  Let’s begin with Spring (something we’ve all been waiting for) …

Annual16_p200b-374

Simple, pretty and done in some of our new In-Colors … again, I can help you and your friends make any of these cards at your party.   Why stop there?  Let’s move into one of our biggest cardmaking times of all … Christmas!

Annual16_p200d-371

Told you this was a versatile stamp set. Now … think about combining any of these stamp sets together, the possibilities are endless.

I love our hostess stamp sets because they stretch your Hostess $$ dollars even further, just remember when your party/order is $350 or more in June, enjoy an extra $35 in hostess rewards (in addition to the rewards shown in the chart below)!  Spend your Stampin’ Rewards $$ on hostess sets or on anything in the catalog!

6a00d8354941d869e201b8d1ef5fd7970c-500wi

Gather your friends or orders from them (I can help you with a hostess code for everyone to order online), or, place your own shopping spree order to enjoy the extra rewards! 

Remember.. ALL orders of $150 or more enjoy the Stampin’ Rewards (Hostess $$) to spend any way you wish!

Contact me … I’d love to help you get all the Hostess goodies on your wish list!

Thank you for coming to visit my blog today, hope yours is a good one.

blog-closing-small

Drapery Fold Cards

Hello Stampin’ Friends ~

Quick post today… struggling with internet connections and such. Must be trying to tell me that I’m on vacation and I shouldn’t be working, however, I don’t feel that sharing and chatting with my stampin’ friends is work at all … I love it!

Today I’m going to share a group of cards that are made with the drapery fold.

IMG_20160523_221302

This card is created with our Simply Score and a bit of folding.  Very simple … and when I get back home, I will be sure to share the directions with you.

Have a great day … and I’ll try to figure this out so I have a better post for you tomorrow.

Thanks for stopping by ~

blog-closing-small

Two for Tuesday: Stampin’ Retreat Card Swap

Hello Stampin’ Friends ~

Today I have two beautiful cards created by two of our retreat guests! Each retreat we host a card swap/contest … they make the cards, they vote, and the winner gets a Stampin’ Up! Gift Certificate from me.

Our two retreat guests featured today, both used the Butterfly Basics stamp set. Let’s begin with Peggy K’s card – This was Peggy’s first Stampin’ Retreat of mine and she came all the way from Oklahoma!

000_3321

A simply beautiful card … I love the pop of color Peggy used by adding her blue butterfly. I’m not sure if that is Lost Lagoon but I can see she used the Blackberry Bliss and Mossy Meadow. Fabulous color combination!

Did you know that the Butterfly Basic stamp set bundles with the Butterflies Thinlets? Remember, that even though the stamp sets and thinlets will carry over into the new catalog … they will NOT be bundled, so if you like it … purchase it before May 31st.

Our next card comes from Sandy B. and she has attended 6 of our annual retreats; both the Spring and Holiday retreats!

000_3322

Sandy also used the Butterfly Basics Stamp set and Thinlits Bundle, however her pop of color comes from the Two Step Stampin’ stamp set; Watercolor Wings. This stamp set also coordinates with the Butterfly Thinlits … gotta love the way Stampin’ Up! coordinates several different products to make our purchases a real value!

The black die cut butterfly that tops the “watercolor” butterfly is very striking and really draws the eye to the center of the card.

We love hosting the card swap at our annual retreats … everyone always goes home with extra cards with totally different styles and stamp sets.  They are a blast, and if you haven’t tried one yet, you should think about it!!

13015377_1104781879593906_8625598346345425789_n

AMD … said “I can’t believe the projects get better at each retreat! We enjoy meeting all the new people and have so much fun.”

Thanks for sharing a part of your day with me, I hope the ladies cards inspired you as much as they have inspired me! I love my job! It is all about sharing and building relationships.

Have a terrific Tuesday!

blog-closing-small

STAMPIN’ SUPPLY HIGHLIGHTS:


Simply Sunday: Botanical Birthday

Hello Stampin’ Friends ~

I’m here today with a pretty and simple card that made a big hit at our Annual Spring Stamping Retreat. Sometimes less is more, and still makes a big statement …

000_3311

Today it’s a Birthday Card, created with the Exclusive Hostess Stamp set; Happy Birthday Everyone. As a hostess stamp set … it will be retiring and gone for good at the end of May.  In fact, everything except the Mint Macaroon cardstock and inks are retiring.

Our greeting is stamped in Mint Macaroon and complimented with Cajun Craze. The colors were picked from the designer paper; Botanical Gardens. Mint Macaroon was also used for the base of our card and a banner along with a Cajun Craze banner.

000_3308

The banners were spotlighted with the pretty “Botanical Gardens Jewels” … so pretty and really adds a nice touch to the card. The entire greeting was raised with Stampin’ Dimensionals to add a bit of dimension to the card.

Sweet and Simple … this describes our card to a tee!

Thank you for joining me on this Sunday ~

Have a beautiful day!

blog-closing-small

TODAY’S STAMPIN’ SUPPLY LIST:


You Make Me Happy

Hello Stampin’ Friends ~

A quick post for you on this wonderful Wednesday. A cute card created by Stampin’ Up! that I thought I should share …

Project1_DBWS_Mar0114_all

There are day’s we’re looking for quick and easy cards and this one fits the bill! I like that this card is also gender neutral … well maybe we should take off the doily if you were going to give it to a man! You decide.

The color pallet fairs well with Crumb Cake and Pool Party Cardstock accented by the “Fresh Prints” designer series paper stack. The greeting is stamped in Real Red using the “Perfect Pennants” stamp set.

You will definitely want to make sure you pick up the “Banners Framelits” dies so you don’t have to fussy cut any of your banners … much quicker running it through the BigShot.

Quick -n- Easy … hope that’s how your day goes.

Thanks for dropping in on me today.

blog-closing-small


Simply Sunday: The World to Me

Hello Stampin’ Friends ~

Today I have a quick -n- easy card that your man would love to receive, whether that man is your husband, father, brother or son … everyone loves to hear what they mean to their loved ones.

Today’s card begins with the “Going Global” stamp set from the Going Places product suite. A product suite is a group of products that were made to coordinate with each other. Don’t let that stop you though … this grouping goes well with some of the great stamp sets in the annual catalog as well.

000_3264

My base is Lost Lagoon from the Going Places Cardstock pack (those these) and what I used with the World Traveler Embossing Folder.

The globe was stamped with Delightful Dijon and the greeting in Lost Lagoon.  I have listed the punches that I used below. These were layered onto a strip of the Going Places Designer Series Paper stack and the gold ribbon.

It all comes together so easily and the greeting just pops off the textured background when highlighted by our Dijon globe. Where did I get the idea to use the Delightful Dijon? The coordinating designer paper … Stampin’ Up! takes all the guess work out of coordinating.

000_3263

Thank you for taking time out of your Sunday to visit …

Have a wonderful rest of your day.

blog-closing-small

TODAY’S STAMPIN’ SUPPLY LIST …


Throwback Thursday: Butterflies!

Hello Stampin’ Friends ~

Today I thought it would be fun to share some cards that I have created for my blog or my stamp clubs from the past. Today we are going back to 2013, and the products that we’ll focus on are still in our annual catalog!

Let’s take a look at butterflies …

Swallowtail 4-29

The first is a card we did in my Stampin’ Technique Classes: Emerging Color Technique

  1. We sponged color – in this case, green in the center and turquoise on the rest … let dry.
  2. We then inked up the butterfly image with VersaMark and then embossed with clear embossing powder
  3. Final step of the technique is to brayer black over the entire card front & wipe off excess ink.

The beautiful colors underneath the embossed area now emerges! We then used the butterfly punches (also still available) to accent our card.


The second card is quick -n- easy and really cute!

000_1379

Our background was created with the “Honeycomb” folder (still available) … the only thing you need to swap out is the designer paper! And that’s not hard because we have so many fabulous designs.


My last card share for our Throwback Thursday is ….

000_1373

This card also has the “honeycomb” embossing folder and the Bitty Butterfly punch is used. The stamp set is no longer available but my suggestion would be the “Serene Silhouettes” or the “World of Dreams” stamp set… either one could be used in replacing the stamp set on this card.

As you can see, some items are timeless. You can easily create these cards again, and again.  Hope I inspired you to create with your butterfly punches … spring is in the air!

Just a quick reminder …

LAST DAY OF SALE-A-BRATION

PAPER PUMPKIN PROMOTION ENDS

$30 FREE PRODUCTS W/ STARTER KIT

Click on any item for details

Thank you for joining me today ~

Have a wonderful day!

blog-closing-small

SUPPLY LIST FOR TODAY’S CARDS …


You Brighten My Day …

Hello Stampin’ Friends ~

Today I’m going to share with you a card we did in our Stamp Club. This year our focus has been on the exciting new products in the Occasions catalog and the different ways to use the.

On this card you will see that we have used the Sunburst Framelit Die and cut it down. They also learned a fun little tip on how to do this and save paper! I cased this card from Pinterest but gave it my own twist … as always.

Our sunburst was pre-cut from the Circle Collections Framelit Die first before using the sunburst die…. this saves so much paper! Our greeting comes from the Sunburst Sayings that is bundled with the framelit.

000_3246

My Polka Dot paper comes from the Neutrals paper stack … and was punched with the Triple Banner Punch and the heart punch to add that “cute” little touch, and a touch of “Dazzling Details” to glitz it up.

My “thank you” comes from the “Crazy About You” stamp set … a stamp set I’m crazy about!! You can create so many different sayings with this set, and you’ll find the photopolymer is a breeze to align the words together to create your greeting or phrase.

A simple card really … that’s really cute! I think the layering of the White and Black cardstock really makes the Mellon Mambo sunburst and heart really pop!

Thank you for sharing a piece of your day with me … You’ve brightened my day!

Hope you day is sunny and bright as well.

blog-closing-small

TODAY’S STAMPIN’ SUPPLY LIST …


Happy Easter Card …

Hello Stampin’ Friends ~

Yesterday I celebrated my 16th Anniversary of being a Stampin’ Up! demonstrator …

anniversary


It’s hard to explain the flood of emotions that come with such an exciting milestone and the difference this had made in my life.  I have made so many wonderful friends … my stampers and fellow demonstrators alike. Both have been there for me through good times and hard times and I cannot exude enough gratitude for that.

The money and the trips are awesome – I won’t deny, but the friendships are what have kept me stamping for 16 years.  That’s right … I didn’t do this at all before I signed up! Image that! lol  The most amazing part to me, is to get a group of people together in a room to stamp and even though they had never met before they get to know each other and build amazing friendships too … I just LOVE this.

I couldn’t ask for a better job … and I couldn’t ask for better stampin’ friends! You are my inspiration.

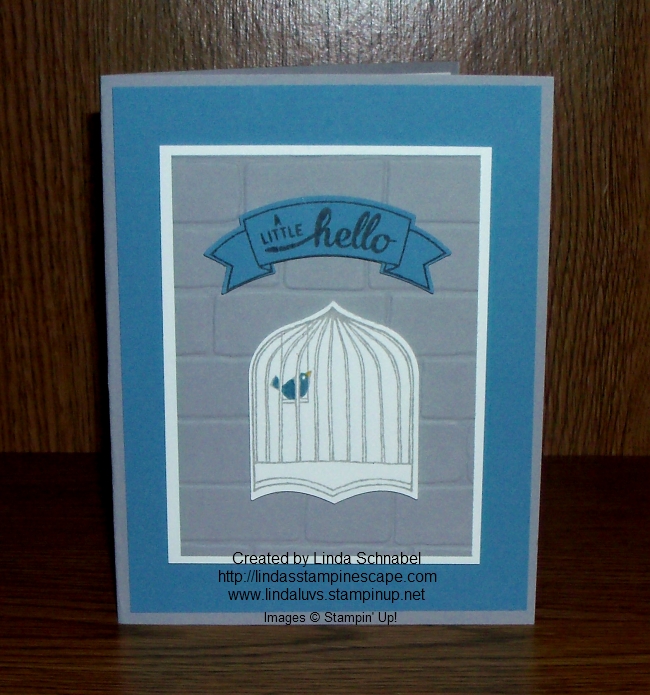
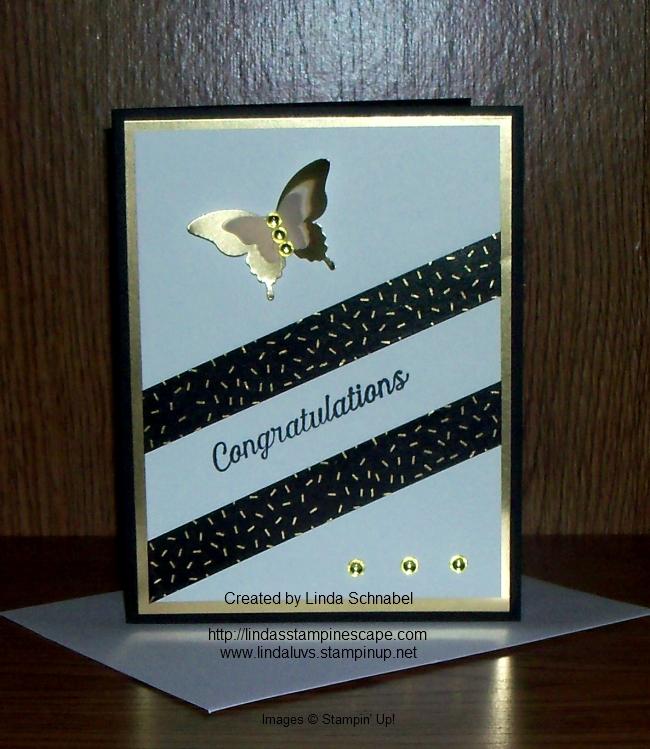
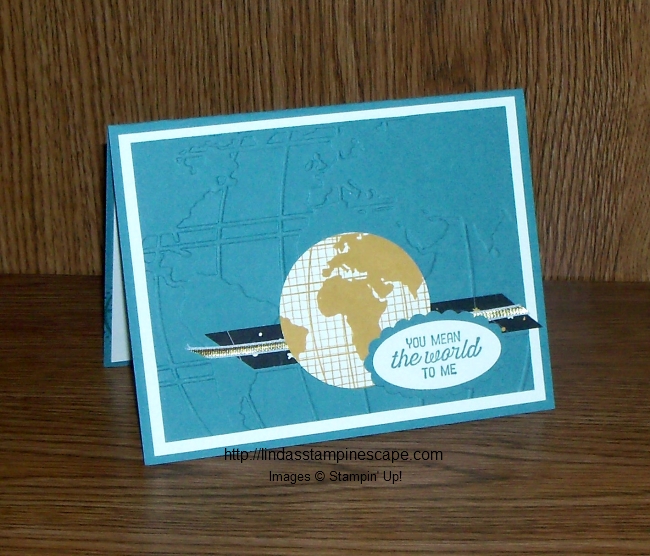
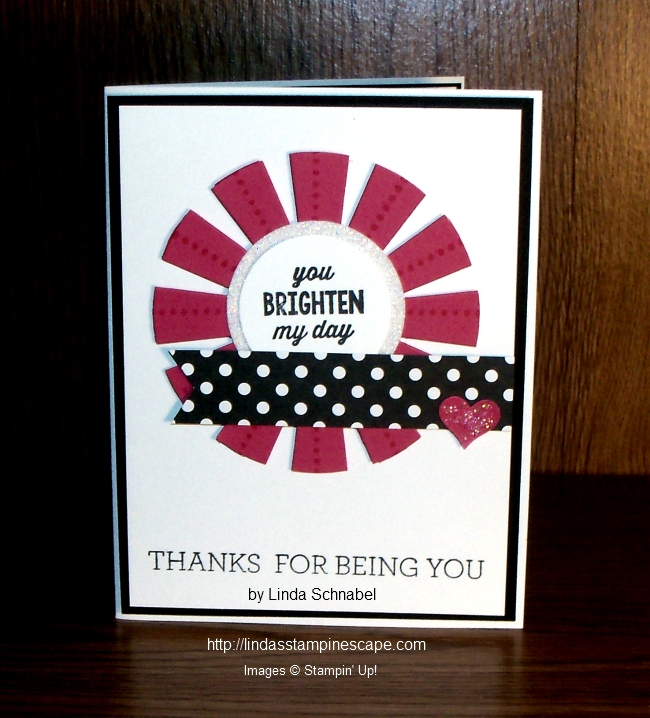
Yesterday I told you that I had a really cool card I wanted to share with you. It was made by one of our 2015-16 Artisan Team members – Cindy Schuster. I would like to share her amazing post / card with you.

photo 1

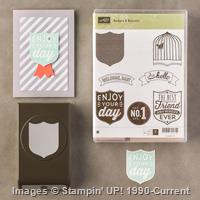
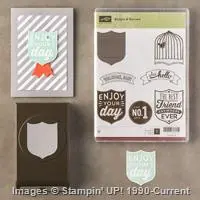
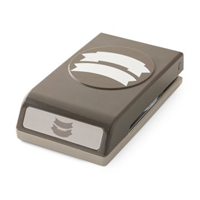
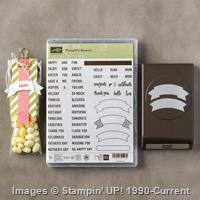
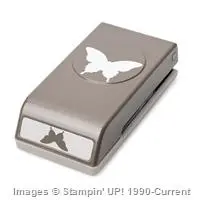
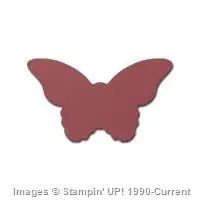
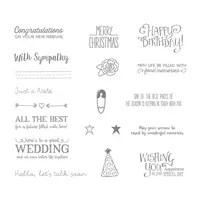
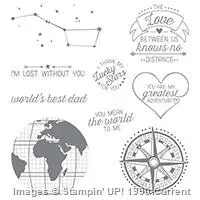
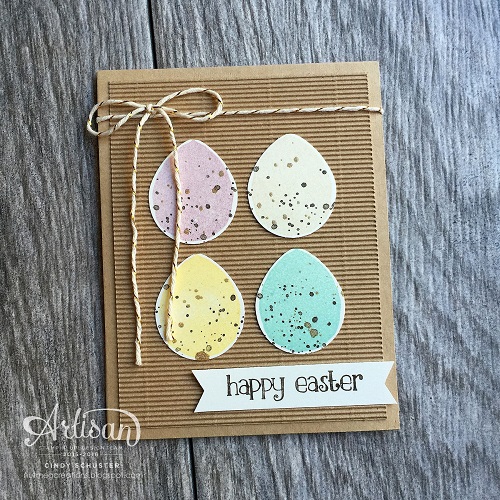
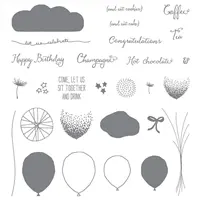
Did you know that Easter is very early this year? It’s on March 27! Here’s a quick and simple Easter card that you can make using a WOW technique with the Balloon Celebration Stamp Set (item 140675) and the Balloon Bouquet Punch (item 140609). After stamping the balloon shape, simply snip the balloon end-piece off and you have an egg shape!

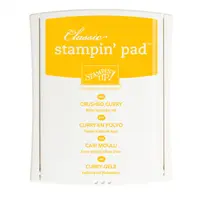
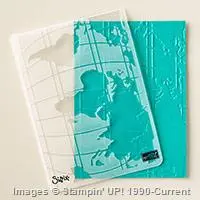
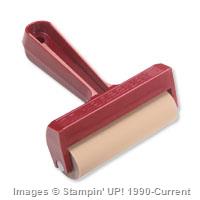
Stamp the large balloon image in Crumb Cake (item 126975), Perfect Plum (item 126963), Pool Party (item 126982), and So Saffron (item 126957) on a piece of Very Vanilla Cardstock (item 101650). (Stamp directly on the cardstock with Pool Party and So Saffron ink; stamp off the Crumb Cake and Perfect Plum balloon images.) Don’t forget to place your Stampin’ Pierce Mat (item 126199) beneath the cardstock to get a good, stamped image with your photopolymer stamps!


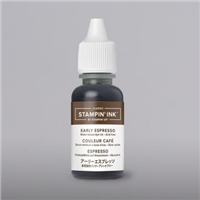
To create the first layer of speckle, stamp the splatter image from the Gorgeous Grunge Stamp Set (item 130517) in Early Espresso Classic ink (item 119789) across the wide half of the balloon image.

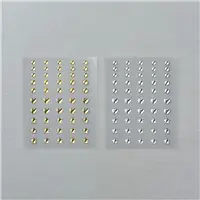
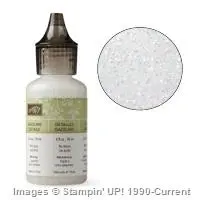
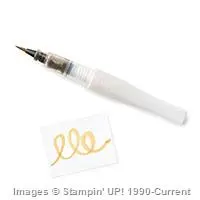
To create the next layer of speckle, use the Gold Wink of Stella Glitter Brush (item 141898). Squeeze the sides to push the ink into the barrel, then use your finger to tap hard on the brush. This will cause the ink to splatter across the cardstock.

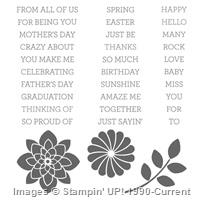
Cut the stamped Very Vanilla Cardstock into strips so that you can slide them into the Balloon Bouquet Punch. Cut off the balloon end-piece. Now adhere the finished speckled eggs to a card using any simple Easter greeting.


Happy Easter! Created by Cindy Schuster
2015–2016 Artisan Design Team

Isn’t that the cutest Easter Egg card you have ever seen!? I think it’s sooooo cute and so cleaver.  How many of you are going to make these cute eggs?

Thank you for dropping in today.

Have yourself a wonderful day and just celebrate the day!

blog-closing-small

TODAY’S STAMPIN’ SUPPLY LIST…


I’m Lost Without You …

Hello Stampin’ Friends ~

Did you enjoy the card swap share yesterday? I will do more of that as our demonstrator group the Star’s swaps. Inspiration comes from many places … swapping, Pinterest, and blogs. I hope you are inspired by the projects I share with you here on my blog.

Today I’d like to share a card with you that I made from a card that I saw on Pinterest. This is also one of the card we make at my last Stamp Camp.

The card features the “Going Global” stamp set and “Going Places” Designer Series paper ….

000_3159

This is an awesome stamp set for those “Masculine” cards we all want, but can be used for any occasion! My base of the card is Sahara Sand and is one of the colors in the “Going Places” Designer Series Paper.

The compass image is stamped with the StazOn and punched with the 2″ Circle Punch.  My greeting was stamped with StazOn on the White Vellum Cardstock.

I thought we were in need of a bold pop of color so I chose Bermuda Bay, and embossed it with the “World Traveler” Embossing Folder (LOVE IT). Then we sponged just a little color over the embossed area to highlight it just a little more.

000_3159

Hope you’re inspired by today’s card. Thanks for stopping by.

Have a wonderful day …

blog-closing-small

TODAY’S STAMPIN’ SUPPLY LIST …