Hello Stampin’ Friends,
I’m sorry I missed posting the last 2 days but I was with family … we lost Art, my brother-in-law early Monday morning. Hard to believe that he was just on the Honor Flight last weekend. He fought hard like the Marine he was, but has now joined his forever love again, my sister Eileen. Fifty years ago they stood before God, family and friends to be united in marriage … God has now joined them together again.

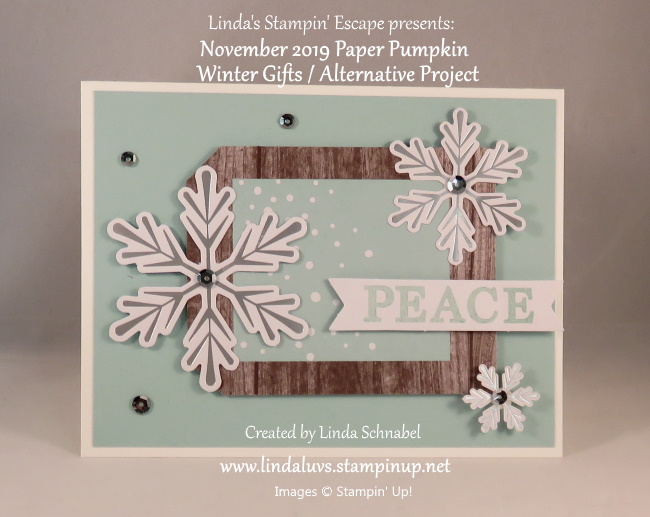
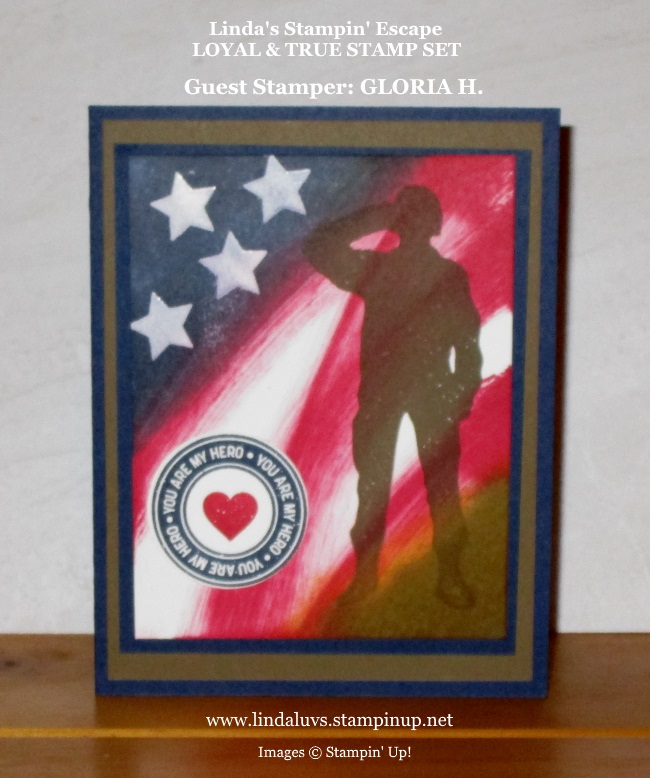
During this holiday season, I am thankful for loyal customers like you! And because you are the heart of my business, I wanted to share this exciting news with you …
Stampin’ Up! is having a 3 Day Sale …November 20th – 22nd.
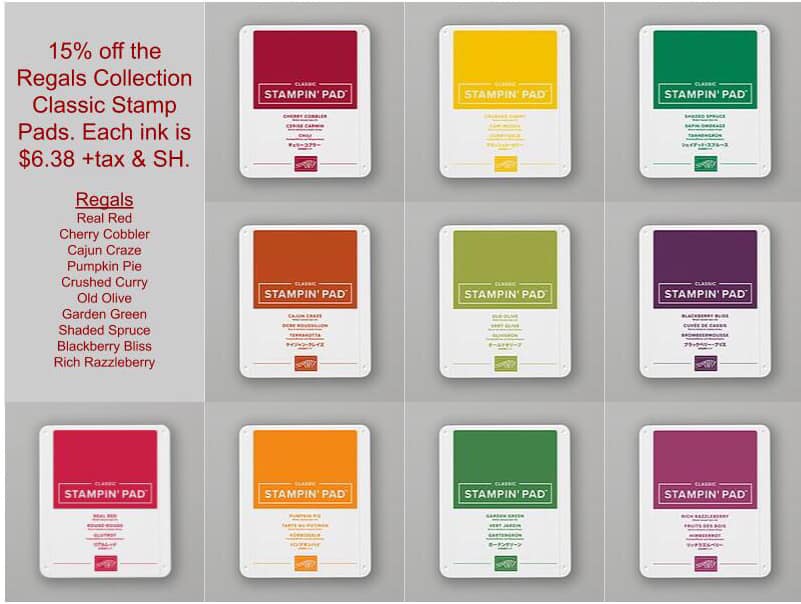
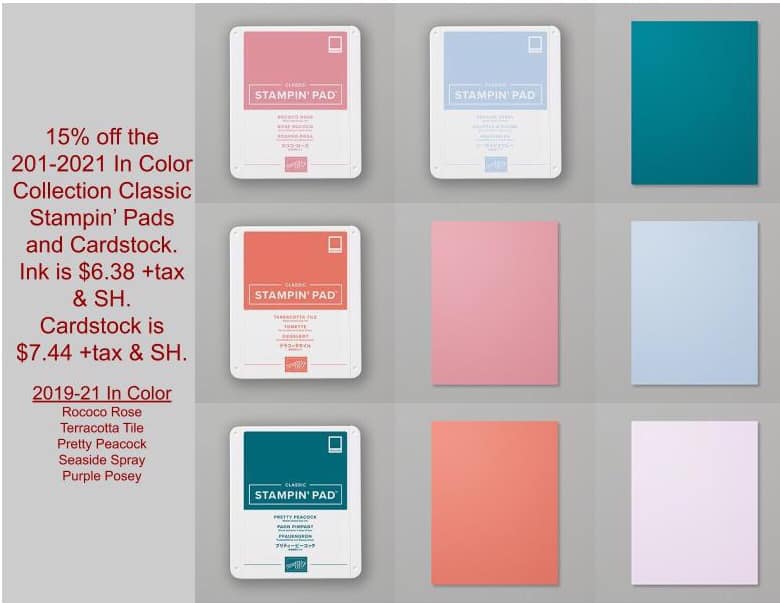
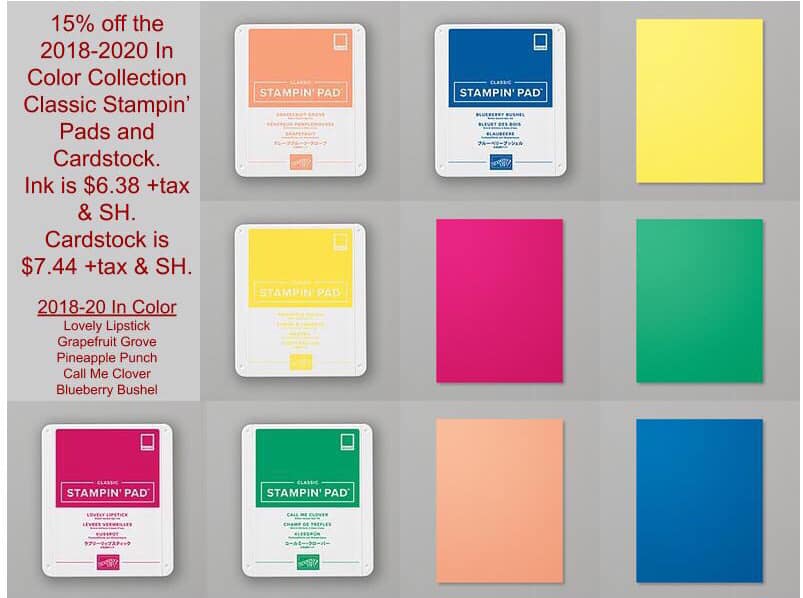
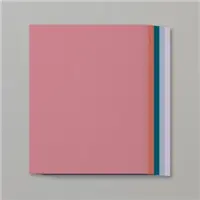
15% off Cardstock and Ink Pads in:
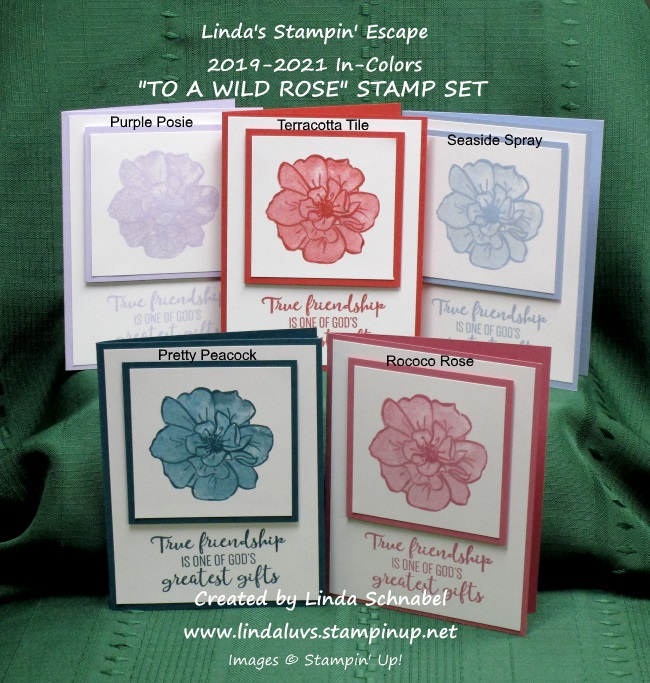
Neutrals Collection / Regals Collection / 2018–2020 In Colors / 2019–2021 In Colors
STOCK up on those basics! Cherry Cobbler, Night of Navy, Crumb Cake, Pumpkin Pie, Real Red (cardstock / stamp pads) & more!!!
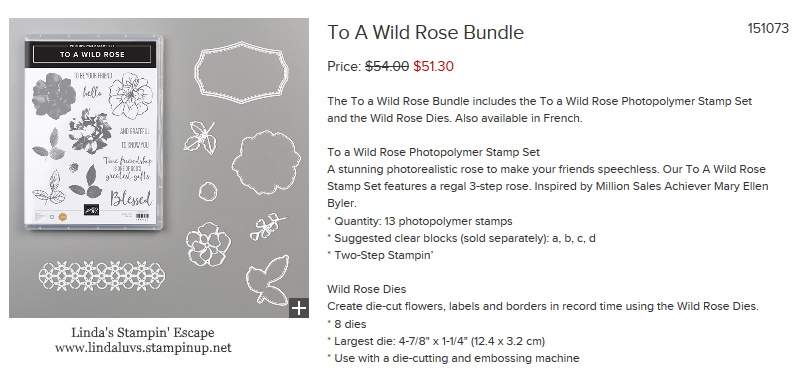
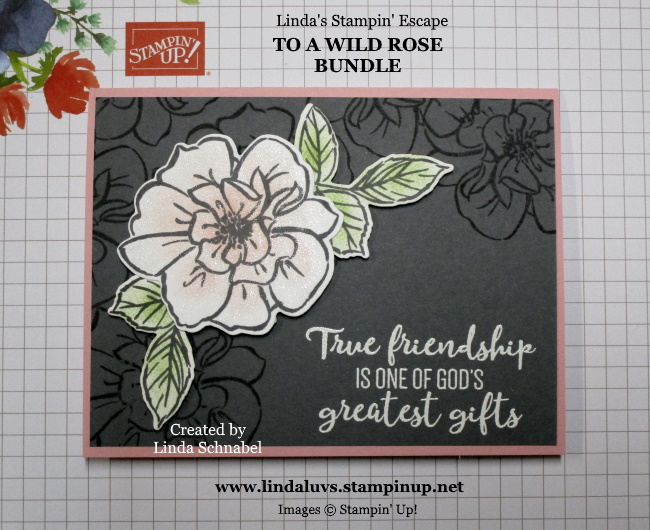
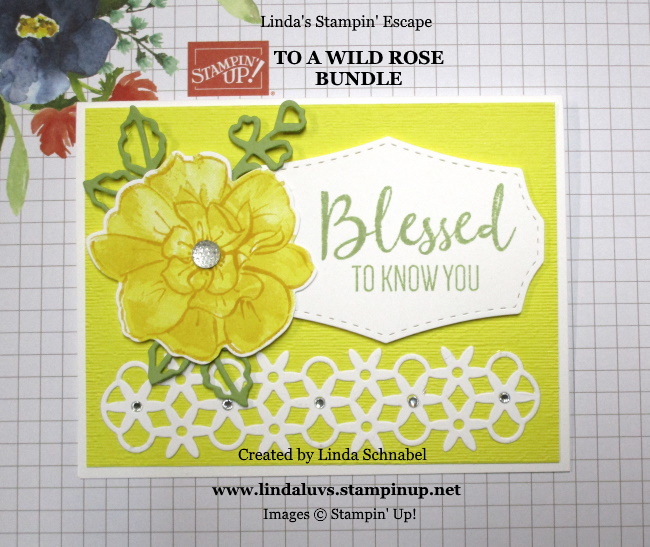
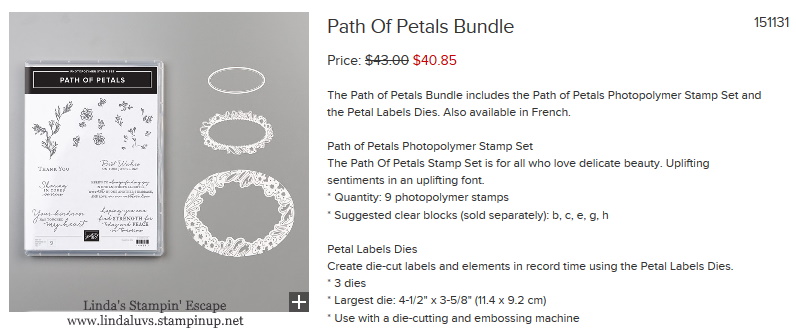
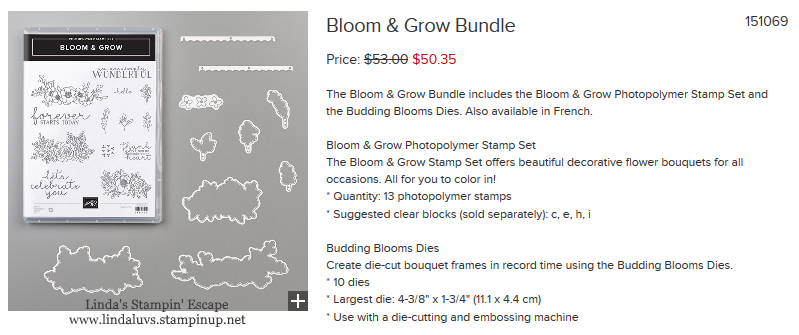
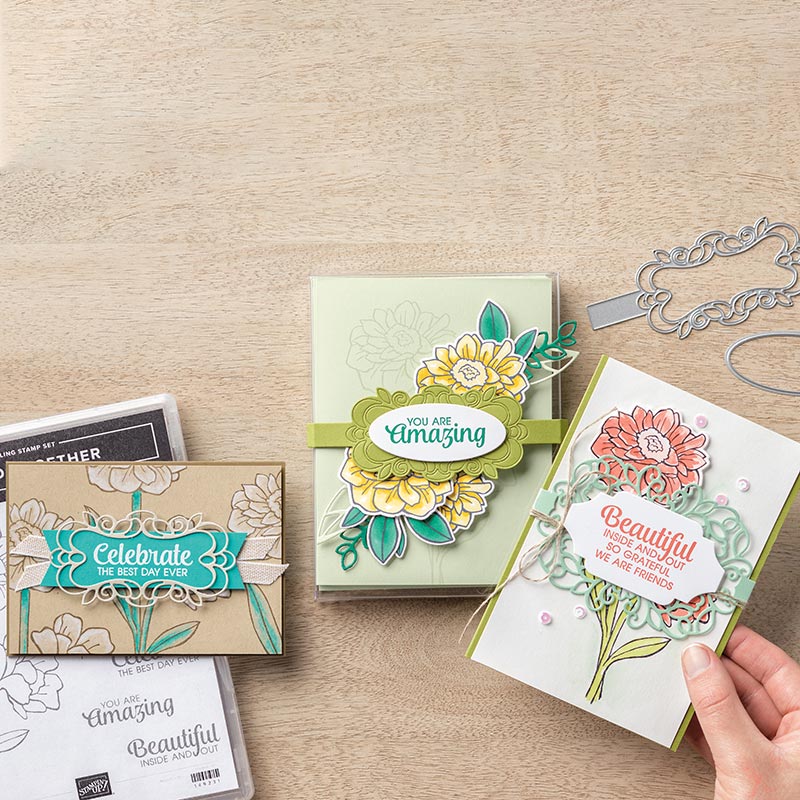
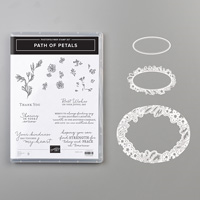
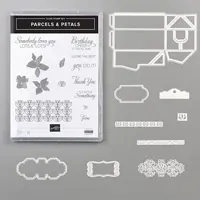
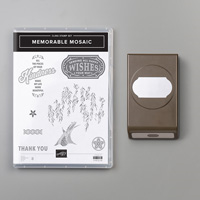
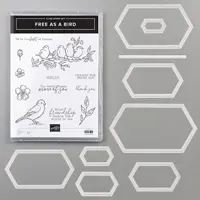
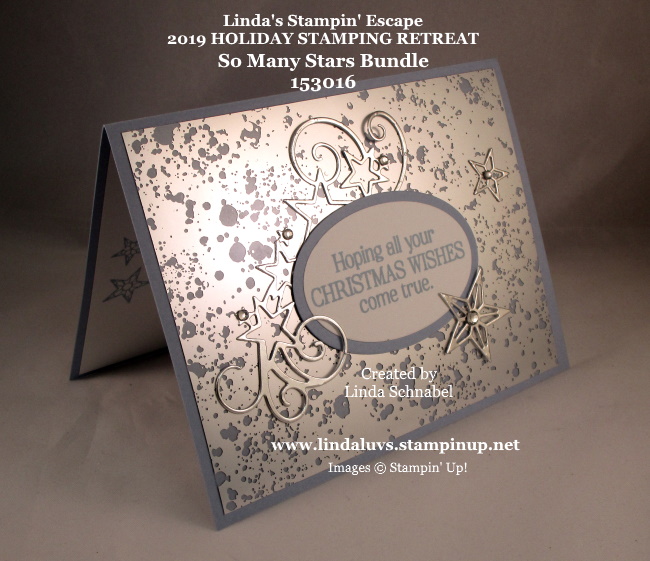
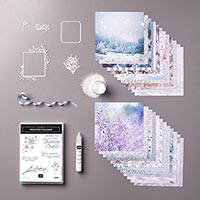
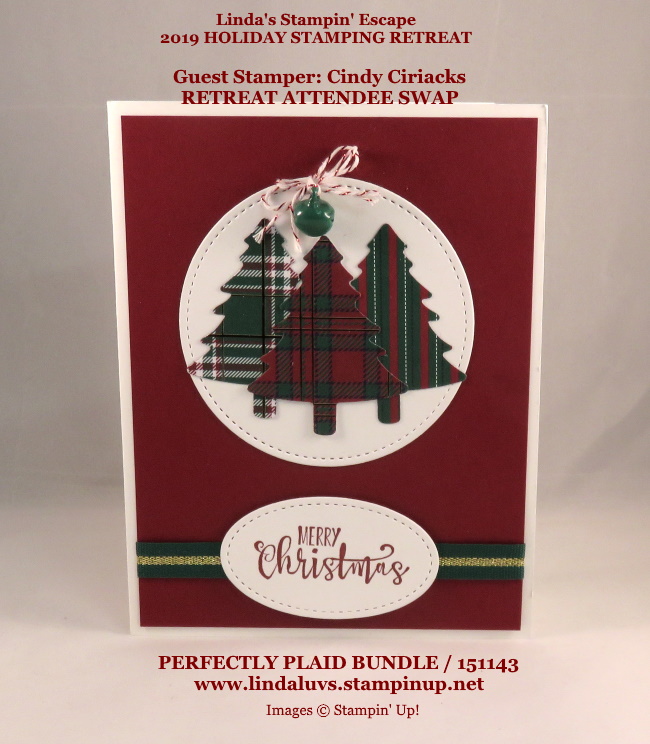
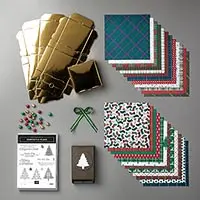
PLUS… they have 8 different bundles that are also on sale!
I don’t want you to miss out on these special savings!
You can order on line, or please, feel free to contact me …
and I will help you place your order before Friday eve!
Call: 262-334-1009
or message me through facebook!
Just a reminder … For all of you who purchase $50 or more, you will receive your Virtual Rewards point as always, but you will also receive a special gift of appreciation from me in the mail.

Please feel free to share or save ...