Hello Stampin’ Friends ~
Hope you had a beautiful Easter!
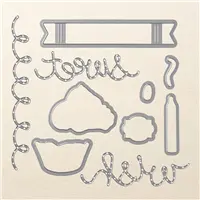
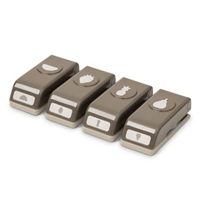
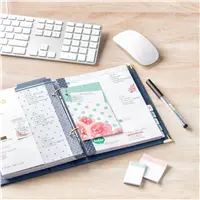
The sun is shining, and the new Everything Is Rosy Product Medley is here! I have 3 cute projects to share with you today featuring this amazing kit. For a limited time, this exclusive collection of cute, coordinating products will be available—while supplies last. Check out each item included in this petal-packed product medley.

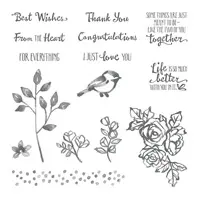
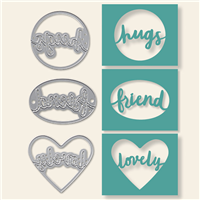
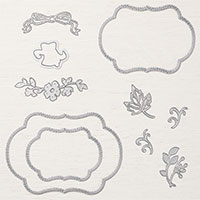
Everything Is Rosy Photopolymer Stamp Set—18 stamps; suggested blocks: a, b, c,
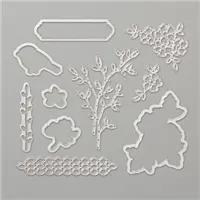
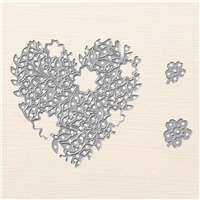
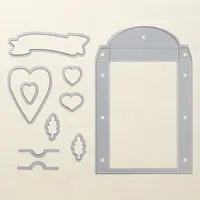
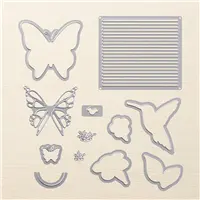
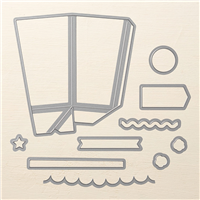
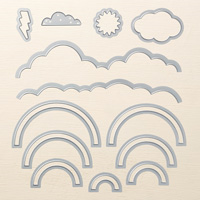
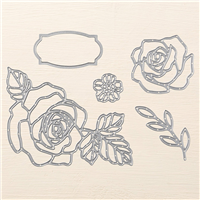
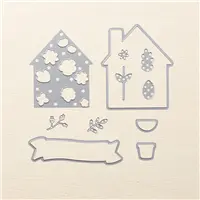
Everything Is Rosy Dies—10 dies; largest die 2-7/8″ x 1″ (7.3 x 2.5 cm)
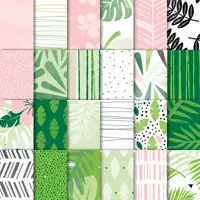
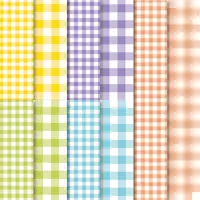
6″ x 6″ (15.2 x 15.2 CM) Designer Series Paper Stack—48 sheets; 8 each of 6 double-sided designs
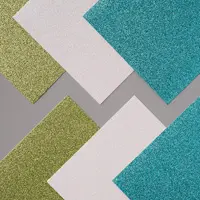
6″ x 6″ (15.2 x 15.2 CM) rose gold foil paper—8 sheets
Printed die cuts—2 sheets
Rose gold die cuts—4 sheets; 2 each of 2 designs
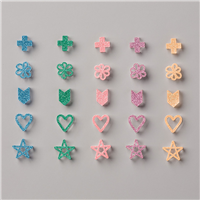
Rose gold adhesive backed mirror embellishments—60 embellishments; 1/4″ (6.4 mm)
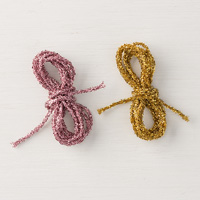
Melon Mambo 1/4″ (6.4 mm) Ruched Ribbon—10 yards (9.1 m)
Night of Navy/Rose Gold 3/8″ (1 cm) Metallic –Edge Ribbon—10 yards (9.1 m)
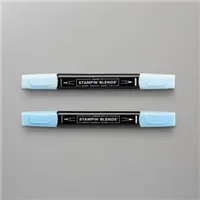
Rose Gold Shimmer Paint—1/2 oz. (15 ml)
Purchase the kit through me before May 1st and I will host a special class showing you some wonderful things you can create with your new product medley.
Class will be held: Tuesday, May 21st if it fills I’ll open second date: Thursday, May 23rd
Classes are limited to 6 / And begin at 6 pm. Your kit will be here, just bring your adhesive
Snacks & water will also be provided to make this a fun, relaxing and creative evening.
You’ll go home with 5 beautiful projects and the rest of your kit! The inspiration from our class will make you want to use up the rest of your kit!! The project you see below are not the ones you will be making in my class … so here’s even more ideas!!

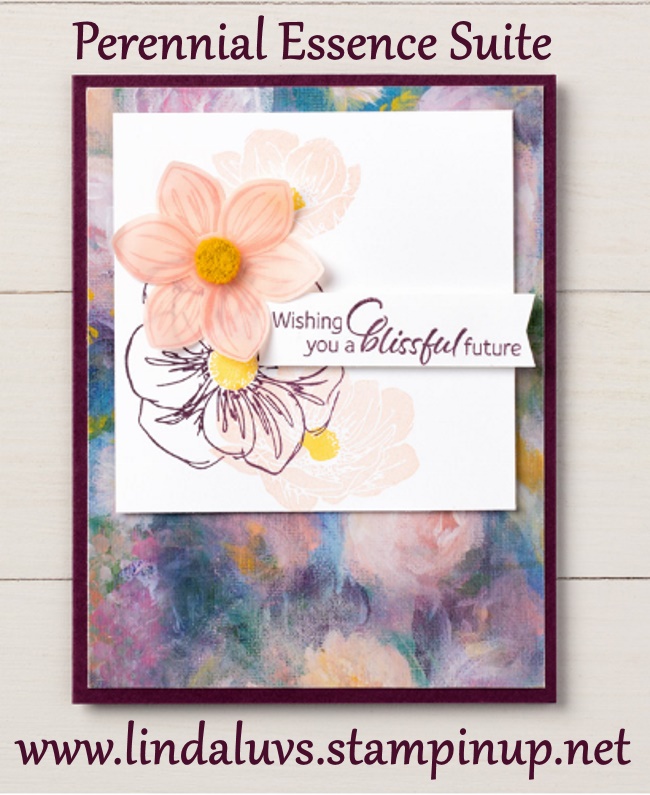
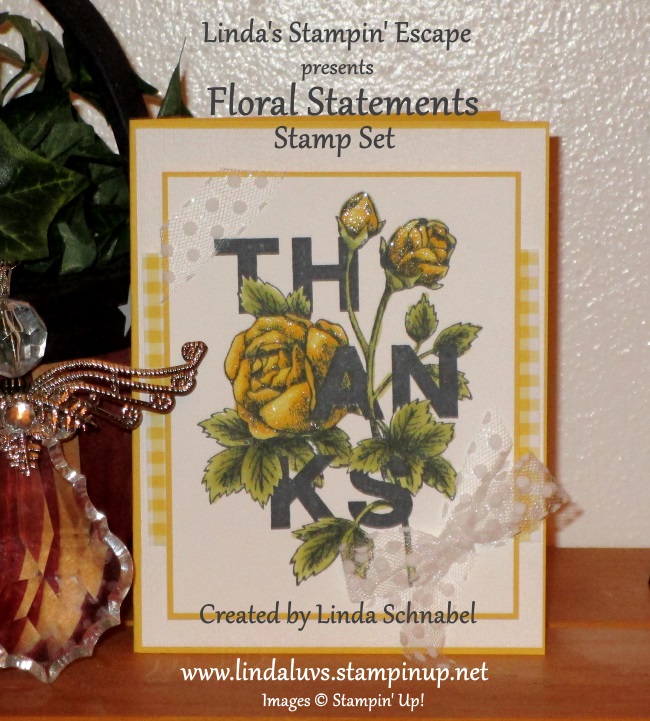
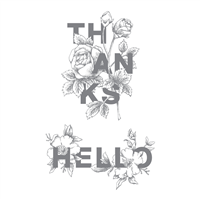
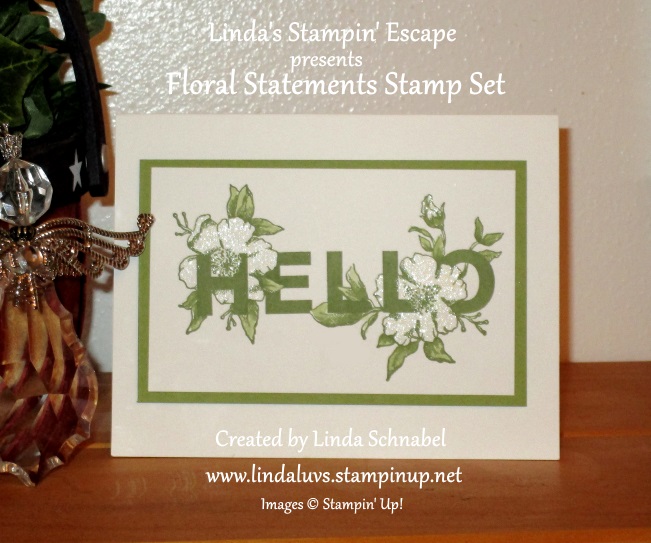
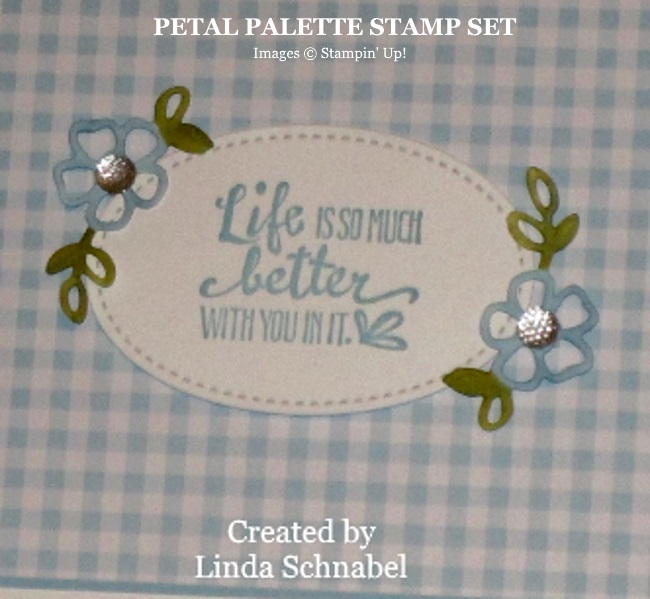
I love the fonts in this stamp set … so pretty. And with embellishments in the kit, you can create this card in just minutes!

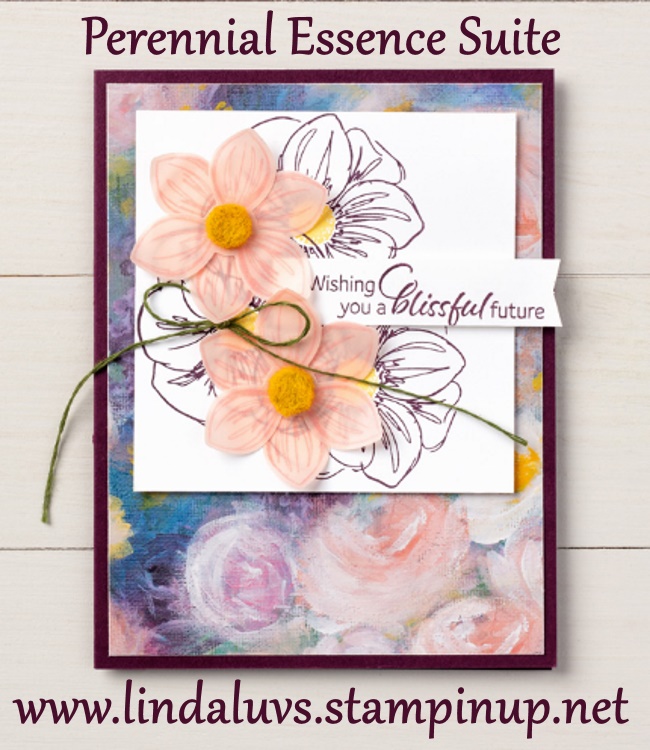
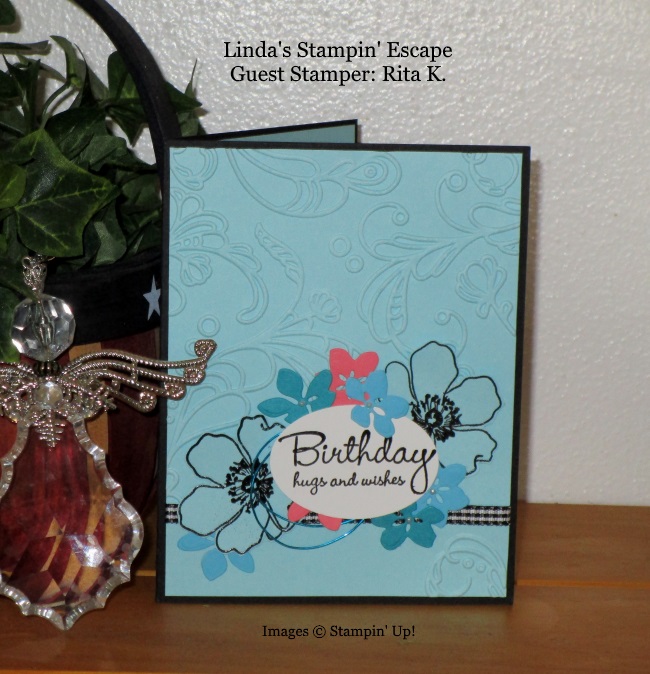
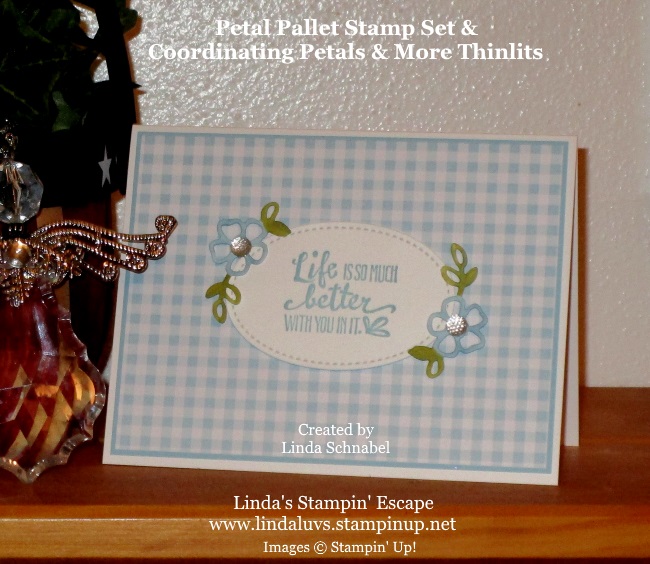
Love this card … a little stamping and some of the die cut embellishments from the kit will allow you to make many, many beautiful cards.
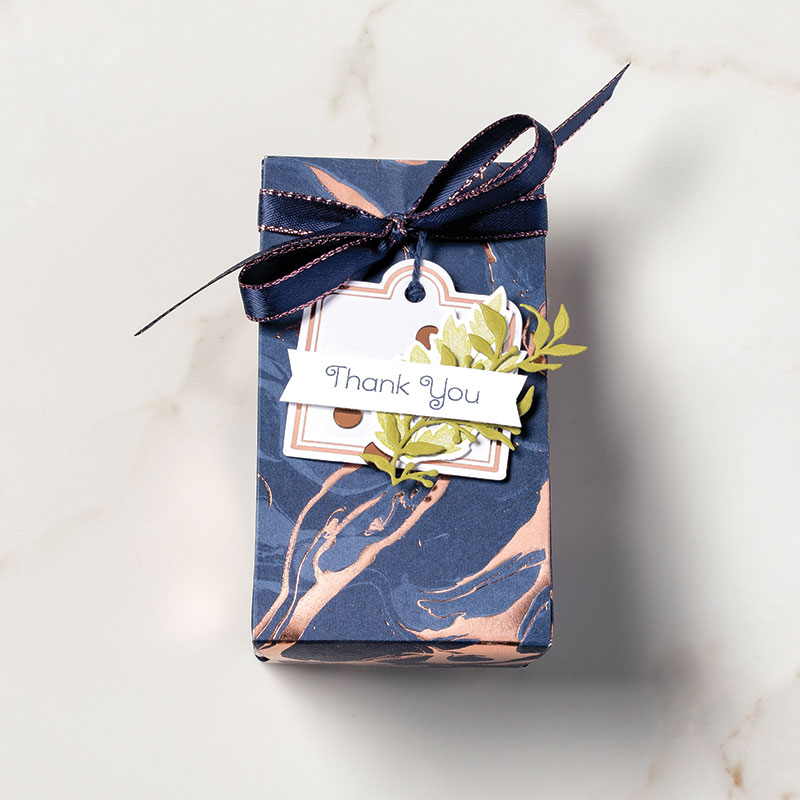
One last little project … A hand crafted gift bag! So simple to make …

The Rose Gold veining in the designer paper is stunning and gives this little gift box a very elegant look.
Thank you so much for stopping by today, have a beautiful day!!
Let me know if you have any questions on this product medley.
Please feel free to share or save ...