May Good Things Grow this spring! Check out this month’s unboxing and get started with this one of a kind kit today! Paper Pumpkin’s March 2018 kit features vintage floral blossoms, and seed packet inspired envelopes.
New Paper Pumpkin Subscribers get 50% Off!
NEW subscribers who join Paper Pumpkin between now and May 10 will get 50% off their first 2 months. Enter this promotion code to get in on the special: SAVEFIFTY0418
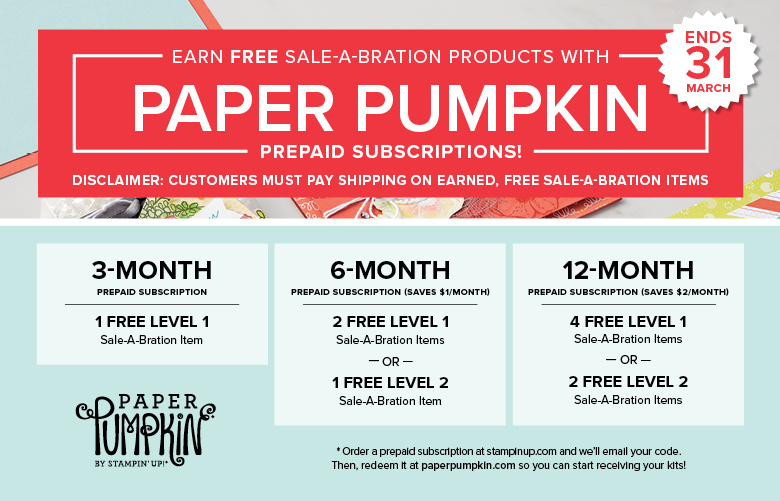
For those who are current or returning subscribers, you can still reap some rewards. In fact everyone that purchases a 3, 6 or 12 month pre-paid subscriptions by the end of March will get to choose FREE Sale-a-Bration products!
I did not get mine yet … should be in my mailbox today!! When I do, you know that I will be sharing alternative projects with you!
I’m having a little technical difficulty with my camera so I will share our current promotion with you …
New Paper Pumpkin Subscribers get 50% Off!
NEW subscribers who join Paper Pumpkin between now and May 10 will get 50% off their first 2 months. Enter this promotion code to get in on the special: SAVEFIFTY0418
For those who are current or returning subscribers, you can still reap some rewards. In fact everyone that purchases a 3, 6 or 12 month pre-paid subscriptions by the end of March will get to choose FREE Sale-a-Bration products!
Check it out … We’ve got some great kits, and I share alternative projects so you’ll see even more ways to use your monthly kits!!
Thanks for checking in with me …
Hoping to be back tomorrow with my Simply Sunday post.
Yay … It’s Friday and I’ve got a treat for you!! Yesterday I shared the Mixed Medallion Card Kit video … what did you think? Cute? Well today I’m going to transform this card into a cute little treat pouch!
I did not do much to this card at all, and with a few strategic placement of adhesive, I created a treat pouch that anyone would love to receive …
First, I simply secured the Berry Burst flap down inside the card … I liked the color behind our cardfront so I did not want to cut it out. Then I simple used my Fast Fuse to secure the bottom flap on each side to create the pouch / pocket.
Next … I wanted a little salutation on the inside that matched my “Thank You” greetings on the outside (In 3 different languages). I stamped it in White Craft ink and Heat Embossed it with White Embossing Powder. I think the White on White is much bolder …
Then I tucked my 3 little Merci candies into the pouch/pocket. I created a belly band to hold the top flap down and hold in my candies. I wanted to make sure it was wide enough so I made it with the candy inside.
I simply wrapped a 1″ x 11″ strip of paper around it and then where the crease came from the sides I scored it again at 1/4″ to create a wider band that would slide freely over the top.
I added the cute little Enamel Glitter Dots just for some glimmer and a little dimension to the card.
So … Did you think you could turn your card into a “gift giving candy pouch?” I love it ❤ And I love figuring out different ways to use my products!
I hope your enjoyed today’s transformation and that your Friday has a surprise treat for you!
Today I have a quick post for you … I’m going to be sharing a video of yet another Sale-A-Bration item!! This is our Mixed Medallions card kit.
Card kits are great to have on hand because you can whip out a card with no prep work and not much thought because the work is already done for you. Just check this out …
Get the fantastic Mixed Medallions Card Kit by Stampin’ Up! for FREE with a qualifying purchase during Stampin’ Up!’s biggest and best yearly sales event, Sale-A-Bration! Quickly and easily create 8 “thank you” and “congratulations” trifold cards. Everything you need is included!
NOW … Stop back tomorrow because I will be sharing some fun alternatives to this card kit!! Let’s get creative 🙂
Thanks for stopping today, I hope your day is a good one!
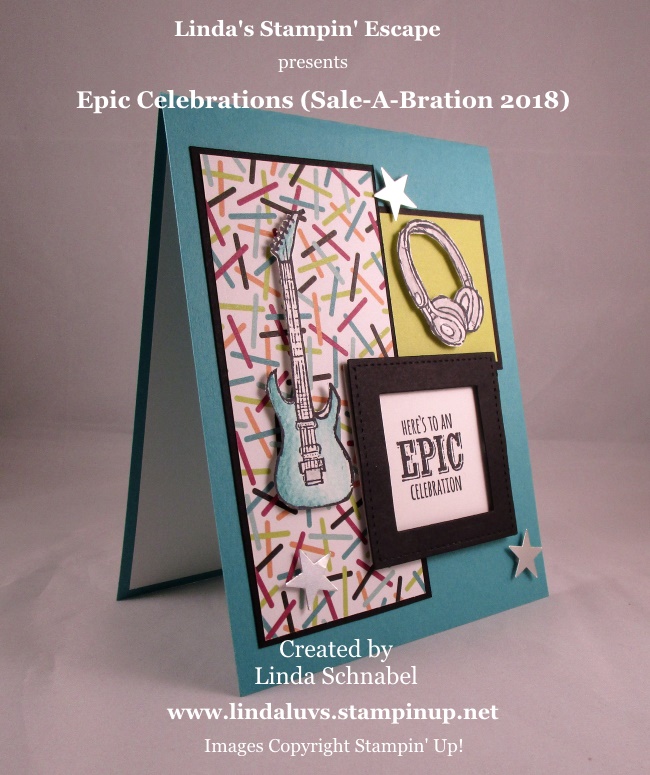
It’s Wednesday … Wow! And I’m hoping to WOW you with this next card. With just a little fussy cutting and our Bigshot we’ve got some real dimension and texture going on, on this card.
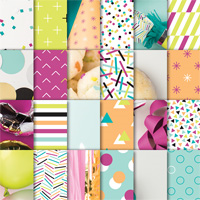
I am using the Epic Celebrations stamp set again and I’ve teamed it up with the Layer Squares and Shaped Stitched Framelits Dies along with the Picture Perfect Designer Paper again. I’d like you to see the different looks you can create with the same items …
I found yet another pattern from the Picture Perfect designer paper that just shouts “celebration” so I thought what better to highlight that paper than to rock it out with the guitar.
Again, I used the Watercolor Pencils on both the guitar and the head set, earphones, what ever they are called now! LOL Both were also popped up using the Stampin’ Dimensionals.
Speaking of dimensionals, I also used them to pop up the square window so it framed the greeting! It’s so cool to see the layer on layer but it fits into a regular A2 size envelope.
The stars are from one of our framelit dies … it gave it a more “Rock Star” look. I often use bits -n- pieces from other stamp sets or dies, it gives you more versatility and a greater value for your purchases.
Thank you for sharing a part of your day with me, and I hope you have enjoyed this card. I found this one a bit more gender neutral than yesterday’s card.
Well… this is actually my Tuesday, March 13th post but while editing, I hit the wrong button and it posted (AGH … technology!!) Anyhow, let me show you what I’ve been up to!
For the past two days I’ve shared my creations from the Epic Celebrations, well I’ve got two more for you, so today and tomorrow I’ll be sharing those and you will get to see how fun and versatile this stamp set is …
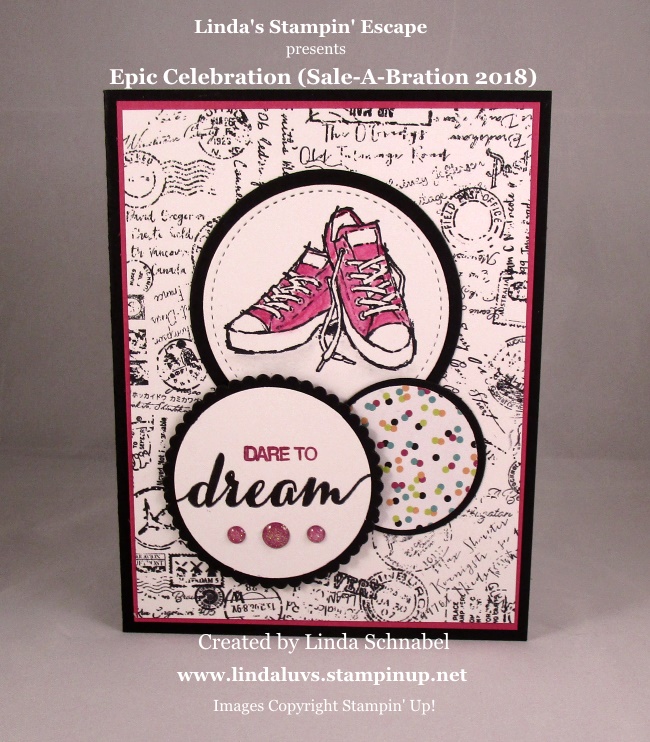
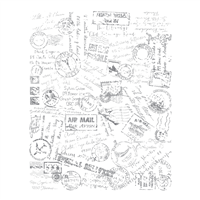
I love this card for a young lady who is dreamin’ big … traveling, going off to collage, or heading out to explore life! I used the “Post Script” background stamp because I thought it looked cool with the tennis shoes.
The little circles on the background are what gave me the idea to create my focal point using … circles!! The tennis shoes were colored in using the Watercolor Pencils and Blender pen. I feel you have a lot more control using the pencils than some of our other water coloring techniques.
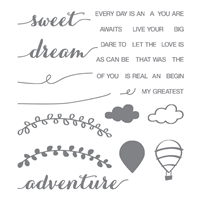
The little pop of designer paper comes from out Picture Perfect Party stack … and again, little circles!! The “Dare to Dream” greeting comes from one of our Exclusive Hostess stamp sets; Dare to Dream! This makes me feel like these were all suppose to be put together 🙂
Our circles were created with the Layering Circle and Stitched Shapes Framelits! And while I was at it … I decided to finish it off with a few now circles by using the beautiful little Glitter Enamel Dots!
I love this card in black -n- white with that pop of color, just sets the tone to inspire an awesome young lady to “Dare to Dream”! Switch out the color and you can send off your young man to follow his dreams too.
I’m so happy you stopped by today and checked out my card. No reason in the world you can’t Dare to Dream as well … I’m always dreaming (and workin’ towards those dreams).
I hope you enjoyed a wonderful weekend. Mine was filled mainly with stamping … a Stamp Club on Saturday morning and a Stampin’ Party on Saturday afternoon, and some card designing on Sunday!
One of the cards I designed yesterday is the one I’ll be sharing with you today. I was having some fun with the Epic Celebrations stamp set … it is one of the Sale-A-Bration items you can get FREE with a qualifying purchase.
I began by stamping my guitars onto the Wood Textures Designer Series paper, cut them out and then sponged a little Crumb Cake ink onto my guitars … gives them a little dimension ….
Then I stamped the Sheet Music Background stamp onto some Very Vanilla cardstock … I sponged the musical paper as well because it ages it some and really highlighted the guitars.
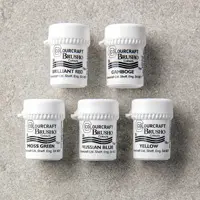
I created my background by starting with a 4″x5-1/4″ piece of Bermuda Bay. Then I sprinkled some of the Brusho directly onto my cardstock and then spritzed it with water … I did not over saturate, I just wanted speckles!
Begin lightly “Less is more” … you can always add, but sometimes it’s hard to take it back off. I did the same with my greeting on a piece of Very Vanilla.
I then cut my greeting out with the “Layering Ovals Framelits” and sponged the edge with the Crumb Cake as well. The greeting, the music notes, and the entire card front are matted with the Basic Black Cardstock. The entire cardfront is adhered to a Very Vanilla back.
Check this out …
I really liked the way this turned out, I glazed (covered) the guitars with the glue from the Fine Tip Glue Pen. Not only does the glue stiffen the paper but it highlights the grain of the “wood” grain paper. Love it!!
Sometimes you just gotta play and discover all the different things you can do with the products you have in your craft room!
Thank you for joining me today, it is appreciated!
How is your weekend going? Hope you have some time to enjoy this mild weather (in the mid-west anyway)! Our East Coast stampers have been going through some wicked storms … we can all be happy that Spring is on it’s way.
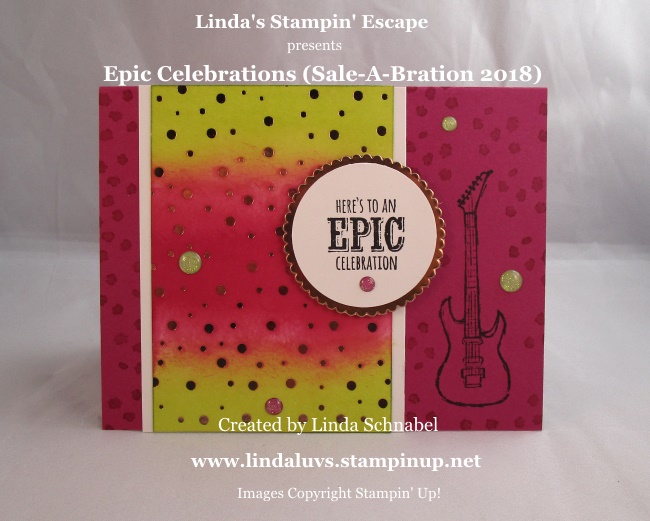
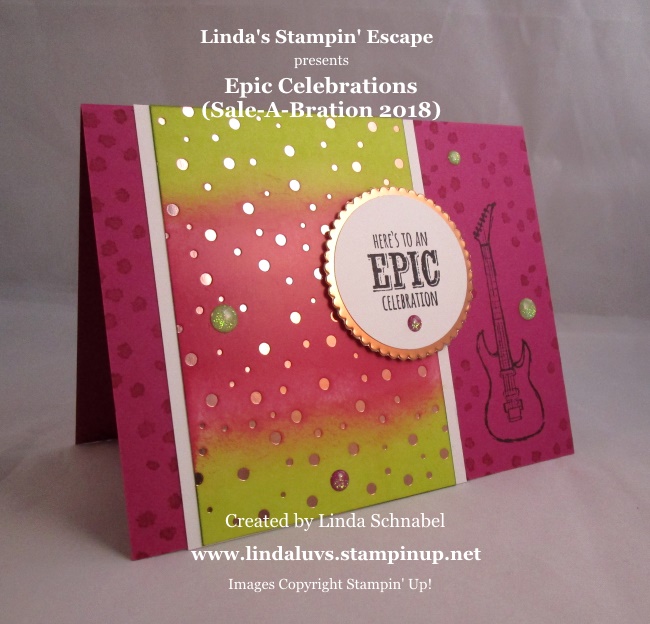
I’m behind in my posts … so I’m busy working at catching up! I have my “Epic Celebrations” card for you today! It’s a simple card that highlights not only the Epic Celebrations stamp set but Springtime Foils Designer Series Paper ….
I started with the Berry Burst cardstock on which I stamped the guitar and the dots.
Then I took the Berry Burst and Lemon Lime Twist ink pads and sponged the colors onto the Springtime Foils Designer Series Paper. It not only has the foil dots but is a glossy cardstock so sponging works beautifully!
The greeting was stamped onto Whisper White and is matted with the Copper Foil sheets found in the Annual Catalog before popping it up onto the card.
I just couldn’t resist a little more color pop so I added the Glitter Enamel dots … it adds some dimension and a whole lot of fun!!
Tomorrow I’ll be sharing another “Epic Celebrations” card which will highlight the New Brusho!!
Whew … we made it to the end of the week! I hope yours was good week and you have something planned this weekend, even if it’s to relax!
I’ve had a few people as me “What exactly IS Sale-a-bration”? Well, I could say that it’s Stampin’ Up!s most anticipated event of the year, but that still would not explain it very good, so let’s try this …
How fun is FREE stuff? Our Sale-a-bration Catalogs are filled with wonderful products that YOU and your friends (anyone) can get for FREE with qualifying purchases. With each $50 purchase (before shipping & handling) you can choose a free item, the more you purchase, you more you can get for free!!
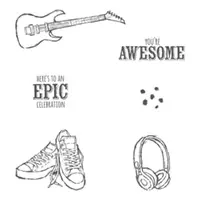
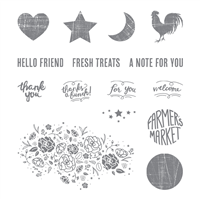
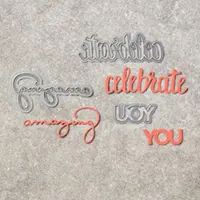
Here is one of the awesome stamp sets …. great for boys, or girls! Anyone who likes to ROCK!! Check out all the amazing coloring options you can try with the Epic Celebrations stamp set!
The Epic Celebrations stamp set can be selected as your FREE GIFT with a qualifying order before March 31… that is when our Sale-a-bration ends 😦
Stop back tomorrow, I’ll be sharing “My Epic Creation” with you… lol This really is a fun stamp set to work with.
But … that’s not all! There is more, let me just put this out there for you ~ If your ready for a change, want to try something new … need a little extra cash, I would like to invite you check out our starter kit … for $99 — You get to choose $125 worth of goodies (anything you want) PLUS 2 additional stamp sets of your choice.
I celebrate 18 years with Stampin’ Up! this coming Saturday and I’m in it for many reasons, here are a few …
#1 for sure are the friendships I’ve built, it’s a wonderful sisterhood and an amazing support system.
#2 is the confidence and self-esteem I’ve gained since I’ve started.
#3 is the recognition for a job well done … don’t we all like to hear when we’ve done a good job! As with anything, the more you put into it, the more you get out … Stampin’ Up! has sent me on 7 incentive trips – From Alaska to Hawaii, and Fiji to the Panama Canal. I would have never gotten to go on these fabulous vacations if not for you and Stampin’ Up!.
#4 Which brings me to flexibility – you can work this business “around your life” and …
#5 the extra income is pretty nice too (I have to admit it)!!
I would feel terrible if I did not share this wonderful opportunity with you. Run it as a business or run away with the discount on all your goodies! It’s yours to do as you choose.
If you have questions, just shoot me an e-mail or message me. I’d be happy to answer any you may have. Let’s talk… that’s it!
I hope this post answers any questions you may have about Sale-a-bration, it’s a great time to build up your stamp collection for FREE!
Thank you for joining me today, and don’t forget, I’ll be back tomorrow with a fun card from the Epic Celebrations stamp set.
It is Thursday and it’s a good day (because it’s my Friday!) I have off of my other job Friday, Saturday and Sunday! I have a Stampin’ Club on Saturday morning and then Andrea’s Stampin’ Party that afternoon and I’m so excited to share my love of stamping with them.
Today I’m going to share my card that I created using the “Watercolor Lifting” technique that I shared via video with you yesterday. I’m going to share a couple extra pictures to show you how I did it … This is my first card with this technique!!
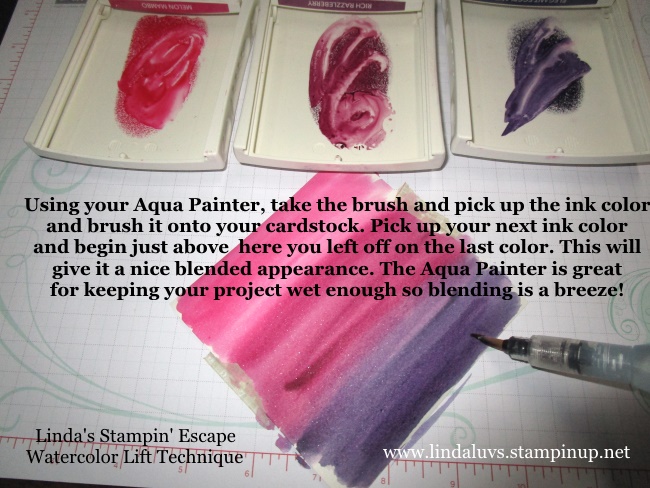
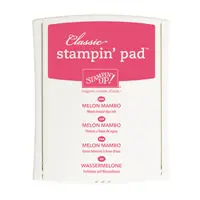
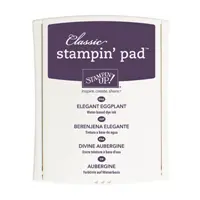
Let’s begin with the preparation … I started with Melon Mambo, Rich Razzleberry and Elegant Eggplant Ink Pads. I used the Shimmery White cardstock because I thought it would emboss better than the watercolor paper (because my design on the stamp set was very fine) and my Aqua painter!
You will notice that I pushed my pads together to get some ink in the lids … if you don’t like this method, you could put a few drops of re-inker in the lid or another container. Either way … I generally clean out the cover before storing them.
Grab your Aqua Painter and lets have some fun! This is so easy and looks so cool …
I put some notes on my pictures as well … in case you would like to print them out and make a tutorial. I held the sides down with a little washi tape.
I made sure to Aqua Painter had plenty of water and the tip was wet, then I picked up my first color (Melon Mambo) and began brushing it across my cardstock. When I started my second color, I went over the first color a little so it blended nicely.
Once you get it to look the way you want (I like it a little on the dark side, remember … you will be removing some of this color). Make sure your cardstock is totally dried. You do not want any moisture, the embossing powder will stick and you will have a mess!
Once DRY … rub your embossing buddy across the cardstock so you don’t get any flecks of additional powder on your project…. this is just a good habit to get into if your love to emboss. I used VersaMark and Clear Embossing Powder (don’t over heat).
Now that your embossing is done … you’re ready for the Watercolor Lift! Take your Aqua Painter and spread a layer of water over your project … use a paper towel to begin “LIFTING” the color back up ….
What you will get is pretty pops of color where you embossed with a beautiful watercolor background! I love this technique and it is so easy to do. This was my very first time doing it and here is my card …
I wanted to highlight the beautiful technique on this card so it is the focal point and I popped some black behind it so it really stands out on the card.
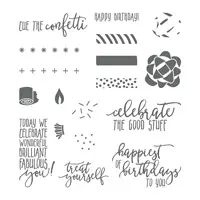
I used the floral pattern from the “Wood Words” stamp set on page 159 of our Annual catalog and I just stamped it all over the cardstock. The greeting comes from the “Picture Perfect Birthday” stamp set which is on page 5 of our Occasions Catalog.
I know there was a lot to read through today but I hope you understand the steps to create your own Watercolor Lift Cards.
Just think … you can do this is any color combination, including a rainbow!! Why not have some fun, pick your favorite colors and give it a try!
Thank you so much for coming back today to check out my card.
Have a great Thursday … and I hope it feels like a Friday for you too.
I’ve been talking a lot about the Aqua Painters lately and for those of you who have not been able to attend one of my classes or be in one of my clubs and get these awesome products in your little hands, I thought the next best thing was to share a video with a Watercolor technique & Aqua painters … Learn how to use the watercolor lifting technique from Stampin’ Up! trainer, Brandi Barnard.
I think this is a really cool technique. Now … I’d like you to stop back tomorrow and see what I’ve made with this new technique! I’ve never done this before watching this video either … surprisingly easy!
Well … we made it through Monday, almost … before this “NASTY” storm came blowing through. Holy cow … wind & snow and up to 3 – 5 inches. NOOOOOOOOOOOOOO!! Time to go back to the stamp room!!
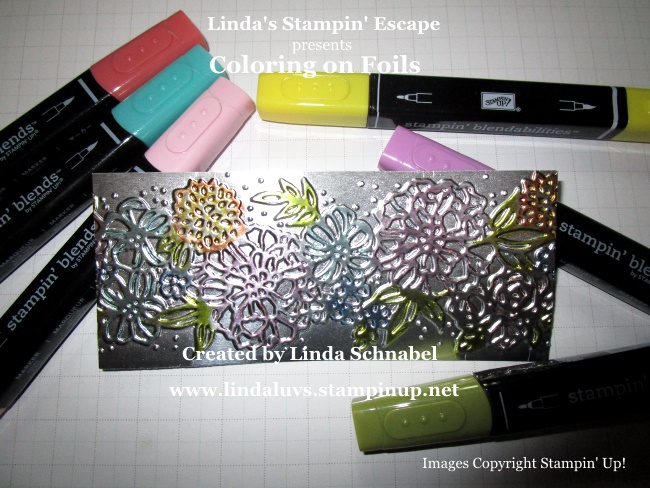
So … what did you think about yesterday’s “Coloring on Foils”? Cool, right! It’s so pretty, it was sitting on the shelf and when I walked past it I thought, oh … that would make a cute Easter card!!
Today, I have an easy peasy card for you …
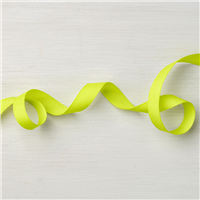
Oh yes, another card with the Picture Perfect Designer Series paper and the Celebrate You (Sale-a-bration item). This time I used the pattern with the cute bows! I love the Lemon Lime Twist and the fact that it has a coordinating ribbon that I can make into a banner just makes me happy!! It’s the little things you know 🙂
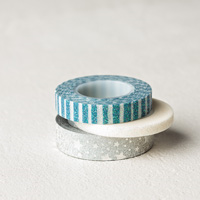
You will also notice another little favorite of mine, the Myths and Magic Washi Tape! I also made that a banner and both coordinate with the bows on the paper. Give that card a little twist so the light hits it and ….
the washi tape comes alive!! The stars shine and it really makes the “celebrate” sparkle. I just love this look, are you with me?? So simple, and easy to make but you know this card will put a sparkle in their eyes. Win – Win!
So glad you came to visit my blog today. Hope you’re not in this storms pass, if so … it’s a great time to make some quick cards.
Hope you are having a good day … it is Monday but if I think Friday is only 4 days away – everything seems brighter!! Then I step outside and it’s overcast, dreary and the wind is blowing that cold right through you, so I went back inside, put on one of my favorite CD’s and started to stamp … ahhhhh, much better!!
Yesterday I shared my Silver Foil card with you …
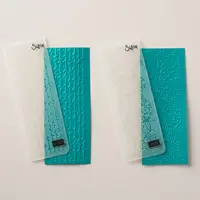
Pretty … Yes! But wait, we’re going to grab our Stampin’ Blend and ink pad and add some color!! What do you think …
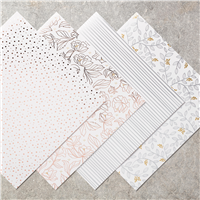
OK … I’ll put it onto a card. I used several different colors of my Stampin’ Blends to color the different flowers on the Petal Pair Textured Impressions Embossing Folder found on page 23 of the Occasions Catalog… and I’m pairing it with the Sale-a-bration item; Springtime Foils Specialty Designer paper (Free with a $50 purchase during our Sale-a-bration).
I took the Lemon Lime Twist ink and sponged it onto my Springtime Foils Specialty Designer paper. It takes the color so nicely and really compliments the Silver foil paper we have embossed and colored.
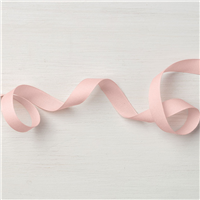
I’ll be honest … I don’t like blunt edges so you’ll always see me adding a strip of cardstock or a ribbon to join my two edges and give it a softer look. Here I used the beautiful Powder Pink Ribbon that coordinates with the card base and the mat to our greeting.
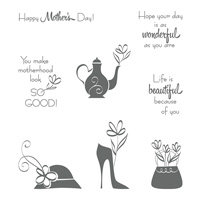
The greeting is again from the “A Mother’s Flair” on page 46 in the Occasions Catalog. This set is so pretty but it’s going to be hard for me to make a Mother’s Day card this year, but it would be a nice way to honor my Mom (it’s just a little raw yet).
The greeting was cut out with our Stitched Shape and Circle Framelits Dies. I mounted it over my ribbon and then finished off the card with the Glitter Enamel Dots … if you haven’t noticed, I’m really crushin’ on these!! They go with everything!!
I hope you enjoyed today’s card, it is a lot quicker to make than what it looks like it would be. So try your hand at coloring on the foils … it is so pretty!
I’m so sorry … didn’t realize that I had a computer issue and that my blog did not post my card!!
I’ve been busy creating a new stamping space …. a place where I can create and “leave my mess”!! I won’t have to put away my creations or mess (lol) when I’m hosting a club or a class in my stamping studio. I show you picks soon 🙂
Now … let’s get to that card I was telling you about on Friday!! I said I was going to combine Paper Pumpkin with a Sale-a-bration item!! I don’t know about you ~ but I love this card!!
Can you find the Pumpkin? It is our greeting! And you will see some sweet little flowers stamped on the inside that surprisingly look like the beautiful embossing folder; Petal Pair Textured Impressions Embossing Folder.
What ties the two halves together is the … you guessed it, the Myth’s and Magic Washi Tape!!
The lower half of our card is our Sale-a-bration item; FREE with a $50 purchase. It’s the stunning Springtime Foil Designer Series Paper. I love the way the light reflects upon the foils ….
You can see how the embossed flowers look so much like the flowers stamped from the Paper Pumpkin stamp set … who would have thought!
Amazing right!! I know Stampin’ Up! has coordinating products but this totally takes it to the next level. And … the verbiage comes from the “A Mother’s Flair” stamp set!
If your not a subscriber, try it now. Sign up before March 10th and get in on the Fun and the FREE Gift!! Oh yes, and if you purchase a subscription below from me (3mo. / 6mo. / or a 1 year subscription) I have a Gift for YOU as well!!
Thank you for hanging out and waiting for my post to show up on my blog. There will be plenty more to come this week!!
Stampin’ Supply & Paper Pumpkin … Click for more information or to begin your purchase. Thank you ❤
Wooo Hooo … it’s Friday! I’m always happy to see the weekend on it’s way (kind of like the Ice Cream truck on a hot summer day)!! Things just seem to get a little easier, less stress …
Another thing I look forward to is getting my Paper Pumpkin kit in the mail each month. Cute projects with all the work done for you … just put it together, or have some fun and change it up a bit!!
Plus… we’re celebrating an Anniversary!
You’ve seen a few samples from this past months Paper Pumpkin (just scroll back some to revisit) and then take a look at some of these past kits!
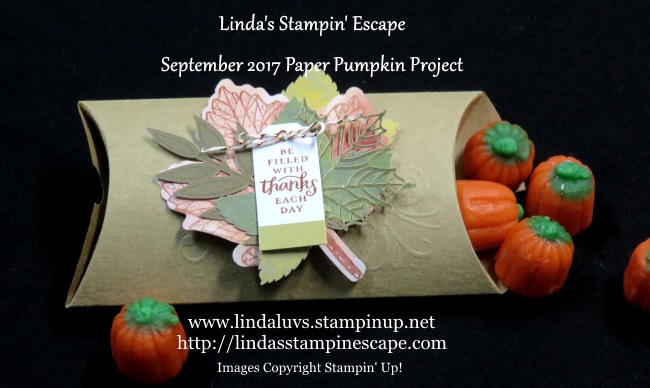
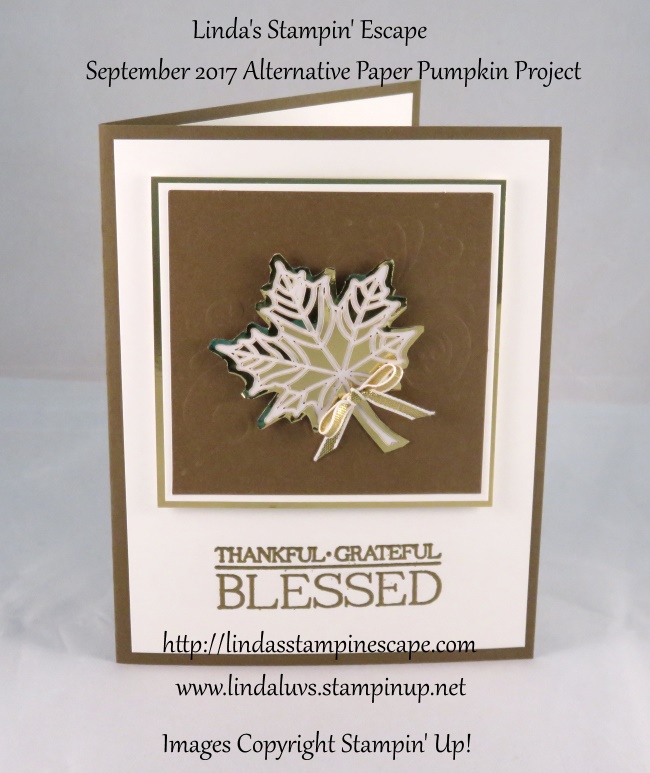
Autumn is my favorite time of year so I could not resist the beautiful kit they put together for September: “Layered Leaves” …
and my favorite card of them all …
Since Easter is just around the corner, I thought I’d share the irresistible “Bunny Buddies” from March2017! I added note cards and tucked them in the bag, and a full size card on this one ….
I’m so excited to see what will be in the March 2018 …. plus, because of our anniversary, there will be a FREE Gift included!! Make sure you order by the 10th of March.
Her was another cute one …. June 2017 “One in a Melon” … that was so fun to make into cards, and the kids just loved the bags!!
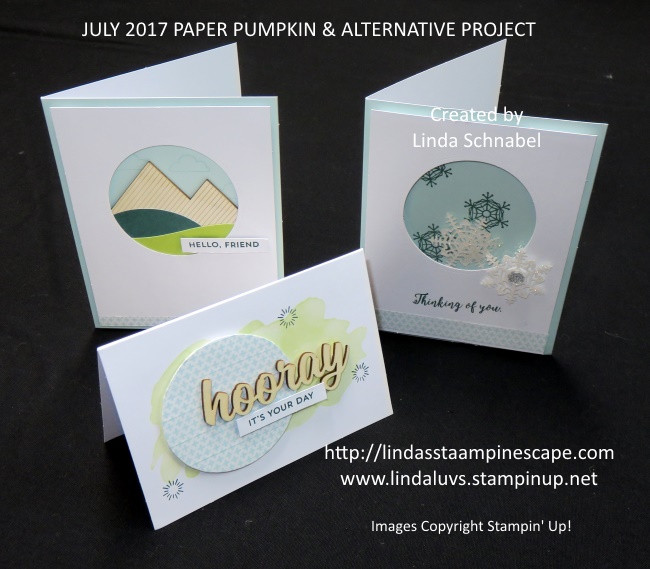
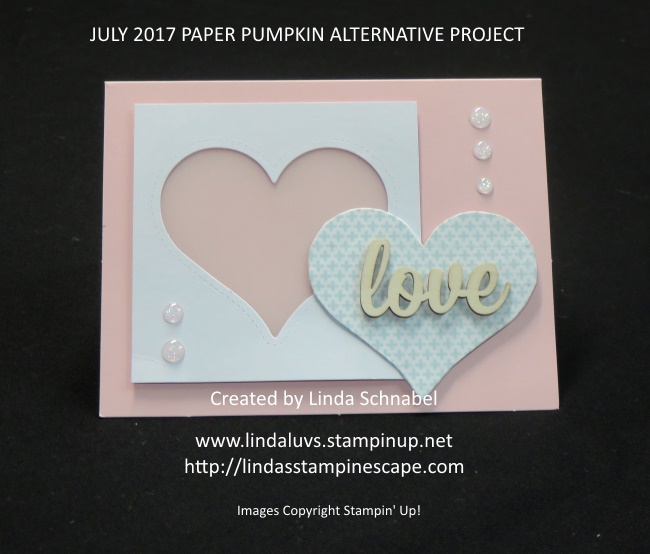
Can’t keep going without another favorite ….July 2017 and the “Positively Picturesque” …
I could go on and on but I have to stop somewhere so I’ll stop here, however I’m inviting you to stop back tomorrow and see what I’ve created using the February 2018 Paper Pumpkin and one of our Sale-a-Bration stamp sets!!
Don’t forget with the Pre-Paid subscriptions you qualify for FREE Sale-A-Bration items (see catalog to the right). Click the links below to view or subscribe!


