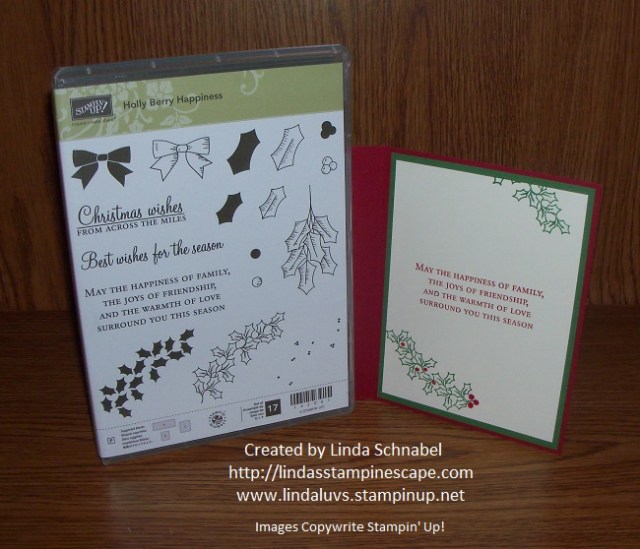
Hello Stampin’ Friends ~
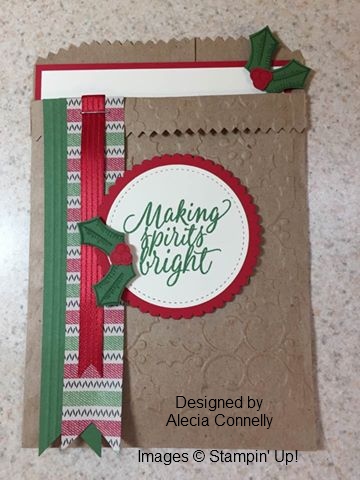
Last Saturday I shared a card with you that my Stampin’ Club members made. Can see the tree on the left?

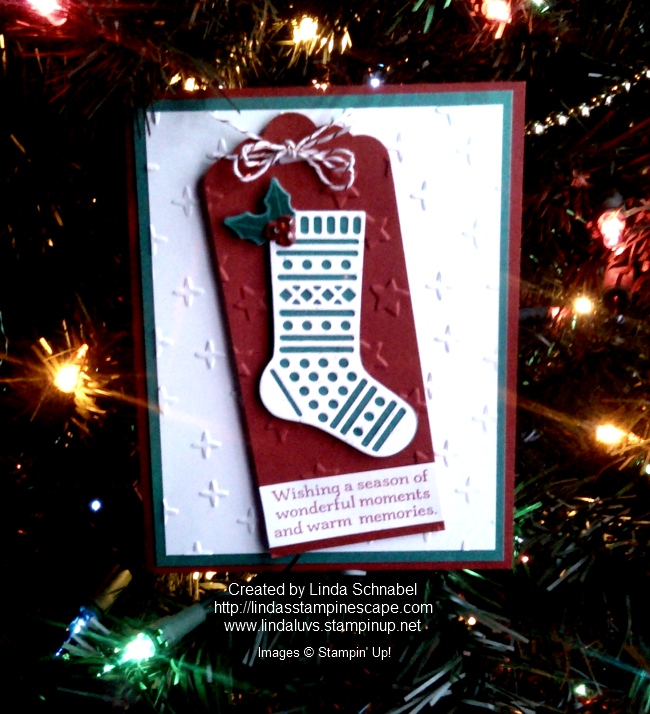
I cut the tree out of 3-1/2″ x 4″ piece of Dazzling Diamonds Glimmer paper, so of course we had left overs and we all know we are not going to throw that away!!
I showed my class a quick card they could put together with the leftover glimmer paper, and here it is …

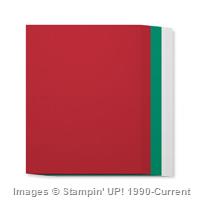
We used the Emerald Envy cardstock to back the cut out image … with a little sponging on that cardstock, you can create a bit more dimension.
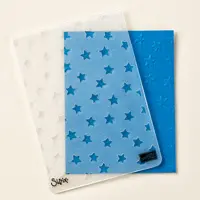
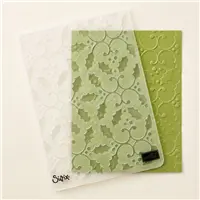
We added texture to the background with the help of our Softly Falling impressions folder. This folder has really come in handy during our holiday season of cardmaking… I just love it.
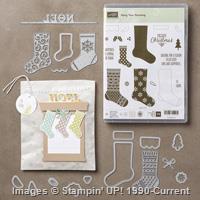
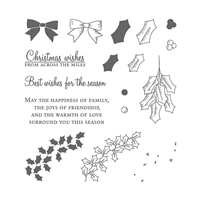
I added a quick greeting from our … you guessed it – “Tin of Tags” stamp set! I used the 1-3/4″ Circle punch to punch out the greeting and a pop of Cherry Cobbler behind it.
Simple and cute and made from left overs! You gotta love that!
Sorry for the hit and miss postings, but I appreciate that you keep checking in on me. I’m still working on my posts and will get them to you as soon as I can. January and the new computer cannot come to soon!
My next post will be the same layout but stepped up!
Thanks again & have a wonderful day.