Hello Stampin’ Friends ~
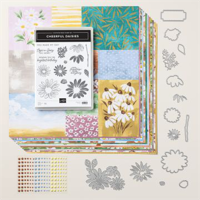
Today I have 2 additional cards from the beautiful Fresh As A Daisy Designer Series Paper. These are two of the smaller 3″ x 2″ designs that I cut from this sheet of designer paper.
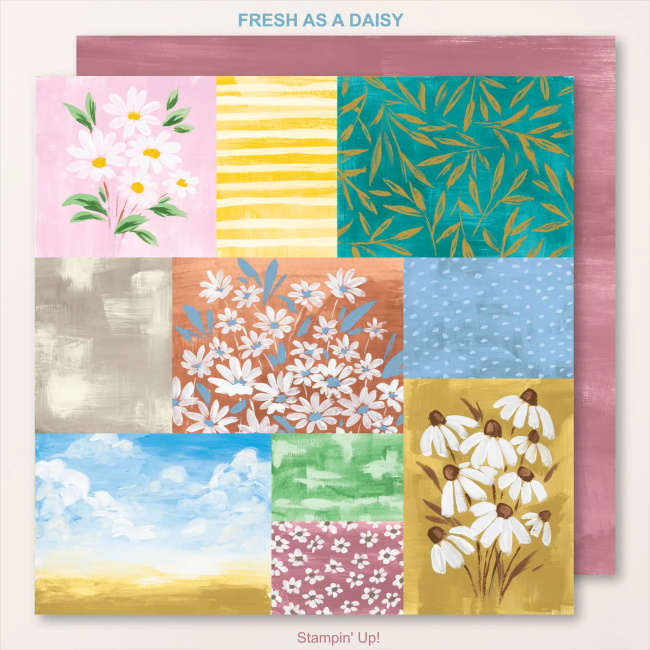
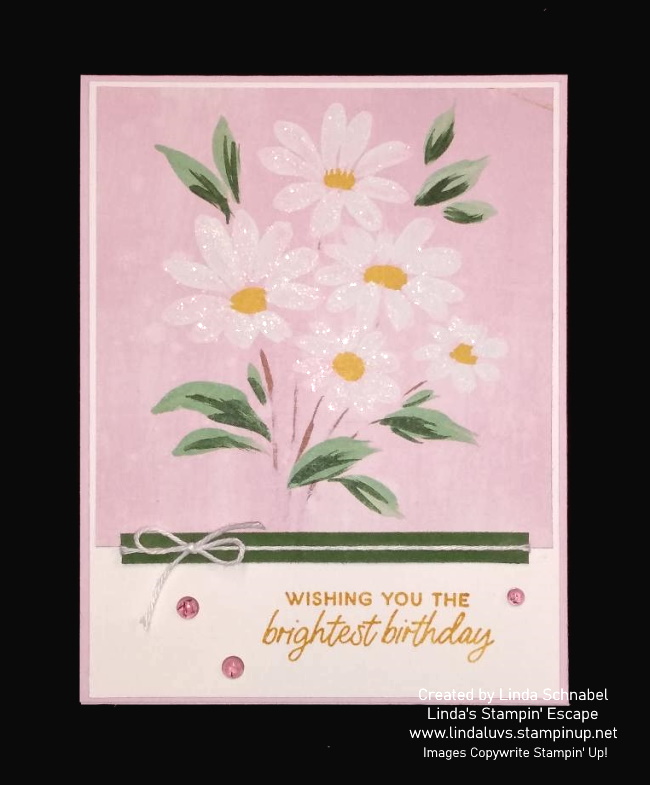
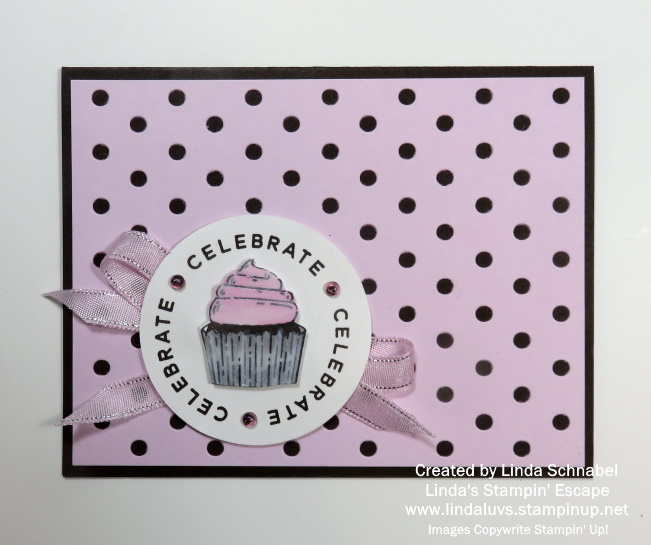
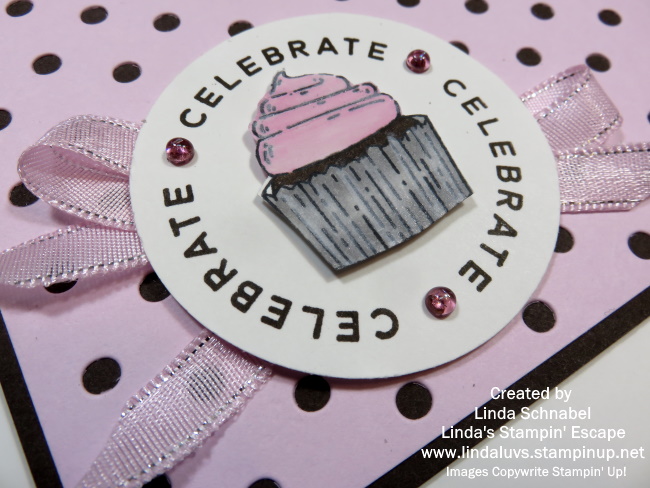
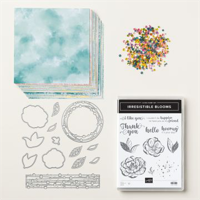
My first card today highlights the “NEW” Moody Mauve… it’s prettier in person, not the best lighting on this photo and I appologize. I am also using the NEW Layering Leaves stamp set on both cards today.

The designer paper piece cuts to 3″ x 2″ and has a Basic White mat that measures 3-1/8″ x 2-1/8″ … The card front has a strip of Moody Mauve that I stamped the floral images in the coordinating Moody Mauve ink. This piece measures 5-1/2″ x 1-1/2″ then matted with Basic White measuring 5-1/2″ x 1-5/8″.
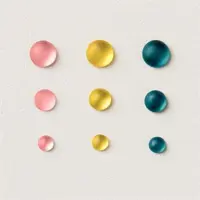
Using a piece of scrap, I stamped my greeting in Moody Mauve and die cut it using the Stylish Shapes. Dies. I’m thinking I should have added some bling to this card! What do you think?
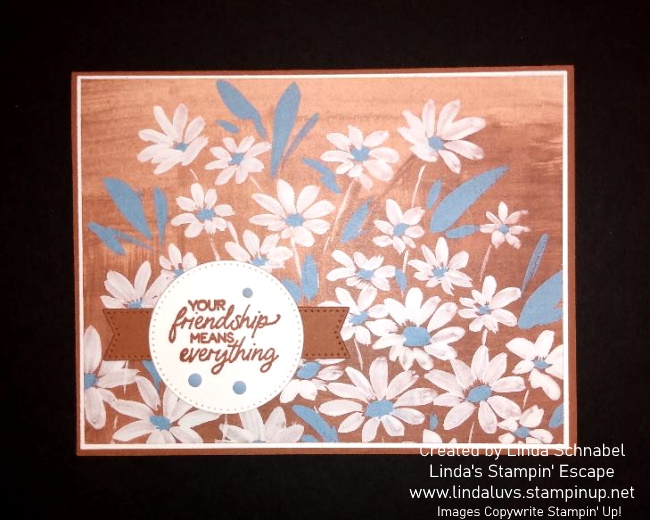
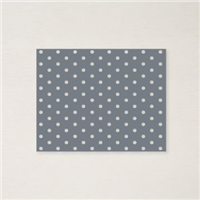
My second card for today highlights the NEW Pebbled Path and another design from our Fresh as a Daisy Designer paper.
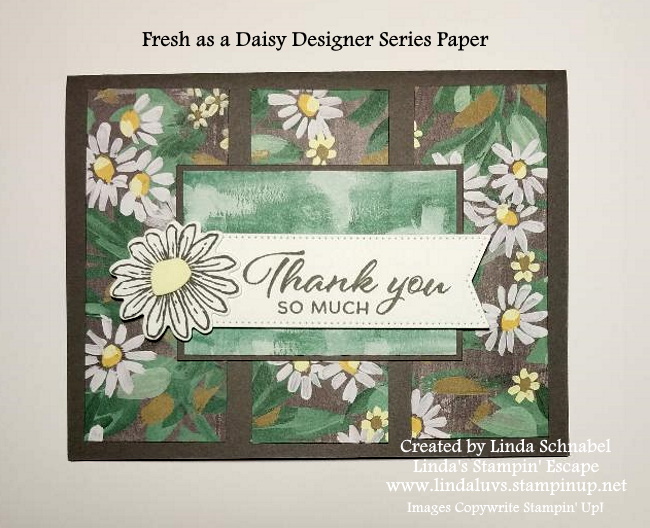
The “green” designer paper designer paper piece cuts to 3″ x 2″ and has a Pebbled Path mat that measures 3-1/8″ x 2-1/8″. The three strips of designer paper are cut to 4″ x 1-1/2″ and are leftovers from my stamping retreat … I can’t let that pretty paper go to waste!
I stamped my greeting and daisy in Pebbled Path and die cut both … the greeting dies come from the Stylish Shapes. I use them a lot! Super simple cards to make, but that is the point right!? I want to inspire you to use up these little pieces from this sheet of designer paper.
Thank you joining me today.
Have a great day ~