Hello Stampin’ Friends ~
I hope you are enjoying your week so far. I’ve been busy having fun planning and creating more cards for my upcoming stamping events; the Retirement Party and then in May, the New Catalog Launch Party. First, lets talk retiring products, and today I have a masculine card to share …

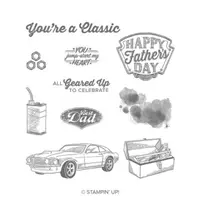
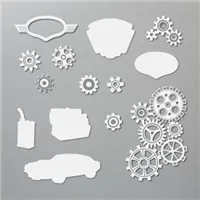
Our masculine card today is designed from the Geared Up Garage stamp set and Garage Gear dies. Not only is it a great masculine card but it’s an “Easel” Fold card. The color pallet is simple: Real Red, Basic Black and Silver… oh yes, and a little Whisper White.
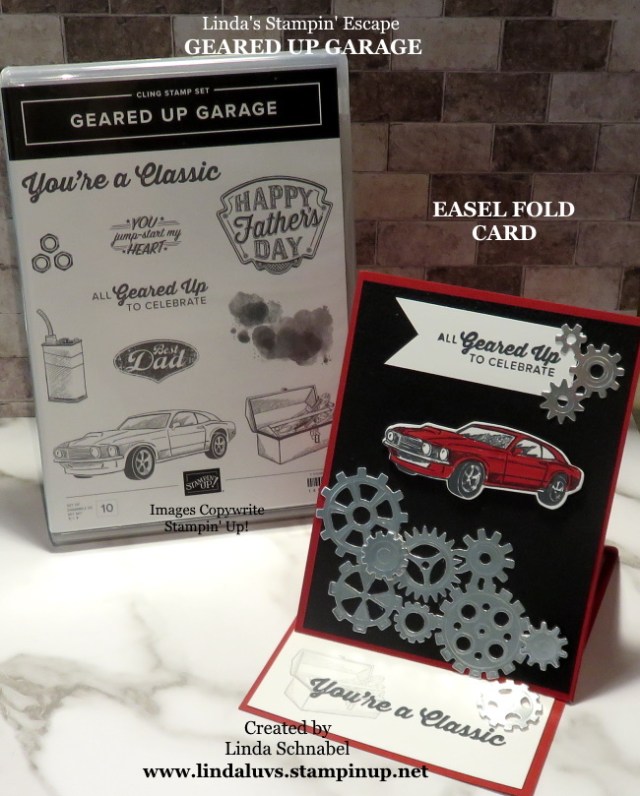
The amazing Garage Gear dies not only cut out the gears but emboss them so they have detail and texture which really jazzes up the card. Everything you need to start working on your cars are included in this duo.
Let’s take a look at another card. This is a fun “guy” card … the background was created with the stamps included in the set and really look like a stained garage floor!!

The greeting comes from the Geared Up Garage stamp set and was punched with the Tailored Tag Punch. I punched a second piece out and cut it in half so I could create a mat.
The silver strips were scrap pieces I used to highlight my greeting and my car … nice masculine card, or a girl who is into nice cars! Love me a classic.
I hope you enjoyed today’s masculine card using the Easel Fold. Now for the some fun upcoming events ….

Thanks so much for hanging out with me today. I appreciate the company!
Have a wonderful day ~

TODAY’S STAMPIN’ SUPPLY LIST … If you liked the products used in today’s projects, I have links for you below. Just click on the item you would like more information on, or to begin your shopping. It will take you directly to my website. Thank you ♥