Hello Stampin’ Friends ~
I’m excited to share today’s cards with you… Yes, I have 2 for you today!! It is a fun and creative way to use your Sunflower Dies without all the waste … and it looks so cool!! With prices rising all around use, it’s nice to be cost effective … you know, save some money by not wasting our cardstock!
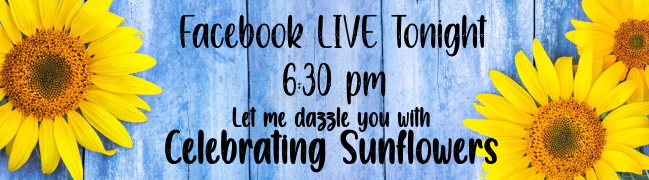
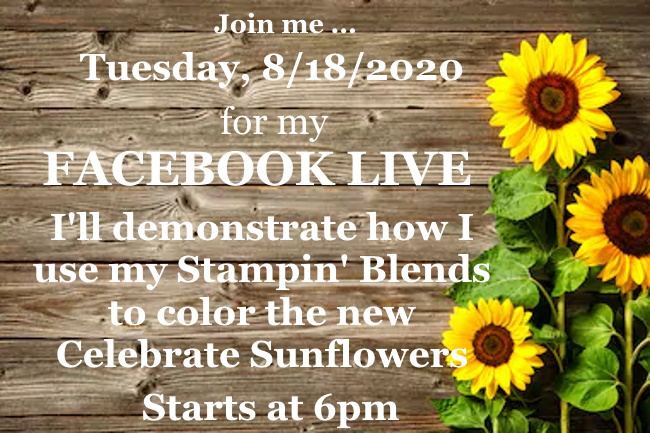
I also will share the replay of a Facebook LIVE I had done several months ago ….
As promised … I’m going to give you the measurements for the cards
Measurements:
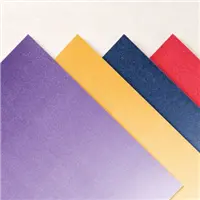
- Cardbase: 8-1/2″ x 5-1/2″ … Score & Fold at 4-1/4″
- Ombre Glimmer paper: 5-1/4″ x 4″
- Cardstock for Sunflower Die Cut: 5-1/8″ x 3-7/8″
- Very Vanilla Inside Cardstock: 5-1/4″ x 4″ plus scrap to punch greeting
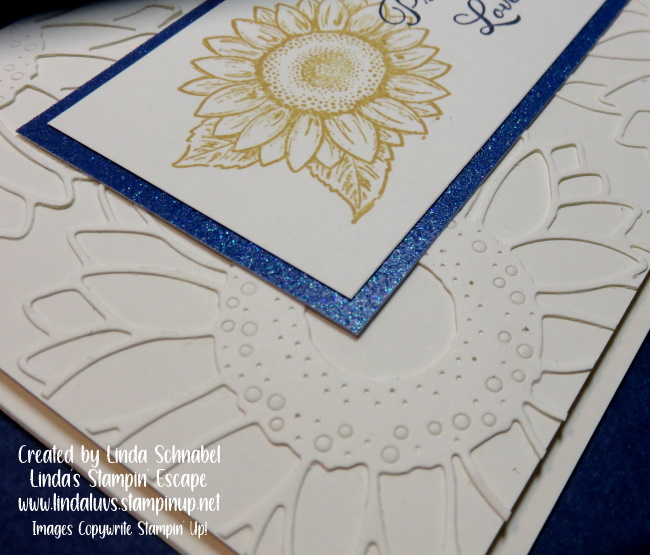
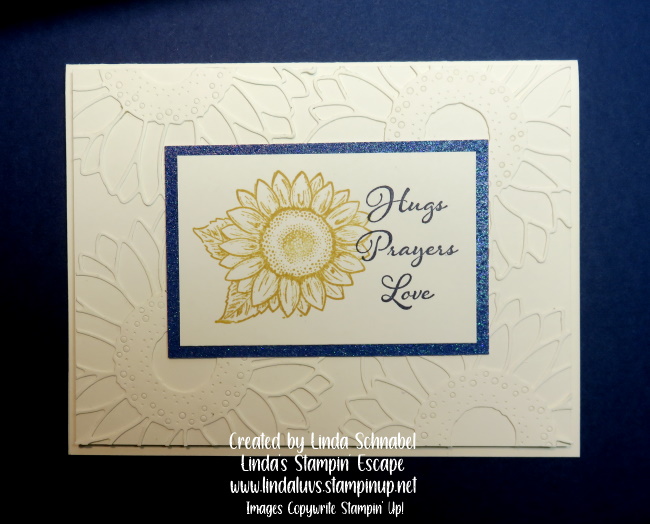
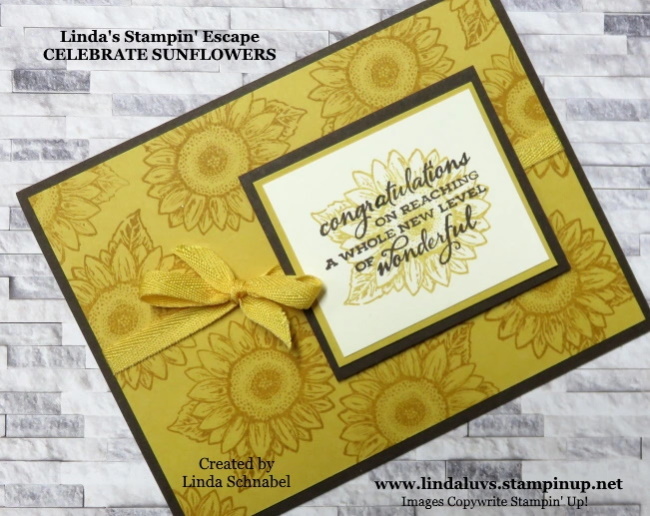
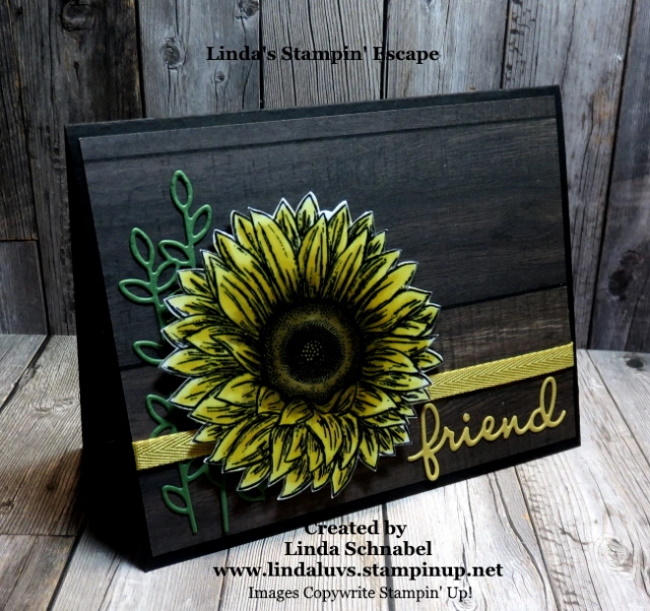
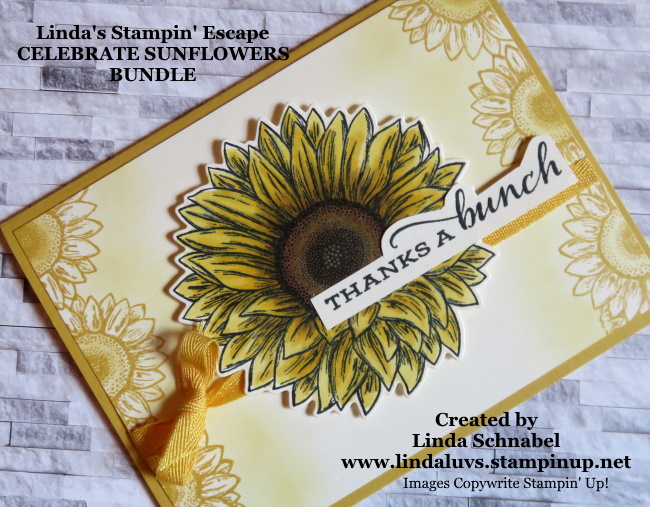
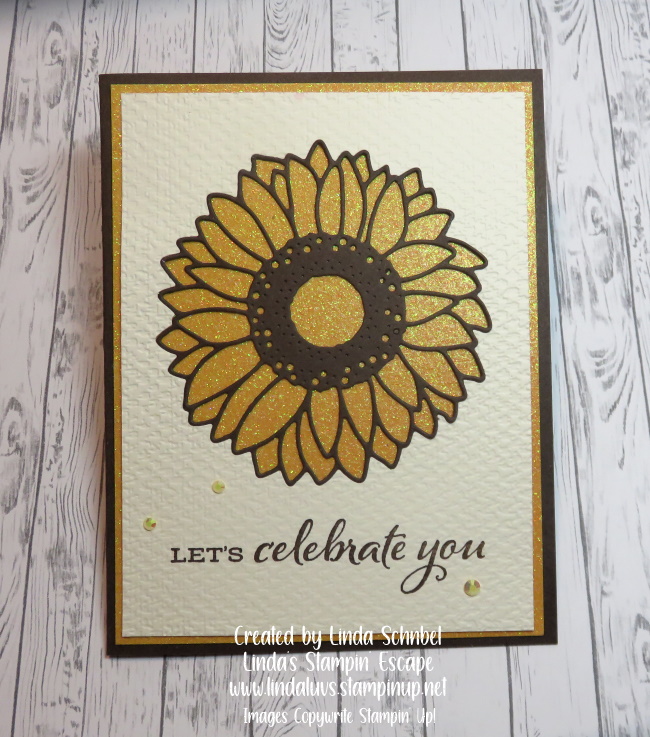
This card is so cute and easy to make … After you die cut the sunflower out, you can place your flower back into the cut out area to create a unique look … I like mine embossed!!

Don’t be afraid to mix and match colors … it can really highlight the ombre paper underneath. Have some fun with it and add a patterned designer paper!!
I hope you caught my little tip for finding the perfect size greeting for the punch design you want to use … I do this all the time. Don’t forget to head over to my YouTube channel … there is a video that highlights the card you saw yesterday! CLICK HERE … and please subscribe!
Have a wonderful day and thank you for stopping by.

TODAY’S STAMPIN’ SUPPLY LIST … If you liked the products used in today’s projects, I have links for you below. Just click on the item you would like more information on, or to begin your shopping. It will take you directly to my website. Thank you ❤