Hello Stampin’ Friends ~
Springtime crafting is always filled with cheerful colors, sweet imagery, and projects that celebrate new beginnings. Today’s cards bring all of that together with the adorable Easter Basket Bundle paired with the charming Easter Joy 12″ x 12″ Specialty Designer Series Paper. These products work beautifully together to create Easter cards that are both playful and heartwarming.
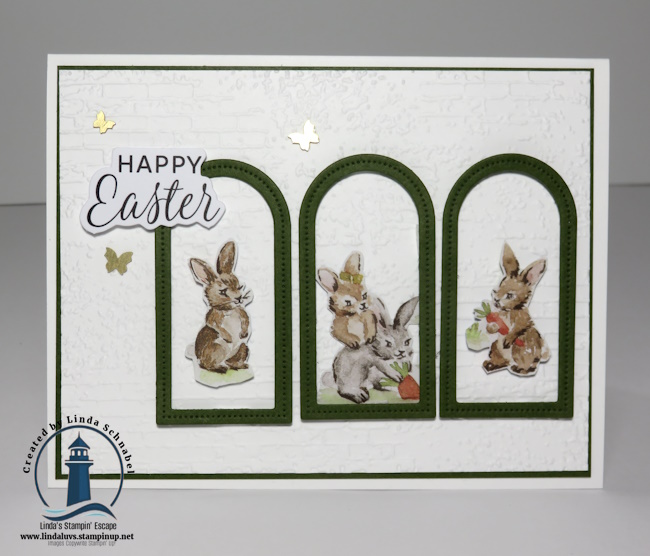
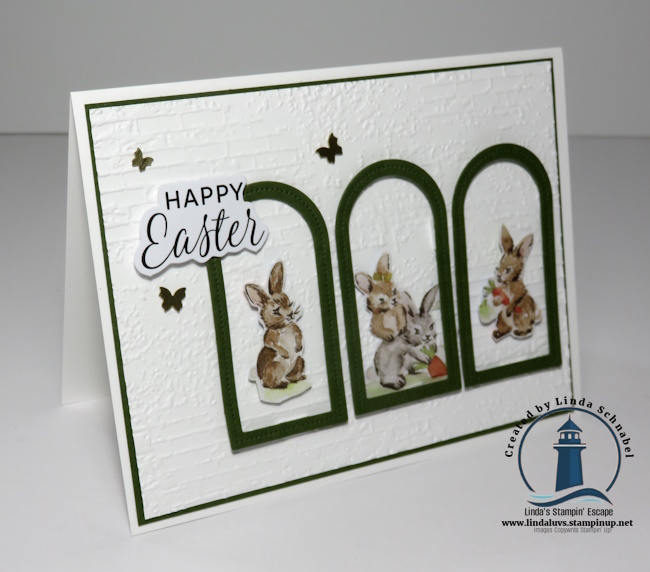
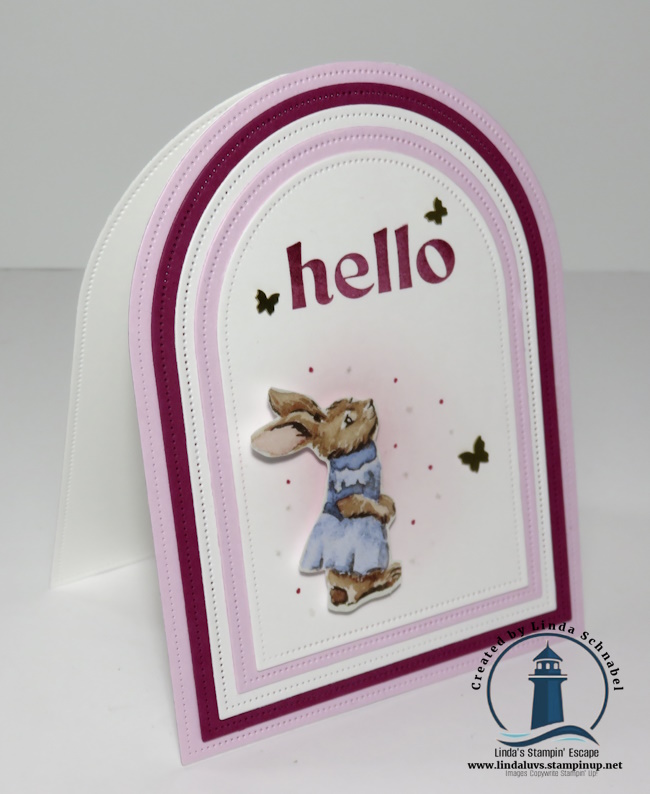
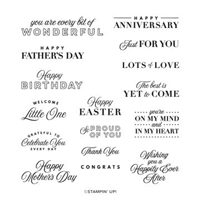
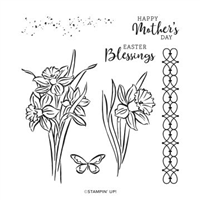
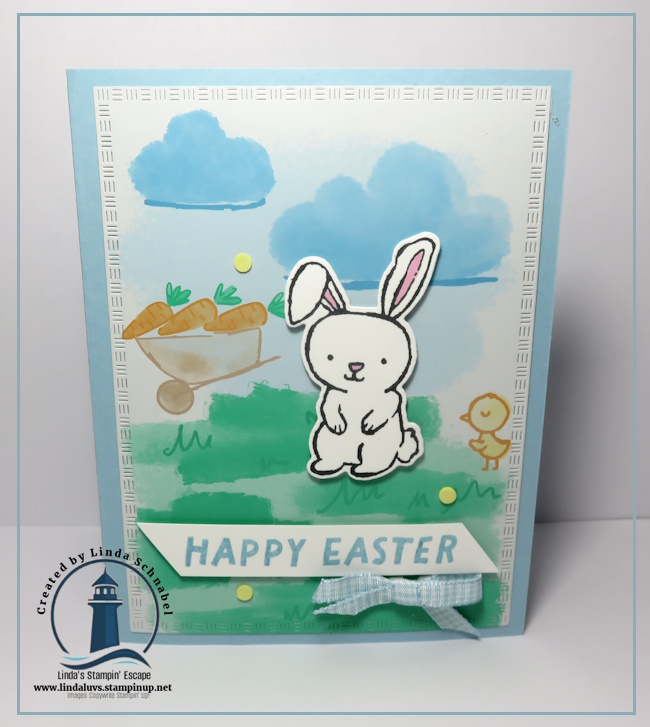
The Easter Basket Bundle is a wonderful combination of stamps and coordinating dies designed especially for Easter and springtime crafting. The stamp set features sweet sentiments along with whimsical images—like the cute bunny, chick, and carrot-filled wheelbarrow seen on today’s card. These images are perfect for creating scenes that instantly make your projects feel joyful and seasonal.
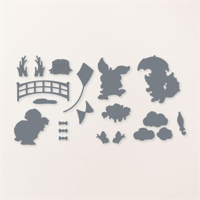
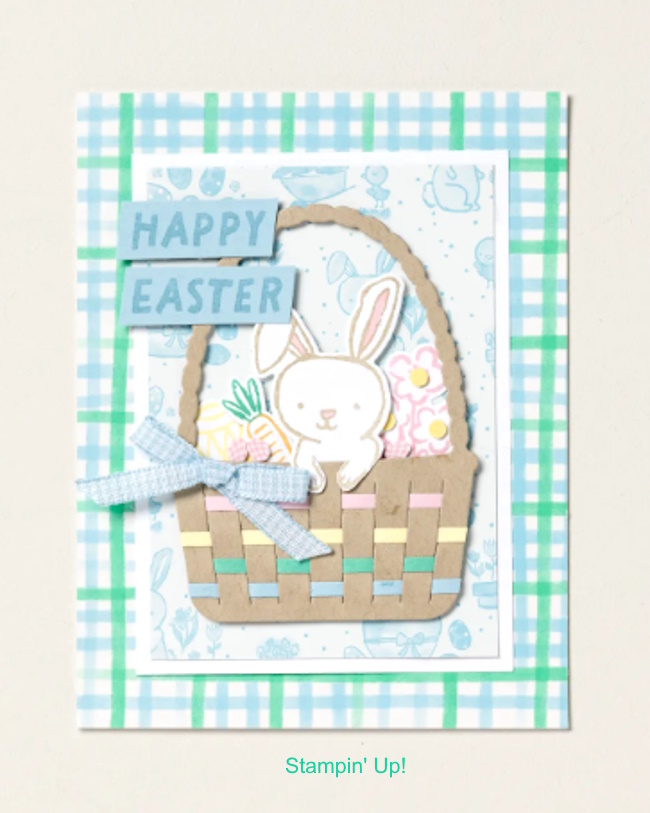
One of the highlights of this bundle is the coordinating dies. They allow you to easily cut out the stamped images with crisp, clean edges, making it simple to layer and arrange your designs. The basket-weaving dies included in the set are especially fun because they allow you to create your own woven Easter basket—an extra-special detail that adds texture and dimension to your cards or gift packaging.
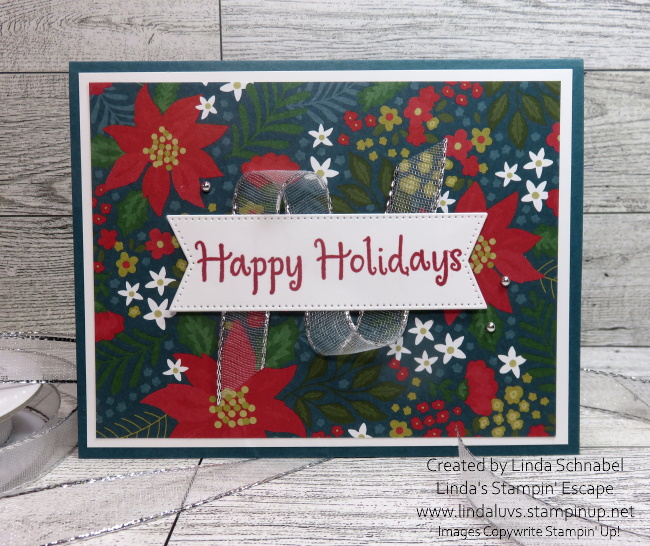
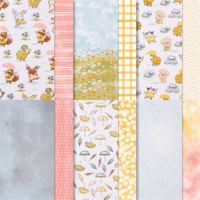
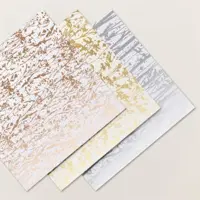
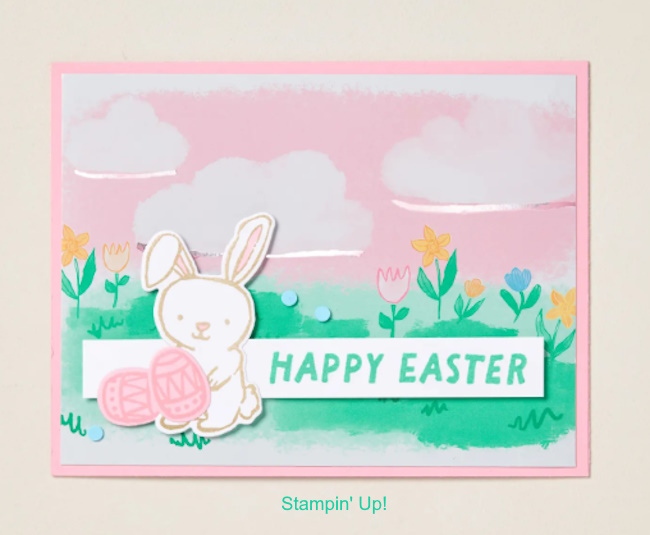
To bring even more springtime charm to this project, I paired the stamped images with the Easter Joy Specialty Designer Series Paper. This delightful patterned paper features playful bunnies, Easter eggs, blooming flowers, and festive baskets—all designed in bright, happy colors. Many of the sheets include a beautiful hint of metallic foil shine, adding a touch of elegance and sparkle to your handmade creations.
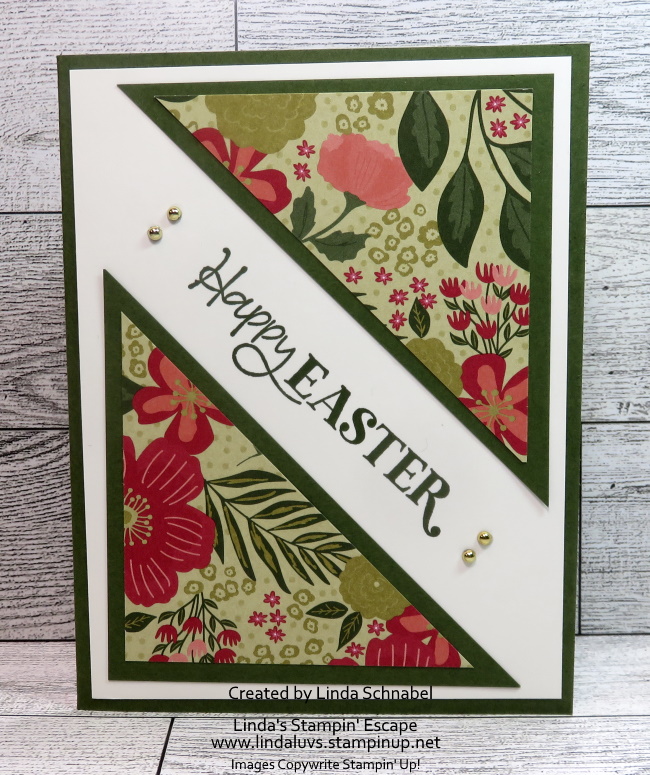
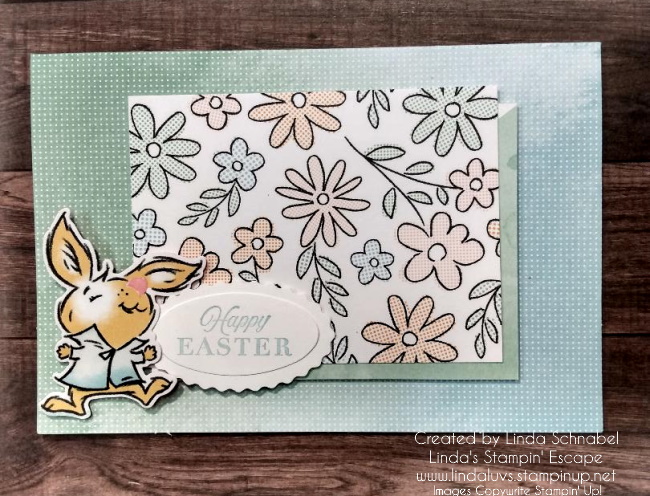
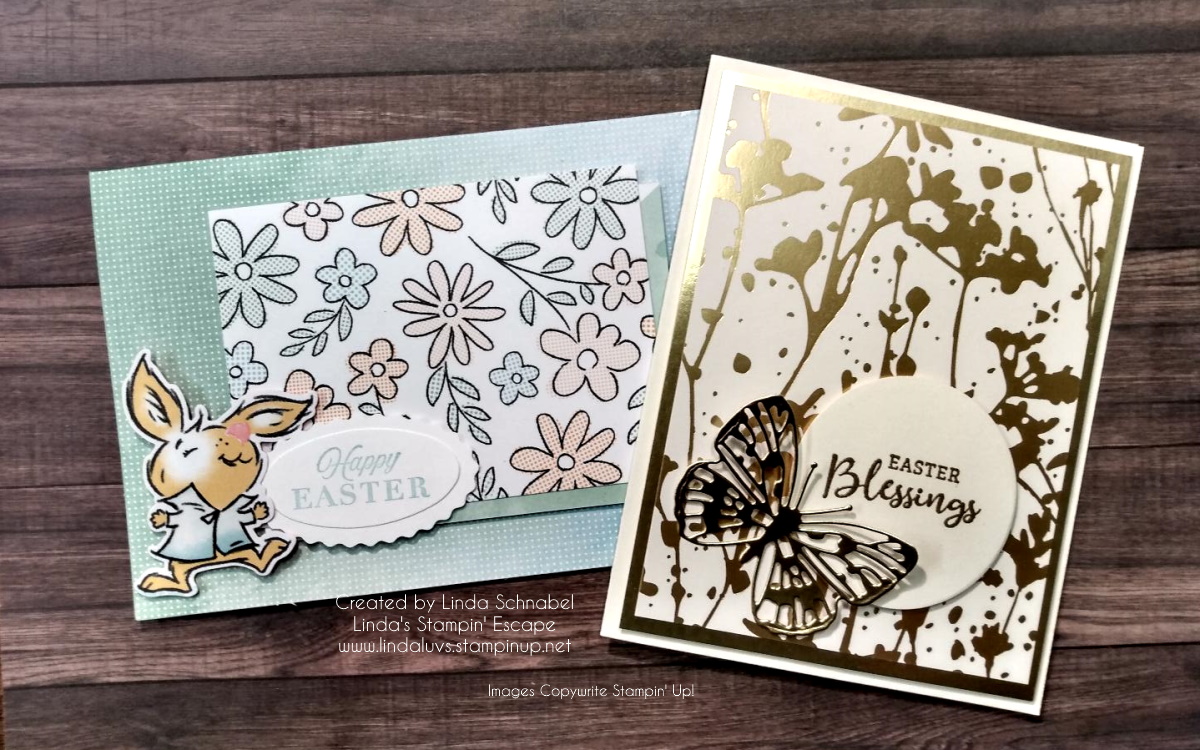
For this card, the background and grassy landscape used build a cheerful spring scene… is included in the the designer series paper pack! The little chick and wheelbarrow full of carrots help tell a sweet story of Easter fun and is also part of the background!! The bunny becomes the star of the card – simply stamped, a touch of pink and then die cut. A simple “Happy Easter” greeting finishes the card, along with a small ribbon and enamel embellishments for just a hint of extra texture.
One of the things I love most about this bundle is how easy it is to create a storytelling card. By combining a few stamped images and a beautiful piece of designer paper, you can create a scene that feels lively and full of personality. Whether you’re making cards for family, friends, or children, the adorable images make these projects truly special.
If any of these cards have inspired you, the Easter Basket Bundle and Easter Joy Designer Series Paper are wonderful additions to your craft room. Together they make it easy to create handmade Easter cards, gift packaging, scrapbook pages, and springtime projects that will bring smiles to everyone who receives them.
You’ll find these products and the supplies used for today’s project in my online store at: http://www.lindaluvs.stampinup.net or just click on the product image below.
Thank you so much for joining me today!