Hello Stampin’ Friends,
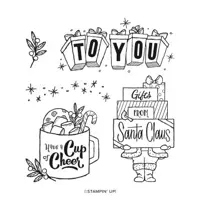
Welcome back, fellow crafters! Today, I am thrilled to dive into the delightful world of Stampin’ Blends and the charming rhino from the Gift of Giving Stamp Set. Remember that feeling when creativity meets functionality? Well, I’ve transformed this adorable rhino into an incredible gift card holder!

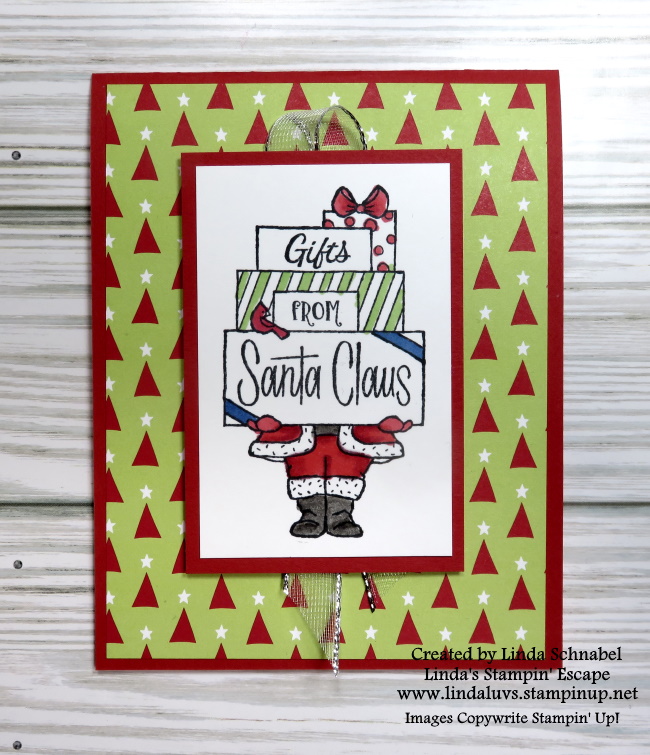
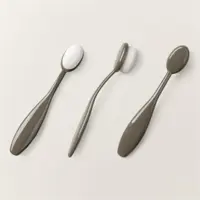
The versatility of this stamp set is truly remarkable. With a touch of artistic flair and the magic of coloring techniques using Stampin’ Blends, the rhino comes to life in vivid, eye-catching hues. The seamless blending and shading capabilities of Stampin’ Blends add depth and character to every stroke, making the finished product an absolute delight to behold.

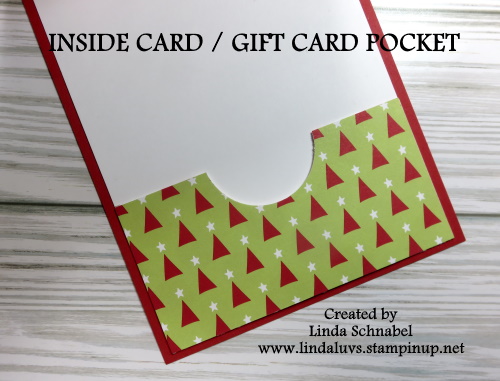
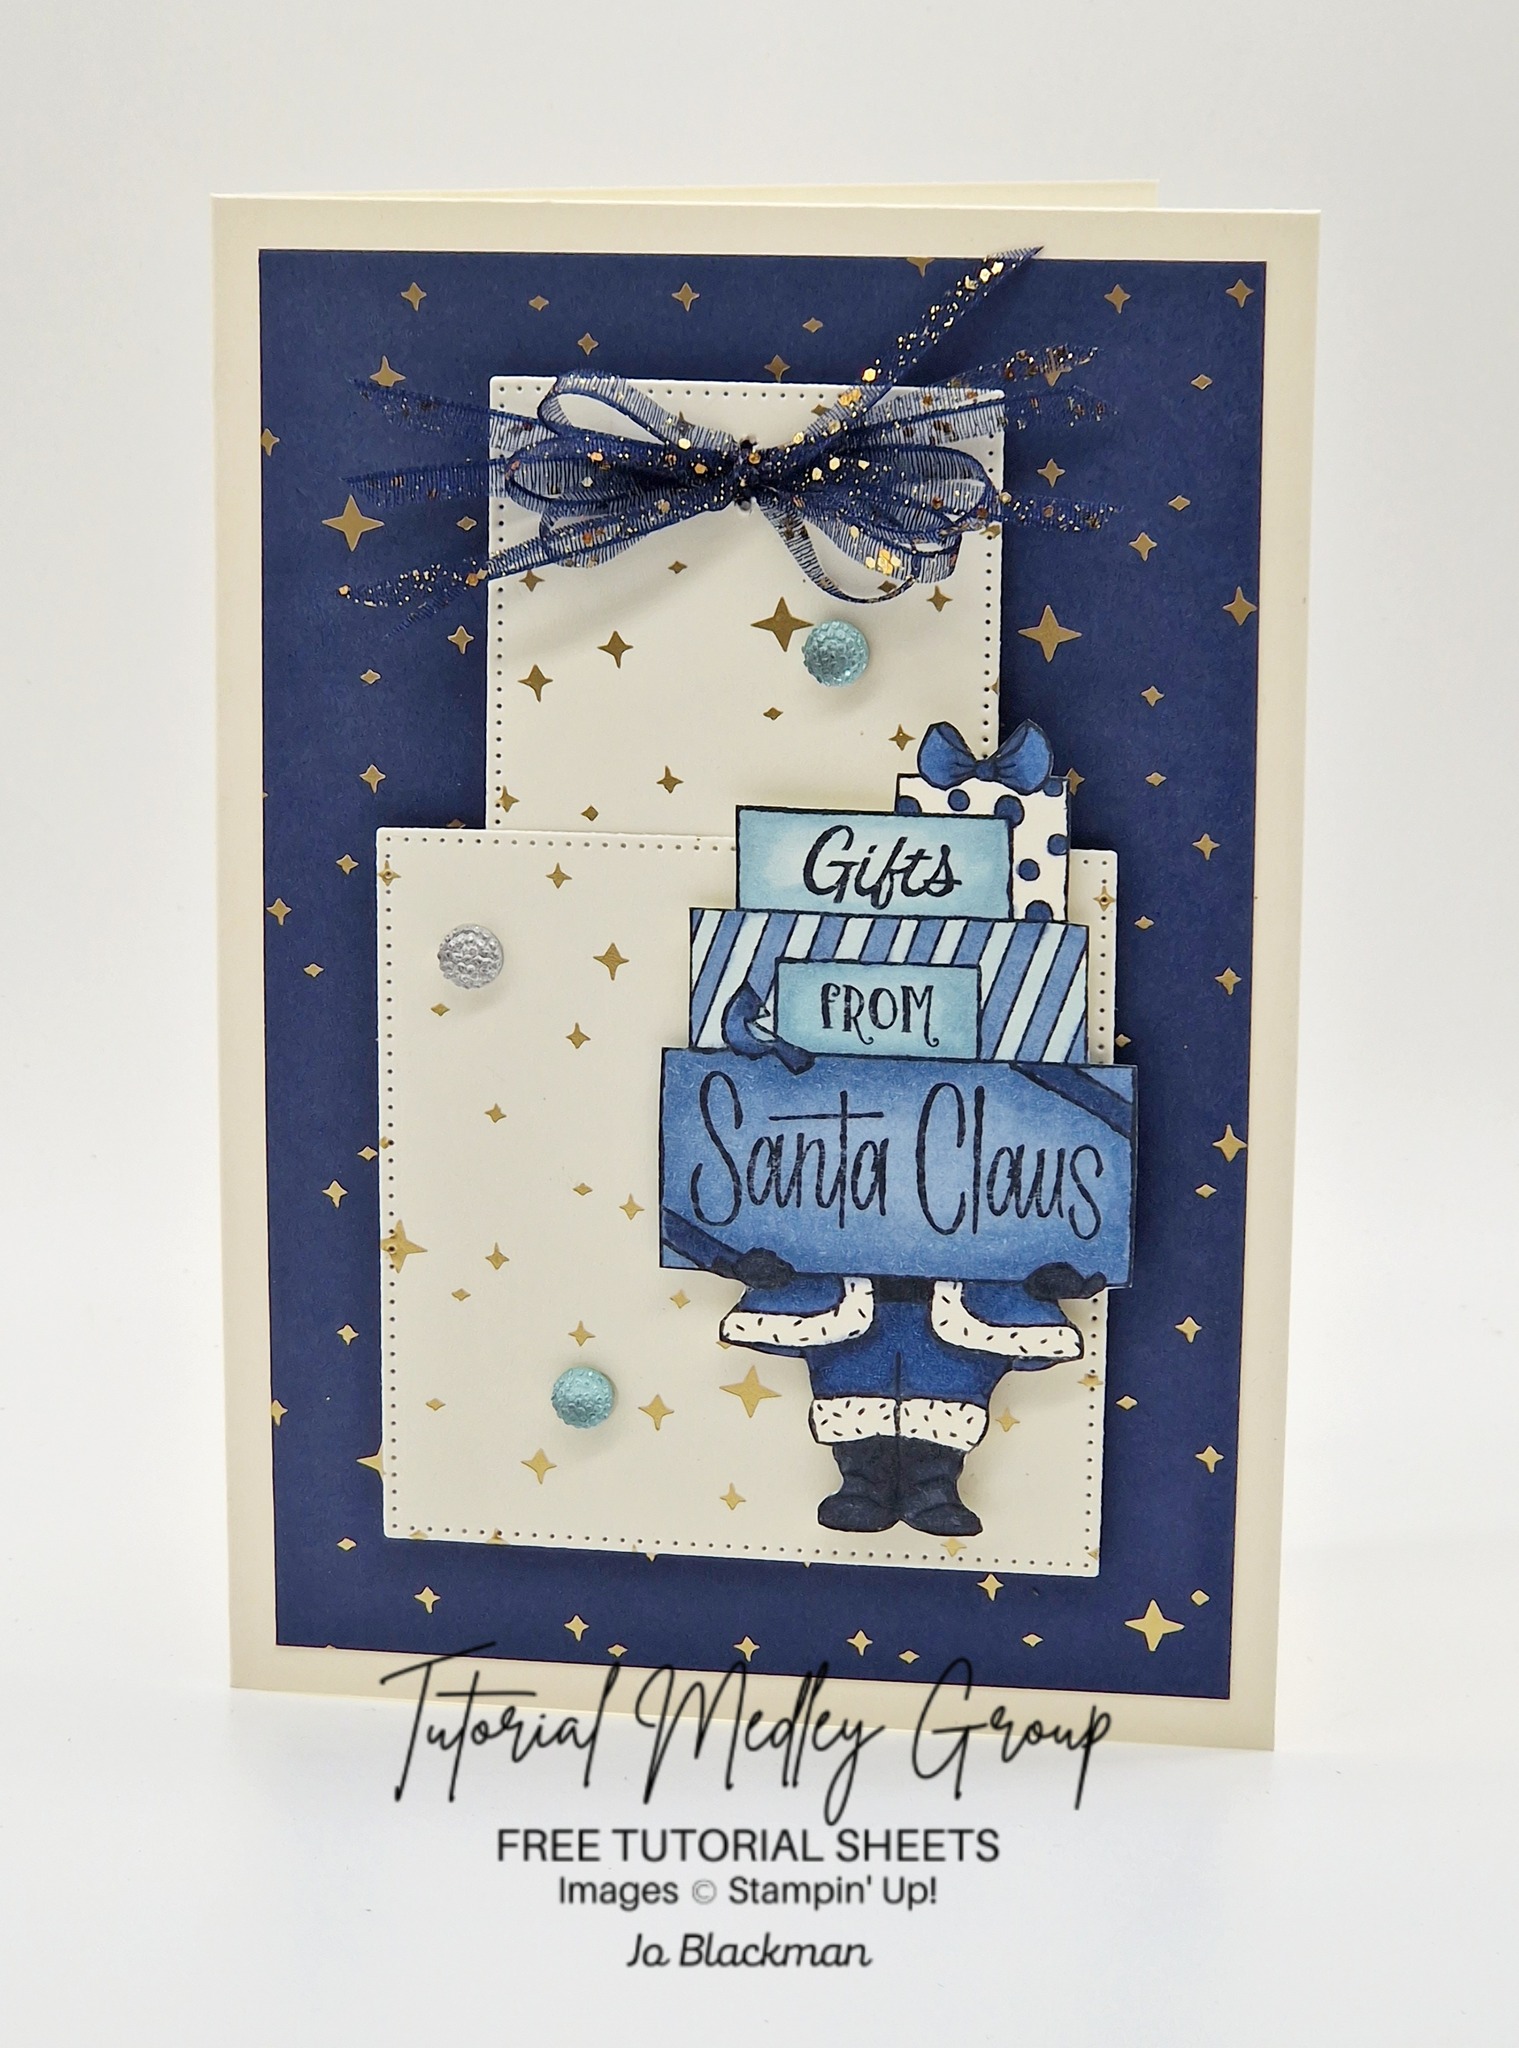
What sets this stamp apart is its versatility. Beyond the artistry, it transforms into a functional delight—a pocket, ingeniously crafted to hold the most beloved of holiday presents: gift cards. With a touch of creativity and a dash of festive cheer, this stamp becomes the vessel for heartfelt gifting, embodying the true spirit of giving.

Let’s celebrate the joy of giving and the magic of creativity intertwined in this wonderful crafting journey. Stay tuned for more creative inspirations and let’s continue to spread the joy of crafting together!
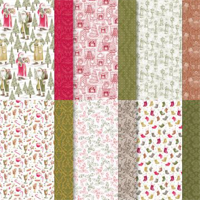
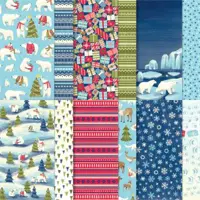
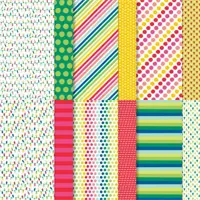
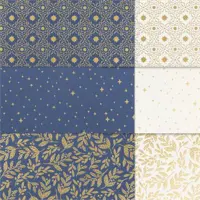
Thank you for joining me today. *The designer paper used on this card has SOLD OUT from our discontinuing products. I have listed the links to these products & substitutes so you can begin sharing the joy with this adorable Gift Card.