Scalloped Blooms & Garden Poetry Unite to Create Delightful Projects

Hello Stampin’ Friends!

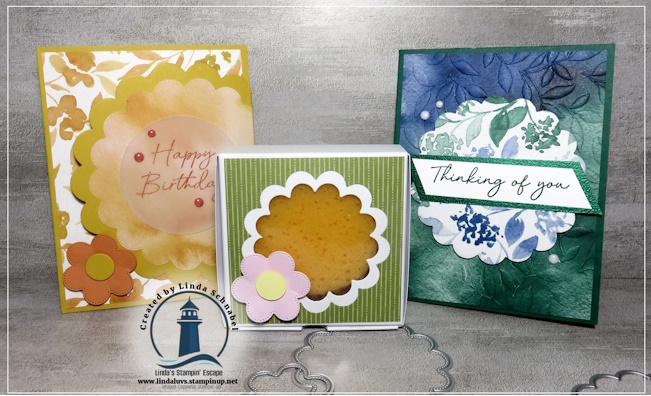
Today I have something extra special to share with you! I paired the sweet and versatile Scalloped Blooms Bundle with the gorgeous Garden Poetry Designer Series Paper to create not one, but two delightful projects. Best of all, I’ve included the video tutorial below so you can craft right along with me!

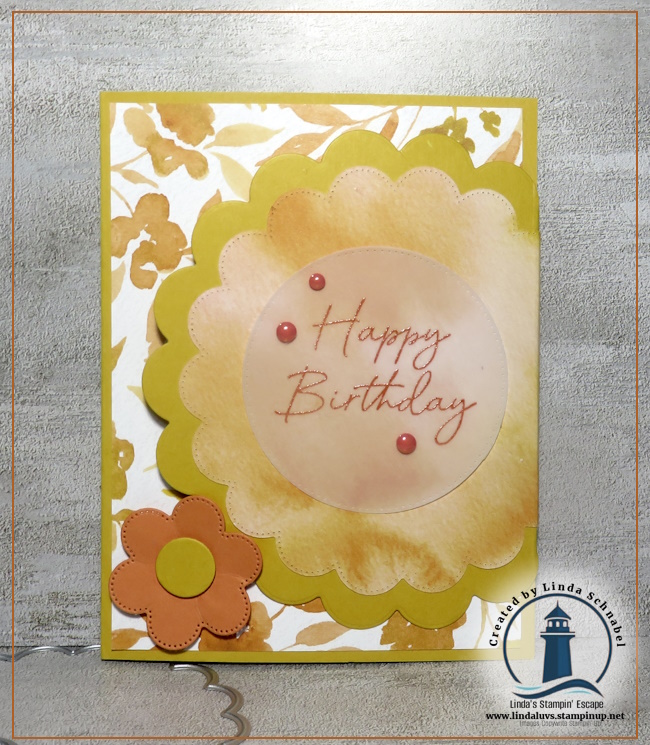
Our first project is a cheerful birthday card featuring layers of scalloped circles, soft ink blending, and warm peach and lemon tones. The Garden Poetry Designer Paper provides the perfect backdrop, adding just enough floral beauty without overwhelming the focal point. A simple flower accent and a few embellishments complete this happy design.
But why stop at a card? I also created an adorable 3-D treat holder featuring a scalloped window and sweet flower accent. It’s perfect for small gifts, candies, party favors, or just adding a little surprise to someone’s day. These kinds of projects are always fun to make and even more fun to give!
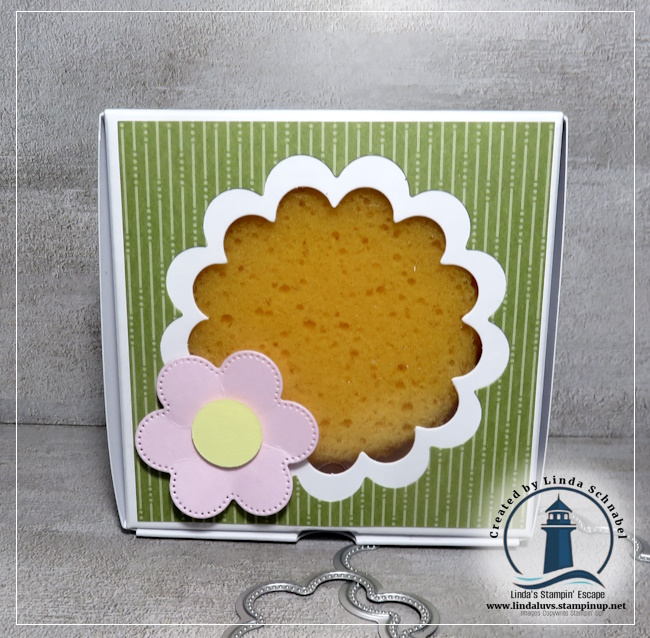
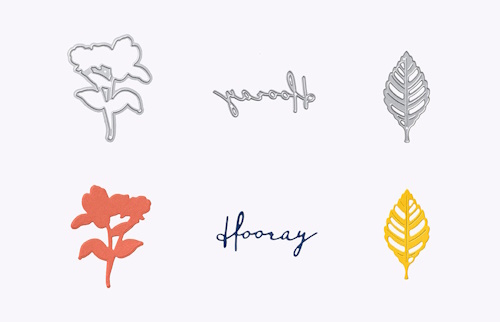
One of the things I love most about the Scalloped Blooms Bundle is how easily the dies and sentiments can be mixed and matched for cards, gift packaging, and so much more. And paired with the soft colors and beautiful patterns found in the Garden Poetry Designer Series Paper, the possibilities are endless.

If you’ve had your eye on the Garden Poetry Designer Series Paper, now is the time to grab it! This beautiful paper has made its way onto the Last Chance List, which means once it sells out, it will be gone for good. Last Chance products can disappear quickly, and some favorites don’t last long.

CLICK HERE TO VIEW ON YOUTUBE

So pour yourself a cup of coffee, watch the video below, and join me as we create these two charming projects together. I hope they inspire you to pull out your supplies and enjoy a little creative escape of your own!

Happy Stamping,

Linda
Shining the Light on Creativity ✨

Celebrate the Season with the Autumn Abundance Kit!

Hello Stampin’ Friends ~

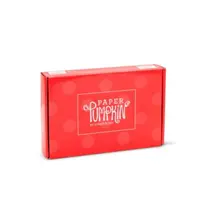
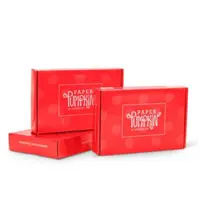
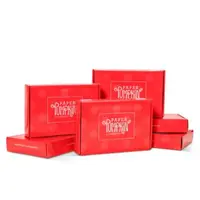
As the leaves begin to change and the air turns crisp, there’s no better way to celebrate the beauty of autumn than with the September Paper Pumpkin kit, Autumn Abundance! This all-inclusive kit is designed to bring the warmth and richness of the season to your crafting table.

I’m beyond grateful for the opportunity to share this kit with you—it truly encapsulates everything we love about fall. The Autumn Abundance kit comes packed with all the supplies you need to create stunning, autumn-themed gratitude cards. From rich, warm colors to exquisite copper foil details, every element of this kit is thoughtfully crafted to help you express your appreciation in the most beautiful way possible.

One of the standout features of this kit is the watercolored ephemera pack, which adds a touch of artistic flair to your projects. Whether you’re sending a heartfelt thank you or simply celebrating the season, these cards are sure to bring joy to anyone who receives them.

But that’s not all! As a subscriber, you have exclusive access to the Every Celebrations Dies add-on. This versatile set coordinates perfectly with our July, August, and September kits, giving you even more creative possibilities. Be sure to shop this add-on early—supplies are limited, and you won’t want to miss out!

If you haven’t subscribed to Paper Pumpkin yet, now is the perfect time. Join us in celebrating the autumn season with the Autumn Abundance kit, and let’s create something beautiful together! SUBSCRIBE HERE …. once you’ve subscribed, Paper Pumpkin will send you an email so you can create an account and see what else they have to offer! Past kits and more!

Remember, this kit is only available through September 10th, so don’t wait. Subscribe today, and enjoy the rich colors and beautiful designs that Autumn Abundance has to offer.

Happy crafting! 🍁

You can check out the paper sale at my Online Store by clicking HERE… Thank You!

Simple Gift Idea: Hot Chocolate Holder

Hello Stampin’ Friends,

Looking for a thoughtful yet simple gift idea that’s sure to warm hearts this holiday season? Look no further than a delightful Hot Chocolate Packet /Holder! Whether it’s for teachers, colleagues, or anyone who enjoys cozy winter treats, this little package is a surefire way to spread some cheer. Inside, you’ll find the makings of a delicious cup of hot cocoa along with a special touch – a tube of crushed candy canes to infuse that beloved peppermint flavor. Let’s dive into how you can create this delightful and festive gift!

Measurements:

  • Cardstock: Real Read 8 ½” x  5 ½”
  • Cardstock 2:  Basic White: 4” x 4”
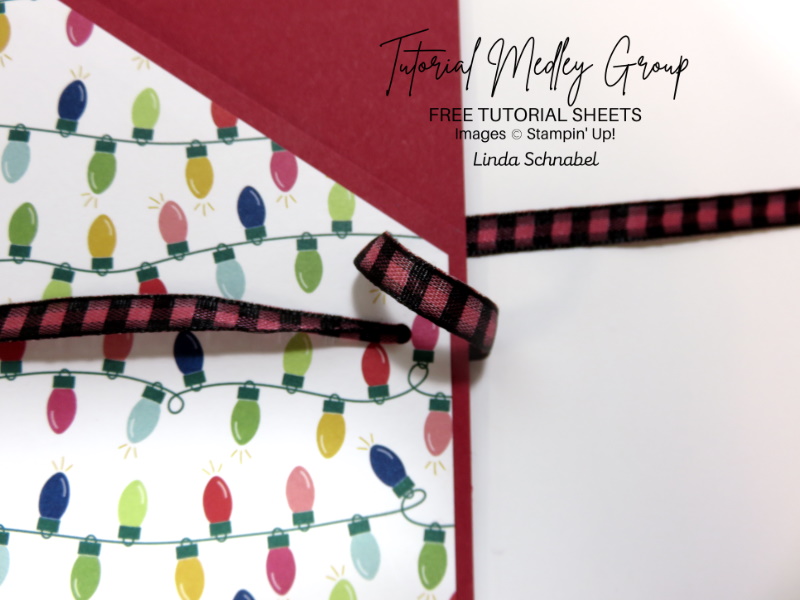
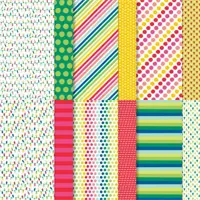
  • Merry Bold & Bright Designer Paper: 5 1/8” x 4”
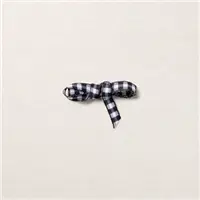
  • Black & White Gingham Ribbon: 12”

Instructions:

  • Score 8 ½” side of cardstock at 4 ¼”.  Fold and Burnish.
  • Card base: Make a tick mark at 2-3/4″ along the 5-1/2″ side and cut from the tick mark to where the center score line meets the top edge
  • Designer Paper: Make a tick mark at 2-5/8″ along the 5-1/8″ side and, with the tick mark along the right side, cut from the tick mark to the opposite left corner
  • Attach the piece of designer paper to the front with diagonal cut, leaving a border around the edges.
  • Take your Tear & Tape adhesive and run it along the bottom edge of that was not cut. This creates the pocket to hold your Hot Cocoa Mix.
  • Punch your first hole about 5/8” from the edge and about 1/2″ from the diagonal.  Doesn’t have to be perfect.  Punch second hole about ½” lower. This holds our treat tube.
  • Use your Real Red Stampin’ Blend to color your Black & White Gingham Ribbon. Let Dry.
  • Feed ribbon through bottom hole from the front side – pulling it through to the front side, feed it through the top hole.  This creates a loop that will hold your treat tube.
  • Tuck your Treat Tube into loop and pull firmly.  Tie in a bow.
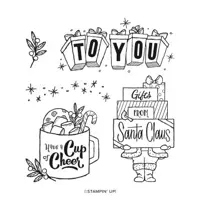
  • Stamp the “Cup of Cheer” image in Memento Ink onto White cardstock. Let Dry.
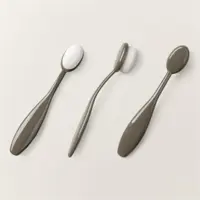
  • Use small Blending Brush to brush on Balmy Blue ink.
  • Using Stampin’ Blend; color as desired.  I used the three shades of Natural Tones for my cookie.
  • Die cut image with Largest Circle from the Stylish Shapes Dies
  • Attach with Stampin’ Dimensionals. 

NOTE: I used Crushed Peppermint (Candy Canes) and Nestle Hot Chocolate packets that I found at Walmart.  Treat Tubes can be found on Amazon under “Treat Tubes for Crafting / Candies”.  

I just love how this turned out, and so easy to make! You will definitely spread cheer when handy out these tasty treat. If peppermint isn’t your thing, I found Mini-Marshmallows and Salted Caramel treats as well.

I’d love to know if this inspired you to create some of these treat packets for those on your Christmas list!! They make great stocking stuffers too!!

Thank you for joining me today.