Hello Stampin’ Friends,
As Halloween grows near and my week long Halloween showcase is almost at the end … I have a treat to share with you! I have been feelin’ the love this week and was surprised by a couple of treats myself!
First, a beautiful bouquet of flowers from my friend Nancy. Stampin’ has brought us together, our siblings brought us closer, and a true friendship has emerged …

They are so beautiful (just like Nancy) and they make me smile each time I look at them.
Today as we arrived for our stamping class, our lovely host Tina, who opens her home to our group each month, also created this cute little treat for each of us!!

I have to share a close up of this little pumpkin … he’s so stinkin’ cute!

Thank you ladies … you are wonderful 🙂
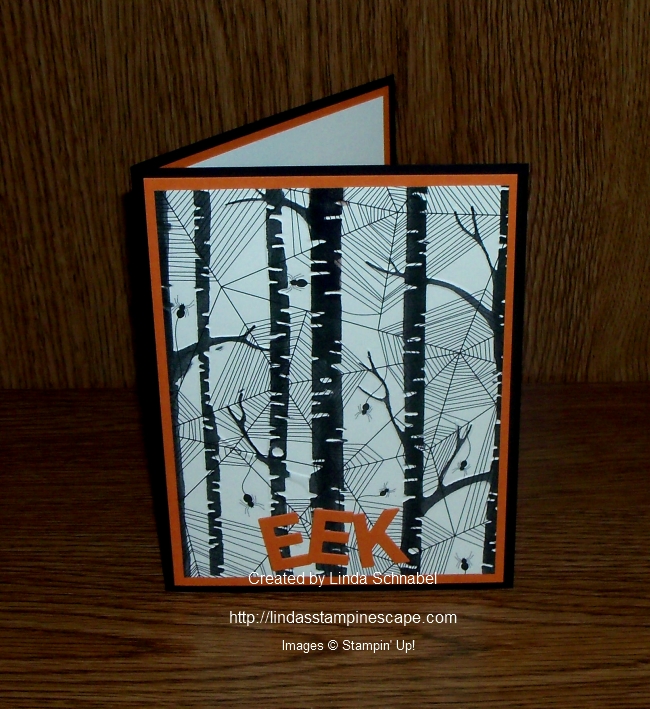
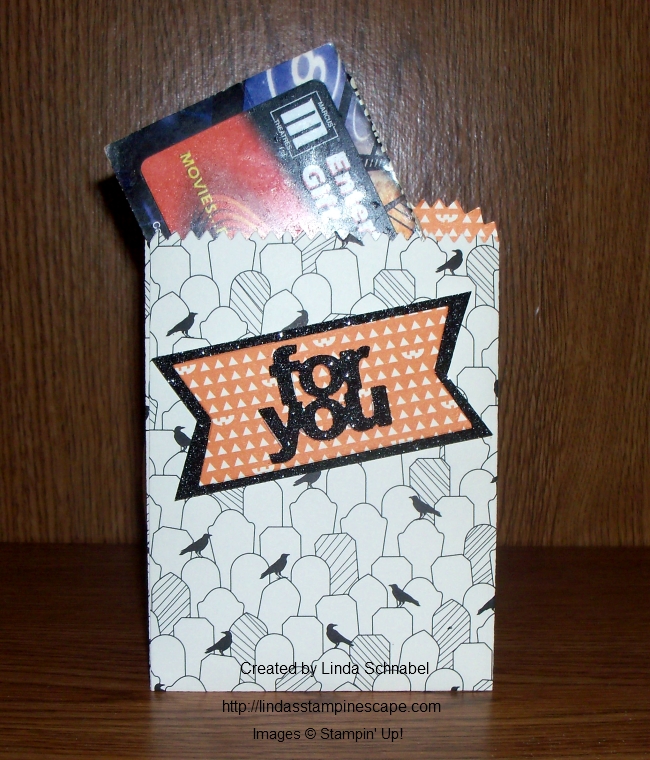
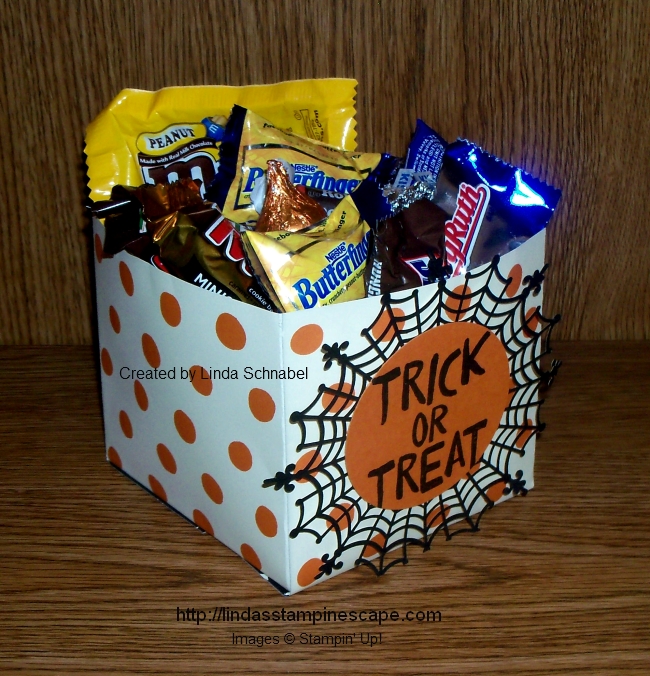
As for my treat, I created a handy little box to tuck all my candies in! I love the 2-4-6-8- boxes but needed something bigger so … I came up with this!
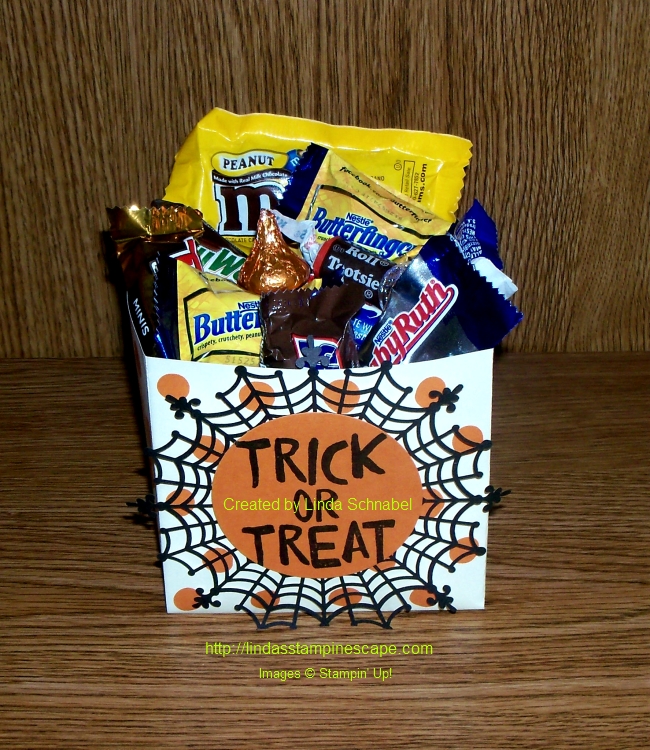
I cut 2 – 6 x 9 inch pieces out of the Happy Haunting Designer Series Paper. You score at 4″ and 8″ which leaves you a 1″ flap for sealing your box.
You will also need to score horizontally at the 2-1/4″ mark… that will create your bottom flaps. You do a little trimming on the bottom flaps so they close nicely (and all edges are adhered). Simple!!
If you would like a copy of the instructions, just send me your e-mail address to me at … (lindaluvs2stamp@aol.com) and I will send you directions. No purchase necessary! Just giving a little back or all I received this week.
Thank you so much for dropping by today ~
Have a wonderful weekend …

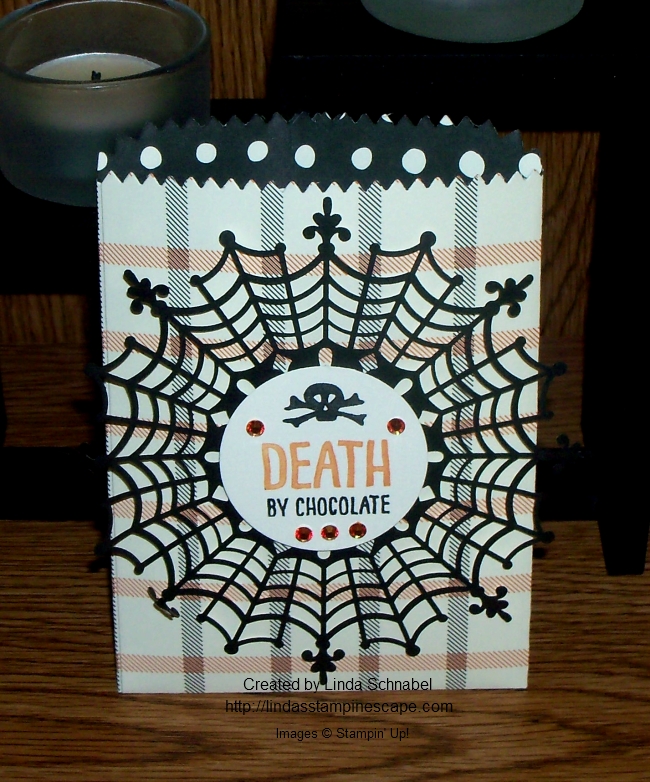
TODAY’S STAMPIN’ SUPPLY LIST …


Built for Free Using: My Stampin Blog