Hello Stampin’ Friends ~
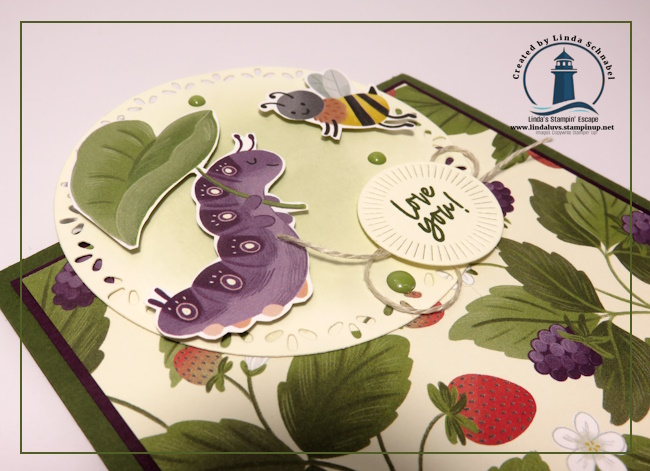
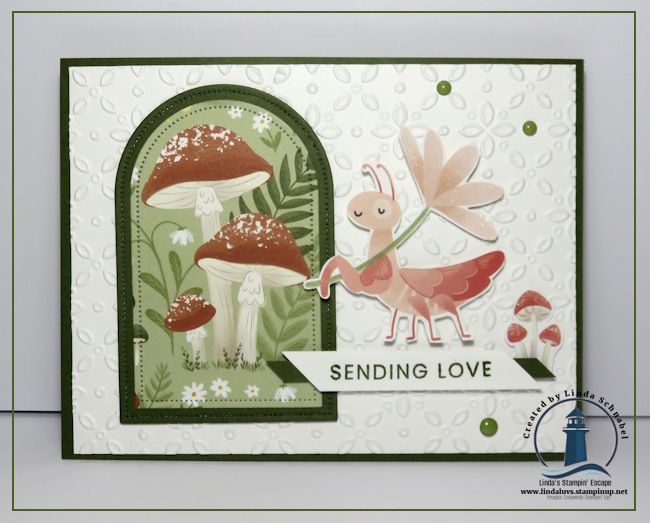
If you stopped by recently, you may remember the sweet mushroom card I shared using the Cute as a Bug Designer Series Paper—and today I’m back with something just as adorable, but with a little extra surprise! This time, we’re giving this cheerful paper a fun fold moment, and I think you’re going to love how playful and interactive it is. The bright colors, happy bugs, and garden-inspired patterns make this paper such a joy to work with, and it truly shines when paired with a fold that adds movement and dimension.
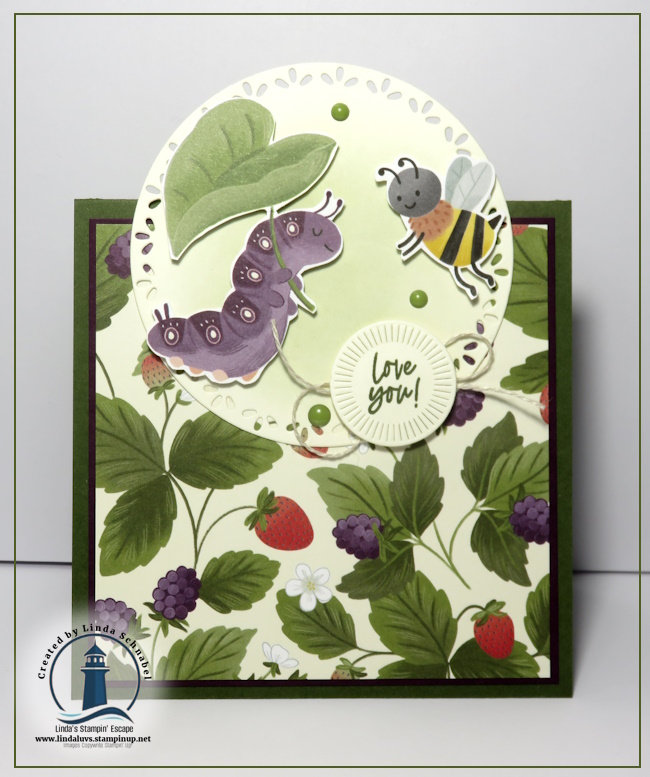
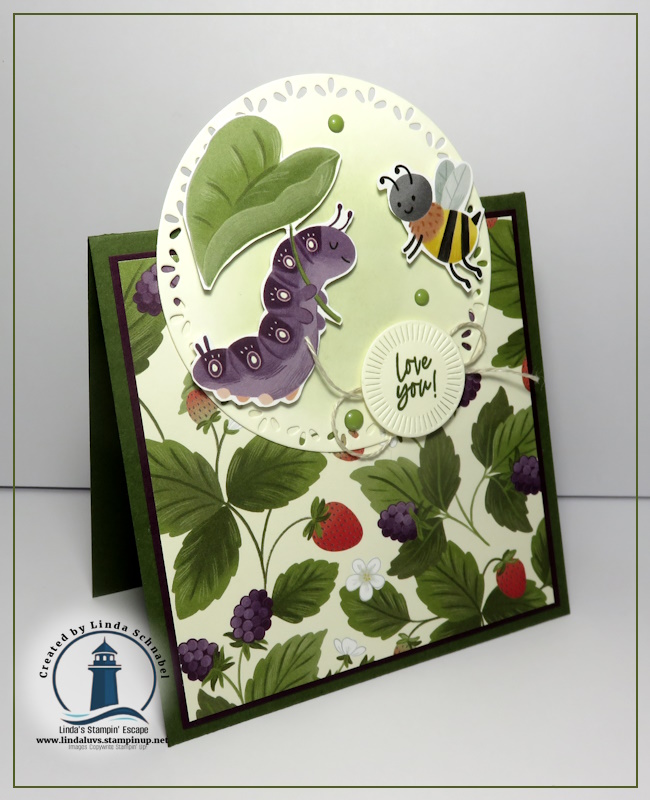
For today’s card, I leaned into the whimsy of the paper and let those darling images do the talking. From the smiling bee and butterfly to the lush leaves and berries, every layer adds to the charm without feeling fussy or overdone. The fun fold design gives this card a little “wow” when it’s opened, yet it’s still simple enough to recreate—perfect for when you want something special without a lot of extra steps.
In this replay of my Facebook LIVE, you’ll see step-by-step both cards—the mushroom card you saw earlier and today’s fun fold—complete with measurements and tips along the way. This video makes it easy to see how quickly these cards come together, and how I used the components of the designer paper sheet.
If these cards made you smile, it might be time to add the Cute as a Bug Designer Series Paper to your craft stash. This paper is a creativity booster—perfect for quick cards, playful folds, and designs that truly let the paper do the work. Pair it with what you already have, or treat yourself to something new, and you’ll be creating cheerful cards in no time.
If you have questions, want help placing an order, or would love to see this paper featured in an upcoming class, just reach out—I’m always happy to help!
I truly appreciate you taking time out of your day to visit, watch the video, and share in a little creative inspiration with me. My stamping friends are the heart of everything I do, and it brings me so much joy to create and share ideas with you.
Until next time, happy stamping—and I hope your craft space is filled with smiles, color, and a few cute little bugs … the paper kind!! lol 💖 Thanks so much for stopping by!