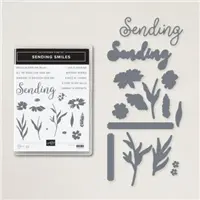
Hello Stampin’ Friends ~
Welcome back, stampers! Today I’m beyond excited to spotlight the Beautiful Bokeh Suite, a gorgeous collection that truly elevates your crafting with both ease and elegance. This suite combines dreamy butterfly motifs, stunning bokeh-patterned papers, and a clever hybrid embossing folder and die set—all in one coordinated collection.
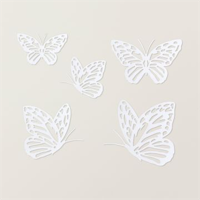
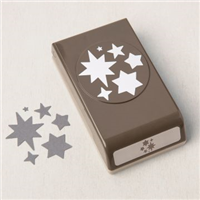
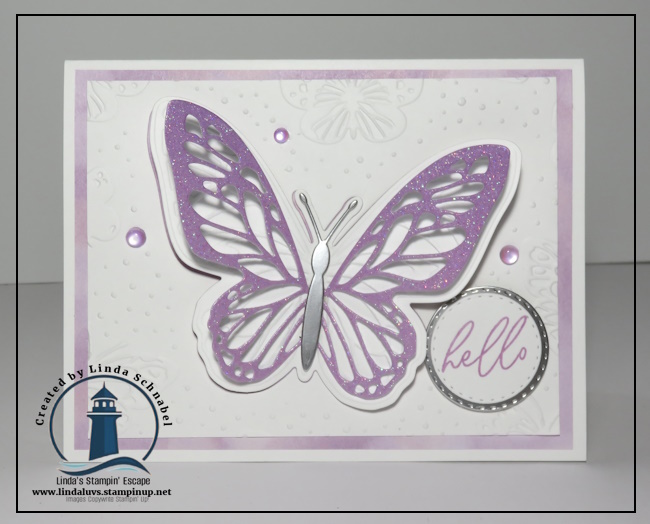
The hybrid embossing folder is a true game‑changer: you can emboss delicate butterfly silhouettes for added texture, or pair the folder with its matching die to cut and emboss in a single pass—a real time‑saver that delivers incredible detail every time. These ready‑to‑use butterflies are a beautiful focal point on any card or tag.

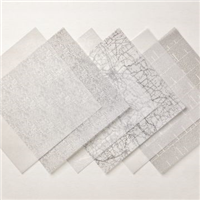
What truly sets this suite apart is the Beautiful Bokeh Designer Series Paper—a soft palette of images that mimic shimmering light and pair effortlessly with the butterfly designs. Whether you use the 6″×6″ paper behind embossed butterflies or stamp and die‑cut matching accents, your projects will glow with a professional finish.
I’ve shared how versatile and beginner‑friendly this suite is. Watch the video as I combine the embossing folder, die, DSP, and shimmer gems to craft a striking Balmy Blue butterfly card—proof that this suite plays well with additional supplies like gems and cut‑out accents!
Here’s why you will love this suite:
- Fast, detailed results — emboss or emboss & cut butterflies in one go
- Coordinated elegance — with designer paper, stamps, dies, and embellishments
- Mix‑and‑match friendly — works beautifully with many cardstock colors and extras like shimmer gems and ribbon
- Inspiration aplenty — plentiful tutorials available, from clean & simple to layered masterpieces!
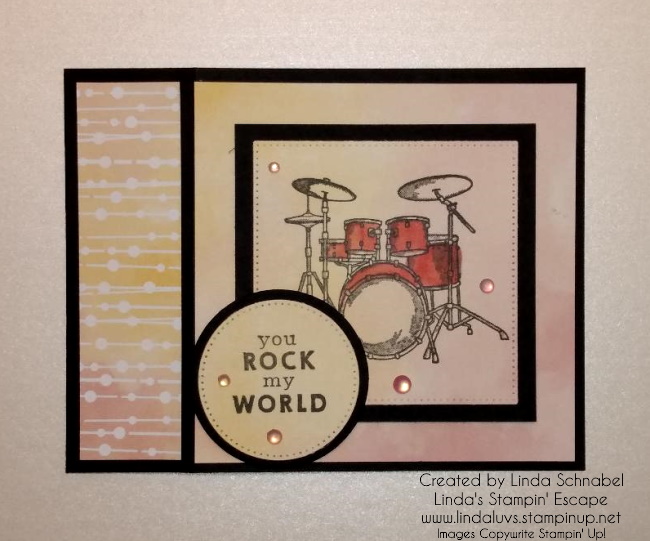
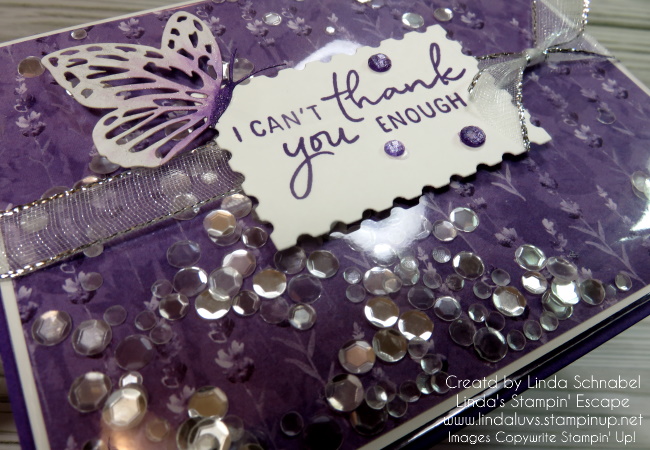
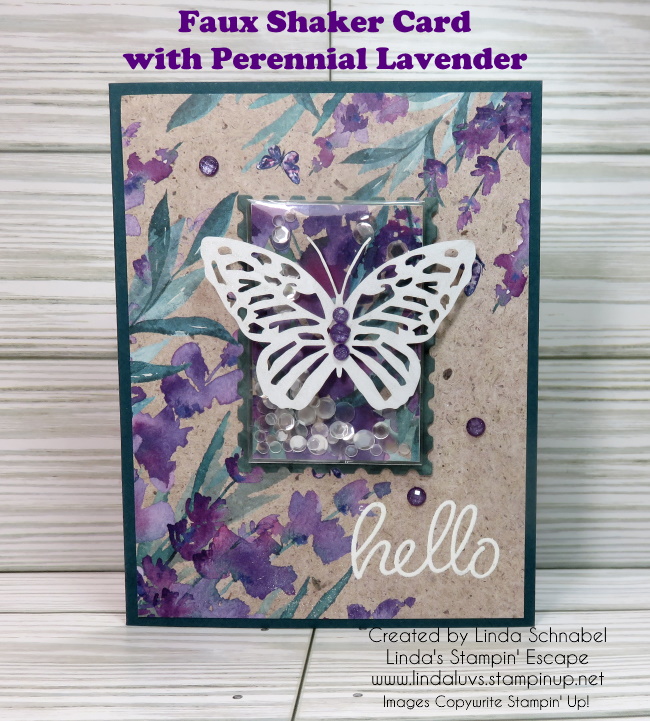
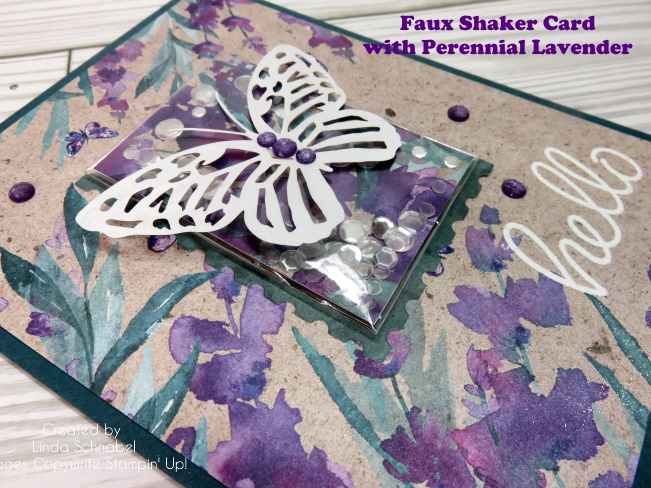
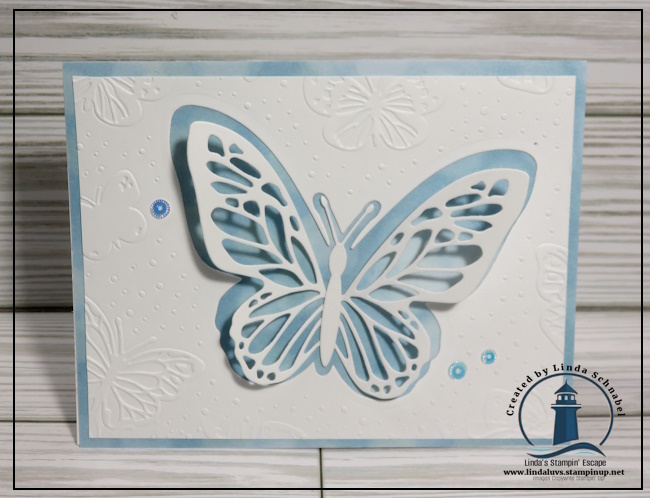
This card shows the ability to cut out the main butterfly and turn it into a stunning “shape” card. The front was watercolored with our ink refills and water.

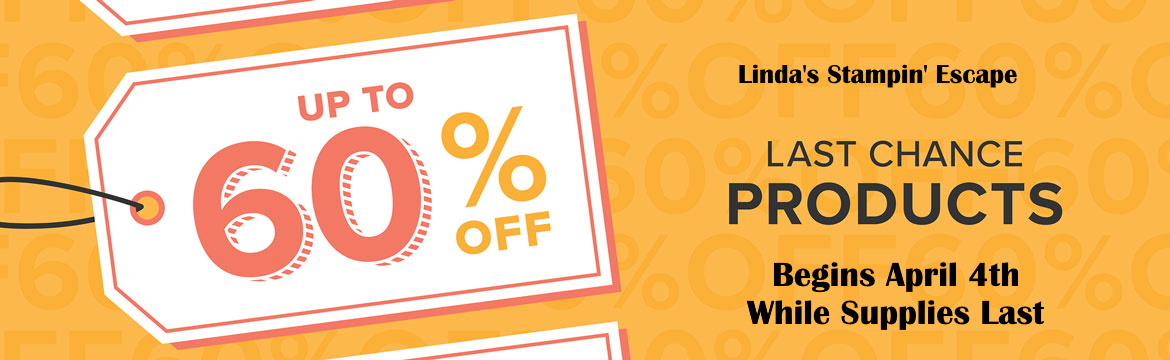
This is the perfect moment to bring this suite home. It’s featured in the Suite Sale / BOGO event—buy any suite, get a second one at half price until June 30th—and it’s online-exclusively available now lindasstampinescape.com. Whether you’re adding to your crafting stash or picking up a gift for a friend, it’s a beautiful time to join in.
Check out this collaboration with the Paper Pumpkin kit …

I have yet another Beautiful Bokeh and Paper Pumpkin combo for you. Watch the video for step by step instructions and the measurements for this fun fold card ….
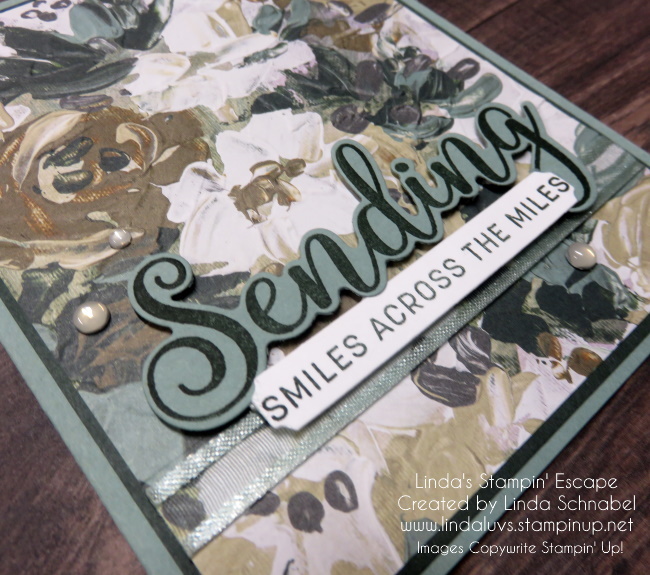
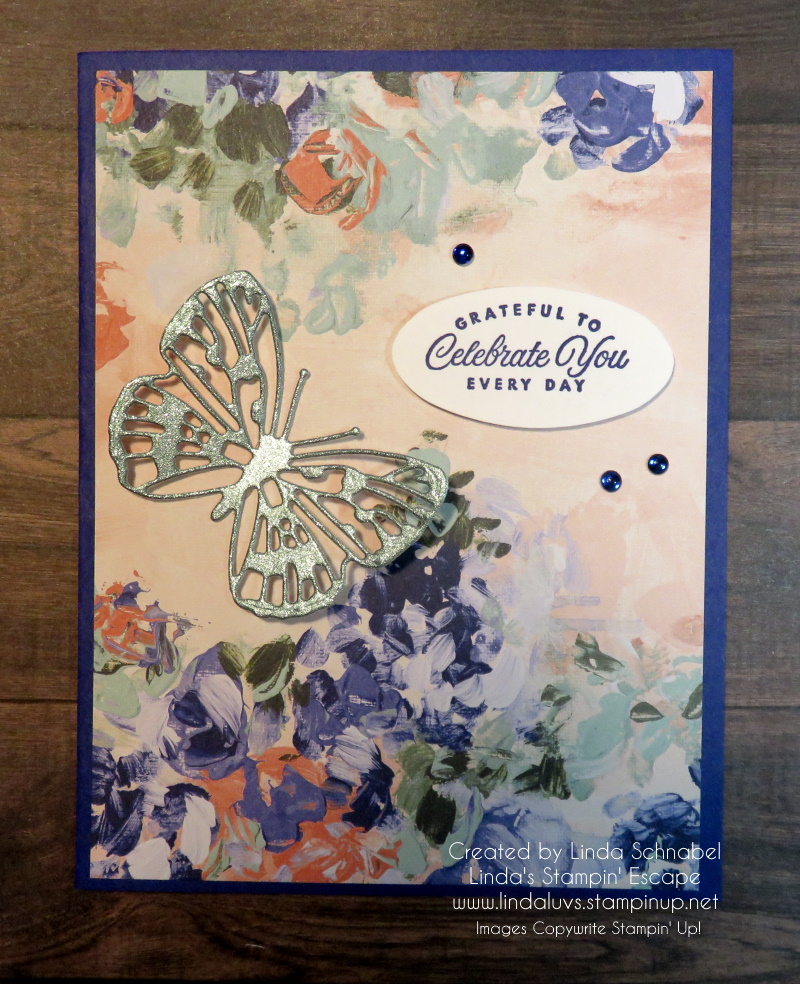
I hope you have enjoyed the stunning card samples featuring everything this suite can do—from delicate white-on-white elegance to vibrant layered designs and soft pastel harmony. Each one highlights different techniques —these designs are crafted to spark ideas for birthdays, thank-you notes, friendship cards, and more!
This card uses the Bokeh designer paper as a mat (and peeks through under the butterfly), the folder with the die, the die to cut the detailed butterfly out of the Ombre Glitter paper, and the embellishments to complete the card.
Ready to Fly?
Take advantage of the Suite Sale/BOGO and bring the Beautiful Bokeh Suite into your craft room. Not only will you get full-coordination, but you’ll also pick up a second suite at half price—perfect for layering on creativity or gifting to a fellow stamper.
Thank you for joining me today, and hanging around for this extended blog post! Let me know in the comment section which card was your favorite!