Welcome back, stampin’ friends!
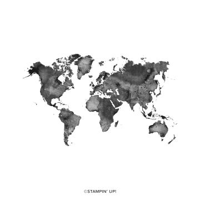
Today, we embark on a journey through the vibrant realm of watercolors, highlighting the Watercolor World stamp set. This stamp can handle a treasure trove of possibilities, inviting us to unleash our creativity. Today I’ll share just four unique stamping techniques. Alongside, I’m pairing it with complementary stamp sets to elevate our creations to new heights with the right sentiments.
Grab a coffee, tea or whatever you like and join me for a short video that brings these magical techniques to life. This is a replay of my Facebook LIVE last Tuesday. Just click on the image to view …

The Watercolor World stamp set invites us to embark on a journey of boundless creativity, where every brushstroke tells a story and every impression leaves a lasting impression. From heat embossing to emboss resist, each technique offers a glimpse into the endless possibilities that lie within our grasp.
Let’s take a closer look at our cards ….

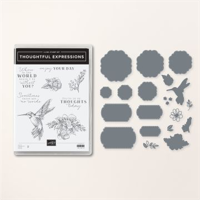
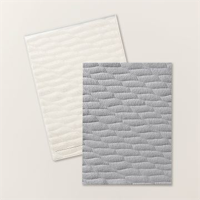
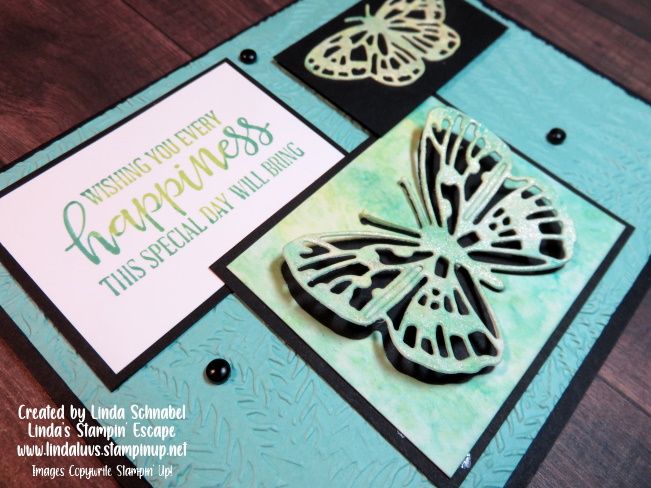
Let’s delve into our basic stamping and embossing, accompanied by the Thoughtful Expressions Bundle. This technique marries simplicity with refinement, as we create timeless masterpieces with ease. Combined with embossing folders, the Watercolor World stamps transform into captivating works of art, ready to adorn any occasion.
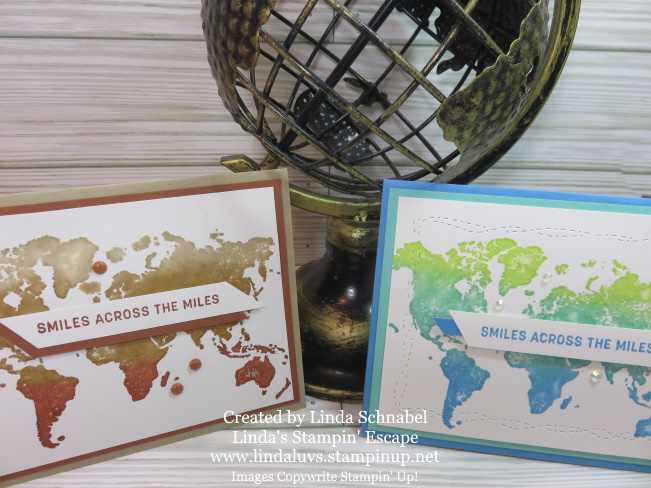
Ready to immerse yourself in the magic of direct-to-rubber stamping technique? Then enhanced by the Sending Smiles stamp set which dances across the continents! This technique introduces a delightful twist to traditional stamping, infusing your creations with a watercolor-inspired allure. The Stitched with Whimsy dies also creates not only texture, but the feeling you are traveling with them.
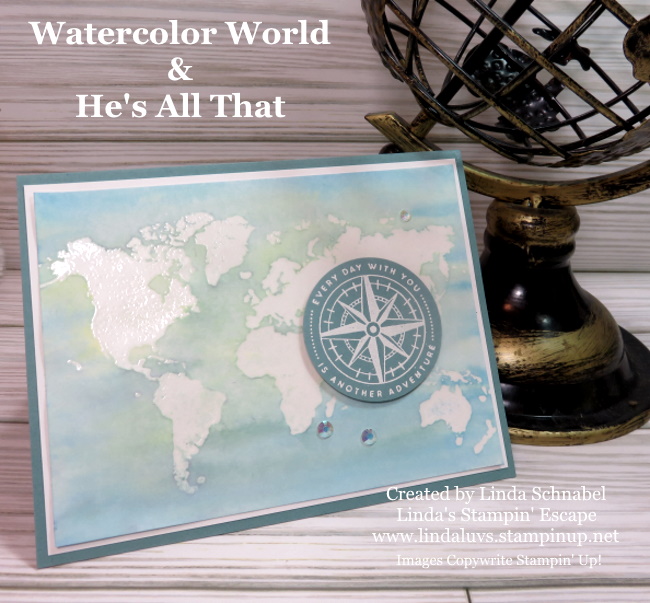
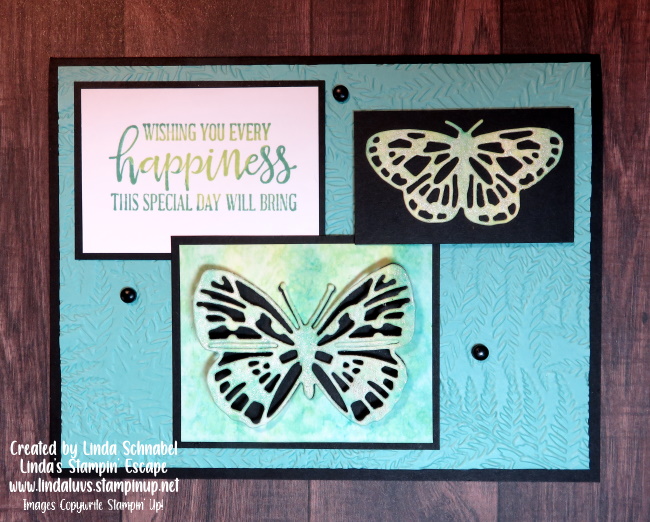
Our third technique, emboss resist, is a testament to the versatility of the Watercolor World stamp set. Paired with the He’s All That stamp set, we embark on a journey of exploration and experimentation. As we apply layers of color over our heat embossing, intricate designs emerge, unveiling a world of possibilities. Witness as the stunning effects of emboss resist unveil intricate patterns (our continents) and textures, captivating the eye and igniting the imagination. So fun and so easy to do.

Our final technique is a blend of elegance and charm. With the Perennial Postage Bundle by our side, we’ll embark on a journey of heat embossing on designer paper. This method infuses sophistication into our projects, adding depth and dimension effortlessly. Watch as the intricate designs of the Watercolor World stamp set come to life against a backdrop of luxurious patterns.
As we pair these techniques with complementary stamp sets, we unlock new dimensions of inspiration and innovation, transforming simple materials into works of art that delight the senses and nourish the soul. So, gather your supplies, unleash your imagination, and let the Watercolor World stamp set be your guide on a voyage of discovery and delight.
Thank you for hanging out with me today. And remember … I’ll be going LIVE again tonight with a beautiful FUN FOLD Card you won’t want to miss. Join me on my Facebook page.