Hello Stampin’ Friends ~
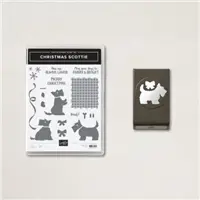
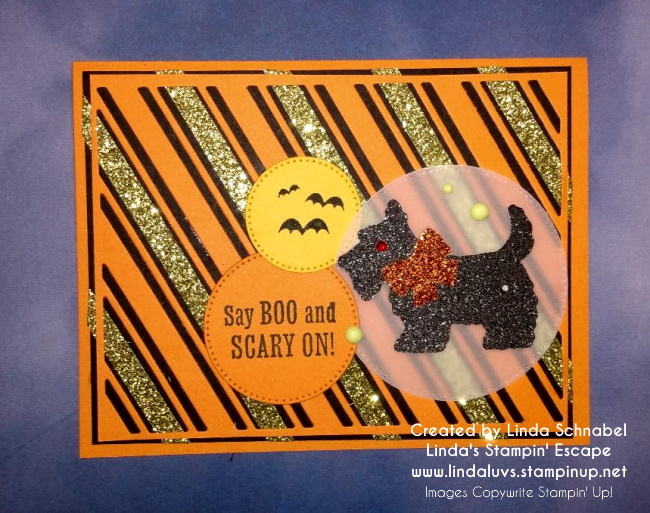
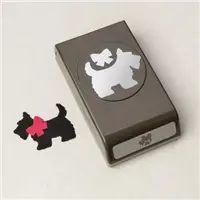
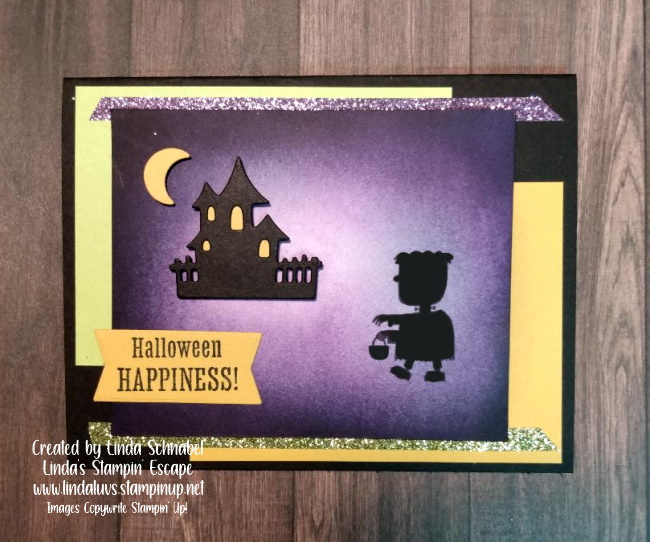
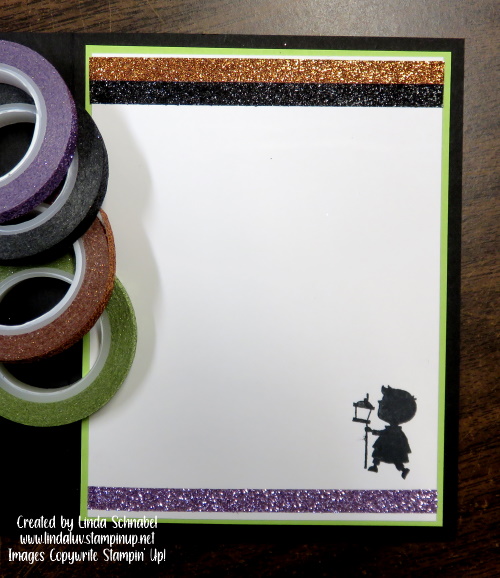
Today I’m sharing the replay of one of my Tuesday Facebook LIVE where we used scraps to create a fun and easy card. The Scary Cute bundle meets Christmas Scottie … that little dog is way too cute to be scary!
I’ll share some tips for creating this card so sit back and enjoy ….
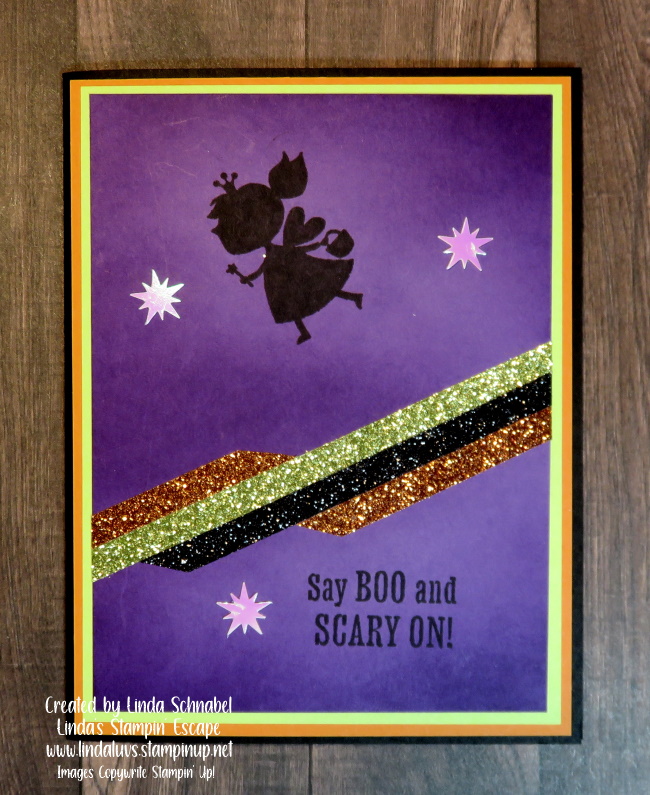
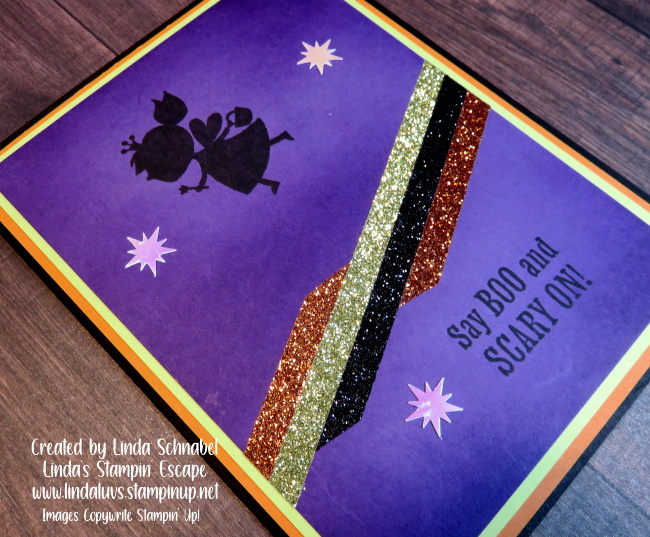
Don’t you just love that Scottie Dog … heck with Christmas, he is an all occasion pup!! The banners or flags as some people call them, create so much fun on a card, they’re just happy.

Here are the measurements for today’s card …
- Card Base: Thick Basic White: 8-1/2” x 5-1/2”; score at 4-1/4”
- Layer #1: Parakeet Party: 4” x 5-1/4”
- Layer #2: Basic White: 3-3/4” x 5”
- Layer #3: Basic Black: 3/4” x 4
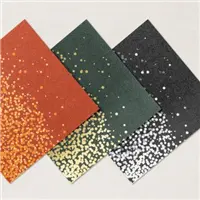
- Assorted Colors / Sizes of Designer paper and Cardstock to create banners
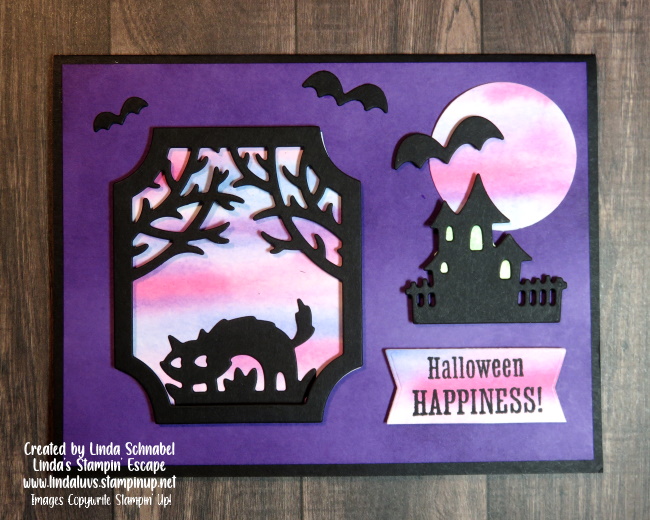
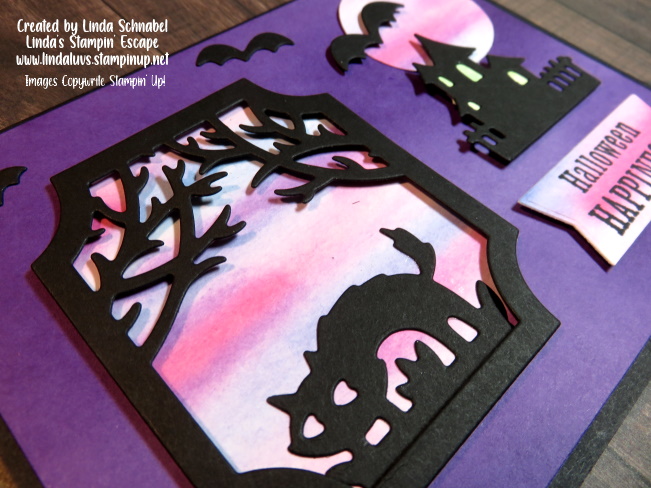
Don’t you think this would make the perfect birthday card? How about celebrating a new job, a promotion or a graduation? Today we did Hallowen … I think it would be perfect for Christmas too. The layout works for any occasion and is fun to make … I hope you enjoy creating many of these simple cards.

I want to thank you for joining me today for this replay.
Enjoy and have a wonderful day ~

Here are the ingredients I used for this card. You can click on any one of them for more information, or to begin shopping.