Hello Stampin’ Friends ~
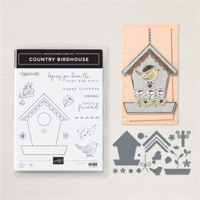
Welcome back to Linda’s Stampin’ Escape and Day 10 of our 12 Days of Christmas series! 🎄 Today’s card takes a walk through a peaceful winter woodland, where chickadees flit among pine boughs, bringing festive cheer to your Christmas projects. With the Country Birdhouse Bundle and Nests of Winter Designer Paper, creating this serene and versatile card is a breeze—and just wait until you see how these products can carry you right into the spring season! 🌸
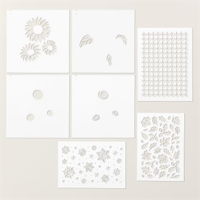
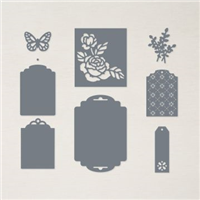
This bundle is packed with charming details, from intricate birdhouse dies to adorable bird and floral stamps. Whether you’re creating a wintry masterpiece like today’s card or a spring-inspired design, the versatility of this bundle ensures it’s a year-round crafting must-have.

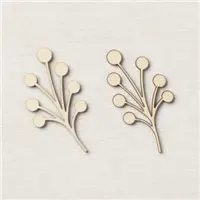
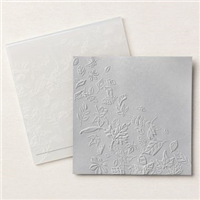
For today’s card, I combined the chickadee stamp with pine accents and the cozy woodland designs from the Nests of Winter Designer Paper. The delicate patterns on the paper bring the perfect touch of texture and seasonal charm, making it easy to craft a cohesive look.
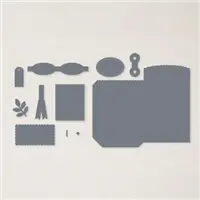
To keep the focus on the birdhouse scene, I die-cut the birdhouse from one of the wood patterns from the Country Woods Designer paper and the bird from the Nests of Winter paper. Then, I nestled them into a setting of pine boughs and branches, creating a scene reminiscent of a snowy winter morning. Look at the dimension and texture in this card!

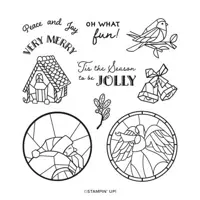
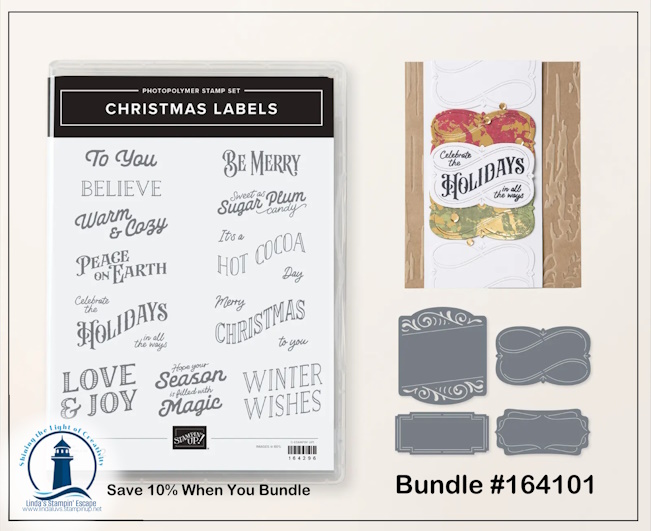
No Christmas card is complete without a cheerful sentiment! I chose the “Be Merry” stamp from the Christmas Labels Stamp Set. Using one of the birdhouse dies, I stamped the greeting onto the die cut perch, adding a touch of whimsy and cohesiveness to the design.
While today’s card is all about Christmas, the Country Birdhouse Bundle is designed to shine in every season. Imagine swapping out the pine boughs for blooming flowers in spring or colorful leaves in autumn. Birds are a universal symbol of beauty and renewal, making this set a timeless addition to your collection.

Christmas is right around the corner, and it’s the perfect time to craft heartfelt cards for loved ones. But with the Country Birdhouse Bundle, you’re not just investing in holiday crafting—you’re setting yourself up for creative success all year long.
I’d love to see your take on today’s card or how you’re using the Country Birdhouse Bundle. Share your creations with me on social media or in our VIP group! And don’t forget—our 12 Days of Christmas series isn’t over yet. Be sure to check back for more festive inspiration! 😊
Happy crafting and …