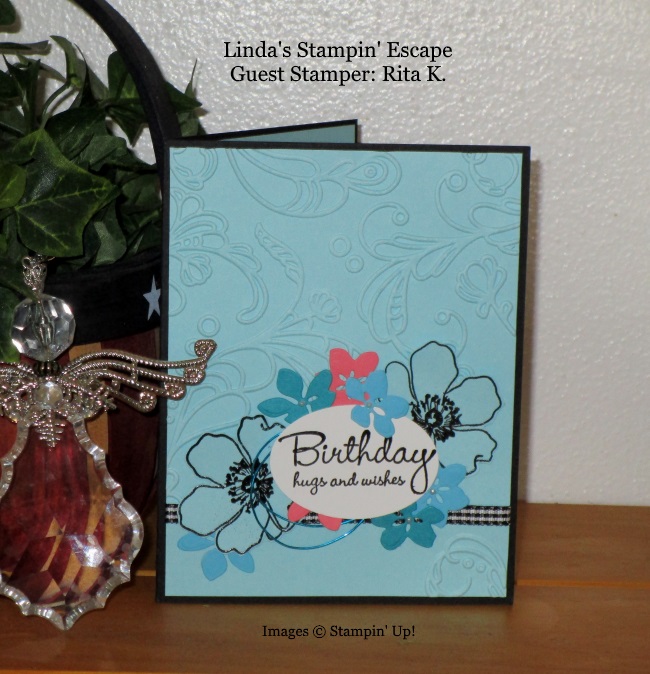
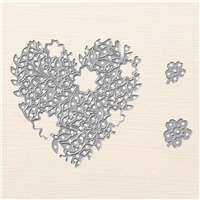
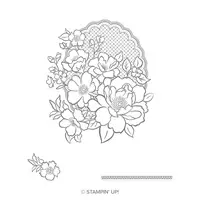
I have a very quick post for you today and I’m sharing one of my “Birthday Cards” with you! The card was created by my sister Rita … The 2 big flowers are from “Fabulous Florets”, and the script is from “Hugs & Wishes”.
The stamps may be retired but I know many of you have these stamp sets, so I decided to share. I will be back tomorrow with my Two for Tuesday, so I will meet back up with you then!
Thanks for stopping by … and actually, my birthday was actually yesterday.
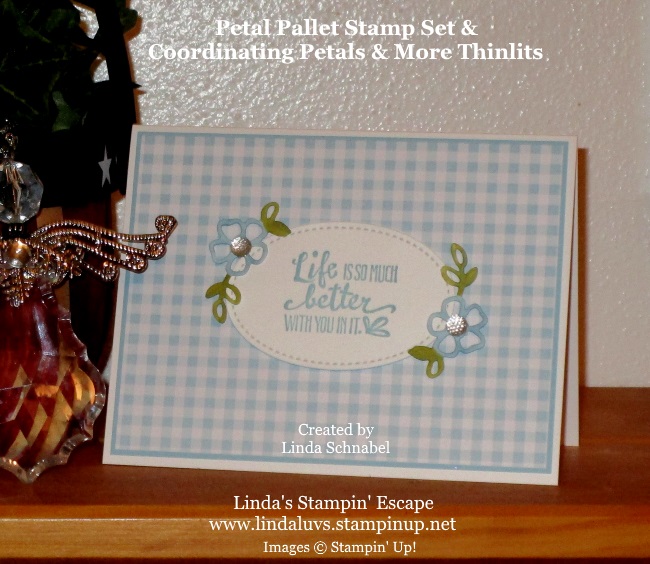
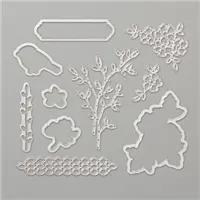
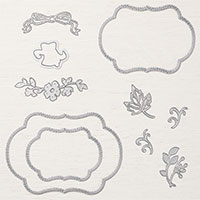
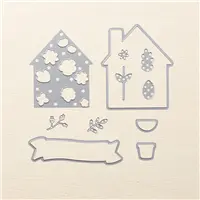
I hope you are enjoying your weekend and I thank you for taking time out of your day to stop and visit my blog. Today I have a sweet -n- simple card for you, that I created using the Petal Palette stamp set (Annual Catalog – page 119) and the coordinating Petals & More Thinlits Dies.
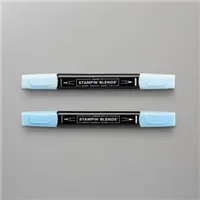
I used the monochromatic style when creating this card which is done in the Balmy Blue …
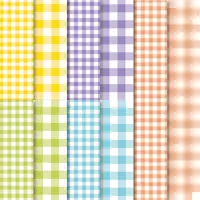
My base is Whisper White as was the oval for my greeting and the flowers that were die cut with the Petals & More Thinlits Dies. I don’t know about you but I feel in love with the Gingham Gala 6″ X 6″ Designer Series Paper … it’s just so “springy”! Reminds me of a warm sunny day. I chose the smaller gingham side (other is wider) and then backed it with Balmy Blue.
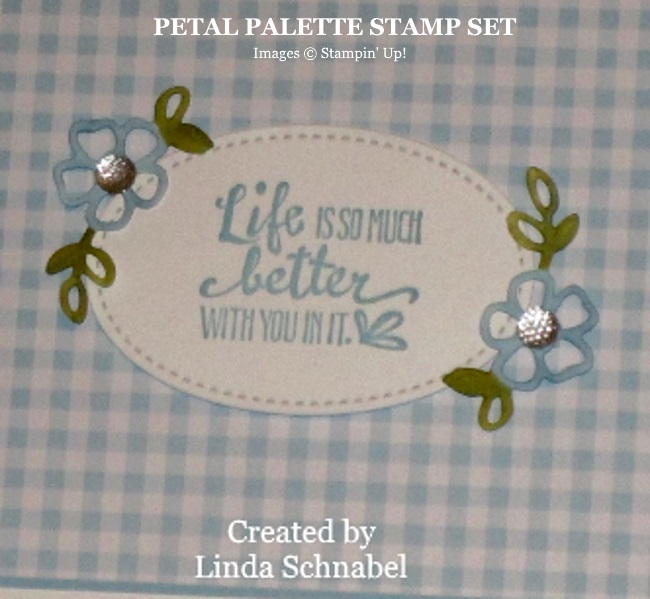
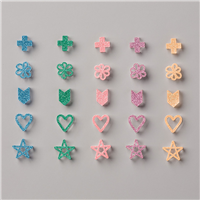
The oval was cut from the Stitched Shapes Framelits Die and stamped in Balmy Blue. As I stated earlier … I die cut the flowers with the Petals & More Thinlits Dies and colored them with the Balmy Blue and Mossy Meadow Stampin’ Blends Combo packs. They were then popped up using mini dimensionals and embellished with the clear faceted gems (so pretty).
I think the stitching adds the perfect touch to the gingham and those clear faceted gems really make the little flowers pop! Cute yet quick … that’s just how we have to have it sometimes!!
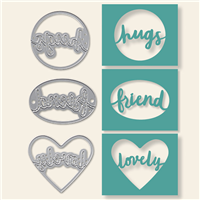
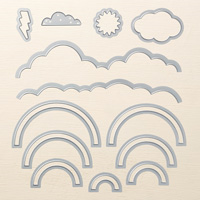
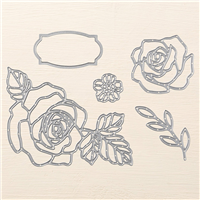
Today I have a lovely … sparkling card to share with you today, and on a budget! One of my all time favorite framelits is the Rose Garden dies. You can now find this die set in the Clearance Rack. You don’t want to overlook anything on the clearance rack because it has some awesome deals, and if you missed them before, now is your chance to get them at an extraordinary discount.
I cut the rose out of the Rose glimmer paper and the “pink” inner rose out of Blushing Bride cardstock. I then covered the entire piece of Blushing Bride with the Tombo Glue and adhered my glimmer paper onto the pink … Now What? You Say. Have your Dazzling Diamonds handy and dip your rose assmbley into the glitter. Rub gently to secure glitter to your glued area. Now you have a beautiful two-tone Rose.
The beautiful Rose Glimmer paper is in our annual catalog, plus you will find the stunning Myths & Magic Glimmer Paper in the Clearance Rack as well. Nice!! More color options 🙂
Please let me know if you have any questions or need any help.
With just around the corner I thought I would share a beautiful card that was created by my friend and fellow demonstrator, Peggy. This was a swap card from our last Spring Stamping Retreats and I do believe it was the winner! Our guests swap and then vote on which of the cards they like best … we have lots of fun and so many different people have had the honor of being chosen “Best Card”… it’s hard to choose!!
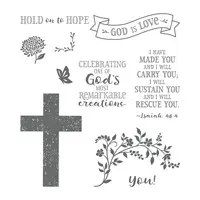
The color pallet for this card is the lovely Pool Party and Bermuda Bay with a touch of white to pull your eye to the focal point … the cross. Peggy layered the cross which creates it beauty and texture.
She created her card using the “Z Fold” technique … so fun and not to hard to do. I will share one of mine in the next couple of days along with step by step instructions so you can recreate these cool cards.
There are several different ways to do the Z-Fold and it’s all based on the dimensions of the “Z” that you are using. We are actually making 2 different styles of Z-Fold cards at my Spring Stamping Retreat (but I can’t show you those till we get back).
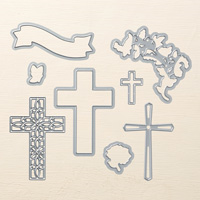
I hope you enjoyed Peggy’s card, it is so pretty and so fitting for this time of year. The Hold onto Hope stamp set and coordinating Cross of Hope Framelits dies are a nice addition to your stamp collection. I purchased mine to go with the Ribbon of Courage stamp set. FYI … I have the name wrong on my picture!! That’s for the framelits … Hold Onto Hope Stamp Set is correct.
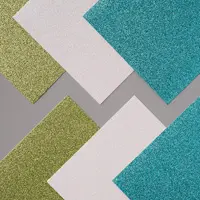
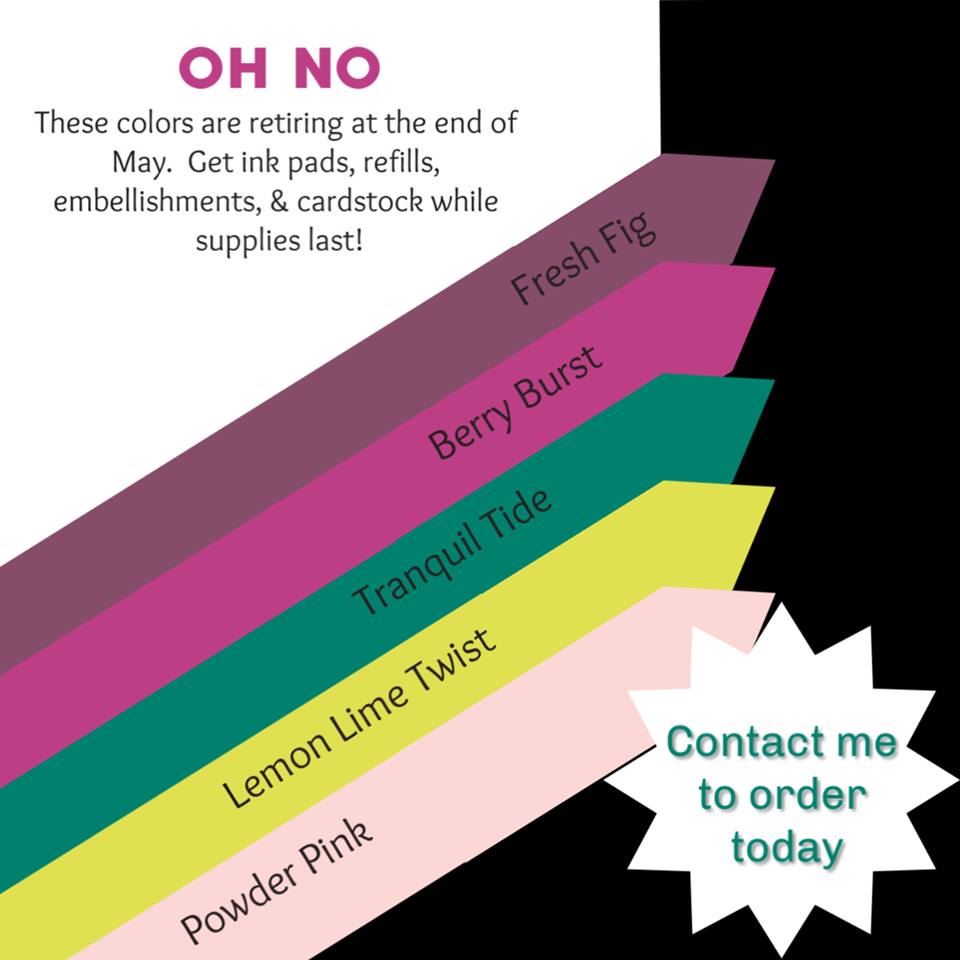
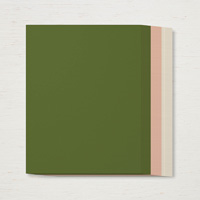
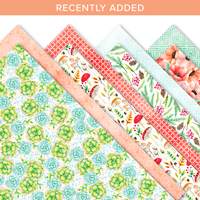
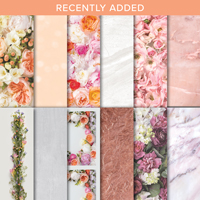
I have a quick post today and wanted to share a few samples of our retiring 2017-19 In-Colors. I’ve been talking about it for a while now but I just didn’t realize how time flies… Seems like yesterday they announced the new In-Colors at our OnStage event … I attended the Shreveport, LA event (and it was fun!!)
The Colors are Lemon-Lime Twist, Fresh Fig, Powder Pink, Tranquil Tide (my favorite) and Berry Burst… These beautiful cards was made with our In-Colors and coordinating Designer Paper – Cardmaking can’t get easier than that.
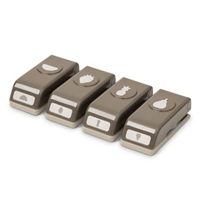
I have a few more samples that were quickly created with some simple stamping and a few punches but it truly highlights the 5 new In-Colors. Aren’t these just the cutest? I believe the stamp set used to create these cards has retired but you could easily switch it out with the adorable stamp set “A Good Day” which can be found on page 42 of our Annual Catalog and the Pretty Label punch.
I hope you enjoyed today’s card samples, and don’t forget to order your supplies “before” the retirement list hits the “live” stage, because they will go FAST! The Ink Refills sell out in minutes … so I suggest to order yours now.
Have yourself a wonderful day … and thank you so much for stopping by ~
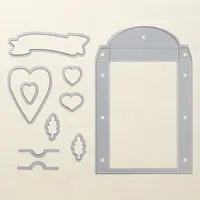
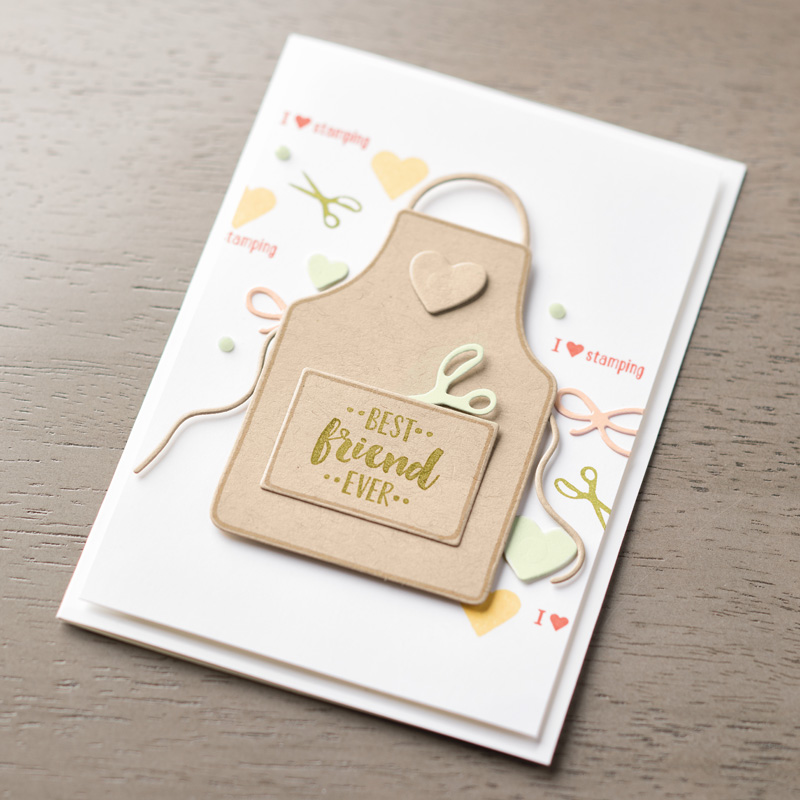
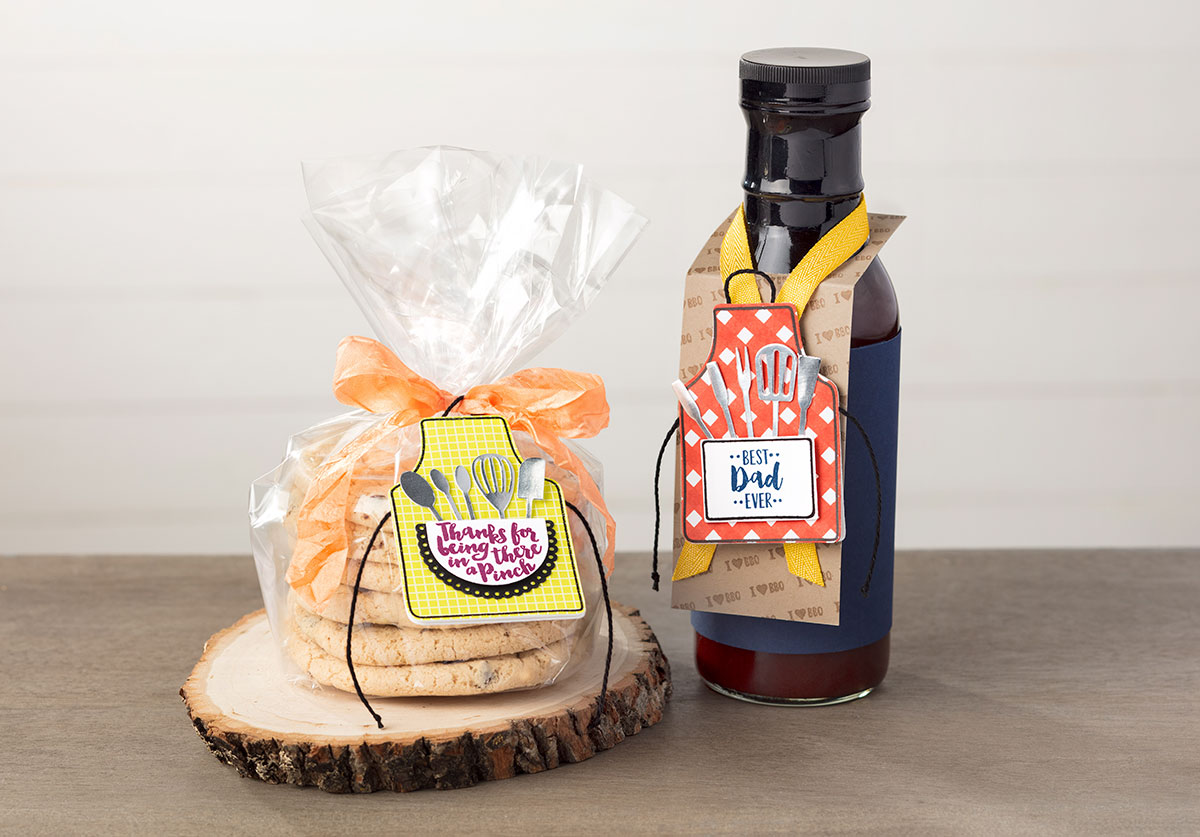
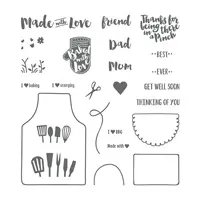
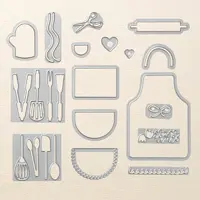
Warmer weather is on it’s way and I’ve got some cute cards that you will be able to create lovely aprons for every occasion you can think of with the Aprons of Love Stamps and coordinating dies. Aprons symbolize so many things: love, dedication, and caring for others. The recipients of your projects will feel thoroughly appreciated.
The stamp set includes 24 photopolymer stamps with * Suggested clear blocks (not included): a, b, e, g. You’ll create die-cut aprons with utensils in record time with 17 Framelits dies to use with your Big Shot.
Did you know that blacksmiths wear aprons? As do chefs, butchers, chemists, and more! This is all to say: the Apron of Love bundle is an incredibly versatile set that can be used for just about anyone!
Whether you want to make a Father’s Day card for the grill-master in your life or send friendly sentiments to your favorite baking buddy, this bundle is a fabulous “anytime” gift.
I just think these are the cutest gifts!! And the cards are cute too … there is so much you can do with this bundle, and it will be great for our upcoming summer (if we ever see spring!).
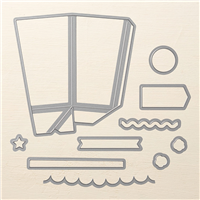
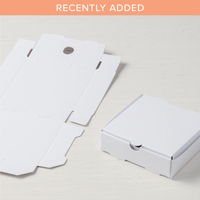
Here is a cute little crafting box that I created with the Aprons for my Annual Spring Stamping Retreat last year … they greeted my attendees when they came into our stamp room to get started. It was stuffed with some fun embellishments …
Today is the day our new product line called Storage by Stampin’ Up! is available. Whether you have an entire room or a small corner in your home for stamping, our new lineup of modular storage solutions lets you organize—and customize—your space your way!
Storage by Stampin’ Up! is designed to store and showcase your Stampin’ Pads, Stampin’ Ink Refills, Stampin’ Blends, Stampin’ Write Markers, Watercolor Pencils, and other accessories. Here are some other features and benefits of Storage by Stampin’ Up!:
Keeps products organized, tidy, visible, and trackable at all times.
Ensures that your Stampin’ Pads, Stampin’ Write Markers, and Stampin’ Blends are all stored horizontally, as recommended.
Designed to be stylish, durable, compact, stackable, and modular.
Blends in naturally with most home decor with its white neutral color.
Stacks vertically and can be arranged to fit practically any flat workspace.
Easily assembled and disassembled for rearrangement and/or cleaning.
Watch this quick video and see how easy you can assemble and arrange your new storage …
Here is a showcase of the storage units and the prices …
Message me with any of your questions …
Thanks so much for spending a part of your day with me.
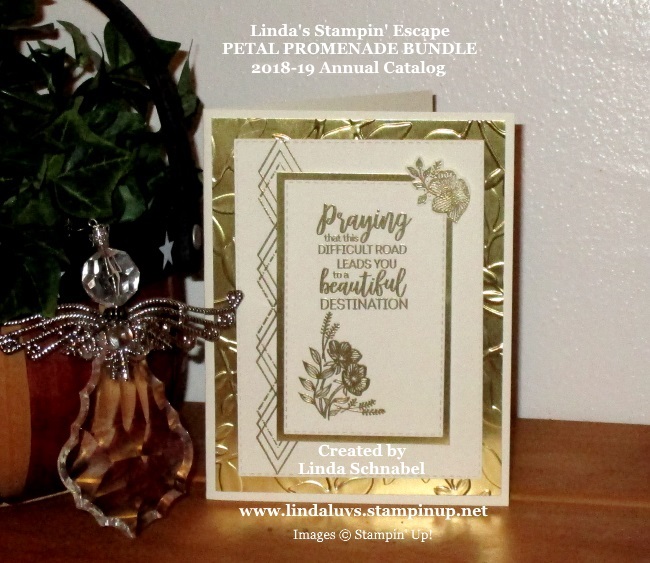
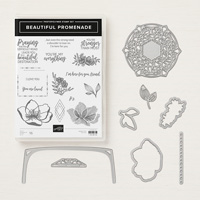
Today I would like to share with you a card that I created using the Petal Promenade bundle. I was inspired by so many cards on Pinterest that I just had to pull out this bundle and discover for myself how easy it was to create with it.
Today’s card was done in Very Vanilla and Gold Foil Cardstock with Gold Embossing …
The base is Very Vanilla which I’ve adhered a 4″ x 5-1/4″ Gold Foil sheet that was embossed with the Layered Leaves embossing folder. The vanilla that is layered on top of our embossed gold, was heat embossed with gold embossing powder using VersaMark and the pretty diamond pattern in the stamp set.
Next comes the focal point … the heart of the card, where I heat embossed both the floral piece in the corner and the greeting. The flower in the upper right-hand corner of the card was also heat embossed and die cut with the coordinating dies in the bundle.
Both the Very Vanilla pieces that were heat embossed were also cut out using the Rectangle Stitched Framelits Dies. I love the delicate edge this creates and it actually coordinates with the stitched areas on the diamond pattern.
Take a moment to check out this beautiful stamp set and the coordinating die and the entire product suite on pages 206 and 207 of the 2018-19 Annual Catalog.
Thank you for joining me today … hope you have a beautiful day.
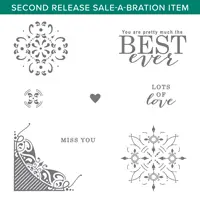
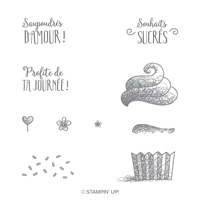
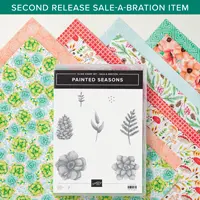
There are only a couple of days left to our Sale-a-bration event (ends March 31st). So I wanted to share all the goodies that are still available along with my favorite and some samples that I created using this … yes, it’s a stamp set. By the Bay to be exact…
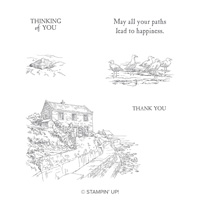
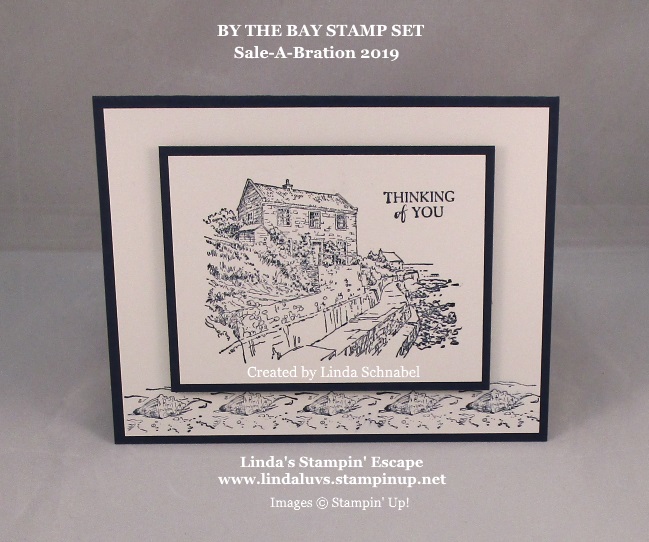
This card has been on fire on Pinterest (Thank You) and it is so simple to make. All done in Night of Navy it makes a nice masculine card that would be great for Birthdays, Fathers Day or … Thinking of you.
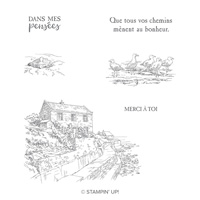
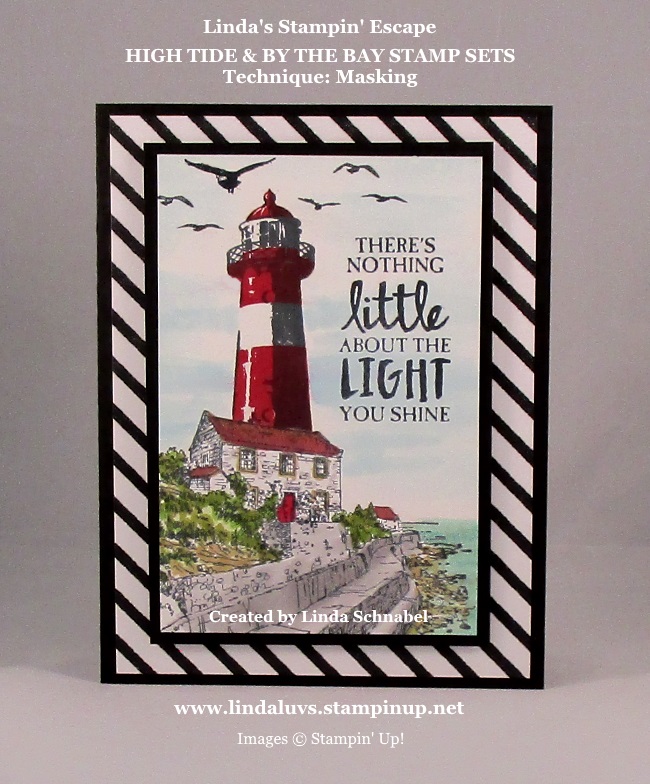
My second of the three cards was the reason I picked this stamp set from the beginning, I thought it would go perfectly with my HIgh Tide stamp set. I love lighthouses and this house looks like a beautiful lighthouse “house” to me …
On this card I used both the Aqua Painters and my Stampin’ Blends to color, and the lighthouse was stamped in front of the house. However, that was not the picture in my head, so I came up with my third design …
There we go … This is what I had pictured in my head!! I wanted the lighthouse behind my cottage by the bay, so I used the masking technique. You can find the entire blog post for this card HERE. It will take you step by step how I made this card.
There is something about lighthouses that warm my heart … maybe it’s the light that shines bright to bring the sailors into the shores safely… and there was something about this stamp set that spoke to me and said these two stamp sets needed to be together.
Thanks for hanging out with me for a while today, enjoy your day!
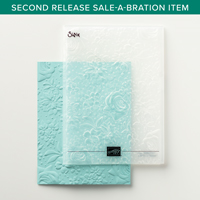
Here are the rest of the Sale-a-bration Items that are available with your qualifying purchases..
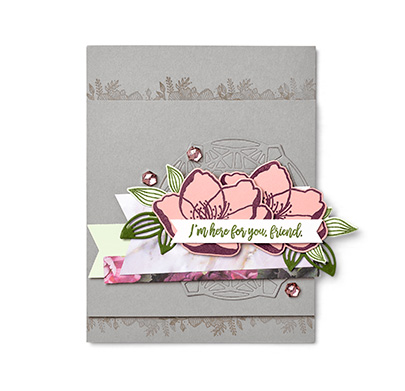
Today I have a beautiful card to share with you from the Petal Promenade product suite … you can find this on pages 106-107 of the Annual Catalog. And because of the many emails and phone calls I received … I also have a graphic for you that shows the pieces of the new “Storage” by Stampin’ Up!. I am thrilled to see how many of you are as excited as I am for this new product.
Let’s begin with our card today …
We start with our Smoky Slate card base and the images that were stamped on the base create a nice border. Half of the images are covered with yet another piece of Smoky Slate that showcases the beautiful die image. The color pallet below is a beautiful as how it looks on the card.
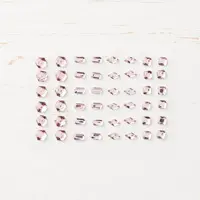
Our flowers are stamped in Fresh Fig onto Petal Pink and then cut out with the coordinating dies. The leaves were stamped and cut with the dies in Mossy Meadow. The focal point of flowers where then layered with the Designer Paper and embellished with the Petal Pink Rhinestone Gems.
A combination of these products will qualify you for a FREE Sale-a-bration item! Here are a few more ideas for you showcasing the Petal Promenade product suite …
OK … Like I said, I’m thrilled how excited you all are over the new STORAGE by Stampin’ Up! I can’t wait for April 1st because these storage units have my fingers burning to enter and order!
What’s nice about this storage system is the pieces available to purchase allow you to build as you want. Here are the pieces and the cost of each …
I’ve decided to share this with you now because of all the questions that I’ve had. This will give you time to look it over before you order. But please, if you have any additional questions, you can contact me at anytime. Which item will you begin with? I’m thinking either the Ink Pad or Stampin’ Blends trays … or both!
Thanks for dropping by today… Hope you have a good day!
I’m so excited to announce that, on April 1, Stampin’ Up! is launching a new product line called Storage by Stampin’ Up! Whether you have an entire room or a small corner in your home for stamping, our new lineup of modular storage solutions lets you organize—and customize—your space your way!
Storage by Stampin’ Up! is designed to store and showcase your Stampin’ Pads, Stampin’ Ink Refills, Stampin’ Blends, Stampin’ Write Markers, Watercolor Pencils, and other accessories. Here are some other features and benefits of Storage by Stampin’ Up!:
Keeps products organized, tidy, visible, and trackable at all times.
Ensures that your Stampin’ Pads, Stampin’ Write Markers, and Stampin’ Blends are all stored horizontally, as recommended.
Designed to be stylish, durable, compact, stackable, and modular.
Blends in naturally with most home decor with its white neutral color.
Stacks vertically and can be arranged to fit practically any flat workspace.
Easily assembled and disassembled for rearrangement and/or cleaning.
Watch this quick video and see how easy you can assemble and arrange your new storage …
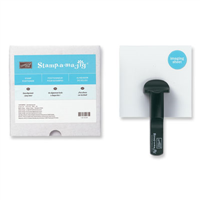
Also … I just want to remind you that we only have a few more days before Sale-a-bration ends. If you were looking at making a purchase, now’s the time to get additional FREE product. Here’s my suggestion and my favorite tool, the Stamparatus!
Message me with any of your questions, plus I’d love to hear what you think of the new Storage by Stampin’ Up! I’m so excited … I’m doing a little rearranging of my craft room so now I can have all my inks and markers and more right at my fingertips!! I’ll be sure to share the before and after photos … of course I have to wait till April 1st, just like you.
Thanks so much for spending a part of your day with me.
Today I have a beautiful card for you … straight out of the Annual Catalog!! I’m sharing this card from my website and it was created with the Time for Tea Bundle found on pages 14 and 15. You will find an entire product suite on these pages.
Our color pallet includes Calypso Coral, Sahara Sand, Whisper White and Vellum Cardstock … also included is the Tea Room Specialty Designer Series Paper.
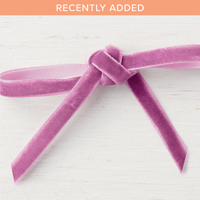
The images were stamped and colored with our Watercolor Pencils before pulling out the Bigshot and cutting out the images with the coordinating die set. So simply yet so cute! Did you catch that touch of ribbon behind our greeting? It’s a fun way to highlight your greeting (and use up some scraps!)
I know that the Occasions catalog is amazing … but let’s not forget how many beautiful stamp sets and bundles we have in the Annual Catalog. And … It’s still Sale-a-bration! We have a few days left, don’t miss out!
Thank you for stopping back today. Enjoy your Monday
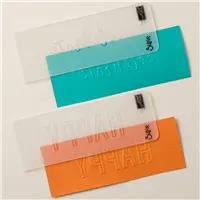
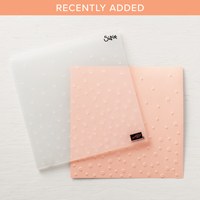
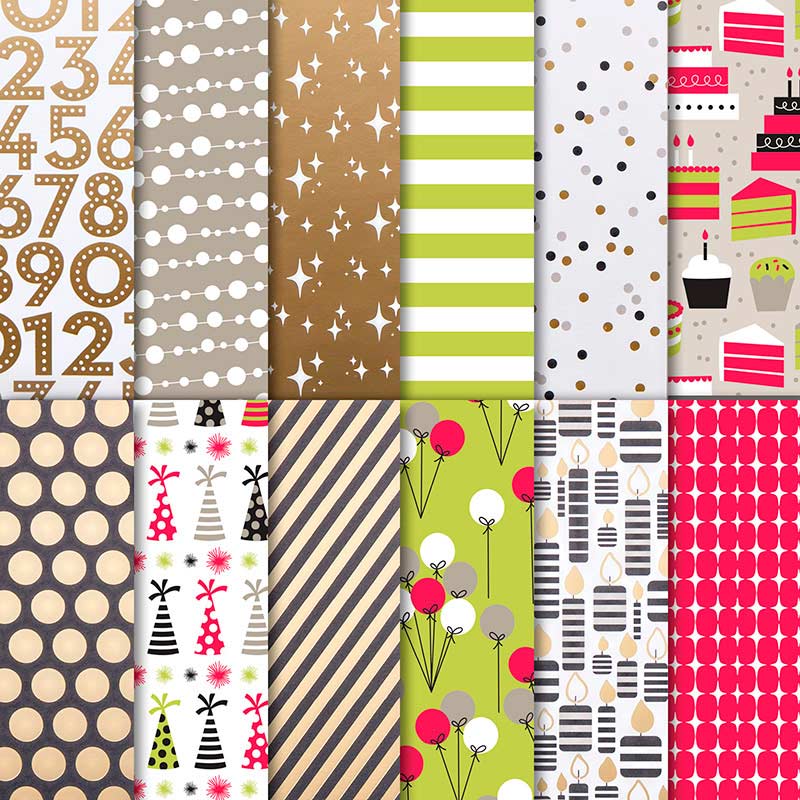
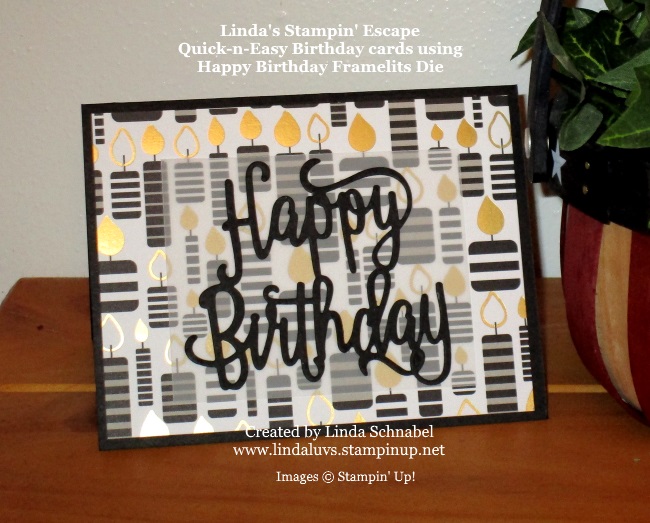
If you are looking to make quick -n- easy birthday cards, look no further than your “Happy Birthday” Framelits die and your favorite designer paper! Today I have selected the Broadway Bound Specialty Designer paper. It has bright party designs on one side, all-occasion designs with gold foil on the other side—all you need for glitzy and bold projects!
Coordinating colors: Basic Black, gold foil, Gray Granite, Lemon Lime Twist, Lovely Lipstick, Whisper White! I chose the black and white candles with a touch of gold, perfect card for any age …
With a simple Basic Black base (everyone needs a little black dress for the party… right!) and the gold foil enhanced designer paper you are sure to be the hit of the party. The candles are ageless but this card is for my nephew who turns 50 this year. I put a small piece of Vellum Cardstock behind the Birthday greeting so it showed off even more.
Such a fun and simple way to make a card and you can change who it will go to just by changing your designer paper.
Thank you for joining me today… I hope yours is a good one.
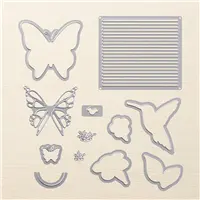
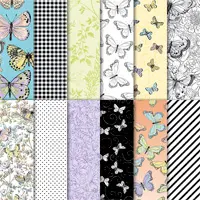
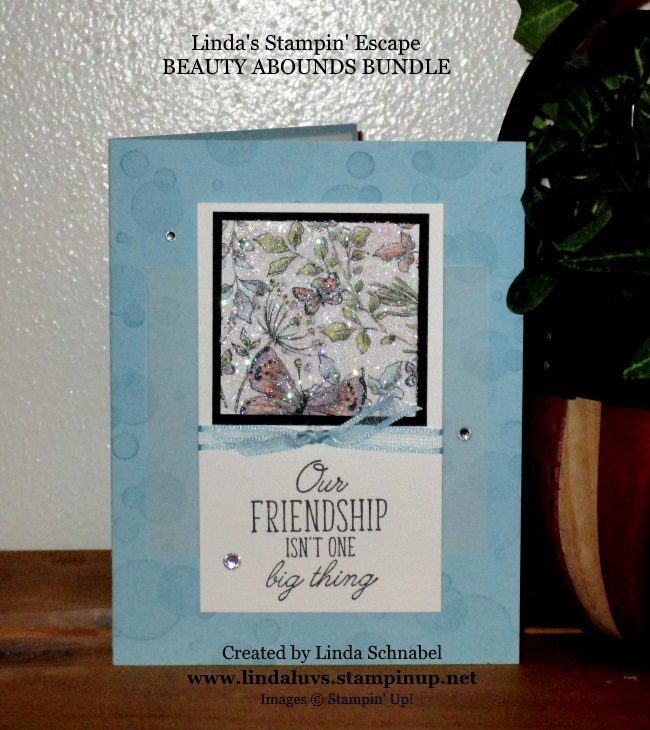
I did not get my “alternative” project finished yet, however I do have a super cute card that we made at Cindy and Sarah’s stamping party (one of the Make -n- Takes. It’s super simple and perfect for your friend. I’m using the Beauty Abounds stamp set and nothing says spring like “butterflies”
I stamped the background with the “Bokeh” dots … it just creates another layer of dimension. The focal point of the card is the beautiful butterfly designer paper that you can get for FREE during Sala-a-bration with a qualifying purchase. So … how did I get that sparkle on there? Good Question!!
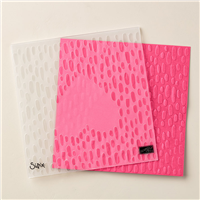
There are two ways to do this technique which I call the Glimmer Designer Paper Technique and it’s one of my favorites because it creates such a “WOW” whenever I show it.
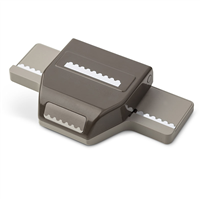
Grab your Silicone pad … you’ll want it for both ways. Place your designer paper onto the silicone pad and with your Snail adhesive – cover the entire piece of designer paper. Next, sprinkle with the Dazzling Diamonds glitter, tap off excess and gently rub it into the adhesive using your finger tip. Tap off excess again.
The second way to do it is just switching adhesives, the rest is the same. If you are covering a larger piece of designer paper, you will want to use the Multipurpose adhesive sheets. This is also super simple. Peel off the first layer, lay your designer paper onto the adhesive sheet … then peel off the top layer and add glitter as in step one.
Besides the beautiful butterflies in this stamp set, the verbiage is perfect for sharing a card with your friend. I added a little ribbon to the card and some rhinestones to jazz it up a bit.
And to create another layer of dimension … I added a piece of vellum behind the focal point of the card. Hope you enjoyed this technique and you give it a try … it’s simple, it’s fun and it looks amazing!!
Thank you for taking time out of your day and share it with me by stopping by my blog.
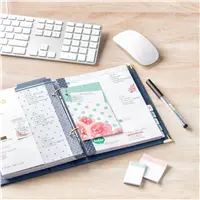
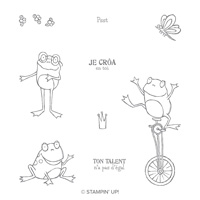
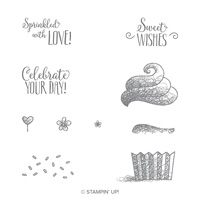
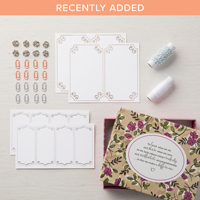
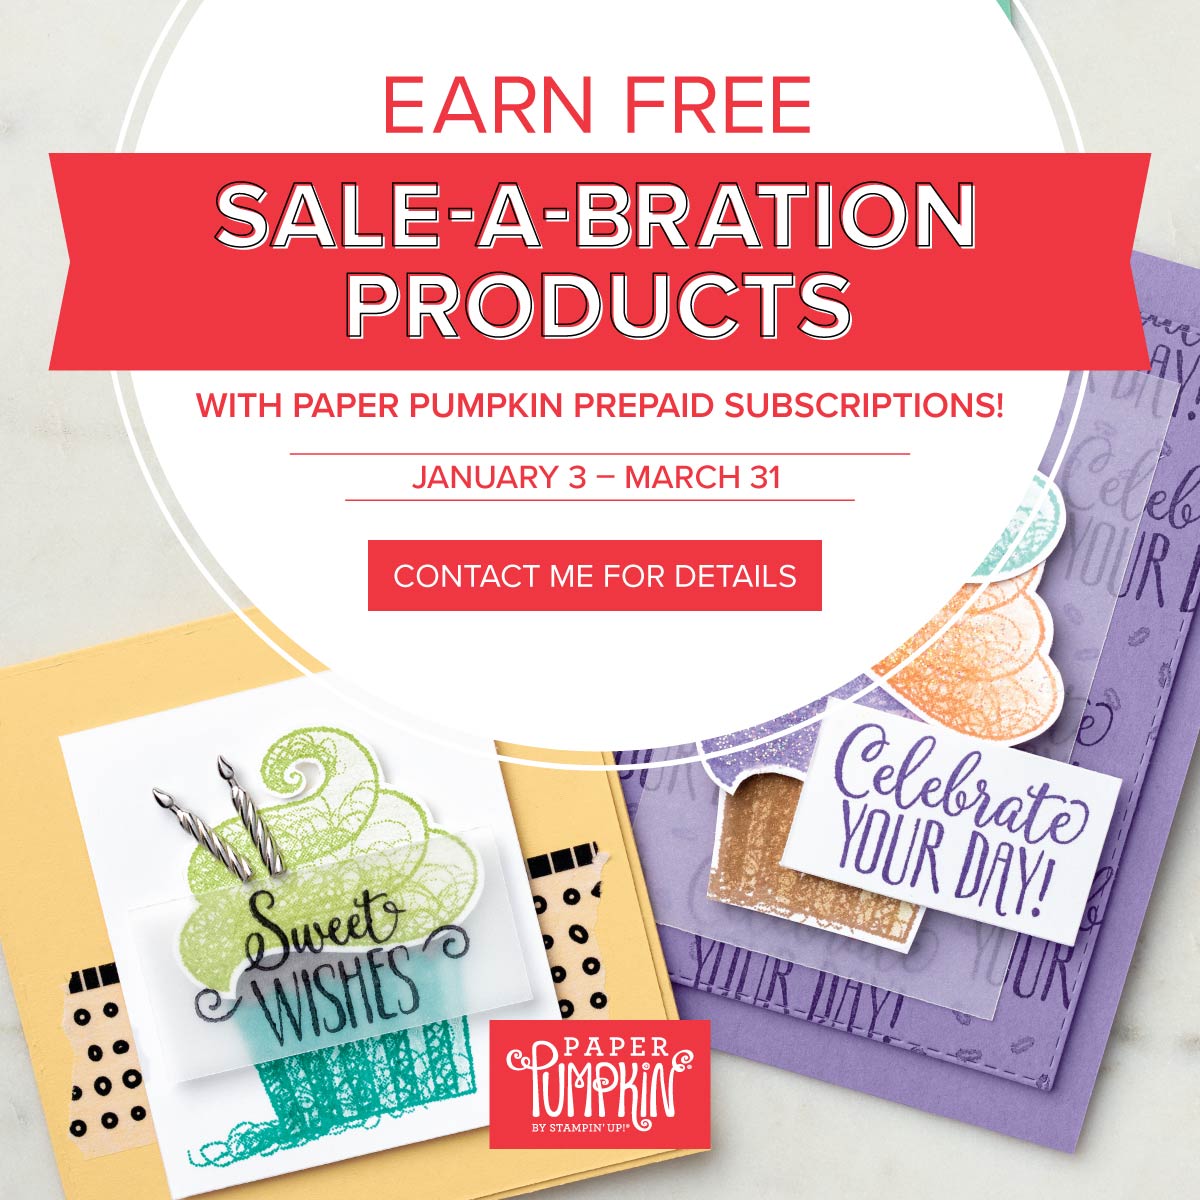
Life is busy and keeping track of birthdays can be a challenge. That’s why we decided that for Paper Pumpkin’s sixth birthday, we’d create our Poppin’ Birthday kit to make sure you have plenty of adorable cards to go around.
What better way to help your loved ones feel awesome on their special day than with a handmade card from you? And the free stamp set was just icing on the cake. So open your kit today and let the celebratory cardmaking begin. Watch our video to see how it’s done..
Aren’t those just the cutest cards!! Stop back tomorrow and I’ll share a fun alternative card with you.
Don’t forget that you can earn FREE Sale-a-bration items when you purchase the Paper Pumpkin subscriptions.