Father’s Day Faux Step Card

Hello Stampin’ Friends ~

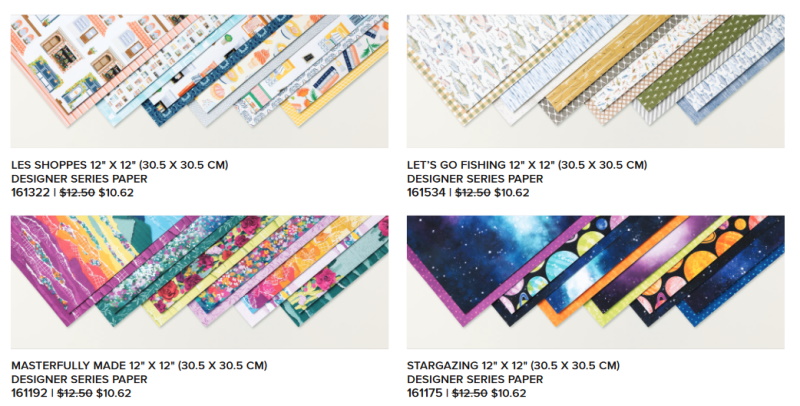
Today I’m going to share a Father’s Day Faux Step card using the Let’s Go Fishing Designer Series Paper. I also have a second card to share with you that uses the Countryside Inn Designer paper… each of these cards use the same dimensions I shared with you yesterday. Due to some difficulties filming yesterday, I’m hoping to get my video to you by tomorrow.

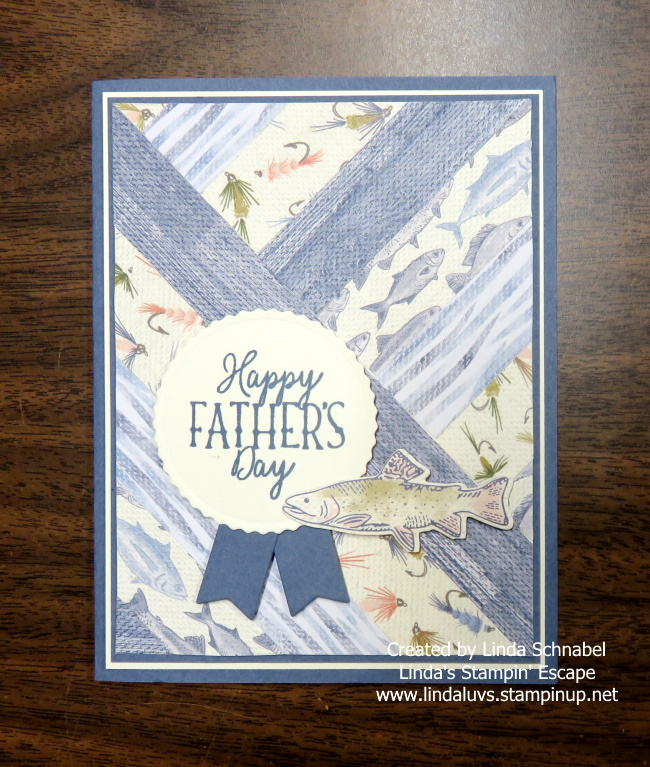
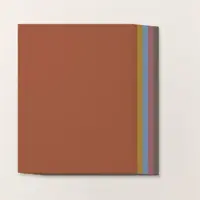
On this card I will be using a Boho Blue card base and the Let’s Go Fishing Designer paper …

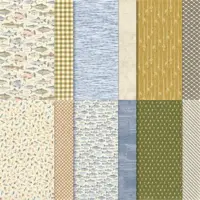
You are seeing 3 different patterns of cardstock … one with the flies, the second that looks like water and the third in which I fussy cut 3 fish from. I love the contrast on this card and of course it works so well together, plus it highlights the fish.

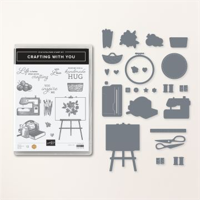
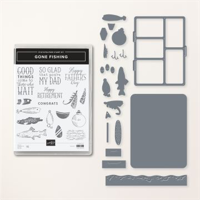
Two of the fish are popped up to add some dimension to our card and the other was secured directly to the front. The greeting comes from the Gone Fishing Bundle and was die cut with the Stylish Shapes Dies.

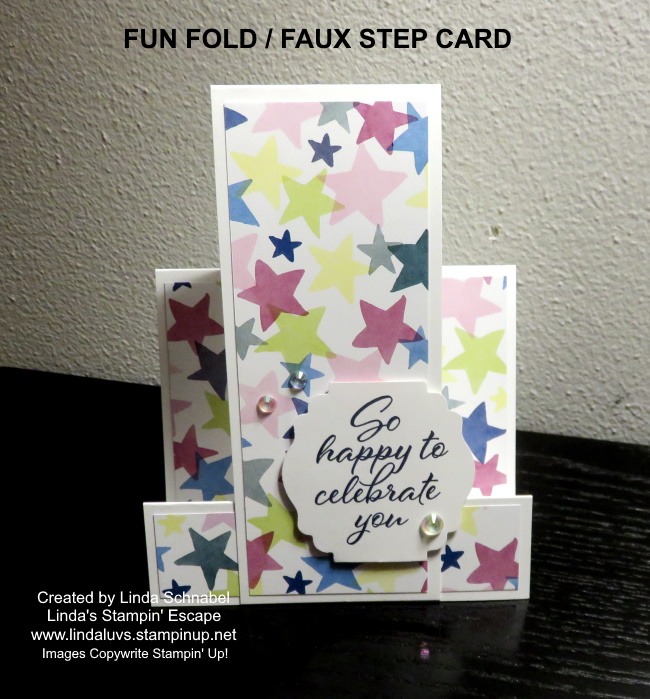
  • Card Base: 9″ x 4-1/4″ which is scored at 1-1/4″ … 2-1/2″ … and 5-3/4″.
  • Center step: 8-1/2″ x 2-1/4″ then score at 3″.
  • You need 3 pieces of designer paper; 4″ x 3″ … 4″ x 1″ (those will go on the base of the card). The 4″ x 1″ goes on the smallest panel to the front, then skip a panel, and then the 4″ x 3″ piece will go on the 3rd panel. The third measures 2″ x 5-1/4″ which goes on the step portion of your card.

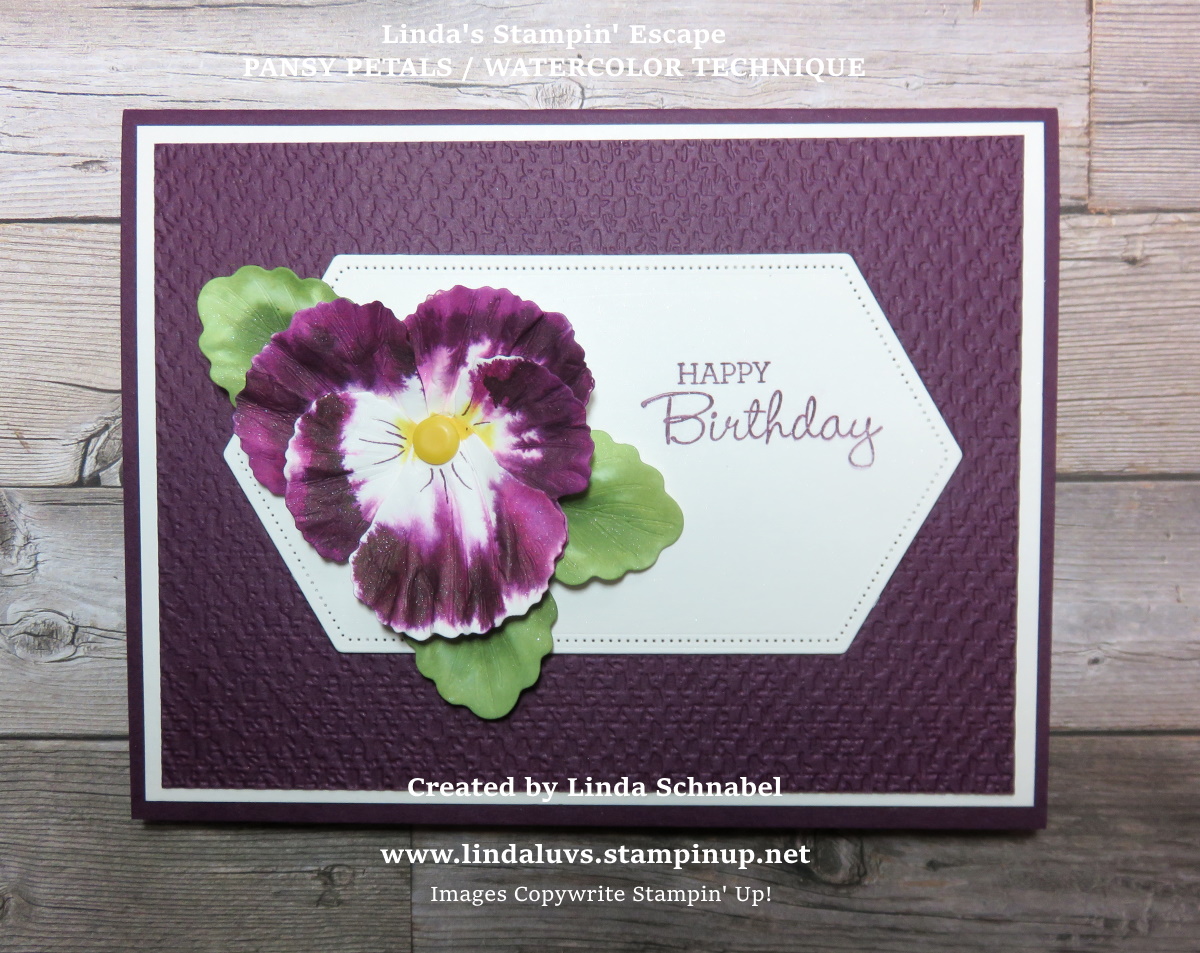
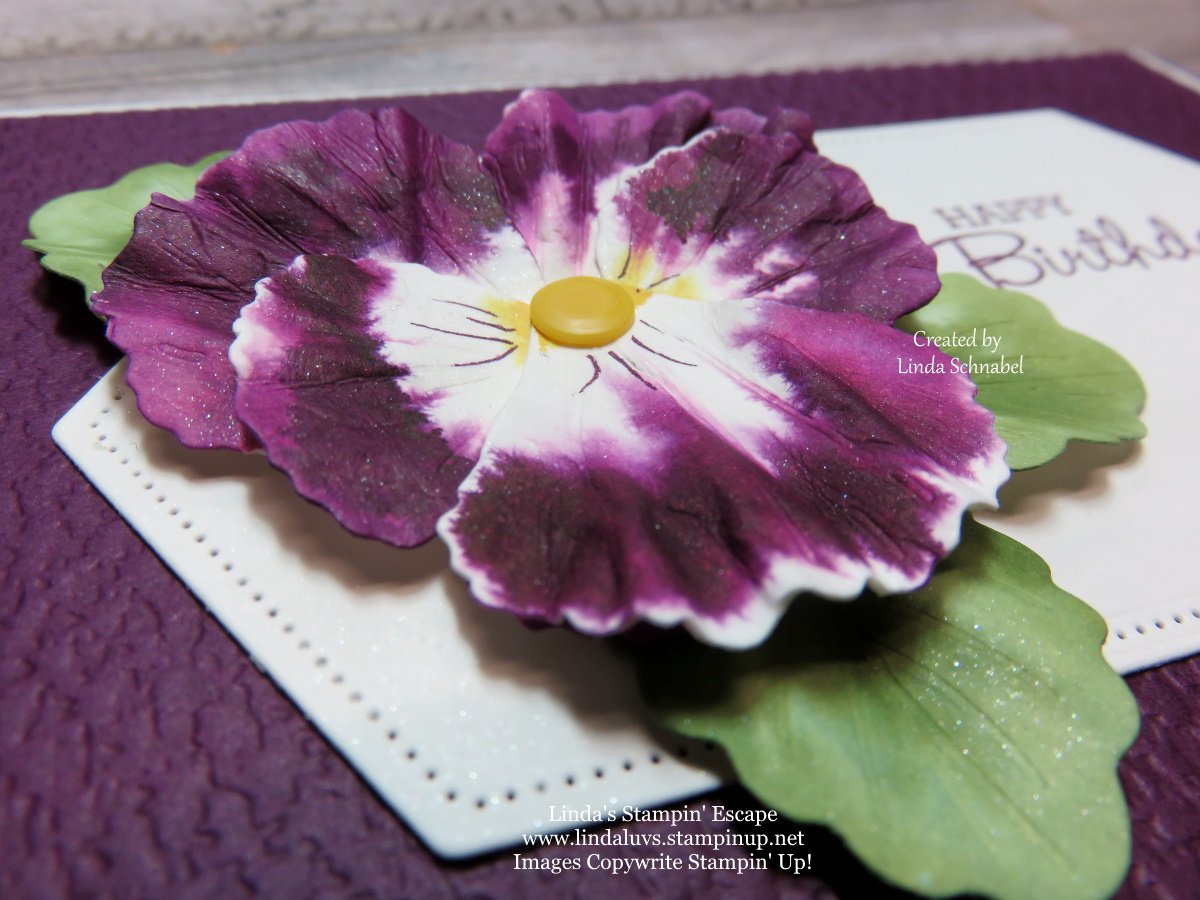
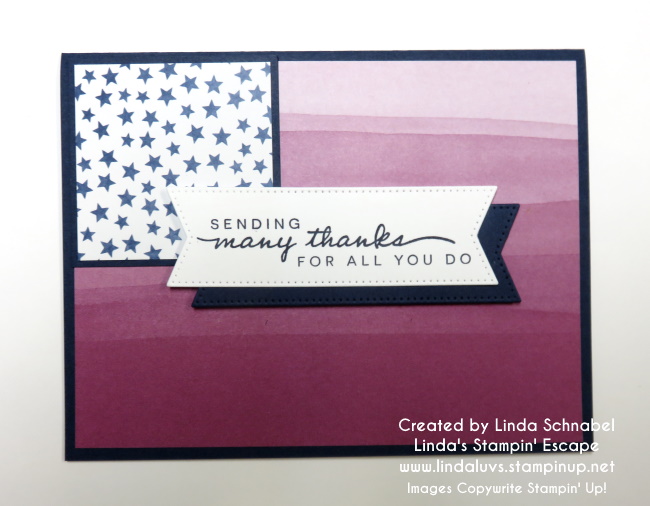
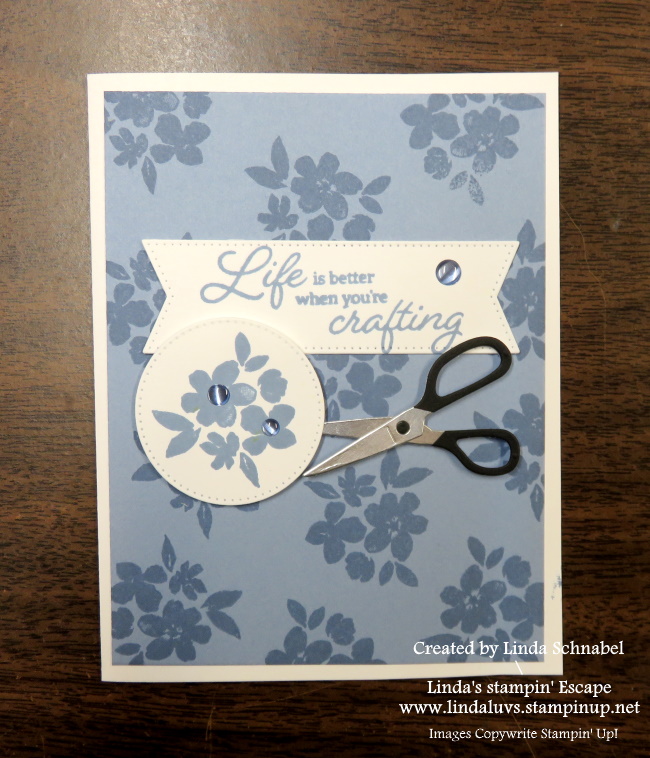
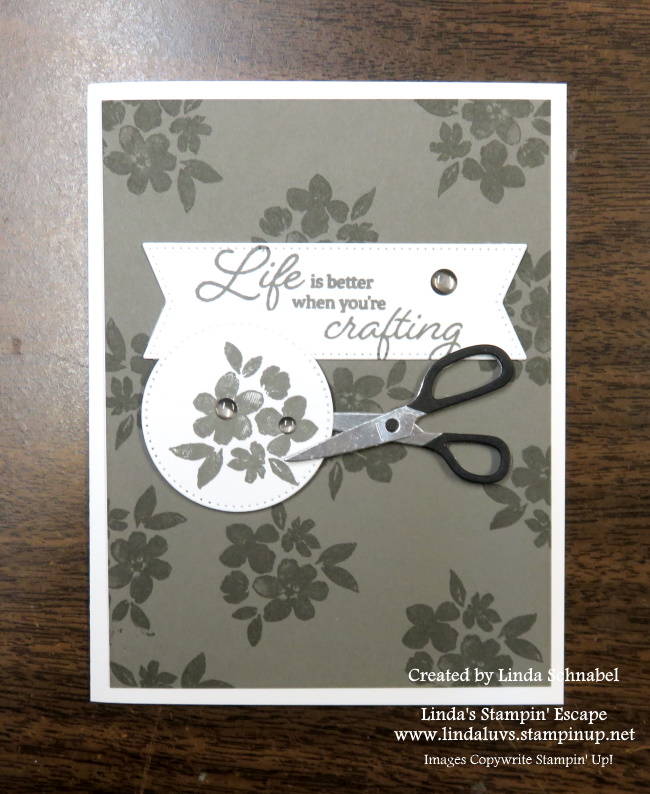
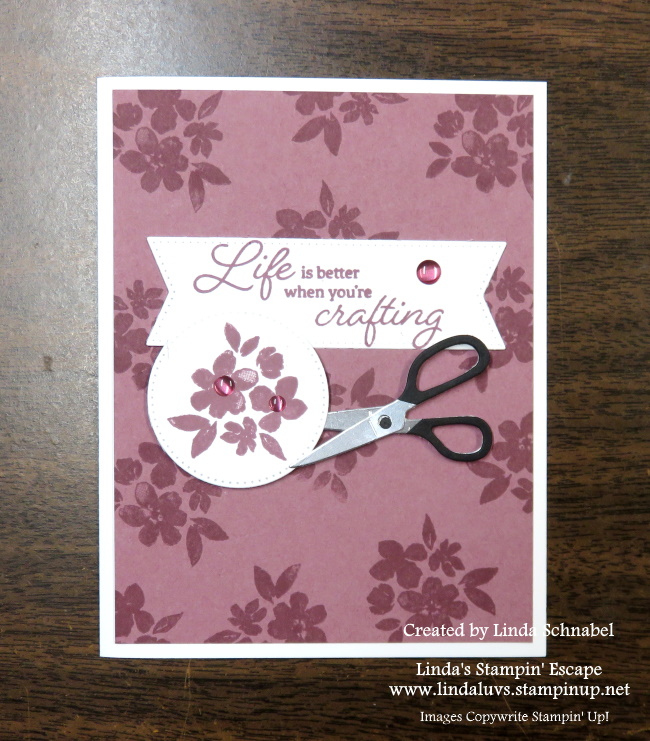
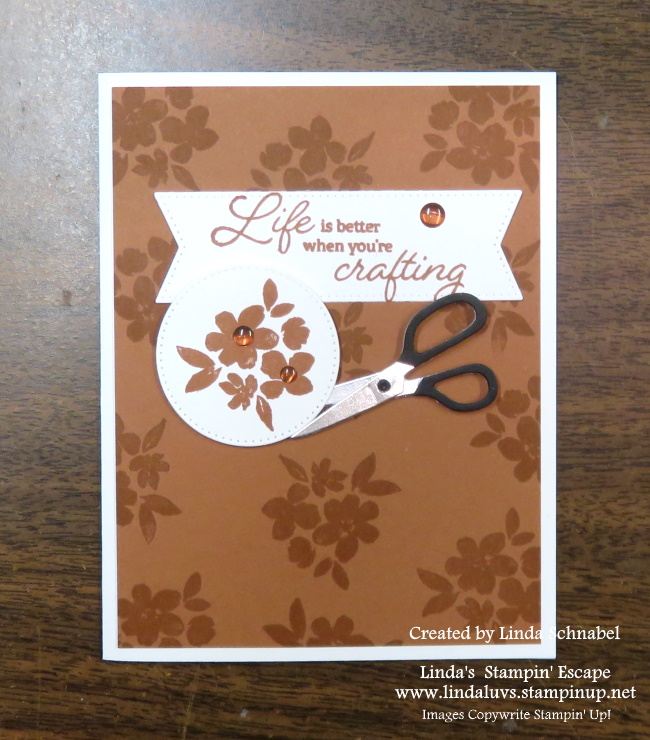
My second card used the Countryside Inn Designer paper and is simply elegant ….

The greeting comes from the Layering Leaves stamp set and I used the Stylish Shapes dies to cut it out. I then embellished the card with the Iridescent Rhinestones … They are very subtle as they pick up the color that they are attached to!!

Thank you for taking time out of your day to join me … Which one of these Faux Step Cards is your favorite; the Fathers Day with Let’s Go Fishing or the Hello card using the Countryside Inn?

Have a great day ~

#fathersday #fauxstepcard #funfoldcards

Here is the card that I shared yesterday ….

FUN FOLD: Faux Step Card

Hello Stampin’ Friends ~

Today I have a FUN FOLD for you, the Faux Step Card … it’s a peek into my Facebook LIVE last night. I shared more cards, and will share them here tomorrow, along with an updated video showing you Step by Step HOW to make the Faux Step card.

On this card I will be using a Basic White card base and the Bright & Beautiful Designer Series Paper ….

The card used two sheets of cardstock to create the faux step …. begin with a piece of Basic White 9″ x 4-1/4″ which is scored at 1-1/4″ … 2-1/2″ … and 5-3/4″. To make the center step your Basic White piece measured 8-1/2″ x 2-1/4″ then score at 3″.

You need 3 pieces of designer paper; 4″ x 3″ … 4″ x 1″ (those will go on the base of the card). The 4″ x 1″ goes on the smallest panel to the front, then skip a panel, and then the 4″ x 3″ piece will go on the 3rd panel. The third measures 2″ x 5-1/4″ which goes on the step portion of your card.

The greeting comes from the Layering Leaves stamp set and I used the Lovely Label punch (retired) and embellished the card with the Iridescent Rhinestones … I love how they pick up the color that they are attached to!! Make sure to stop back tomorrow when I share a video and more cards using the FUN FOLD: Faux Step Card and our amazing Designer papers, now on sale!!

Thank you for joining me today, and I look forward to sharing more with you tomorrow.

Have a great day ~

What are you doing tonight?

Hello Stampin’ Friends ~

What are you doing tonight at 6:30 pm Central Time? Do you like FUN FOLD Cards? Do you like Designer Paper? Then join me for this FREE MINI CLASS; where I’ll share one of my favorite fun folds featuring a variety of designer papers with you tonight.

Here is the link to my Facebook Page / CLICK HERE and I’ll see YOU at 6:30 tonight.

Create Stunning Watercolor Pansies

Hello Stampin’ Friends ~

Have you ever wondered “how they did that”? Today’s video shows you how to Create Stunning Watercolor Pansies!! Sometimes it’s a good teacher to look back at some of the things we’ve done in the past. I am so excited these did not retire and are still in the catalog for us to create with. I have combined an old technique with our new Pansy Petals and the results are stunning!

I have created a video for you from my Facebook LIVE last night so you can watch step by step how easy it is to create these beautiful flowers …. They almost look real don’t they?

Isn’t that cool … I am in love with this technique! In the past I made pansies from the butterfly punch but this is more realistic!! It creates so much texture and depth when you “scrunch” your petals.

Those little white specs you see are actually the “shimmer” paper making a statement… now we have our Wink of Stella if you like that bling! It really is so pretty and you can do these in any color you’d like! Here is what I whipped up quickly last night after my LIVE demo ….

Not bad for a 2 minute card!! You can use any designer paper for your background and just added the flowers and my greeting … simple!

Thanks for joining me today! Hope your day is an awesome one ~

TODAY’S STAMPIN’ SUPPLY LIST … If you liked the products used in today’s projects, I have links for you below. Some maybe substitutes for original product used. Just click on the item you would like more information on, or to begin your shopping. It will take you directly to my website. Thank you

It’s a Girl… It’s a Boy Card!

Hello Stampin’ Friends ~

I shared my It’s a Girl … now It’s a Boy card is here for you today. I’m using the Bright & Beautiful Designer paper for my It’s a Boy, just like I did for my It’s a Girl card.

This designer paper has 48 – 6″ x 6″ sheets with 12 different patterns and is one of the select Designer Series papers that are currently ON SALE. With the watercolor washes, stripes, stars, confetti, and more, you will be able to create cards and more for any occasion.

I started with the Misty Moonlight base (8-1/2″ x 5-1/2″ scored and folded at 4-1/4″) and then chose my designer paper to match … I chose the ombre in the blues that I cut to 4″ x 5-1/5″ and the little blue stars to 5-1/4″ x 2″, all from the other side of the same sheet.

Once I secured those two pieces together, I added a strip of the Misty Moonlight cardstock to hid my edge and to create some texture. Now let’s attach the card front to the base, and I just did that with my Stampin’ Seal.

I created my greeting using the Alphabest stamp set and coordinating punch. I used Misty Moonlight ink to stamp the Its a Boy onto a piece of Thick White Cardstock and then punched out the each of the letters ….

I tilted the letters back and forth to create a fun sentiment and take the stress out of trying to align it perfectly!! I love it. Then I cut one of the blue stars from the patterned paper you see above and tucked it behind the greeting. I finished the card with the blue In Color Dots.

This cute It’s a Boy card is so easy to make … hope it inspires you to stamp something fun today. Thanks for taking a time out from your weekend to take a peek.

Have an amazing weekend.

Here is a list of ingredients that I used to create today’s card ….

June is going to make YOU Happy!

Hello Stampin’ Friends ~

Happy June 1st …. Today is the day that our designer papers go on sale!!

Calling all paper lovers … We all love gorgeous Designer Series Paper, now we can enjoy a 15% discount on select Designer Series Papers from our new 2023–2024 Annual Catalog and Online Exclusives! Prepare your list … and get ready to stock up on your favorites of this beautiful paper. I have my list made out … do you?

There is no limit to how many packages of Designer Series Paper may be purchased during this promotion. Designer Series Paper ordered as part of a Starter Kit or with Stampin’ Rewards qualify for the 15% discount.

BEST DEAL … The Ultimate Starter Kit

It’s a fabulous time to join Stampin’ Up! and my Stars by Design team (just a few of them them pictured below) For a limited time, new team members will get even more FREE products in your customizable Starter Kit.

Join me between June 1st -30th and you’ll be picking out $155 worth of products for only $99 + free business supplies + FREE SHIPPING + all the fun being a part of our fantastic community!

I’ve been doing this successfully for over 23 years … I can show you how to save money … if that’s what you are joining for (the discount) or I can show you how to make money!

This journey can be whatever you want it to be … and I’ll be here to coach you, share stamping tips & projects, and more. I love my team, and we’ve had so much fun together at our meetings and Stampin’ Up! events. You can see we are all ages, and all have different styles of stamping so we learn so much from each other.

We also have a great community of demonstrators that you can reach out to worldwide! Amazing. Click HERE to contact Me / Click HERE to Join Now.

Thank you for stopping by today, and don’t forget to get your Wish List made out … Sale starts June 1st. Be sure to join me tonight on FACEBOOK and watch my LIVE paper class.

Have a great day ~

Memory Keeping with Memories & More

Hello Stampin’ Friends ~

Pocket pages are a great way to scrapbook—you can use small details mixed with photos and journaling to add interest without putting in a lot of work! Preserving your memories this way is super easy and it’s fun for both avid crafters and people who are just starting out.

As you craft, don’t be afraid to figure out different ways to use cards and stickers. That’s what we did with the Bright & Beautiful Memories & More Card Pack in our scrapbook pages. We fussy cut a balloon from one of the 3″ x 4″ (7.6 x 10.2 cm) cards and added 2022–2024 In Color Baker’s Twine. We loved the personal touch that this gave to our pages. We also used the bullet tip of a Night of Navy Stampin’ Write Marker to jot down a few memories from the day. We finished the card with a few Loose Silver Sequins to add some shine.

We love scrapbooking with Variety Pack 6″ x 8″ (15.2 x 20.3 cm) Photo Pocket Pages because they can be as simple or as complex as we want them to be. Plus, our photos can be the focal point of our project while still finding subtle ways to add interest. Now it’s your turn! Use our pages as an example or create some pages that are all your own!

These are not my photos / pages but taken from our own Stampin’ Up! newsletter. I hope you enjoyed it as much as I did.

Thank you for stopping by today.

Ready for more?

Hello Stampin’ Friends ~

I’ve been sharing cards with some of our NEW Designer papers … Ready for more? I’m going LIVE tonight on Facebook to share more ways to use your designer paper.

And if you don’t have enough …. between June 1st through the 30th, you can enjoy a 15% discount on select Designer Series Papers from our new 2023–2024 Annual Catalog and Online Exclusives! Prepare your list … and get ready to stock up on your favorites of this beautiful paper.

There is no limit to how many packages of Designer Series Paper may be purchased during this promotion. Designer Series Paper ordered as part of a Starter Kit or with Stampin’ Rewards qualify for the 15% discount.

Let’s take a look at the select designer papers on sale ….

WOW … Many of my favorites are on sale; Fresh as a Daisy, Countryside Inn, Hello, Irresistible and Let’s Go Fishing … now I can check out even more at a discount! Which ones are your favorites?

Thank you for stopping by today, and don’t forget to get your Wish List made out … Sale starts June 1st. Be sure to join me tonight on FACEBOOK and watch my LIVE paper class.

Have a great day ~

Congratulations … It’s a Girl!!

Hello Stampin’ Friends ~

It’s so exciting when we are blessed with a grandchild or a “great” … they just fill our hearts. So today I made a quick & simple Congratulations … It’s a Girl card. It would be just as easy to make an It’s a Boy card too because I’m using the Bright & Beautiful Designer paper!

This is the same designer paper I used yesterday and WOW, this pack has 48 – 6″ x 6″ sheets with 12 different patterns. This is the perfect party pack with the watercolor washes, stripes, stars, confetti, and more, you will be able to create cards and more for any occasion.

I started with the Bubble Bath base (8-1/2″ x 5-1/2″ scored and folded at 4-1/4″) and then chose my designer paper to match … I thought the one with the little pink bubbles/dots would be cute, and on the other side is the ombre pattern you see. I did cut one piece to 4″ x 5-1/5″ and the other to 4″ x 1-3/4″, all from the same sheet.

Once I secured those two pieces together, I added a strip of the Sweet Sorbet Metallic ribbon to hid my edge and to create some texture and a little bling for our new princess. (No … the are no new little girls blessing our family, but there will be a little boy in the near future ❤ ) Now let’s attach the card front to the base, and I just did that with my Stampin’ Seal. I used the Liquid Glue to attach the ribbon.

I created my greeting using the Alphabest stamp set, and then die cut it using the Stylish Shapes dies. I used the circle because of the little circles in the paper but because of the ombre style paper. I added a little bow to that with a Mini Glue dot and popped it up with the Stampin’ Dimensionals. To finish the front, I added 3 of the Berry Burst Tinsel Gems/4 pack.

On the inside, I used a piece of scrap designer paper and then ran the ribbon on the inside to. This was layered onto a 4″ x 5-1/4″ piece of Basic White cardstock. The “Congratulations” stamped in Bubble Bath comes from the Wonderful Thoughts stamp set.

This cute It’s a Girl card is so easy to make, I just hope that delivery will be just as easy … we’ve been there!! lol Thanks for taking a time out from your holiday weekend to take a peek.

Have an amazing rest of your weekend.

Here is a list of ingredients that I used to create today’s card ….

Sending Thanks this Memorial Day Weekend

Hello Stampin’ Friends,

I could not let this weekend slip by without Sending Thanks in a card to pay homage to those brave men and women who paid the ultimate price defending our country. I created this card using the Bright & Beautiful Designer Series paper ….

The Berry Burst Ombre paper represents the stripes of our flag, and the stars … well, they have that covered with this designer paper as well. My apologies for picking up a “retired” greeting when I made today’s card, but I know many of you have your favorite greetings stashed as well.

I die cut the greeting and the Night of Navy banner with the Stylish Shapes… these are a must have in anyone’s stash in there craft room too!

I layered my banners to create an eye catching focal point … the greeting was stamped in Night of Navy that coordinates with the card base and mats. Sure makes life easy when your products all coordinate.

When making cards, it’s fun to think outside the box and create something you can use to pay homage from a bundle that was initially created for celebrations… birthdays, graduations and more.

Thank you for taking time out of your holiday weekend to stop by and check out my blog post, Sending Thanks the Memorial Day weekend. Enjoy the rest of your weekend.

It’s a Confetti Birthday …

Hello Stampin’ Friends,

Shake up someone’s special day with a happy, handcrafted shaker card! The Confetti Birthday Kit, the newest addition to the Kits Collection by Stampin’ Up!,

This kit comes with everything you need to quickly create confetti shaker cards—a total of 9 cards in 3 lively designs. Celebrate in style with bright, bold colors, confetti, and birthday greetings full of joy!

Here is the link if you’d like to get your today ….

Bright & Beautiful Background

Hello Stampin’ Friends ~

Yesterday I shared a fun background layout using our designer papers, today I am using the Bright & Beautiful designer series paper. If that doesn’t say party … not sure what does! This would make a fun Graduation card…. tis’ the season.

The dimensions are the same as yesterday and I popped my pattern today with the fabulous, returning “Berry Burst”. I’m teaming today’s card with the Beautiful Balloons Bundle …

I stamped the larger of the balloons and then die cut it as my focal point of the card. Then I die cut two stars and stamped my sentiment onto the larger one … then I dazzled them with my Wink of Stella. It looks so good and really pops off the card. To finish off my card I added the Lemon Lime Twist Tinsel Gems … they are so cute.

The Bright & Beautiful is another one of the designer papers which will go on sale June 1st. Hope you enjoyed this little change up. Its always fun to see what just changing out designer paper can do to a card.

Have a great day, and thank you for stoppin’ in.

Fun Background with Gone Fishing Bundle

Hello Stampin’ Friends ~

Today I have and cards for you showcasing a FUN Background using the Gone Fishing Bundle and the Lets Go Fishing Designer Series paper. You’ll see though watching the video how easy it is to create this fun background, along with some tips and I share my “discovery” of what other bundle works GREAT with the NEW Gone Fishing Bundle.

Let’s watch, then I’ll share the cards again with you …

So easy to make this fun background with scrap paper … and just think of all the different occasions you can create for!! The dimensions are in the video and I leave them up for a while so you can easily write them down as well.

This is the one that I create during the video … don’t forget, there is a coordinating die for that fish!! lol I have just fallen in love with this suite. Watch for more!!

Background is the same on this next card … a little different as far as paper strips but I used the dies from the “All That” dies to create an award ribbon to show Dad that he’s the best.

So … who is going to try this out? Or have you already. I do have another card with this pattern but with different designer paper .. WOW! It’s a whole different look. I will share that with you tomorrow.

Thank you for stopping in and sittin’ a spell. Enjoy your Wednesday!!

Designer Series Paper Sale Starting 1 June!

Hello Stampin’ Friends ~

We all love gorgeous Designer Series Paper, so I’m excited to announce that between June 1st through the 30th, you can enjoy a 15% discount on select Designer Series Papers from our new 2023–2024 Annual Catalog and Online Exclusives! Prepare your list … and get ready to stock up on your favorites of this beautiful paper.

There is no limit to how many packages of Designer Series Paper may be purchased during this promotion. Designer Series Paper ordered as part of a Starter Kit or with Stampin’ Rewards qualify for the 15% discount.

Let’s take a look at the select designer papers on sale ….

WOW … Many of my favorites are on sale; Fresh as a Daisy, Countryside Inn, Hello, Irresistible and Let’s Go Fishing … now I can check out even more at a discount! Which ones are your favorites?

Thank you for stopping by today, and don’t forget to get your Wish List made out … Sale starts June 1st.

Have a great day ~

What’s YOUR favorite In Color?

Hello Stampin’ Friends ~

Today I am highlighting the NEW 2023-2024 In Colors. Here you can get a close up look at them. I am using the New “Crafting with You” bundle … wow, this is fun to play with. I have much more playing to do!! lol

Let’s begin with the Boho Blue …

Each of my cards are made exactly the same so you can get the “real” effect of the color! I began with a Basic White base and then I stamped onto my In Color card front (Boho Blue) with the coordinating In Color ink.

The next card is the Pebbled Path ….

After stamping the “color on color” (which is an old technique I still use a lot) I stamped the In Color floral piece and greeting, both of which are from the “Crafting with You” bundle.

Next up is the Moody Mauve ….

Once I had the greeting and flowers stamped onto the white in the coordinating ink, I die cut them using the Stylish Shapes dies. These dies are so versatile and a must have in your stamping supplies.

Speaking of die cuts, let’s take a look at that adorable scissors ….

This little cutie is pretty easy to make. I die cut one out of Silver Foil and a second set out of Basic Black. Using my Paper Snips as an example, I cut the black handle part to look like my Paper Snips!! I then used the Liquid Glue to attach the black scissor tops .

A Glue Dot was used to hold the two pieces of the scissors together and then I popped the little black circle into the circle area of the scissors. Easy peasy!

Next up is the Wild Wheat ….

Not one of my favorites to start with, but I appreciated it much better when using it with the Designer Papers that coordinate with this color! Who knew!!

The last of my 2023-2024 In Colors is the Copper Clay …

I love this color, it’s so pretty and we were in need of a rich earth tone! Now, to finish off my cards, I used the 2023-2024 In Color Dots … I wanted to show you how beautifully they coordinate with the cardstock and ink.

Which of the NEW 2023-2024 In Colors is YOUR favorite. I’d like to know, and you can just leave your answer in the comments below. Thank you.

I have a list of supplies for you below, including the “Multi-packs” of the In Colors for your convenience.

Thank you for sharing a part of your day with me.