Hello Stampin’ Friends,
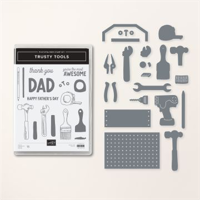
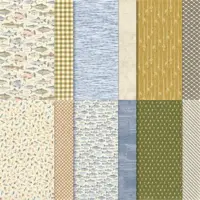
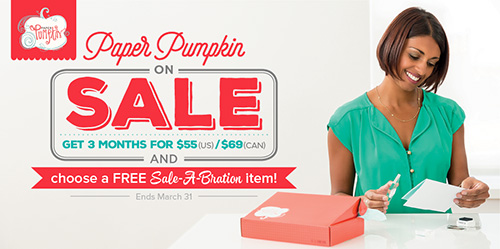
In the world of card crafting, having the right tools at your disposal can make all the difference. Stampin’ Up! understands the needs of crafters and has introduced the Trusty Tools Bundle to cater to those looking for a versatile and reliable set of tools. What’s even better? With the purchase of this bundle, you can choose the Trusty Tools Designer Series paper for FREE during Sale-a-bration.
In this blog post, we’ll explore the benefits of the Trusty Tools Bundle, focusing on its versatility for crafting masculine cards, ease of use, and suitability for all occasions, including Father’s Day and expressing gratitude. All these cards are compliments of Sheryl P. She is in my card club and shared her samples with us, and now with you ….

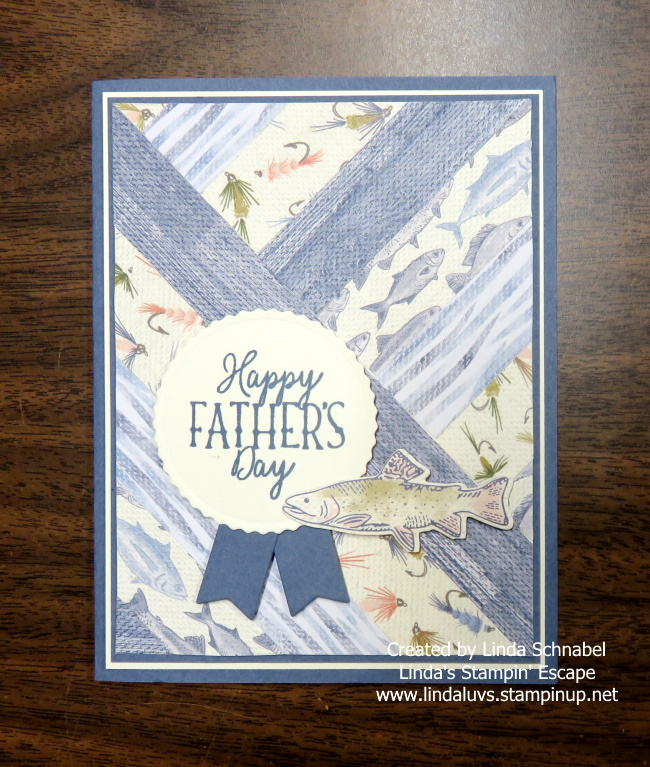
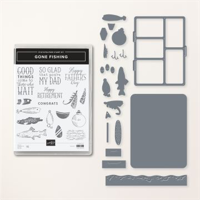
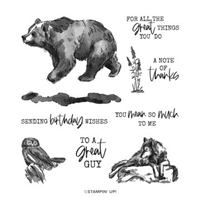
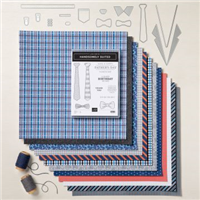
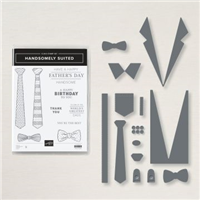
One of the standout features of the Trusty Tools Bundle is its ability to help crafters create stunning masculine cards. Often, it can be challenging to find the right elements for cards that suit a more masculine aesthetic. The Trusty Tools Bundle solves this problem with its collection of stamps, dies, and accessories that are perfect for projects tailored to the men in your life. From rugged tools to timeless patterns, the Trusty Tools Designer Series paper complements the bundle, adding a touch of sophistication to your creations.

Crafting should be an enjoyable experience, and the Trusty Tools Bundle ensures just that with its user-friendly design. The stamps and dies included in the bundle are carefully crafted to provide clean and precise cuts, making it easy for both beginners and experienced crafters to achieve professional-looking results. The coordinating elements in the Trusty Tools Designer Series paper simplify the creative process, allowing you to focus on the joy of crafting rather than struggling with intricate details.

The Trusty Tools Bundle goes beyond being a one-trick pony – it’s a versatile set that covers a range of occasions. Whether you’re creating a Father’s Day card to express appreciation for that special dad in your life or crafting a thank-you card to convey gratitude, the Trusty Tools Bundle has you covered. The stamps feature sentiments that are perfect for a variety of occasions, ensuring that you can turn to this bundle for all your card-making needs.

Stampin’ Up!’s Trusty Tools Bundle is a game-changer for card makers and scrapbookers alike, offering a blend of versatility, ease of use, and suitability for various occasions. With the added bonus of the Trusty Tools Designer Series paper during Sale-a-bration, there has never been a better time to invest in this fantastic bundle. Elevate your card-making experience and let your creativity flourish with the Trusty Tools Bundle – a must-have for every crafter.
Thank you for joining me this Sunday. Have a great day ~