Hello Stampin’ Friends ~
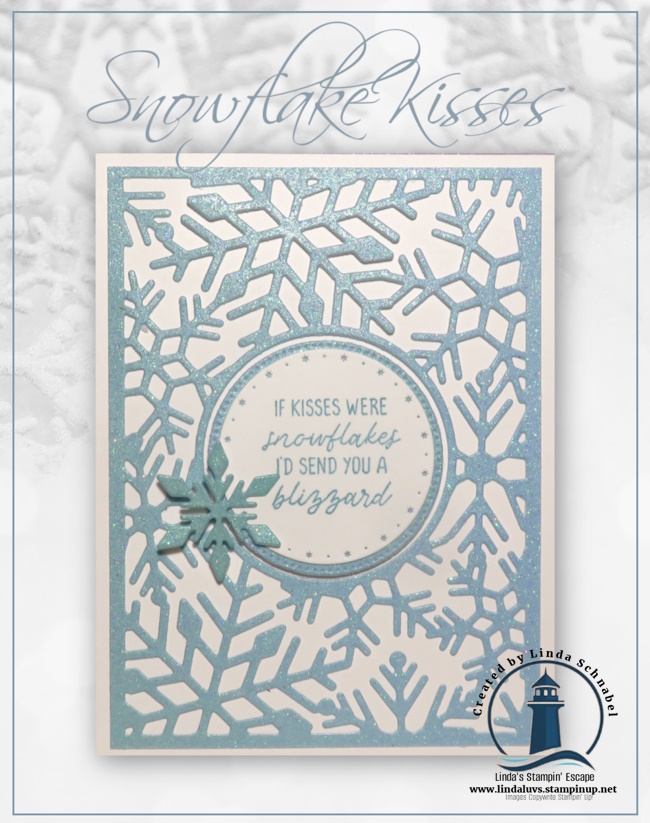
I’m so glad you’re here today. I have a fun card-making idea to share with you—the Split Card Technique—featuring the stunning Elegant Pine Snowflakes Designer Paper. This is one of those quick-and-easy techniques that creates an impressive WOW factor, perfect for any occasion. Before we dive in, I want to pause and say a heartfelt “Thank You” to everyone who placed an order during yesterday’s Stamp-tastic Sale. Your support means so much and allows me to keep bringing you fresh ideas and inspiration! 💙
Card Dimensions
- Pretty Peacock Cardstock: Base 5 3/4″ x 5 1/2″ (score at 1 1/2″), plus 1 strip 5 1/2″ x 1 1/2″
- Designer Paper: 2 pieces at 5 1/4″ x 1 1/4″ + 1 snowflake
- Basic White Cardstock: 5 1/4″ x 4″ (inside), plus 1 scrap large enough for snowflake and 1 strip 1/4″ wide for greeting

Step-by-Step Instructions
- Glue the snowflake onto white cardstock and fussy cut. (This strengthens the piece so it will hold your card together.)
- Adhere the designer paper strips to the top and bottom strips of your card front.
- Align the cardstock strip along the bottom of the card front. (Tip: Use a Post-It Note to hold it in place while you work!)
- Attach the snowflake to the top and bottom strips, connecting the card. Be careful to place adhesive only where the snowflake touches the cardstock strips.
- Add the white cardstock insert to the inside of your card.
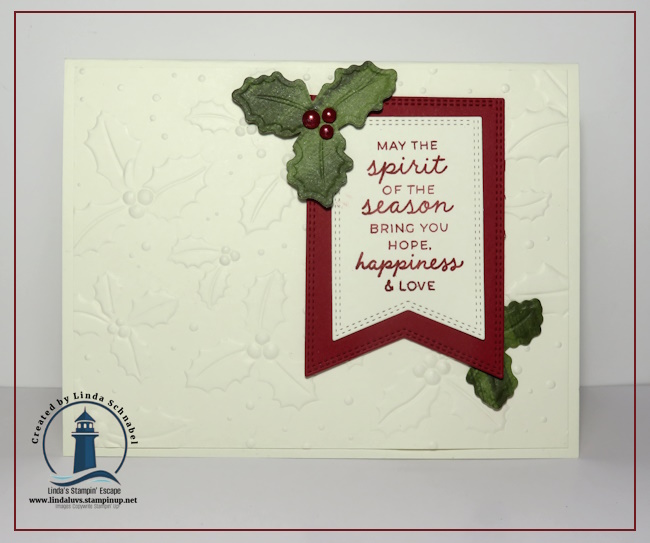
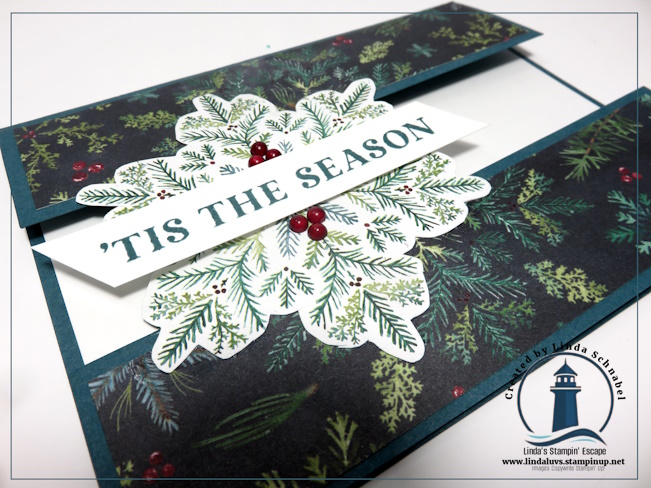
- Stamp Greeting with Pretty Peacock on the white 1/4″ width strip and trim ends as desired… attach with Stampin’ Dimensionals to pop it up!
- Embellish as desired—I used the Cherry Cobbler & Pearl Adhesive-Backed Berries to give my snowflake extra pop!
This card comes together so quickly, yet looks like you spent hours creating it. Try experimenting with different designer papers for a variety of looks—you’ll love how versatile this technique is!
I hope today’s project inspires you to give the Split Card Technique a try. With the beautiful Elegant Pine Snowflakes Designer Paper, the results are nothing short of magical. Remember, simple steps can deliver big “WOW” moments, and this card proves just that! Be sure to grab your favorite designer papers and see how many unique variations you can create.
Thanks for joining me today … hope yours is filled with creativity!