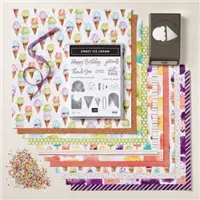
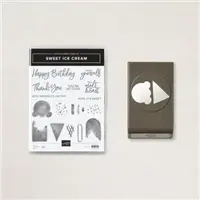
Here’s the scoop: with the Sweet Ice Cream Bundle, you can stamp ‘n’ cut tasty treats that look good enough to eat! Use the Ice Cream Cone Builder Punch to build a cool cone towering with cream, then use the Sweet Ice Cream Stamp Set to add color, sprinkles, and a coordinating sentiment.
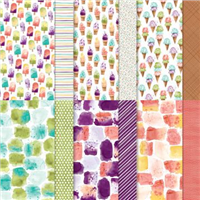
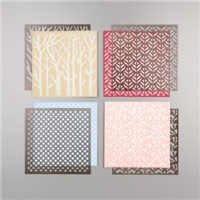
Pair this delicious duo with the patterned paper, ravishing ribbon, and scrumptious sprinkle embellishments in the Ice Cream Corner Suite (or should we say, “sweet”) for even more frozen, flavorful fun! Did you see the background?
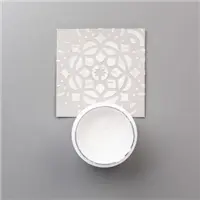
That is created with the Embossing Paste and our Masks, check out my video to see how easy it is to create backgrounds like this …
Cool right … and easy! Hope you enjoyed today’s blog post, give me a LIKE at the bottom of the page if you did. I’ve put a list of supplies below to your convenience.
Thanks so much for stopping by. Have a fabulous Friday ~
TODAY’S STAMPIN’ SUPPLY LIST … If you liked the products used in today’s projects, I have links for you below. Just click on the item you would like more information on, or to begin your shopping. It will take you directly to my website. Thank you ♥
First let me say “Thank You” to all of you who placed an order yesterday. Glad you took advantage of the FREE Shipping, and for those of you who will be joining me for the Butterfly Class!!
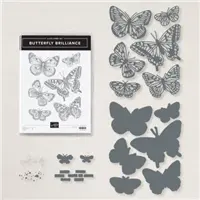
Today I have more butterflies for you … FIVE (5) Butterflies to be exact! I’m using the Butterfly Brilliance bundle using a simple layout and featuring the 2019-2021 In-Colors that will be retiring soon …
In my video that I shared with you, I used the Stamparatus to easily get great ink coverage on your cardstock, and that is what I did with each of these colors … I never removed the stamp, I just cleaned and re-inked.
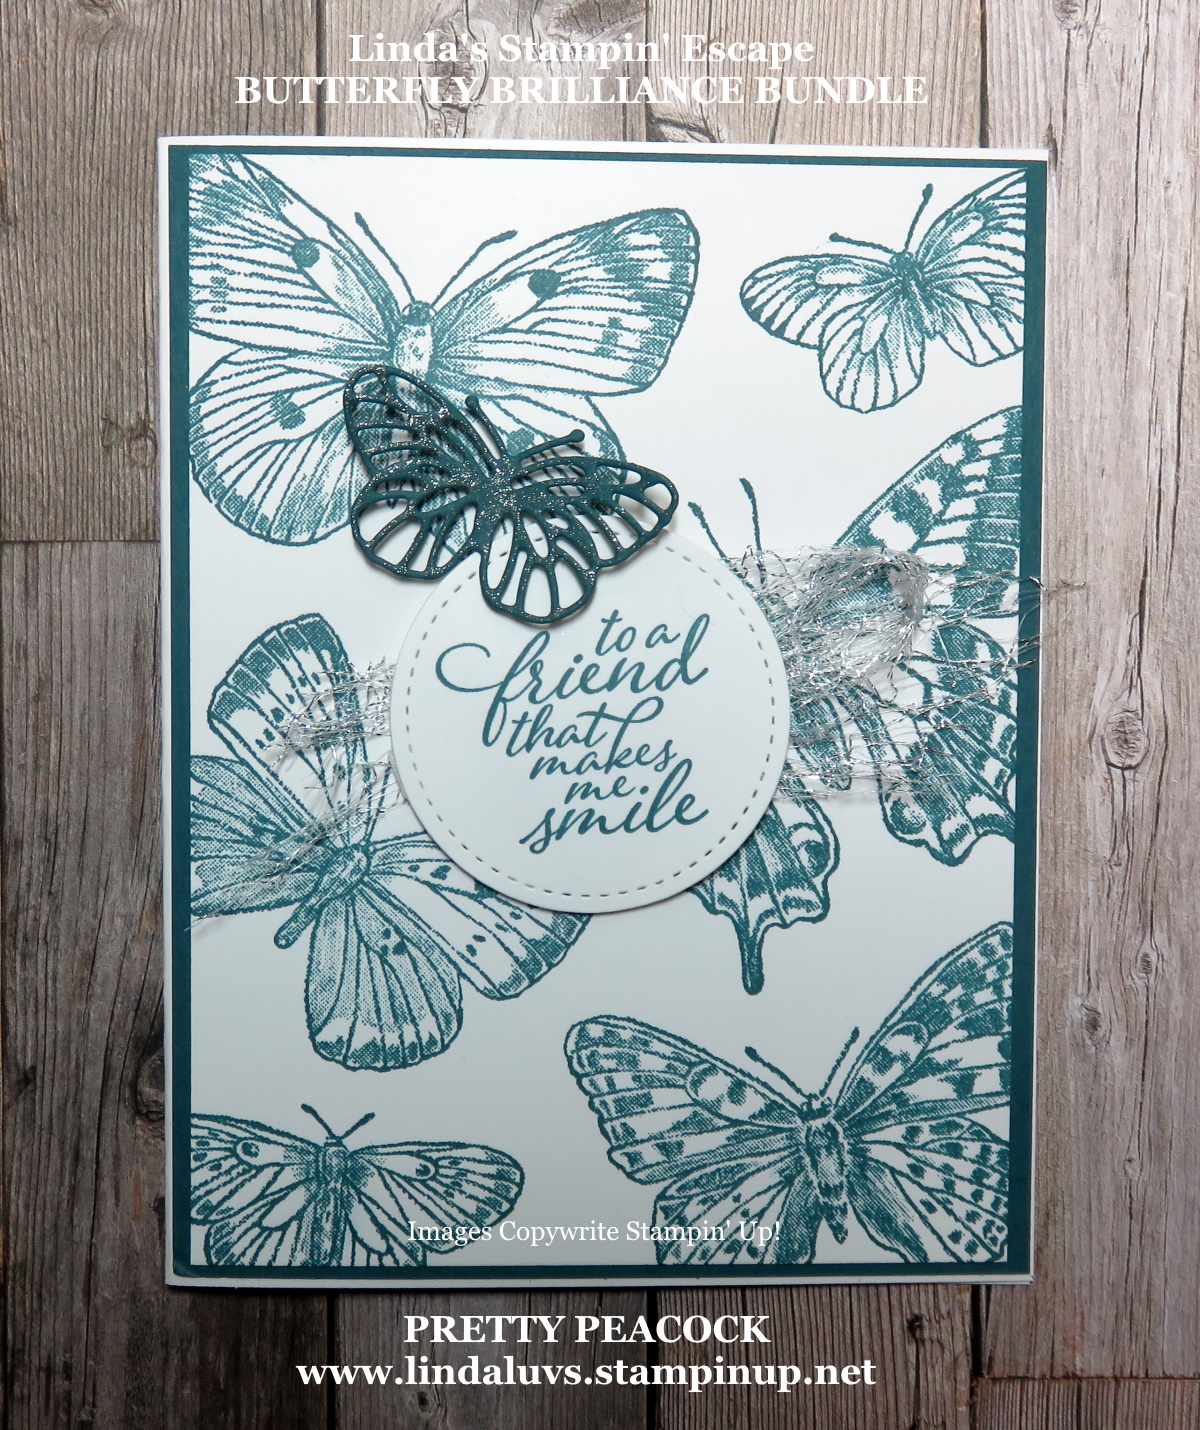
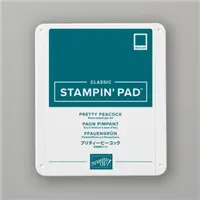
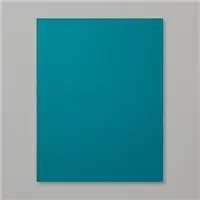
Let’s begin with my favorite; the Pretty Peacock. This is such a beautifully rich color, like a jewel tone …
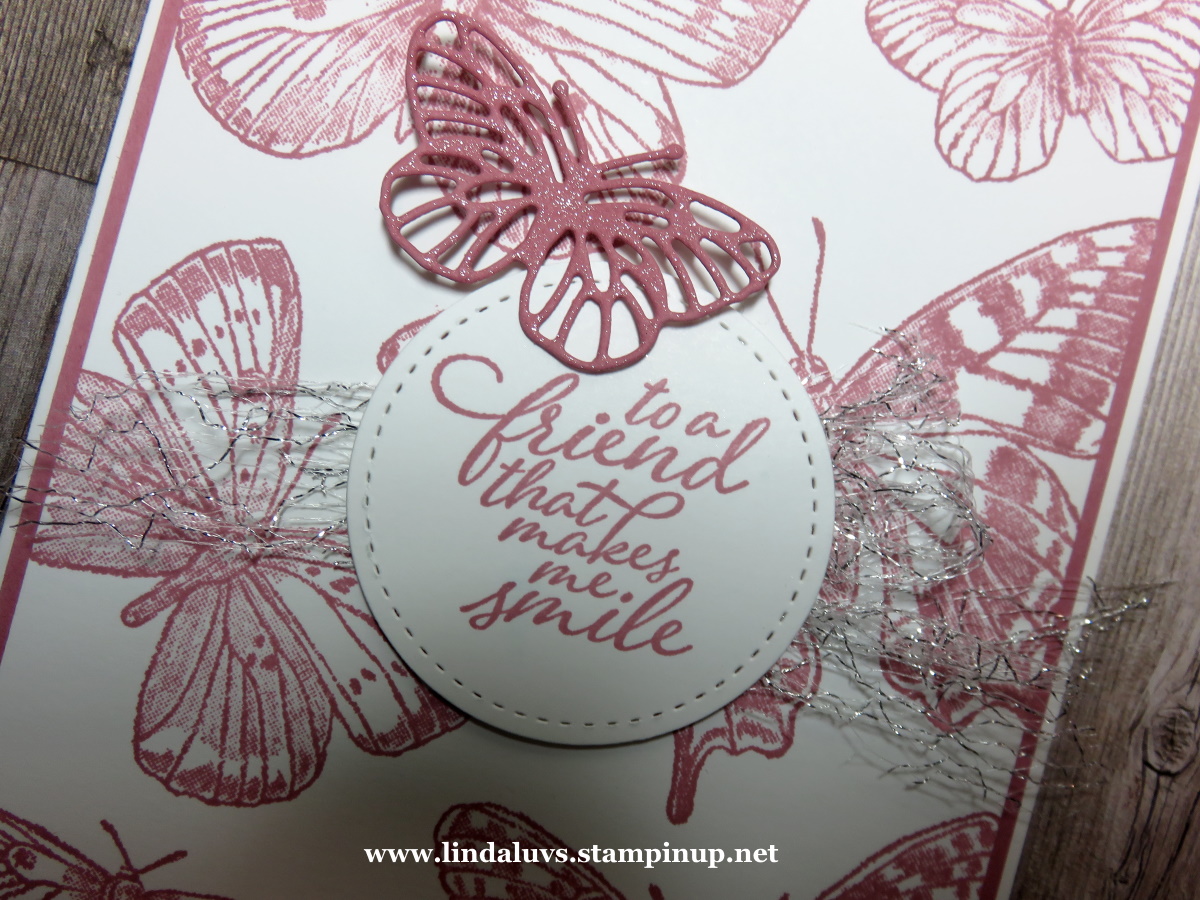
The card base is Basic White as is the front that I stamped on … the mat and ink colors are the In Colors. The greeting comes from the “Forever Fern” stamp set from the Forever Fern Bundle! I die cut my greeting using one of the Circle dies from the Stitched Shapes dies.
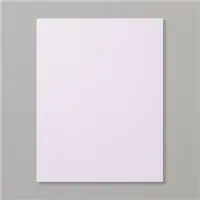
The next color is the Purple Posy, we had some trouble with the ink pads … mine is a bit juicy but I really like this soft color. I use the cardstock quite often…
I used the Metallic Mesh Ribbon behind my greeting to add some texture and a twinge of sparkle!! The little butterfly comes from the Butterfly Brilliance Bundle die set … it’s cut from the coordinating cardstock and highlighted with my Wink of Stella!!
Let’s take a look at the Terra-Cotta Tile …
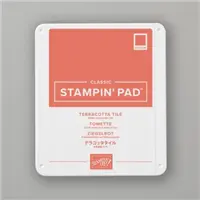
Terra-Cotta Tile is such a warm color … well, it reminds me of Autumn and looks so good paired up with our other fall colors.
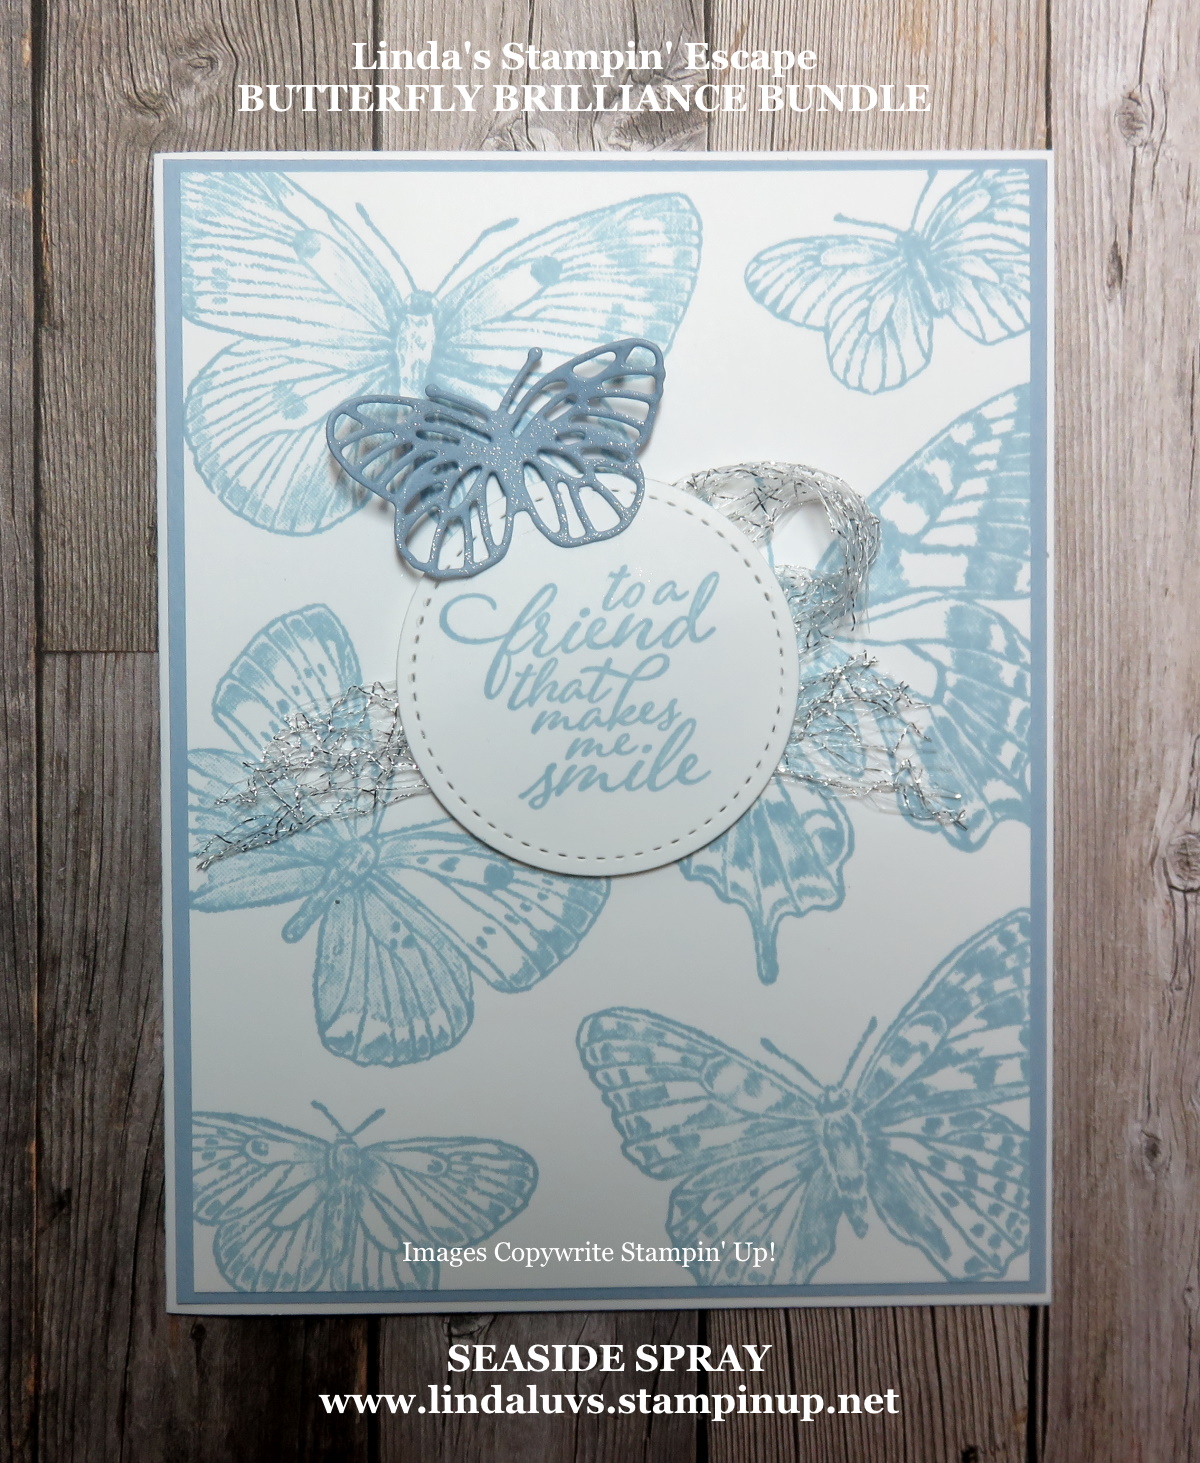
Now … another one of my favorites is the Seaside Spray …
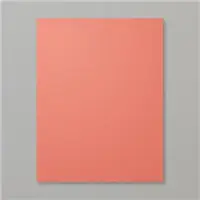
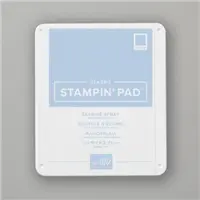
I’m not sure what it is about this hue of blue but it is so soft and pretty. Look … it even compliments that Wink of Stella so perfectly! Sometimes Stella looks a little silvery, but one the Seaside Spray – it really compliments it. Now last but not least, we have the Rocco Rose …
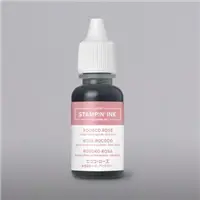
We anticipate running out of Rococo Rose Cardstock (item 150882) in the next couple days. When this item runs out, it will show as not orderable until we are able to get more inventory. Because the 2019–2021 In Color Cardstock Assortment (item 149701) includes Rococo Rose Cardstock, this item will also be not orderable for a time. We have more inventory of Rococo Rose Cardstock coming in a few weeks; however, as this is a retiring color and the inventory we receive in a few weeks will be our final shipment, both the cardstock and cardstock assortment will only be available while supplies last.
I thought I would share a close up with you as well …
It’s always sad to see product go, but colors … Hmmm. I’m really going to miss the Pretty Peacock and Seaside Spray!! I will be using them as much as I can before they go.
One good thing … we’ll be getting a full set of 5 fabulous NEW Colors! Whoop Whoop .. can’t wait to see what they are. What colors do you think will be coming?
Thank you so much for joining me today. I’d love to hear your ideas for NEW Colors!!
Have yourself a wonderful day ~
TODAY’S STAMPIN’ SUPPLY LIST … If you liked the products used in today’s projects, I have links for you below. Just click on the item you would like more information on, or to begin your shopping. It will take you directly to my website. Thank you ♥
Today is the day … I am announcing another class, you get to see last nights finished card, PLUS we’re offering FREE SHIPPING for 24-hours ONLY on all purchases of $50 or more! Last night on my Facebook LIVE, I introduced the NEW Butterfly Brilliance Collection. This is a “customer” pre-order as it will be available in the upcoming Annual Catalog, however … one item will not. Take a look at my video and check it out …
Here is the Host Code that links you direct to the Butterfly Brilliance Collection: CLICK HERE
Here is a list of benefits you will receive from me when you purchase your Butterfly Brilliance Collection from me ….
Oh no … this collection is listed as “Low Inventory” so if you like it … today is your best best, and why pass up the FREE shipping! Plus, you will be invited to my Facebook Classroom where I will have Videos to guide you through making your projects, PDF’s that you can click on, download and print … they have pictures and step by step directions as well. Plus you will see other samples and more in our Private Facebook Butterfly Brilliance Group (class).
I also want you to see how our card turned out last night ….
We used the “scraps of rubber” from the stamp set to create our own stamp which we used as a background element to highlight one of the butterflies we die cut from the designer paper!
Don’t forget … the FREE Shipping is TODAY ONLY~
Thank you so much for stopping by. I image you’re just as excited about the Free Shipping as I am. Please let me know if I can help you place your order!!
Here is that link again if you want to purchase this collection now … CLICK HERE
Be sure to stop back tomorrow … I have 5 cards that I will be sharing from this collection!
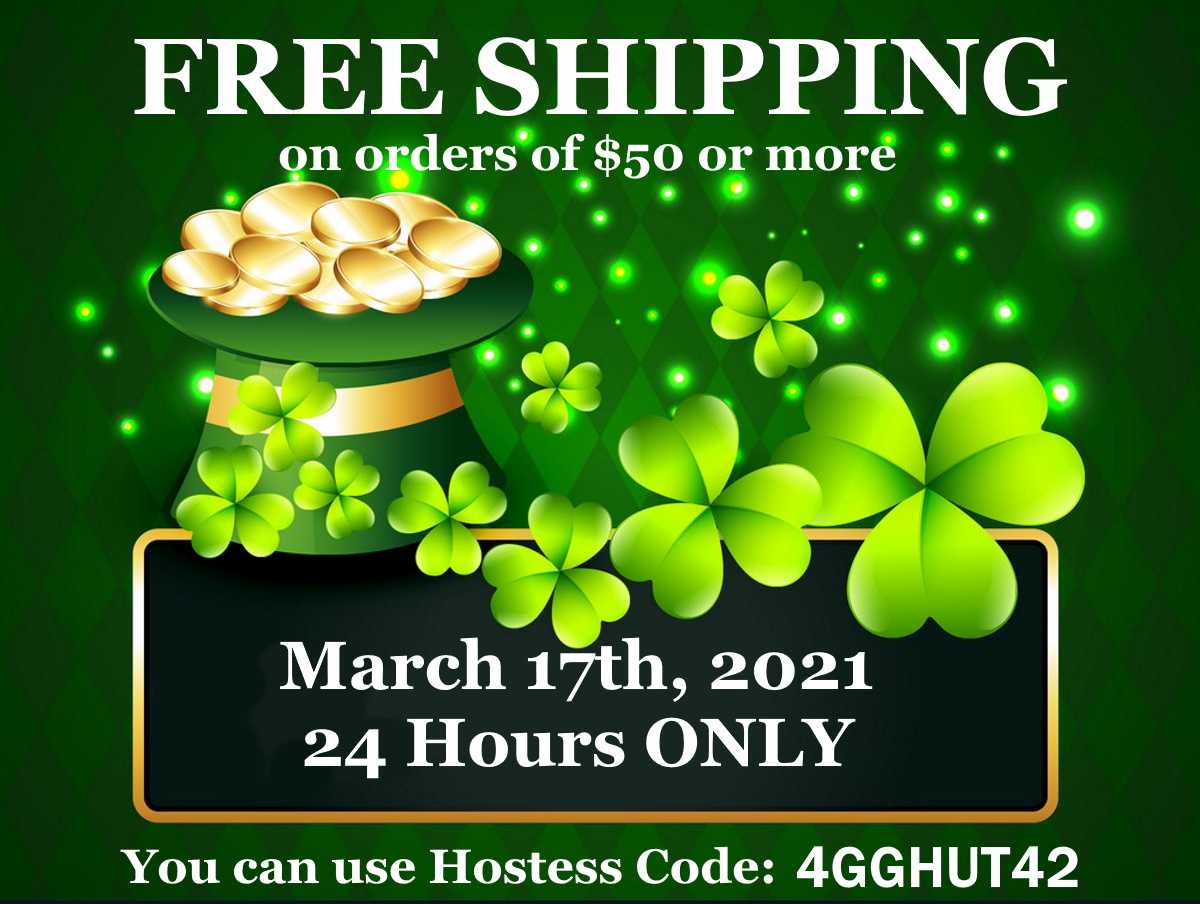
I just heard the news and I’m so excited to share with you … Stampin’ Up! announced they are offering FREE SHIPPING this Wednesday, March 17th for 24-hours ONLY on all purchases of $50 or more …
I have a Hostess Code for you (shown above) and will give you the direct link tomorrow when you can begin shopping!! I love saving money, and this was a welcome surprise!! When you use the code I provide for you tomorrow … it will take you directly to my store, and will be shipped to your home.
But while we wait for the FREE SHIPPING to begin … I would love to invite you to join me tonight on my Linda’s Stampin’ Escape Facebook Page for my LIVE presentation for TECHNIQUE TUESDAY….
I will be introducing the NEW Butterfly Bouquet … you won’t want to miss this one …
Who knows, maybe it will be on your shopping list this Wednesday so you get the FREE SHIPPING … smart!!
Thank you so much for stopping by. I image you’re just as excited about the Free Shipping as I am. Meet you at 6:30 tonight!!
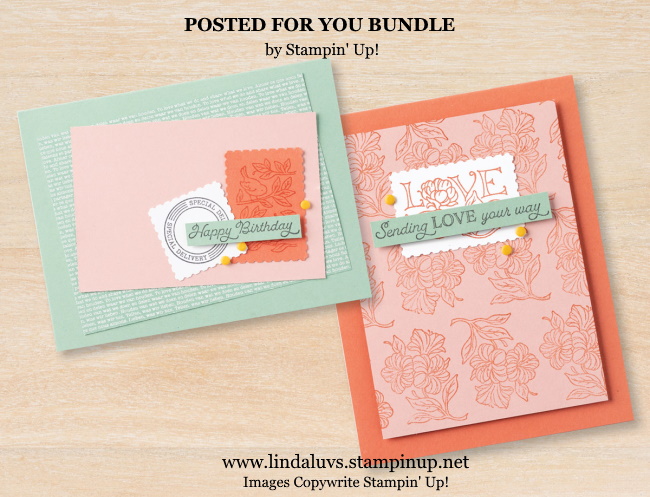
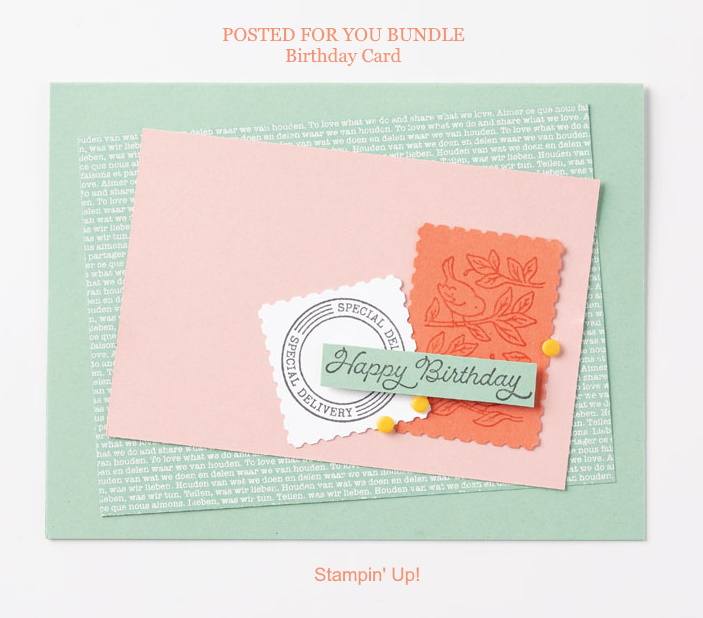
Hope you had a great weekend! Today I have two samples from the Posted For You Bundle that are featured in the Jan-June Mini Catalog. These cute cards were created by Stampin’ Up! ~
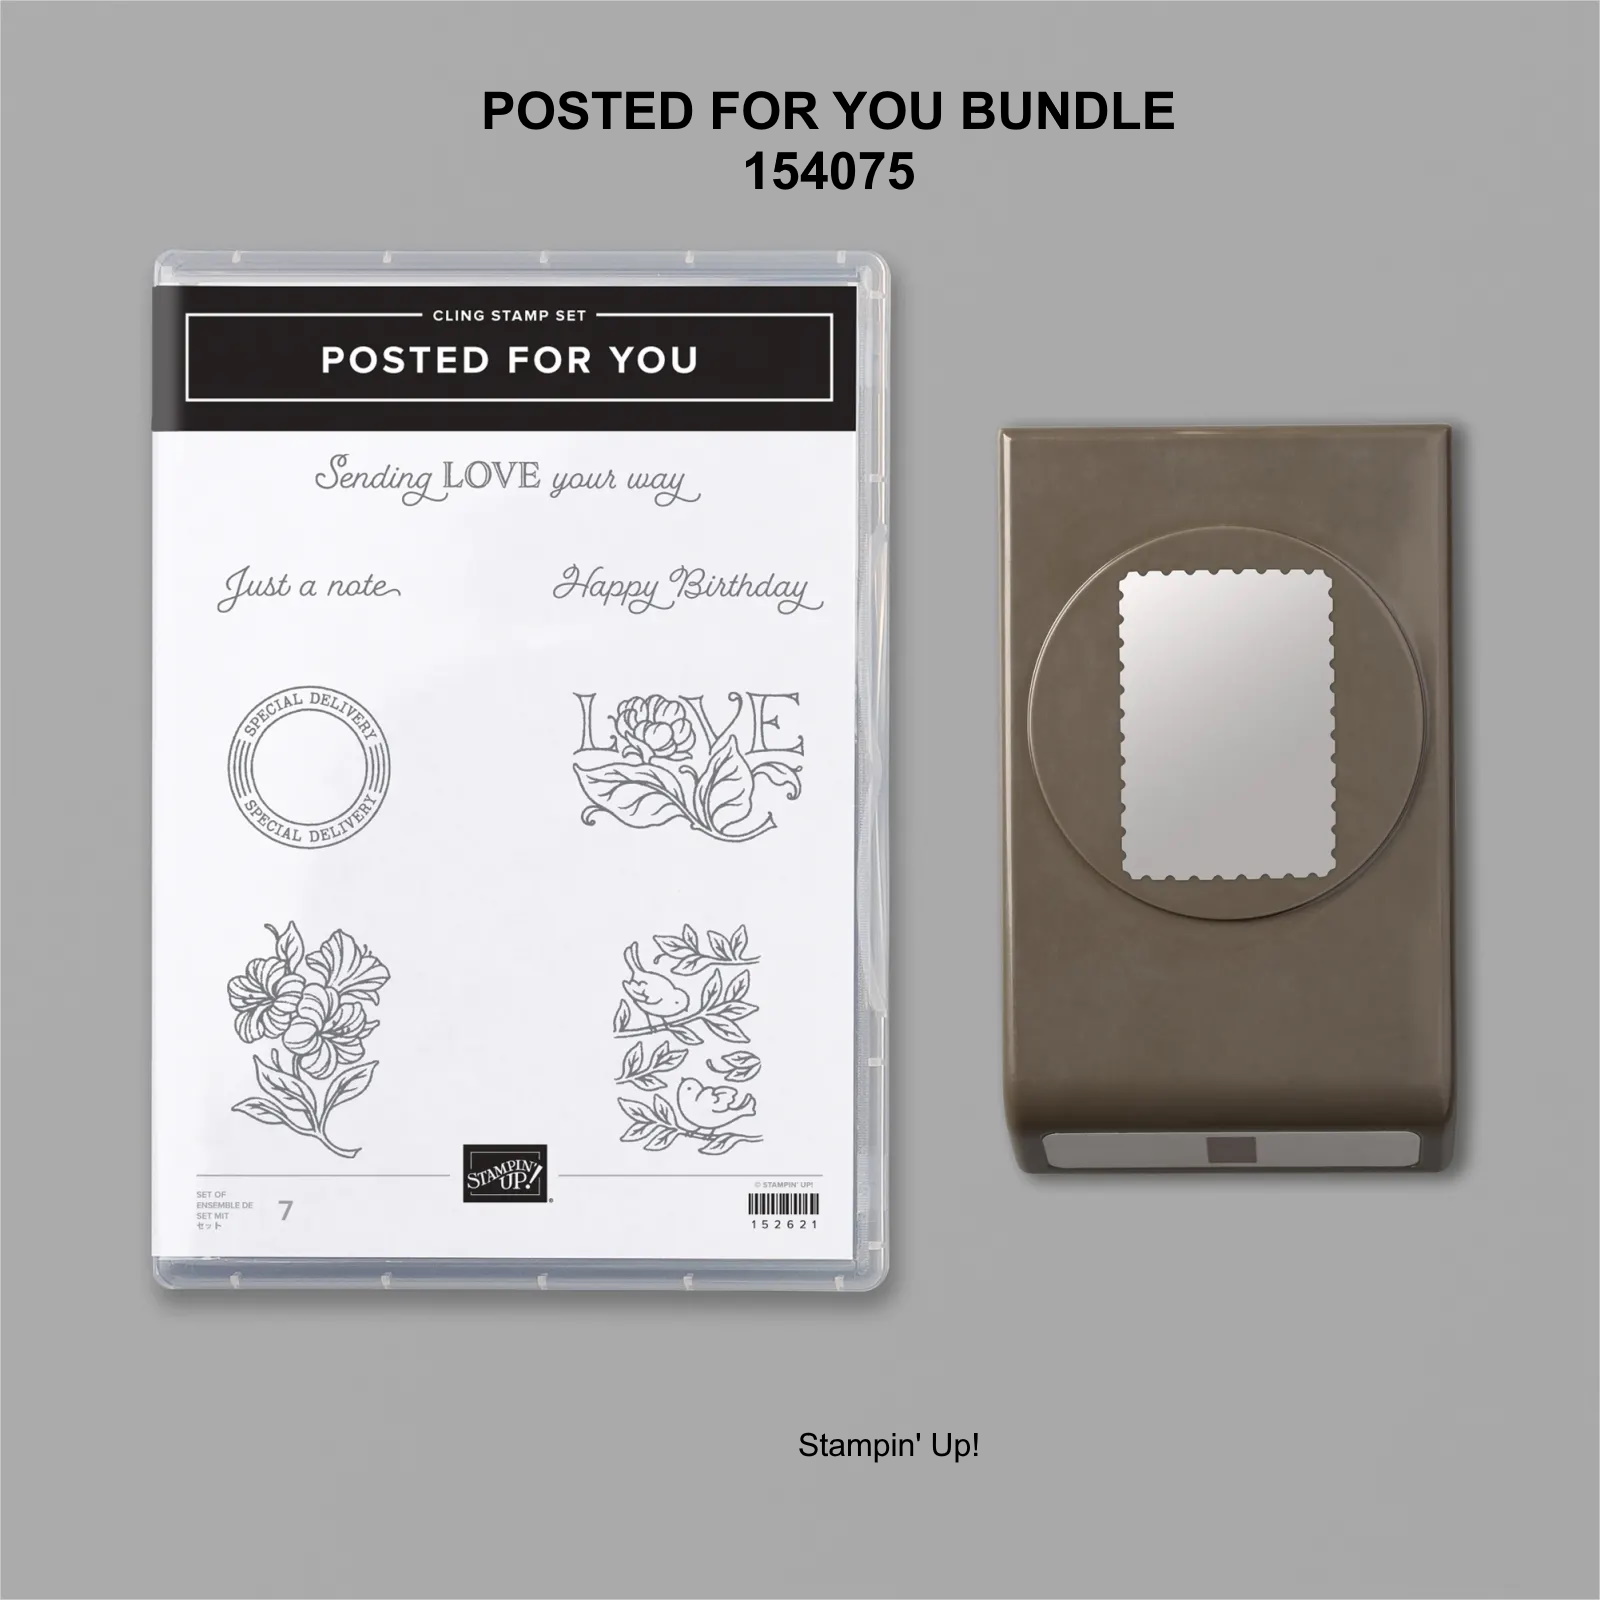
Here is a look at the bundle itself …
You will have fun all year long with the positively playful—and versatile—Posted for You Bundle! This bundle is perfect for crafters of all levels and features imagery and sentiments for all kinds of occasions. Add in some coloring tools, and you can really make your projects unique and beautiful.
Here are instructions to the Birthday Card ….
Fold the Mint Macaron Cardstock (5-1/2″ x 8-1/2″; 14 x 21.6 cm) in half to create the card base.
Adhere a 4-3/4″ x 3-1/2″ (12.1 x 8.9 cm) piece of Subtles Designer Series Paper to the card base at an angle. Adhere a 4-1/4″ x 2-3/4″ (10.8 x 7 cm) piece of Blushing Bride Cardstock at the opposite angle.
Stamp the circle image in Basic Gray ink on a 2″ x 2″ (5.1 x 5.1 cm) piece of Whisper White Cardstock. Stamp the birds on branches image in Calypso Coral ink on a 2″ x 3″ (5.1 x 7.6 cm) piece of Calypso Coral Cardstock. Punch out both images using the Rectangular Postage Stamp Punch. Reinsert one end of the circle image into the punch and punch again to create a square. Adhere both pieces to the card.
Stamp the sentiment in Basic Gray ink on a scrap of Mint Macaron Cardstock. Adhere the sentiment to the card using Stampin’ Dimensionals.
Adhere three Playing with Patterns Resin Dots to the card
Here is the “Sending Love” card …
And the instructions for the “Sending Love” Card …
Fold the Calypso Cardstock (4-1/4″ x 11″; 10.8 x 27.9 cm) in half to create the card base.
Stamp the floral image repeatedly in Calypso Coral ink on Blushing Bride Cardstock (3-1/2″ x 4-3/4″; 8.9 x 12.1 cm).
Stamp the “Love” image in Calypso Coral ink on a 2″ x 3″ (5.1 x 7.6 cm) piece of Whisper White Cardstock. Punch it out using the Rectangular Postage Stamp Punch and adhere it to the Blushing Bride Cardstock.
Stamp the sentiment in Basic Gray ink on a scrap of Mint Macaron Cardstock. Adhere the sentiment to the Blushing Bride Cardstock using Stampin’ Dimensionals.
Adhere three Playing with Patterns Resin Dots to the cardstock and adhere the entire piece to the card front using Stampin’ Dimensionals.
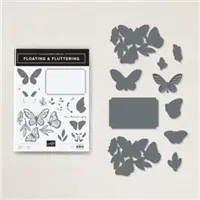
Today I’d like to share the beauty of the Floating & Fluttering Bundle. This amazing stamp and die set can create beautiful cards. Not only will I share the cards, but videos to show you how to make them. Then … if you decide you would like to purchase this bundle from me, I will invite you into my classroom where I have 3 more stunning cards (with video) … Just click on the > arrow to begin the videos!!
Let’s begin with the simple “floating” butterflies …
The video will explain step by step how easy it is to create this beautifully textured card, and how I colored the butterflies.
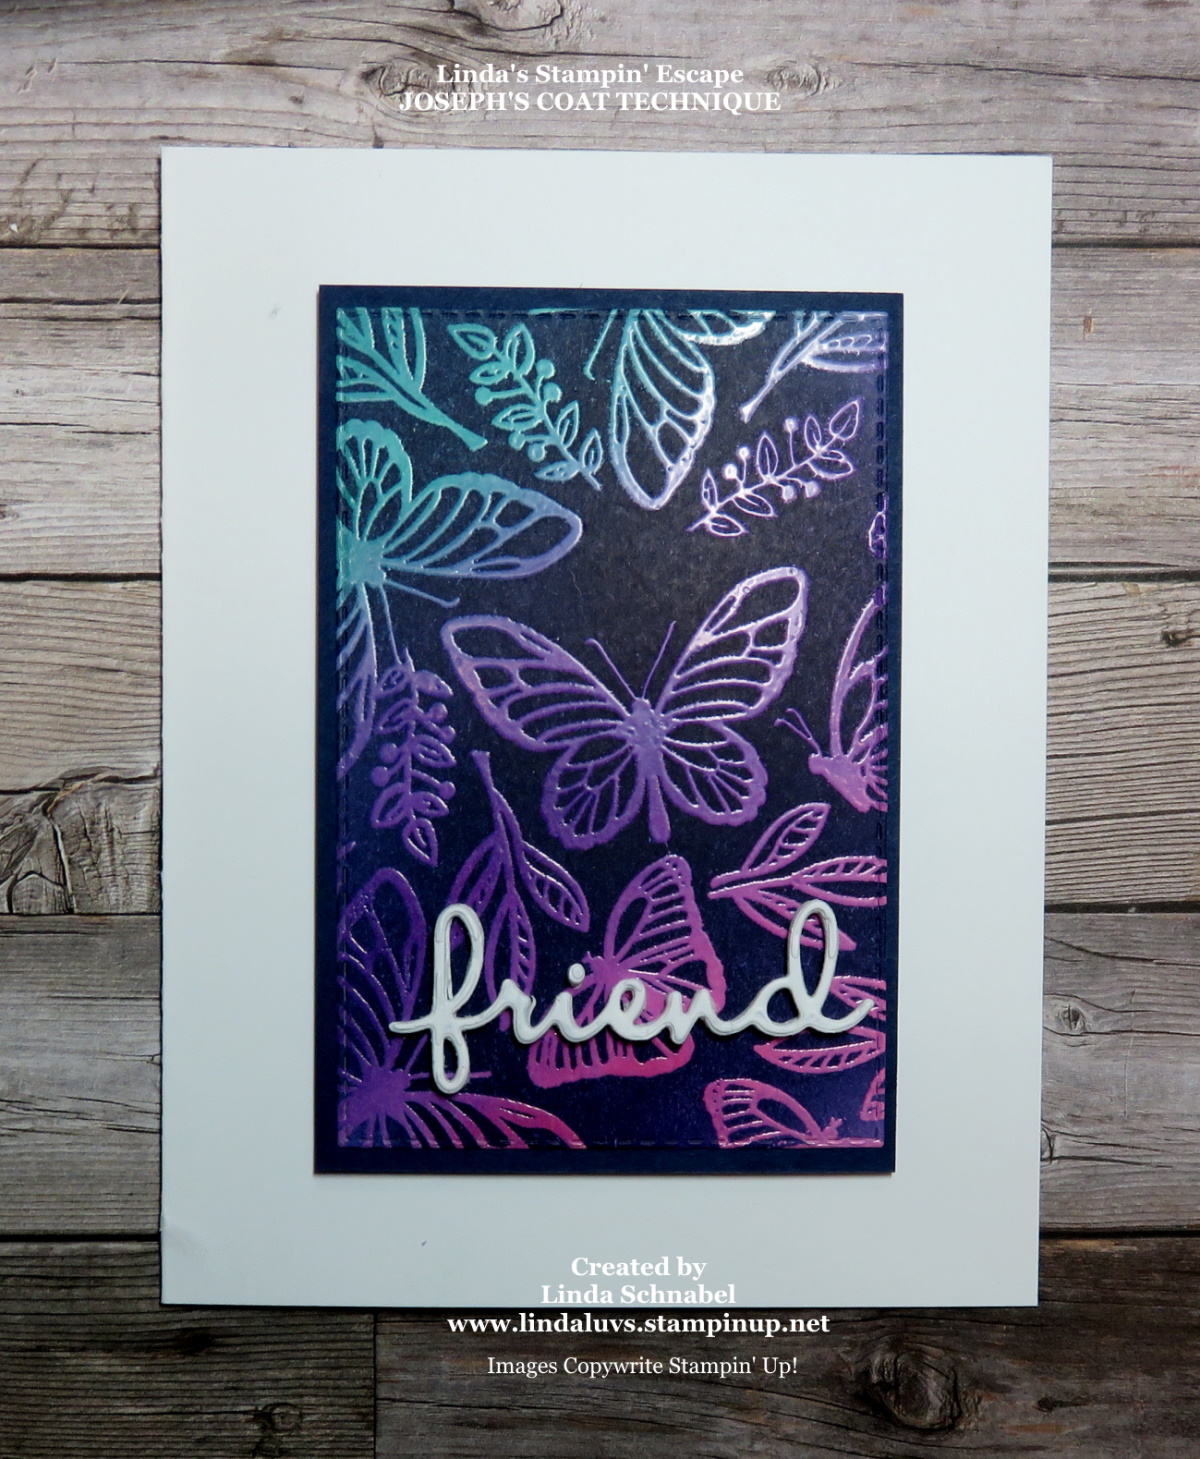
The next card I’d like to share again is the Joseph’s Coat technique …
I used a little bit of a twist on this card, the wonderful “Blending Brushes”. You will fall in love with the magic of Joseph’s Coat and the pop of color this creates …
Isn’t this a fun and magic technique!! Think of the colors you could use … Your friends will be amazed when they see your card.
They will be equally amazed at the next technique ….
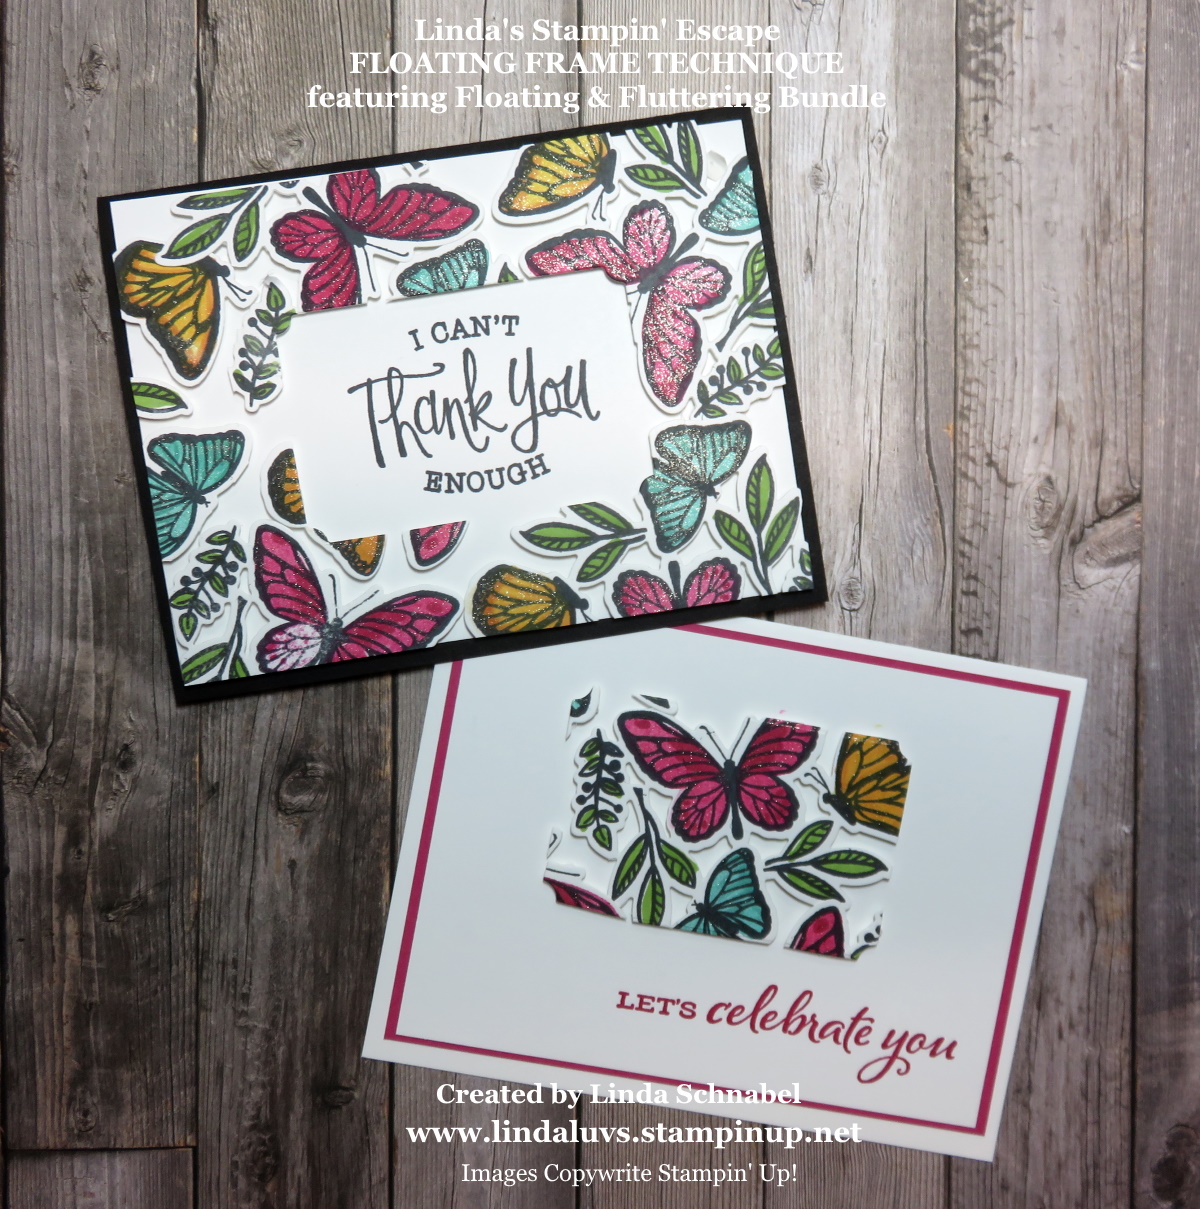
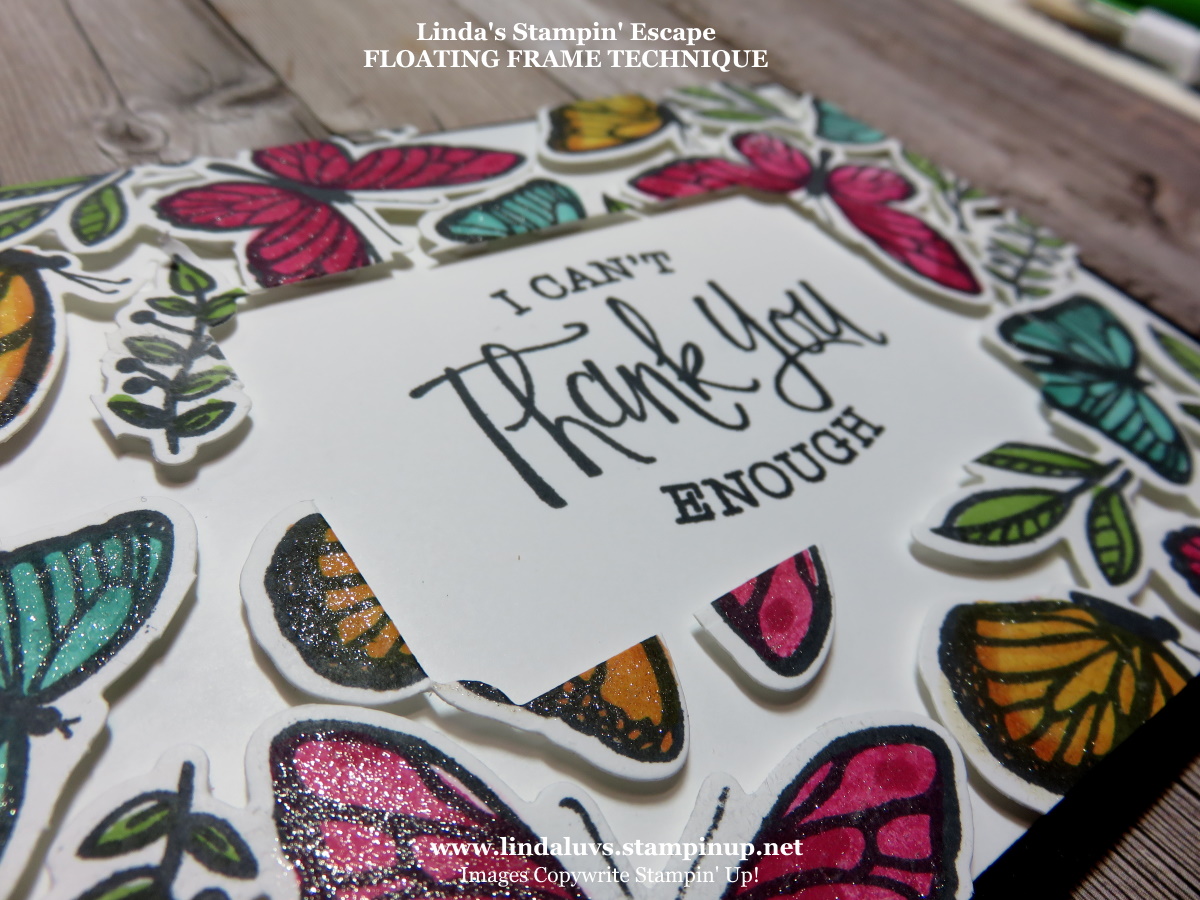
The Floating Frame Technique; it takes a little patience but as my stampin’ friend Olivia said “I like you get 2 cards for your effort- and they both look great! I will be trying these cards soon. Also I love press n seal- use it a lot in the kitchen and for things around the house. Never thought to use it for stamping so that just blew my mind! Thanks for the tip” Let’s take a look at the “Floating Frame” Technique …
I hope you enjoyed this showcase of cards & videos that highlight the Floating & Fluttering Bundle and some of the cool techniques that really embrace it. But don’t stop here, there are more right here on this blog, just put Floating & Fluttering Bundle in the search box. You will find the video’s on My YOUTUBE Channel.
Then … if you decide you would like to purchase this bundle from me, I will invite you into my Facebook Classroom where I have 3 more stunning cards (with Step by Step video featuring all 3 cards and PDF – Written Directions with Photos)Use Hostess Code: 4GGHUT22 This will be open until the end of March. You can also CLICK THIS LINK! to get your bundle.
Thank you so very much for hanging out with me today.
Have a great weekend!!
TODAY’S STAMPIN’ SUPPLY LIST … If you liked the products used in today’s projects, I have links for you below. Just click on the item you would like more information on, or to begin your shopping. It will take you directly to my website. Thank you ♥
As the weather warms and the daylight grows, so does the thirst for summer fun. Help quench that thirst with So Cool—the first Paper Pumpkin kit designed to engage kids and inspire their creativity!
This fun, family-friendly kit features vivid, colorful card bases shaped like the deliciously cool treats of summer. It also includes two full sticker sheets, playful die-cut elements, embellishments, and a versatile stamp set with ink—enough supplies to make 12 cards with matching envelopes.
With this kit, you can spend quality time creating something unique with your special little ones. This kit also makes a thoughtful gift that kids and families are sure to appreciate. Once the cards are assembled, the creative fun doesn’t have to end: keep crafting by pairing the sticker sheets and stamps with products from the Ice Cream Corner Suite in our January–June 2021 Mini Catalog. The kit and suite go together perfectly, just like summer and fun!
So, what makes the April Paper Pumpkin kit So Cool? This vivid, summer-inspired kit includes two full sticker sheets and all supplies needed to make 12 fun-shaped cards with matching envelopes. But, even more cool: it’s the first Paper Pumpkin kit designed with kids in mind!
All of us with kiddos close at heart, such as children or grandchildren, will want to take advantage of this opportunity to subscribe now. Check out the So Cool video, so you can see how this kit offers the perfect way to engage little ones and spark their imagination while introducing them to the fun of papercrafting….
Each kit comes with an exclusive stamp set and ink spot, making it a great way to start building a collection of crafting tools if you are new to stamping / paper crafting. To subscribe to the April Paper Pumpkin CLICK HERE … It will take you to my page.
Thank you for stopping by today. Please let me know if you have any questions.
Have a great Friday!
TODAY’S STAMPIN’ SUPPLY LIST … If you liked the products used in today’s projects, I have links for you below. Just click on the item you would like more information on, or to begin your shopping. It will take you directly to my website. Thank you ♥
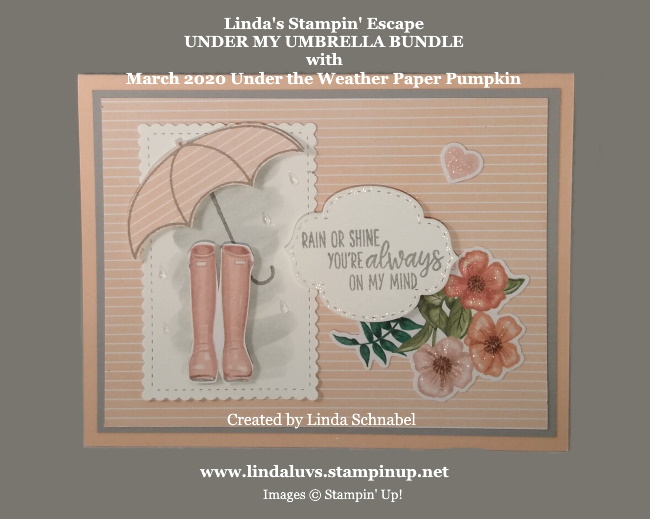
Here today with a sweet card that I created using the Under My Umbrella stamp set and our March 2020 “No Matter the Weather” Paper Pumpkin. I knew from the beginning that I wanted to pair up the boots with the Umbrella …
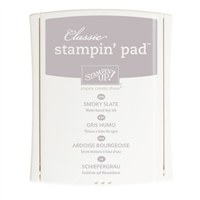
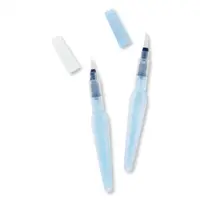
I choose the pink and combined it with Smoky Slate … so pretty together. My stripped background paper is actually the inside of the envelope from my Paper Pumpkin kit. I needed another color to go between my boots and my background so I went with Whisper White … it just seemed to “bright” so I toned it down my using my Aqua Painter to color wash the Smoky Slate and creating a fun background for my boots!
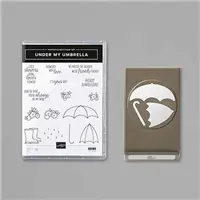
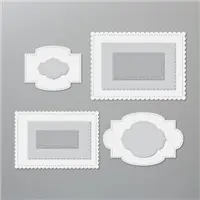
The umbrella was stamped with Smoky Slate onto the left over paper from the envelope, and then punched with the coordinating umbrella punch. Both of these were popped up onto the die cut piece. The die cut comes from the Stitched so Sweetly dies. The greeting sentiment is from the Under My Umbrella stamp set and was stamped with the Smoky Slate and also die cut from the Stitched to Sweetly dies.
My pretty little bouquet of flowers you should recognize from the Easter Card I did earlier this week … these and the heart come from the No Matter the Weather Paper Pumpkin kit. Both are kissed with a little sparkle from our Wink of Stella pen. Did you notice the sweet little raindrops? They also come from the Paper Pumpkin kit.
I love combining the Under my Umbrella bundle with the No Matter the Weather Paper Pumpkin kit…. it expands the creativity level of the kit and the contents of the kit are so much fun to use with the stamp set and punch.
Thank you for hanging out with me today. Hope this was a little escape for a while and inspires you to hang out in your stamp room.
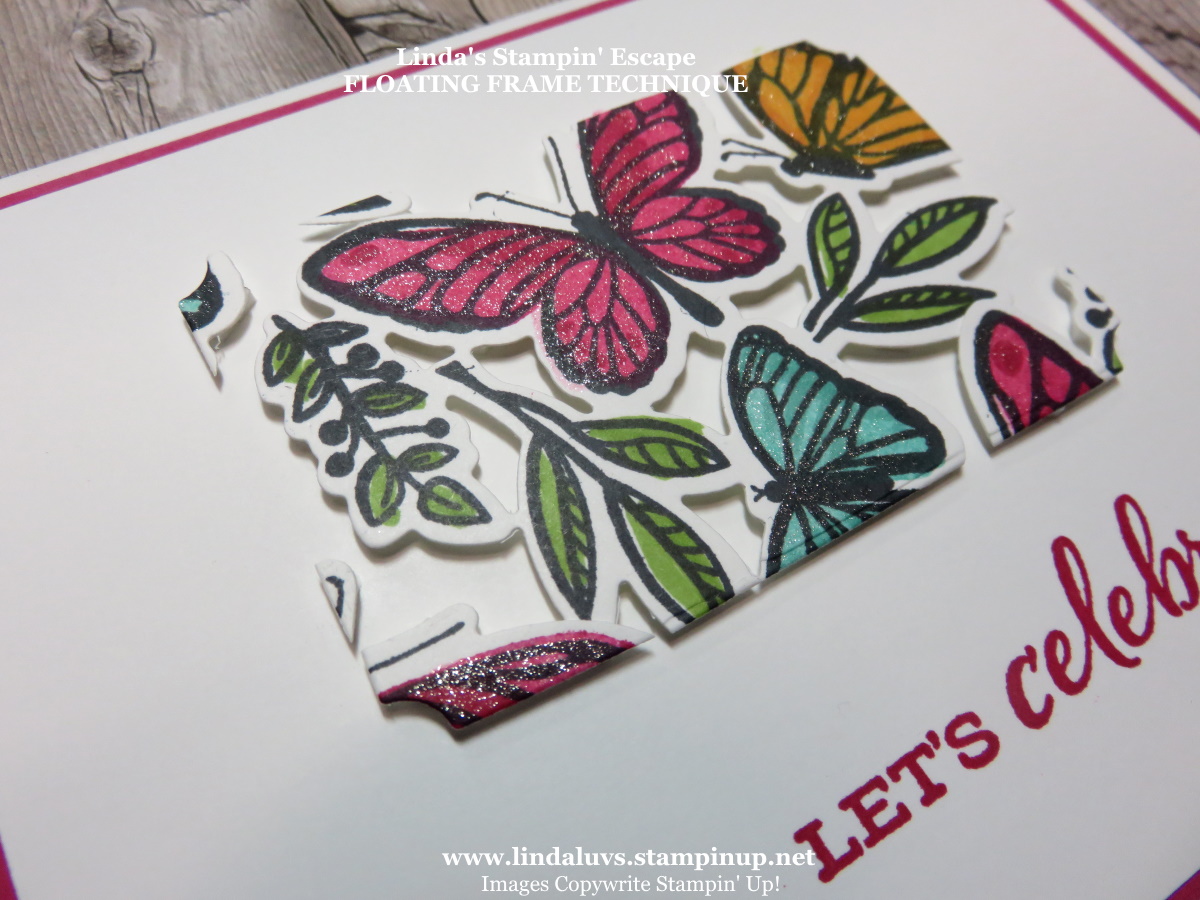
Today I’m going to share with you “how to” create two cards with the “Floating Frame” technique. I have also included my video from last nights Facebook LIVE presentation. Grab a cup of coffee as I share these amazing cards with you …
The video will show you step by step how I created these amazing cards with this different technique, who knew that a common food wrap from your kitchen would be so helpful!! Let’s see the floating …
Now join me for the video … Got your coffee? Maybe even a note pad!! When you watch how I remove the film from the butterflies, it works best when you pull to the side (like I did at the end) than trying to pull up. Have a look …
I love coloring so that part of the technique was easy, and the new dies make it easy to cut them out too … I don’t even mind putting all of the dimensionals on, just takes me a while to pick them all off … LOL! Once you peel off the film it uncovers an effect as if the butterflies are actually floating.
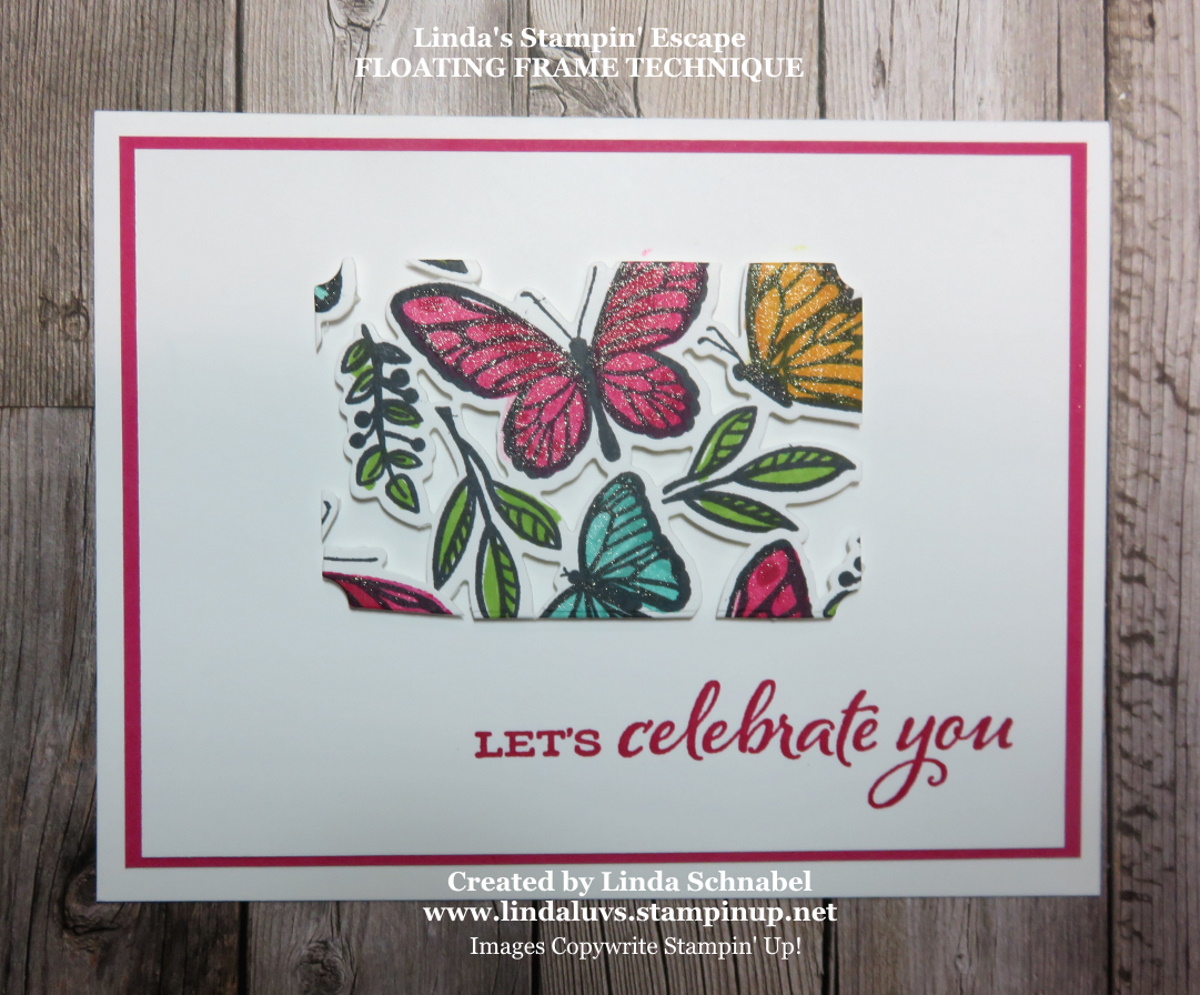
I promised to show you a second card, one with the piece that was cut while creating the frame …
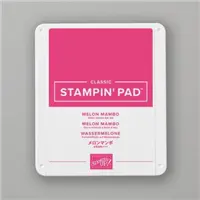
I placed the piece down onto the card front and peeled off the film just like in the video … including the Wink of Stella!! I stamped my sentiment from the Sunflower Celebrations stamp set in Melon Mambo, then added a coordinating mat and attached the entire front to the Basic White card base. Here is a close up …
So what do you think? Is this your kind of technique … Will you be trying it? I’d love to hear from you, please comment below. I think the Floating & Fluttering Bundle is an easy way to start learning how to make these cards because the are mainly joined together.
I enjoyed making these cards … I’m going to love sending them out ❤ I thank you for joining me today, I hope you have an amazing day!
TODAY’S STAMPIN’ SUPPLY LIST … If you liked the products used in today’s projects, I have links for you below. Just click on the item you would like more information on, or to begin your shopping. It will take you directly to my website. Thank you ♥
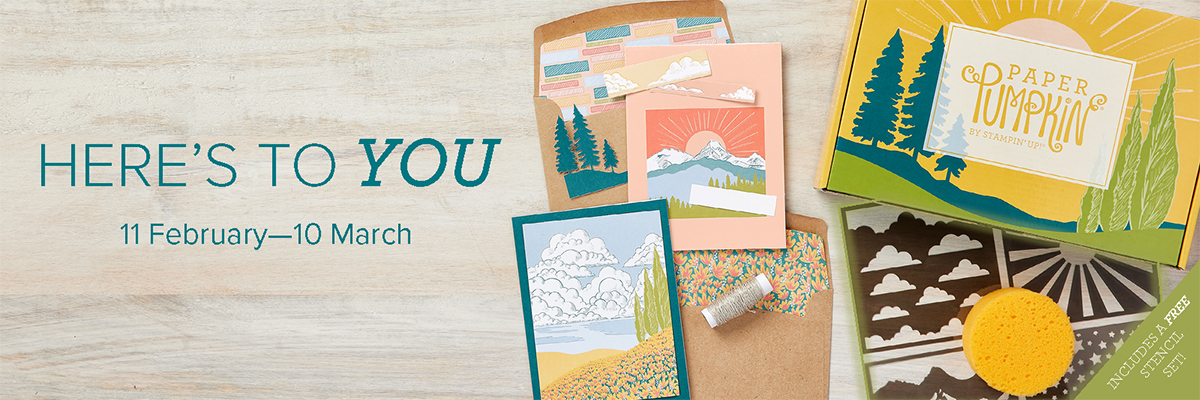
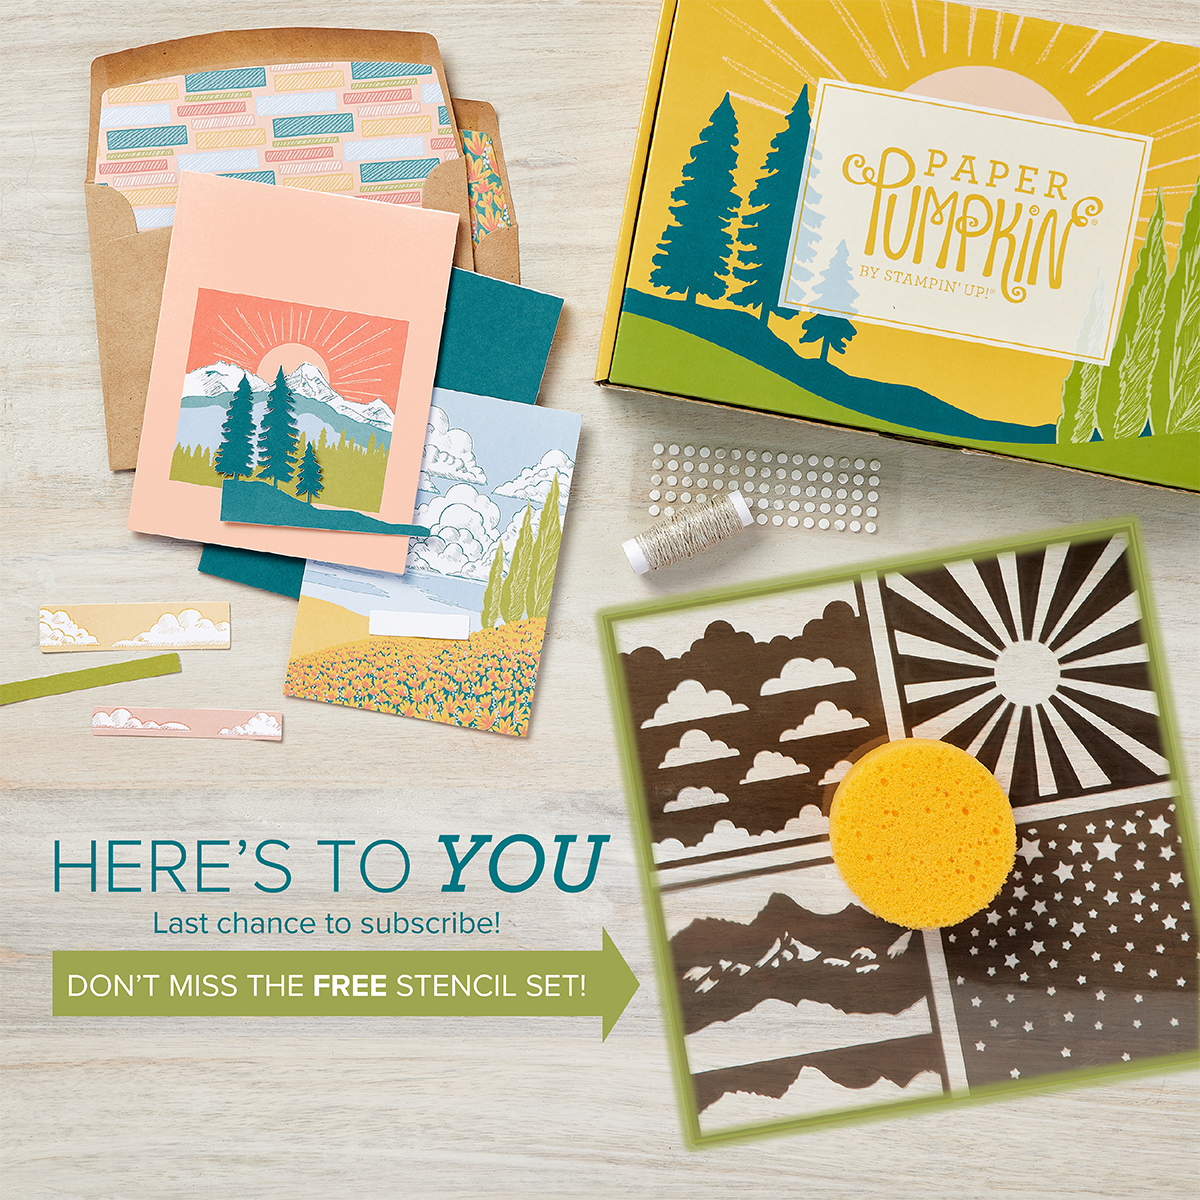
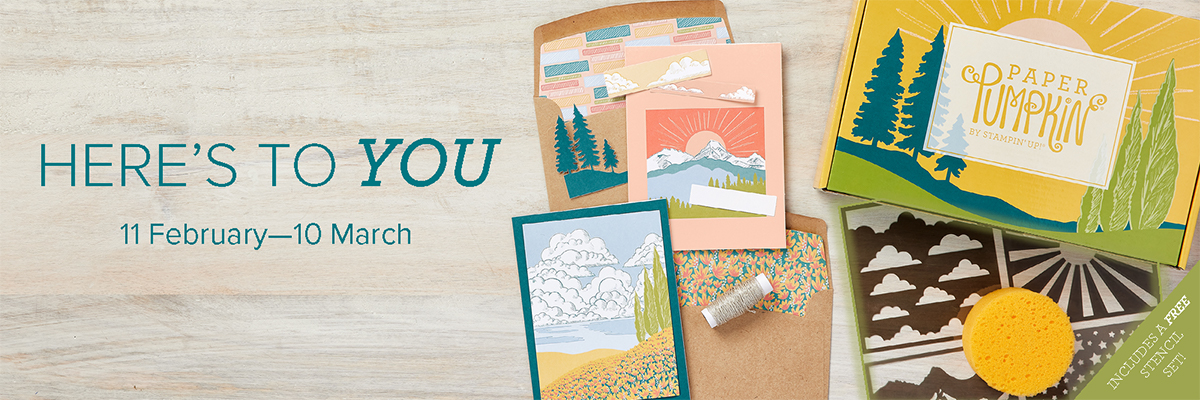
Just a quick reminder that the Sun is Setting on Here’s to You! March 10th is the last day to subscribe to the Here’s to You Paper Pumpkin Kit. This one-of-a-kind kit offers a “hip, hip, hooray” and let’s celebrate each of life’s magnificent milestones. With inspiring imagery, celebratory sentiments, and a pretty pack of reusable stencils, March’s majestic kit has something for every subscriber to enjoy!
Three cheers for mountain air, a sky filled with sunshine, and finding joy in life’s journey! Adventure awaits inside this month’s majestic, mountain-themed kit. With enough elements and embellishments to create eight cards and coordinating envelopes, the Here’s to You Paper Pumpkin Kit is the perfect pick for celebrating life’s little moments and mountain-high milestones!
What makes March’s kit one-of-a-kind? The spectacular set of four FREE stencils—and a stamping sponge—that you’ll find inside! Pair this pack of stunning stencils with the kit’s contents to stamp a springtime scene, then store the set to stamp for any season in the future. Clean up your binoculars and dust off your hiking boots—the Here’s to You Paper Pumpkin Kit is ready to lead you on an excursion to explore your creativity!
You can subscribe now by CLICKING ON THIS LINKand it will take you to my Paper Pumpkin page. Please let me know if you have any questions before subscribing or after, I’m here to help.
I would love to have you join me on my Linda’s Stampin’ Escape Facebook Page as I go LIVE tonight at 6:30 with another technique … CLICK HERE to direct you to my page!
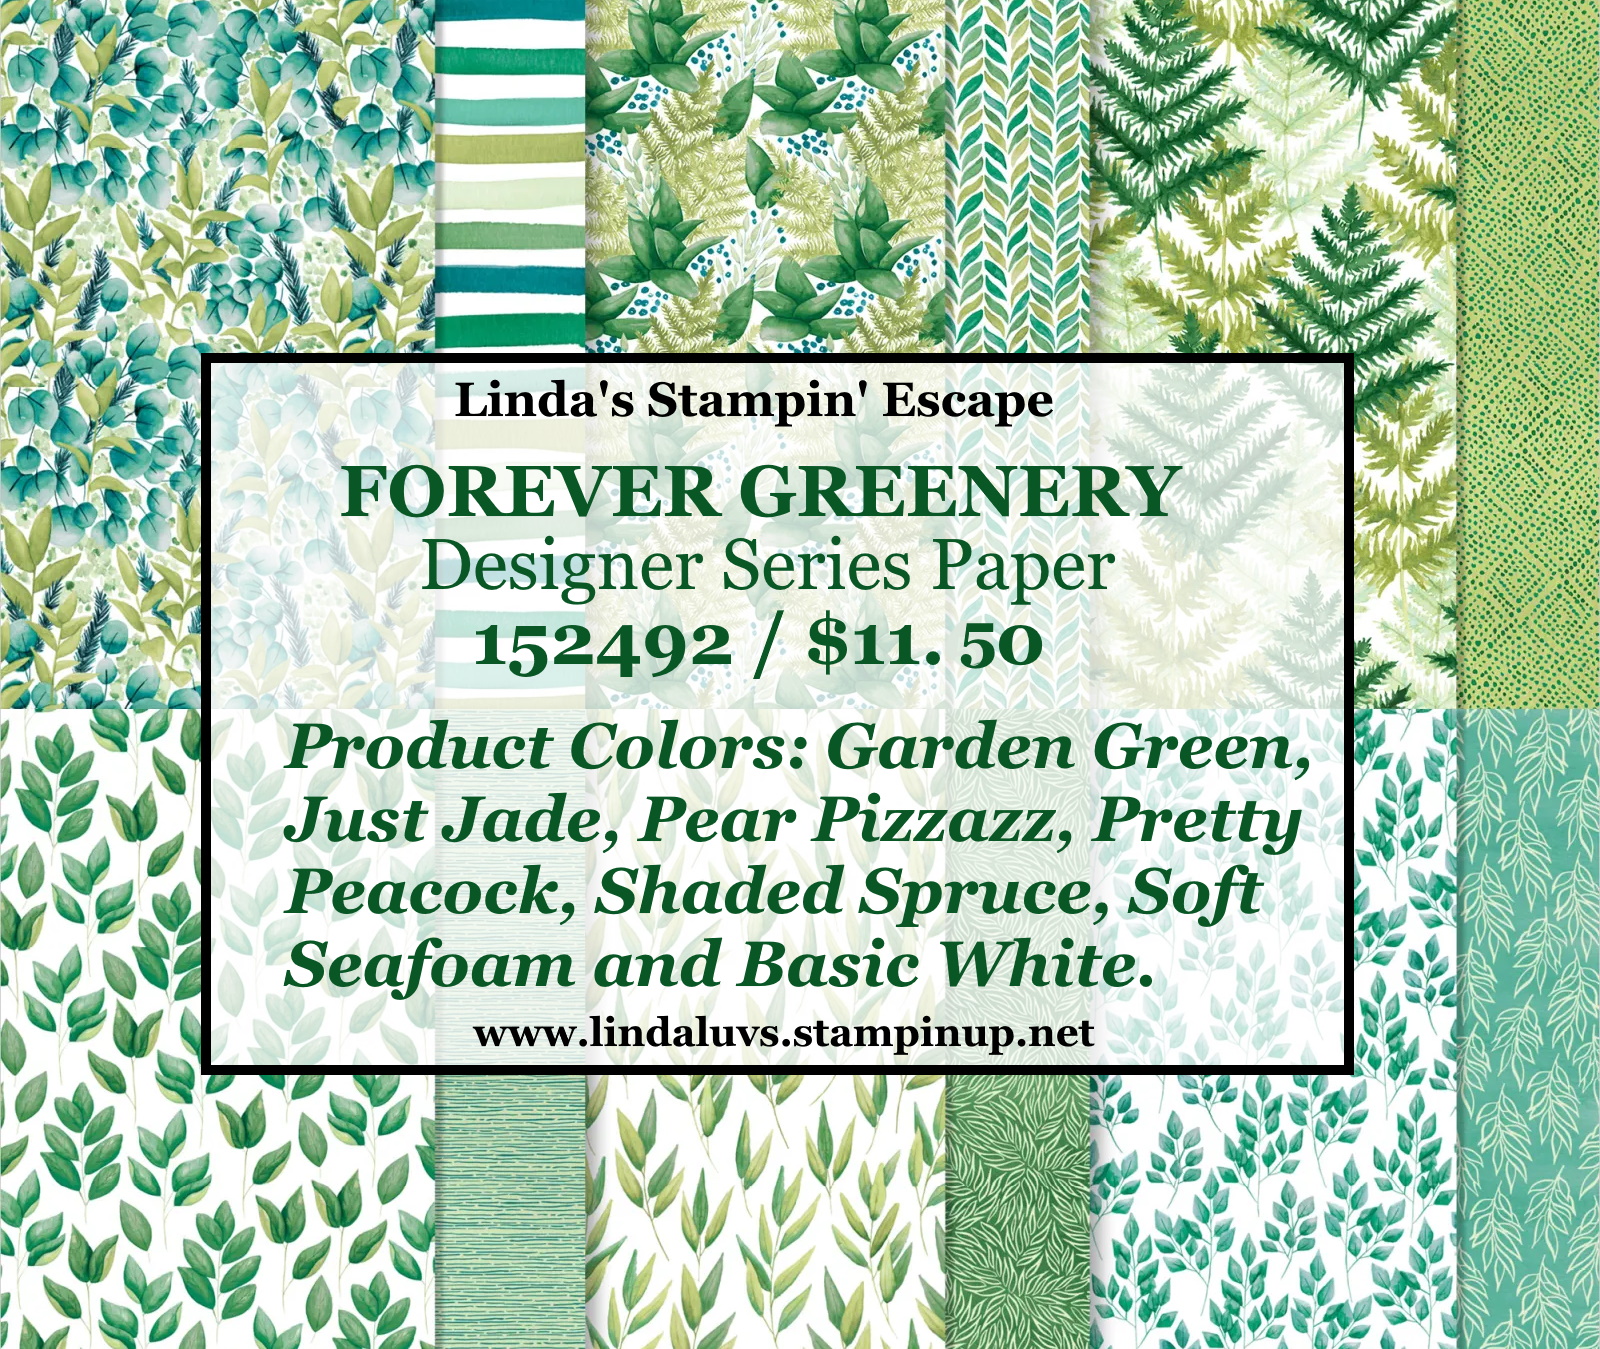
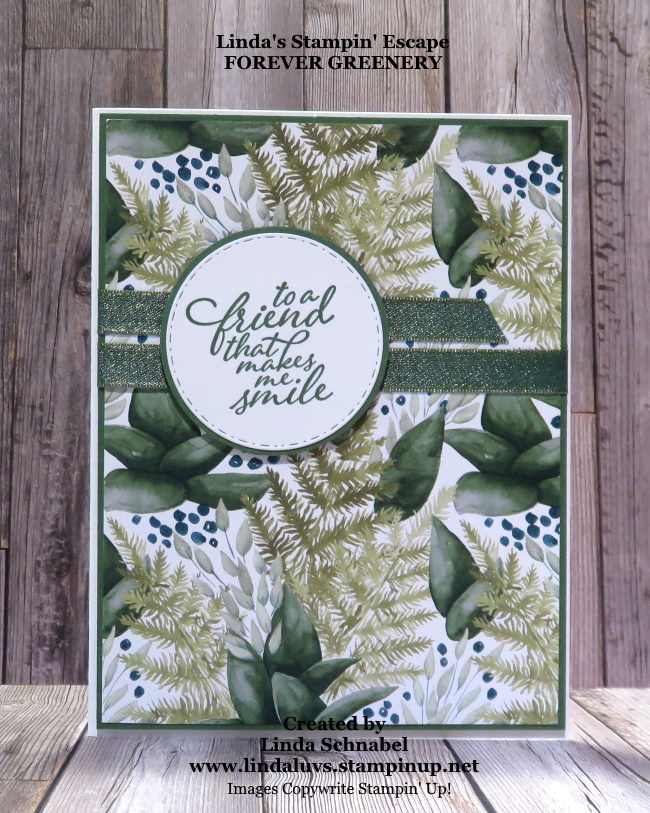
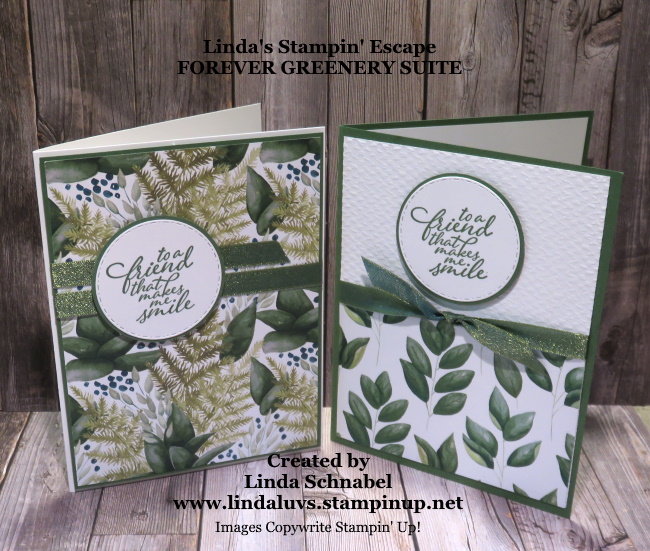
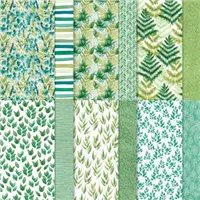
Today I’m sharing two cards created with the Forever Greenery Designer Series paper. These cards were created to highlight this delightful designer paper with it’s elegant greenery with painted watercolor patterns will give your projects an organic feel. One side of each sheet has large, leafy designs; the other side has painted patterns. This paper crafting staple is great scrapbook paper, card making paper, and more!
My first card uses a quarter sheet of the Forever Greenery Designer Series paper … trimmed down an 1/8 of an inch to have a Garden Green mat behind it …
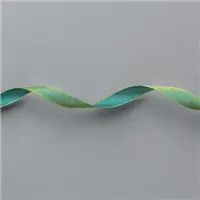
The ribbon is stunning!! It is the Old Olive/Pretty Peacock Reversible Ribbon. It matches perfectly with the Forever Greenery Designer Series paper because of all the beautiful shades of green in this paper.
My next card began with a 1/4 sheet of another pattern from the designer paper but then cut in half. You will get 24 cards out of your designer paper with this layout …
Along with the pretty paper and beautiful ribbon, I’ve added a touch of texture to this card … the Tasteful Textile embossing folders. It adds such a pretty touch to the card.
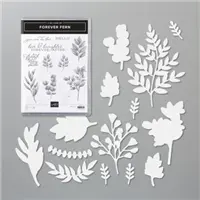
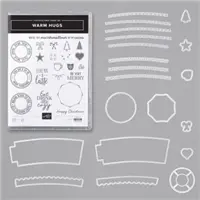
The greeting comes from the Forever Fern bundle but the die cut circle comes from the Heartwarming Hugs product suite … you must check it out, it is soo cool.
Hope you have enjoyed my card share today, I have listed the ingredients for you below. You can click on any one of them for more information or to begin shopping.
Feel free to leave a comment below if you have enjoyed todays cards. Thank you so much for stopping by ….
Have a great day!
TODAY’S STAMPIN’ SUPPLY LIST …If you liked the products used in today’s projects, I have links for you below. Just click on the item you would like more information on, or to begin your shopping. It will take you directly to my website. Thank you ♥
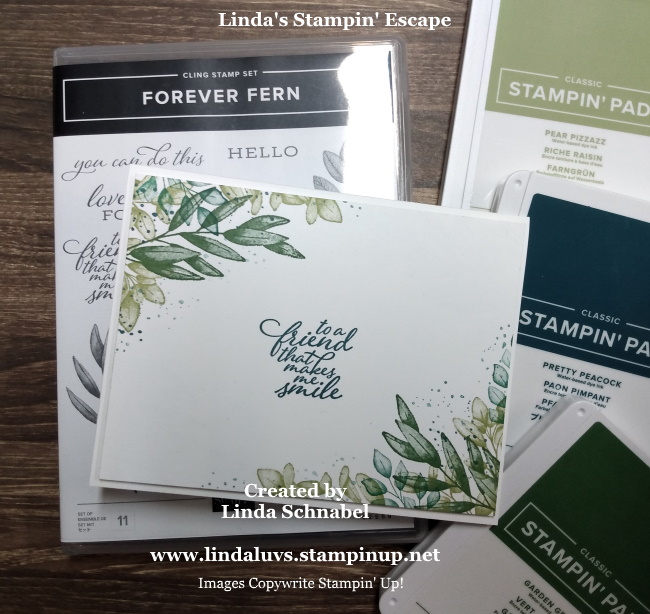
I’m excited to share a NEW stamp set with you today! Yes, it comes with all the bells & whistles in the product suite; dies, designer paper, embossing folders … oh my!! But today, we are taking it back to the basics; Stamps … Ink … and cardstock. Simply beautiful.
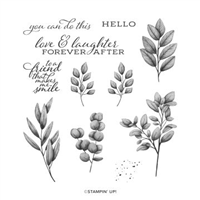
The new Forever Fern is filled with beautifully designed realistic foliage, and will steal the show when you create with this set! This is a Distinktive stamp set; it has a special texture that gives added depth and dimension in a single step, creating photo-realistic images. Just take a look …
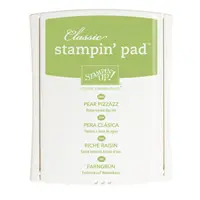
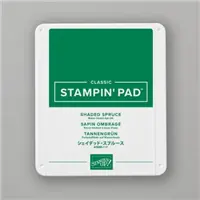
So much beautiful foliage to choose from … I picked 3 different types of leaves, the speckles and the greeting. There are four ink colors: Pear Pizzazz, Garden Green, Shaded Spruce and Pretty Peacock.
The little skinny leaf foliage was stamped in Garden Green, I then stamped the “bushy” foliage in the Pear Pizzazz and the little leaves were stamped in the Shaded Spruce. The greeting and the speckles were done in the Pretty Peacock.
I love those little speckles … they really do seem to tie everything together so nicely and adds some dimension to a “stamped only” card. This is perfect for beginner stampers as you can get beautifully hand stamped cards with a small investment.
Those of you who have to have it all … well, that is there for you as well! With coordinating dies, embossing folders and embellishments, you are going to have a blast!!
We all need quick cards once in a while and this will fit the bill for either a feminine card or … you can most definitely make a masculine card with this set.
Enjoy your day, and I thank you for dropping in to check out my blog.
Here is a list of today’s card supplies: The Forever Fern will be available for purchase on June 3rd, when the 2020-21 Catalog goes live …
Yippee … it’s the weekend and I have a sweet -n- simple card to share with you today using the cutest little snail to mail! And our sweet little snail teamed up with the Many Messages Bundle to send you wishes from a grateful heart …
You know what they say “Teamwork Makes the Dream Work” … these two bundles pair so nicely together (actually the Many Messages stamp set pairs perfectly with any of our stamp sets!) Even the little stars and hearts came from the Many Messages stamp set.
Let’s begin with the soft warm glow behind our friendly little snail … I used the blending brush with Bermuda Bay ink to create an area to highlight our snail. Our snail was created using the dies and cutting from the designer paper… you also have the option of stamping your snail and coloring this little cutie any way you want!!
I have mentioned that the sentiments come from the Many Messages stamp set … a large grouping of sentiments that are stamped all at once, and can also be die cut all at one!! How easy is that …
I like to use my Stamparatus and then stamp multiple colors and create a large collection of sentiments that I can just select at a moments notice. I love to create dimension and texture on my cards so I popped up the sentiments, the snail and the stars and hearts.
These little snails are sure to bring the fun to the party or to let you know how grateful you are for having them in your life… both will bring a smile to your face.
Thank you for stopping by and checking out my blog, I appreciate the company.
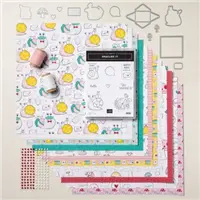
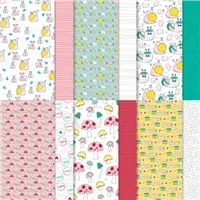
Sending a little love today via Snail Mail with this adorable collection, from the whimsical stamps to the enchanting Designer Paper is everything that is bright and delightful! The bold colors and whimsical style make it perfect for cards and projects that need an infusion of fun.
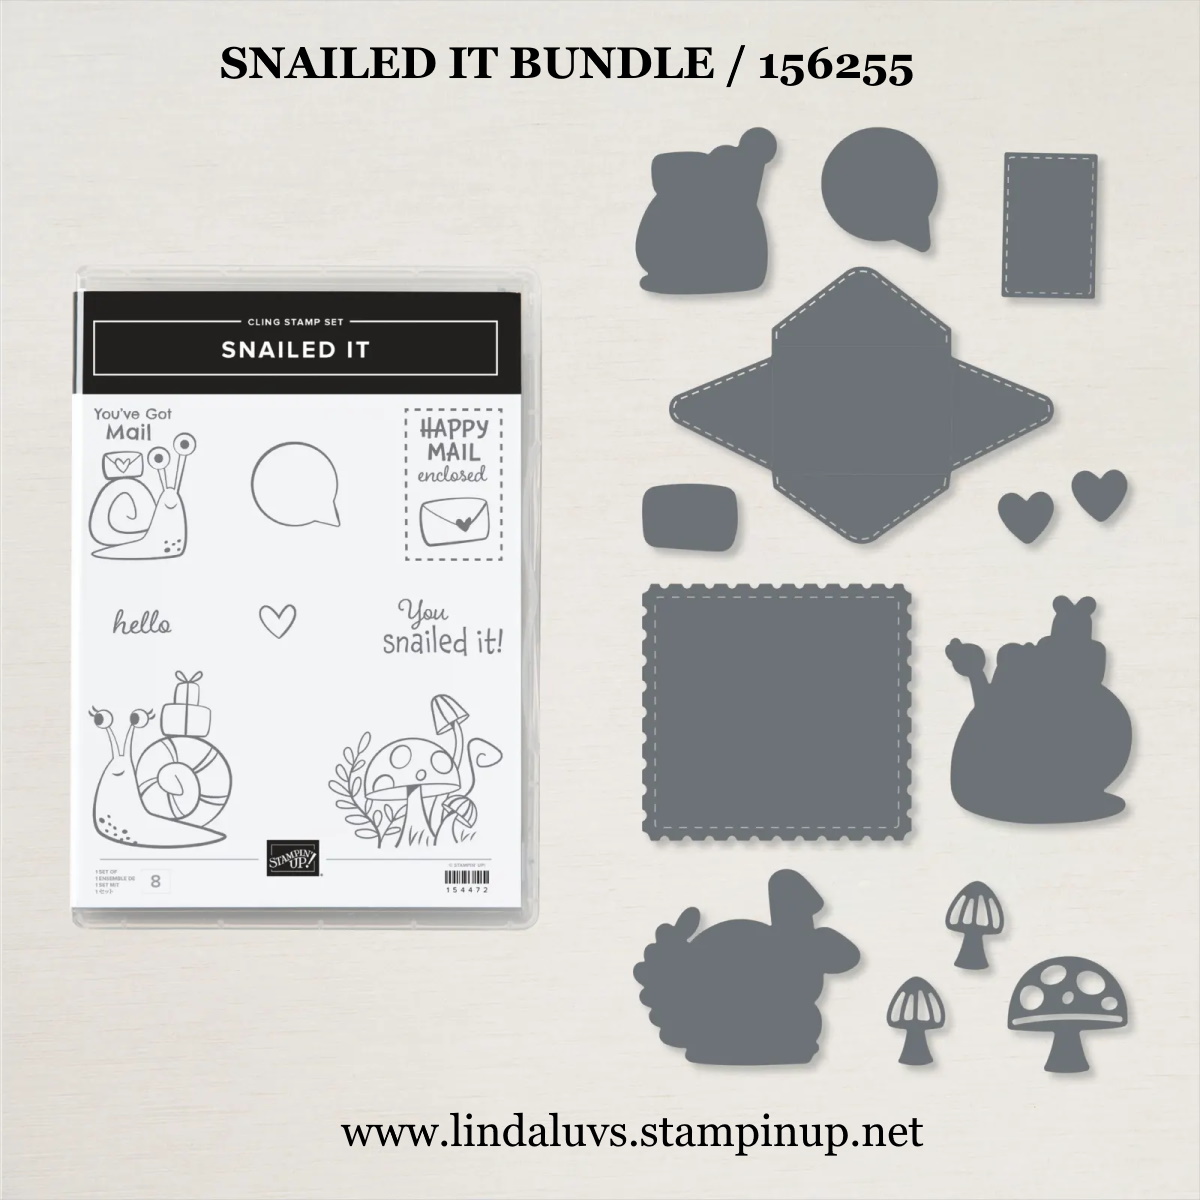
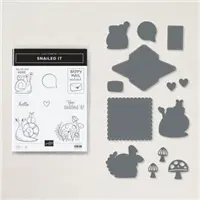
The Snailed It Bundle includes the Snailed It Stamp Set and the Snail Dies. The Snailed It Stamp Set has the cutest mail carriers you have ever seen … unless your mail carrier is my Godson, because I think he’s pretty handsome! But with these carriers … you’ll be able to decorate all your letters and parcels with those adorable snails.
With the Snail Dies, mailing letters will never be the same again! The cute snail, mushroom and postal stamp dies cut of the stamped motives of the coordinating Snailed It Stamp Set. Additionally, you can also create a tiny envelope with one of the dies that everyone will love!
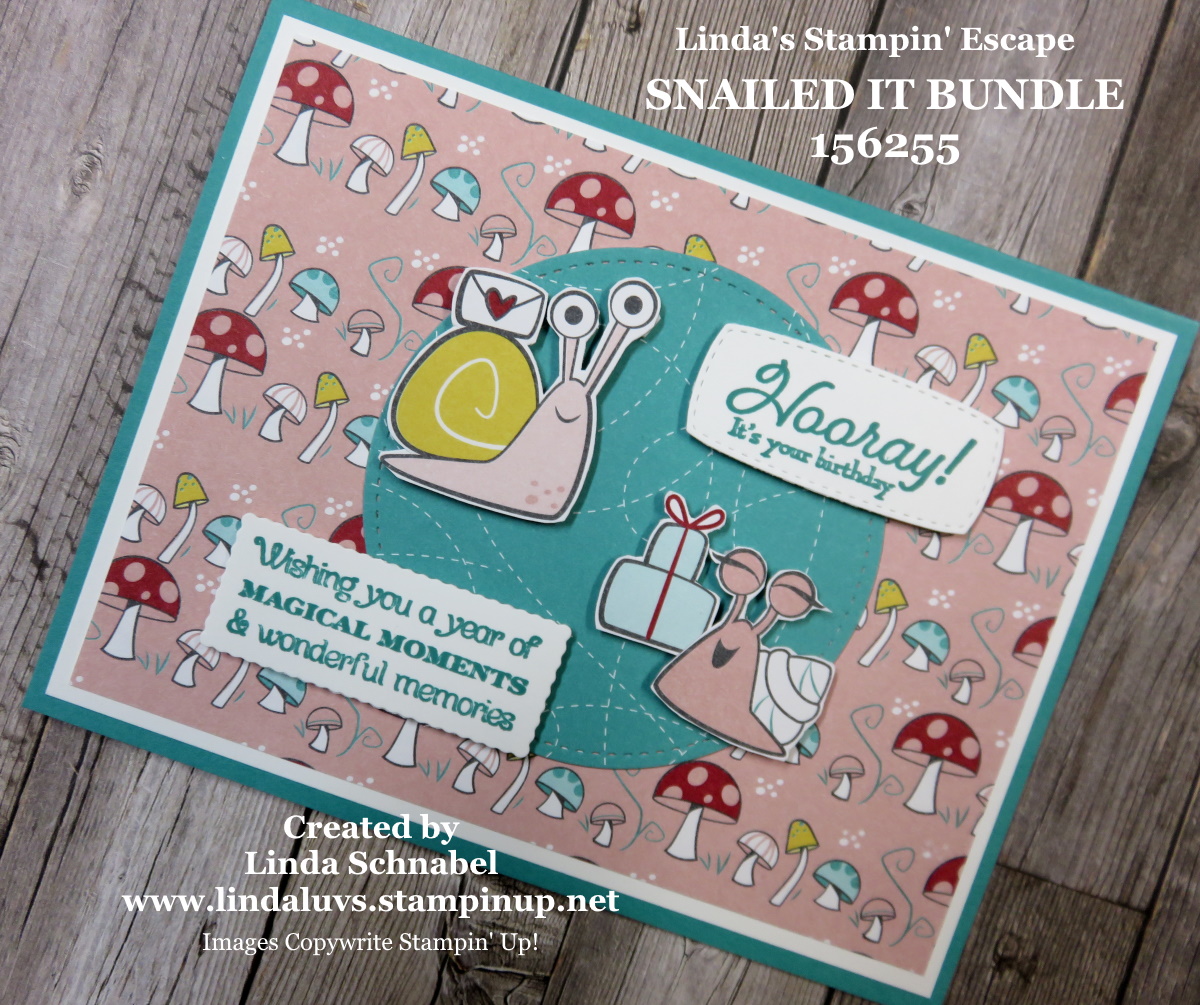
I created this adorable card to celebrate my granddaughters birthday …
The Bermuda Bay card base and Basic White mat are the perfect combination to make highlight the whimsical Snail Mail Designer Series paper … it just makes you smile! And so does the little birthday snail receiving the present.
The sentiments themselves are magical and will create a celebration worthy of the birthday party. These come from the Many Messages Bundle …
Thank you for joining me today to check out this sweet little suite … it is truly a party waiting to happen! Are you in?? I have listed the supplies below for your ease of shopping. Our March Hostess code is: S94BZXER. I will draw a name at the end of March from all who use the Hostess Code, and they will be rewarded a prize. Just check out all of the cute projects you can make with this suite …
Thank you again, and have a wonderful day ~
TODAY’S STAMPIN’ SUPPLY LIST … If you liked the products used in today’s projects, I have links for you below. Just click on the item you would like more information on, or to begin your shopping. It will take you directly to my website. Thank you ♥
The Here’s to You Paper Pumpkin Kit offers an opportunity to cheer on your friends and family in a brightly-beaming and beautiful way! With printed layering pieces of lovely landscapes, decorative die-cut clouds, and an exclusive eight-piece stamp set with inspiring imagery and celebratory sentiments, you’ll have enough elements and embellishments to create eight colorful cards and coordinating envelopes. Celebrating life’s mountain-high moments and magnificent milestones is a sweet summer breeze with inspiring imagery of wildflowers, pretty pines, and sunny skies!
Plus, in this month’s marvelous kit, we’ve included a surprise worth celebrating: a set of four spectacular stencils—and a stamping sponge—for free! And, it all arrives at your mailbox in a cute and collectible box. You really won’t want to miss this one-of-a-kind kit!
To embark on the adventure, start your subscription between now and 10 March. Just click the link highlighted in blue! P.S. Stampin’ Up! has created this video to give you a fun sneak peek at this kit and the special free gift! Let’s take a look …
Thank you for joining me today. Let me know if you have any questions on Paper Pumpkin, how to get started … or click on the link above it your ready to experience the adventure.