Hello Stampin’ Friends,
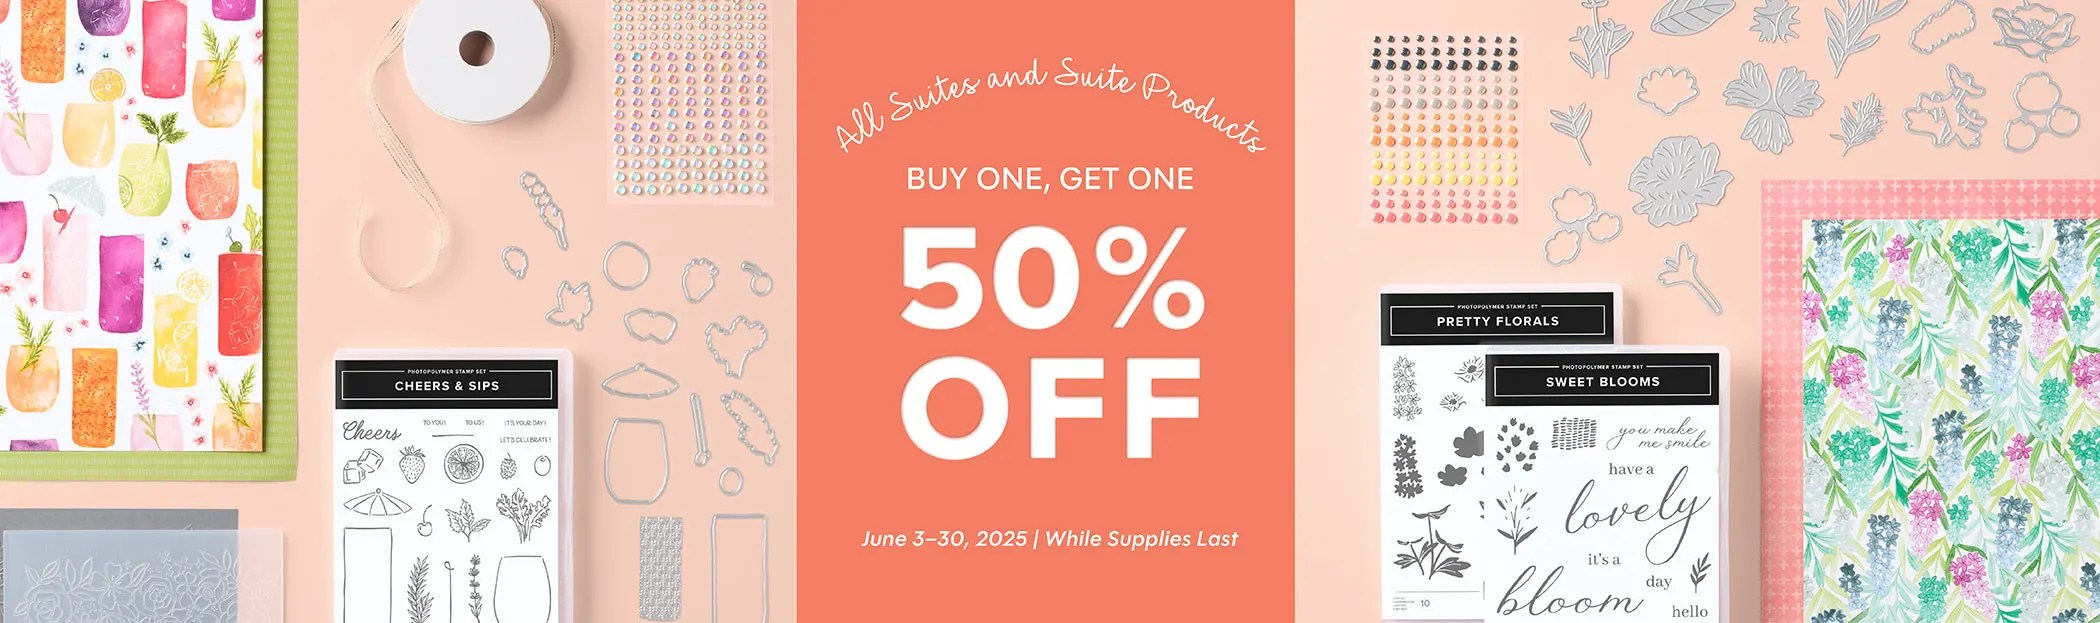
Here’s a Sweet Deal You Don’t Want to Miss—And a Suite You’ll Fall in Love With. From now until June 30th, ALL suites and suite products are Buy One, Get One 50% OFF —and it’s the perfect excuse to treat yourself to some of the most beautiful and versatile products in the 2025–2026 Annual Catalog and Online Exclusives!
If there’s one thing I love most about Stampin’ Up!, it’s how effortlessly their suites bring creativity to life. Everything just works together—beautifully. And right now, there’s a truly sweet deal happening that makes it even easier to fall in love with a new suite (or two!).
Today I want to shine a spotlight on a suite that has completely stolen my heart: the Wildflower Birthday Suite. It’s cheerful, charming, and filled with so much possibility. Whether you’re making birthday cards, party invites, or just want to send a little burst of joy in an envelope, this suite delivers. The hand-drawn florals feel fresh and fun, while the sentiments are bold and uplifting—the perfect pairing for any celebration.
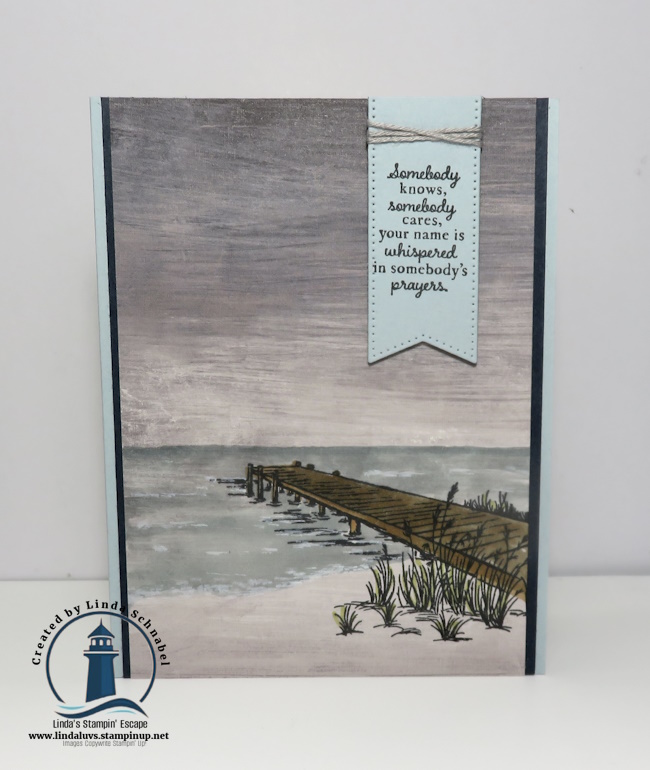
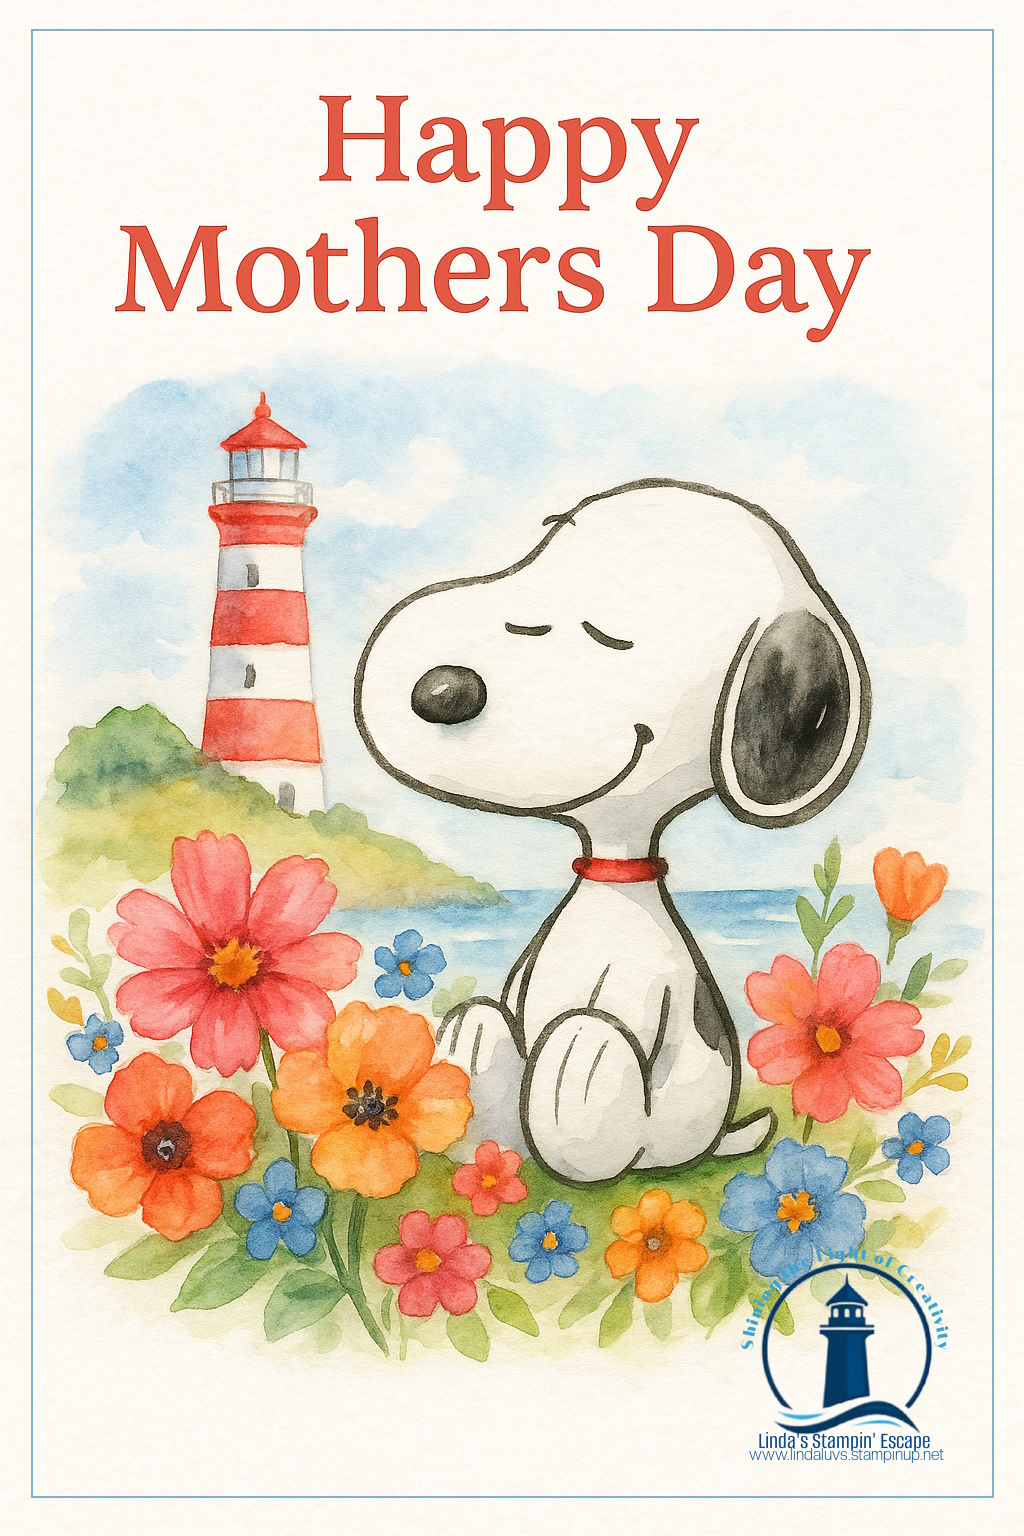
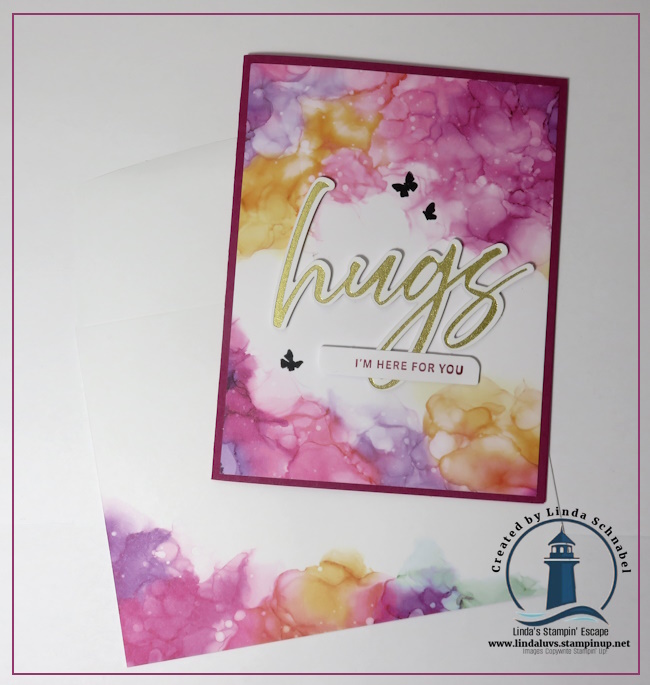
I’ve been creating with this suite a lot lately, and I couldn’t resist making seven different cards just to show how versatile it really is. From simple to layered, bright to soft, this suite makes it easy to craft something beautiful every single time. Here they are —feel free to let me know which one is your favorite. I love hearing what resonates with you!

Here is a peek into the scrapbook page that I created on my Facebook LIVE Tuesday night …

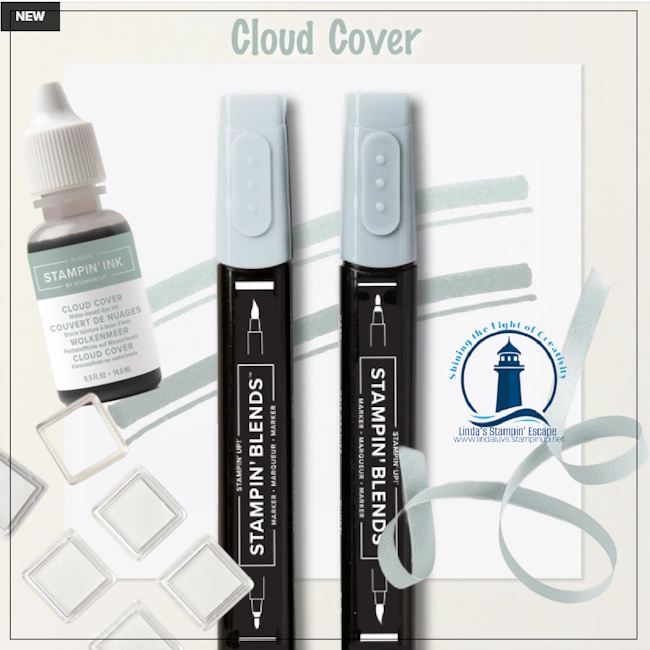
It’s easy to create with these wonderful coordinating suites. Stampin’ Up! makes it simple by designing collections where everything matches—stamps, dies, paper, and embellishments. Whether you’re a beginner or a seasoned stamper, you’ll love how effortlessly your cards and projects come together. And with this BOGO sale, you can stock up on inspiration and save while you do it.
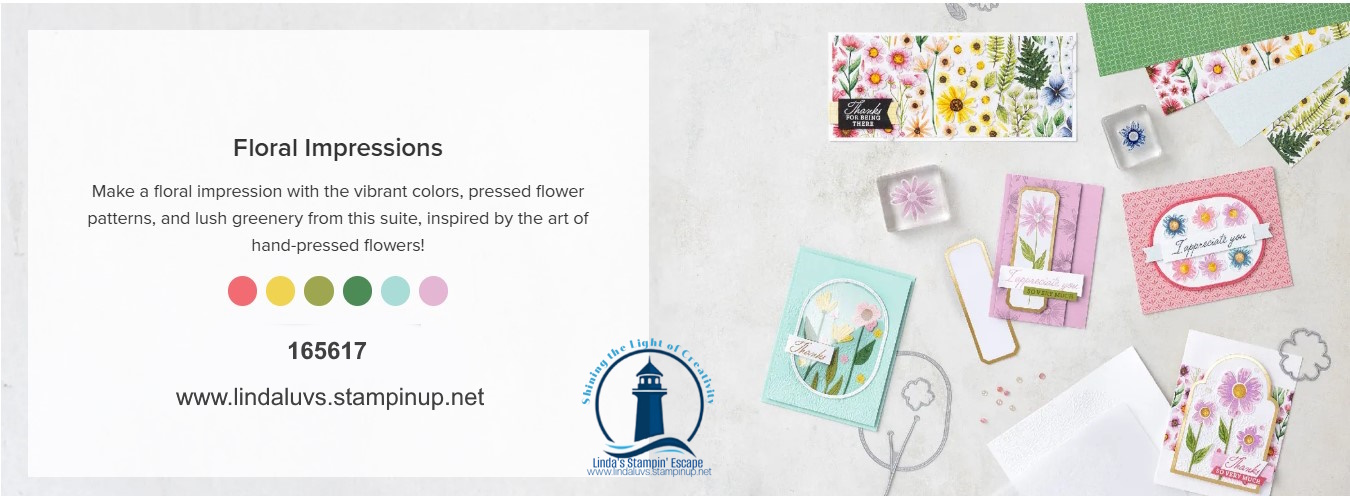
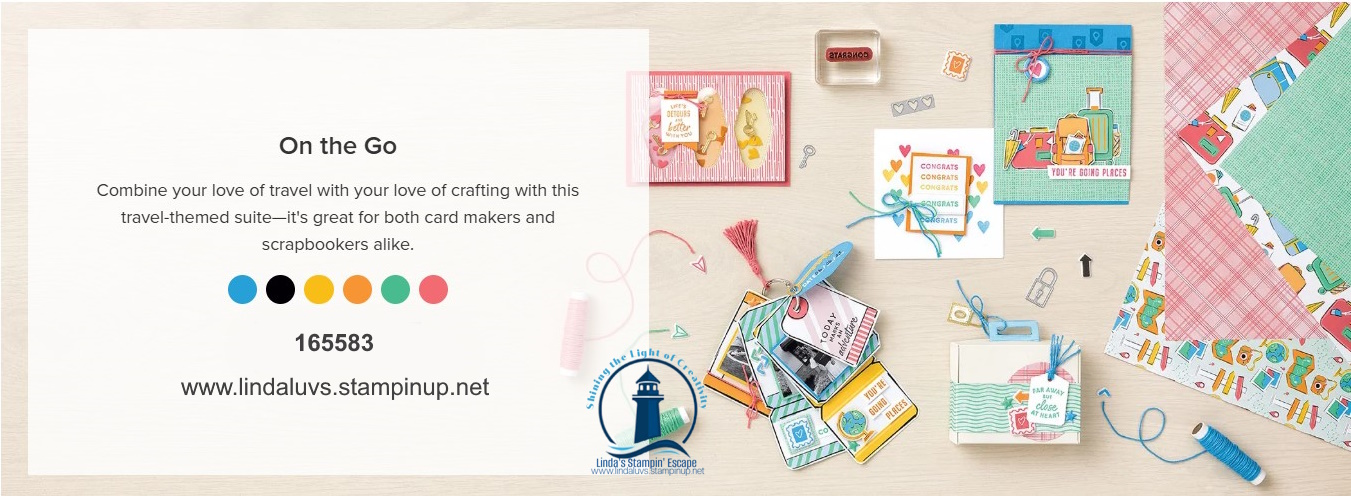
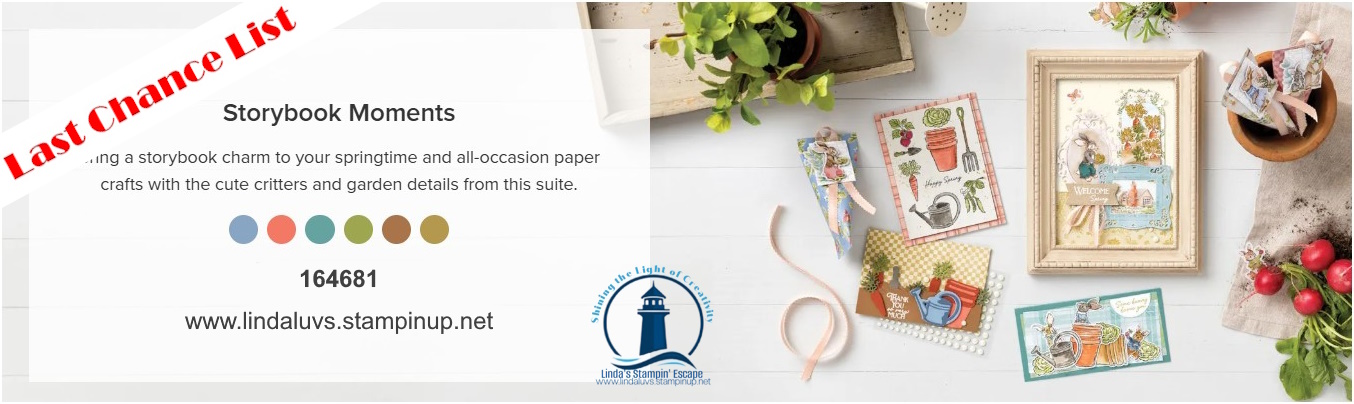
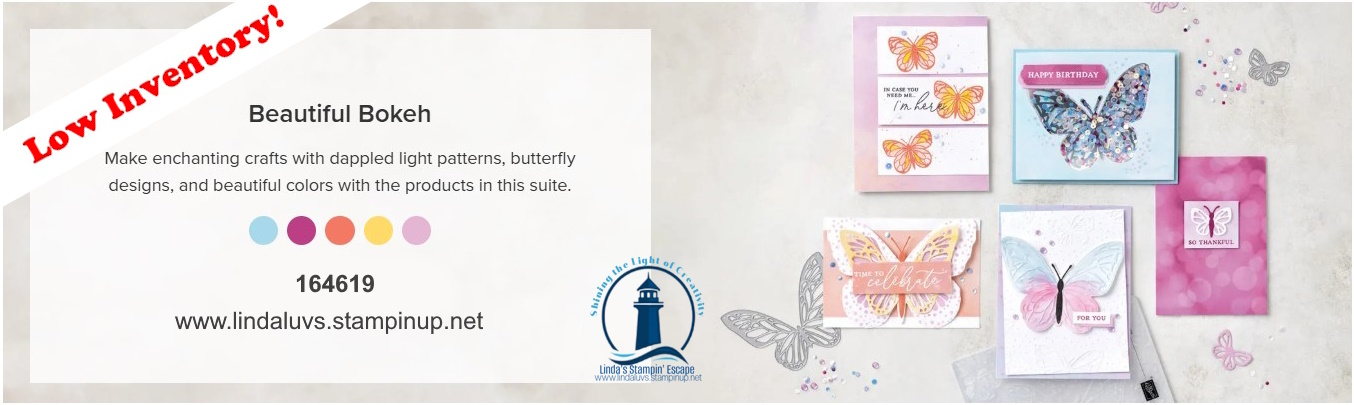
Here is a list of all the suites currently available as part of this limited-time offer:


With the BOGO Suite Sale ending soon, now’s the time to treat yourself. Choose a favorite suite (maybe Wildflower Birthday?), then pick a second one you’ve had your eye on—and enjoy that second suite at half price. It’s a wonderful way to refresh your craft room, and let’s be honest… we all deserve a little creative joy.
If you need help deciding or have any questions, I’m always here. And if the Wildflower Birthday Suite spoke to your heart like it did to mine, you can find it in my online store / Click on any of the links below to view or shop for your favorites.
Happy stamping, friends—and don’t forget, this sweet suite deal ends June 30th!

Here are the links to the Suites in the Bogo sale that are currently available ….